One lead per side is all you need anyway. ![]()

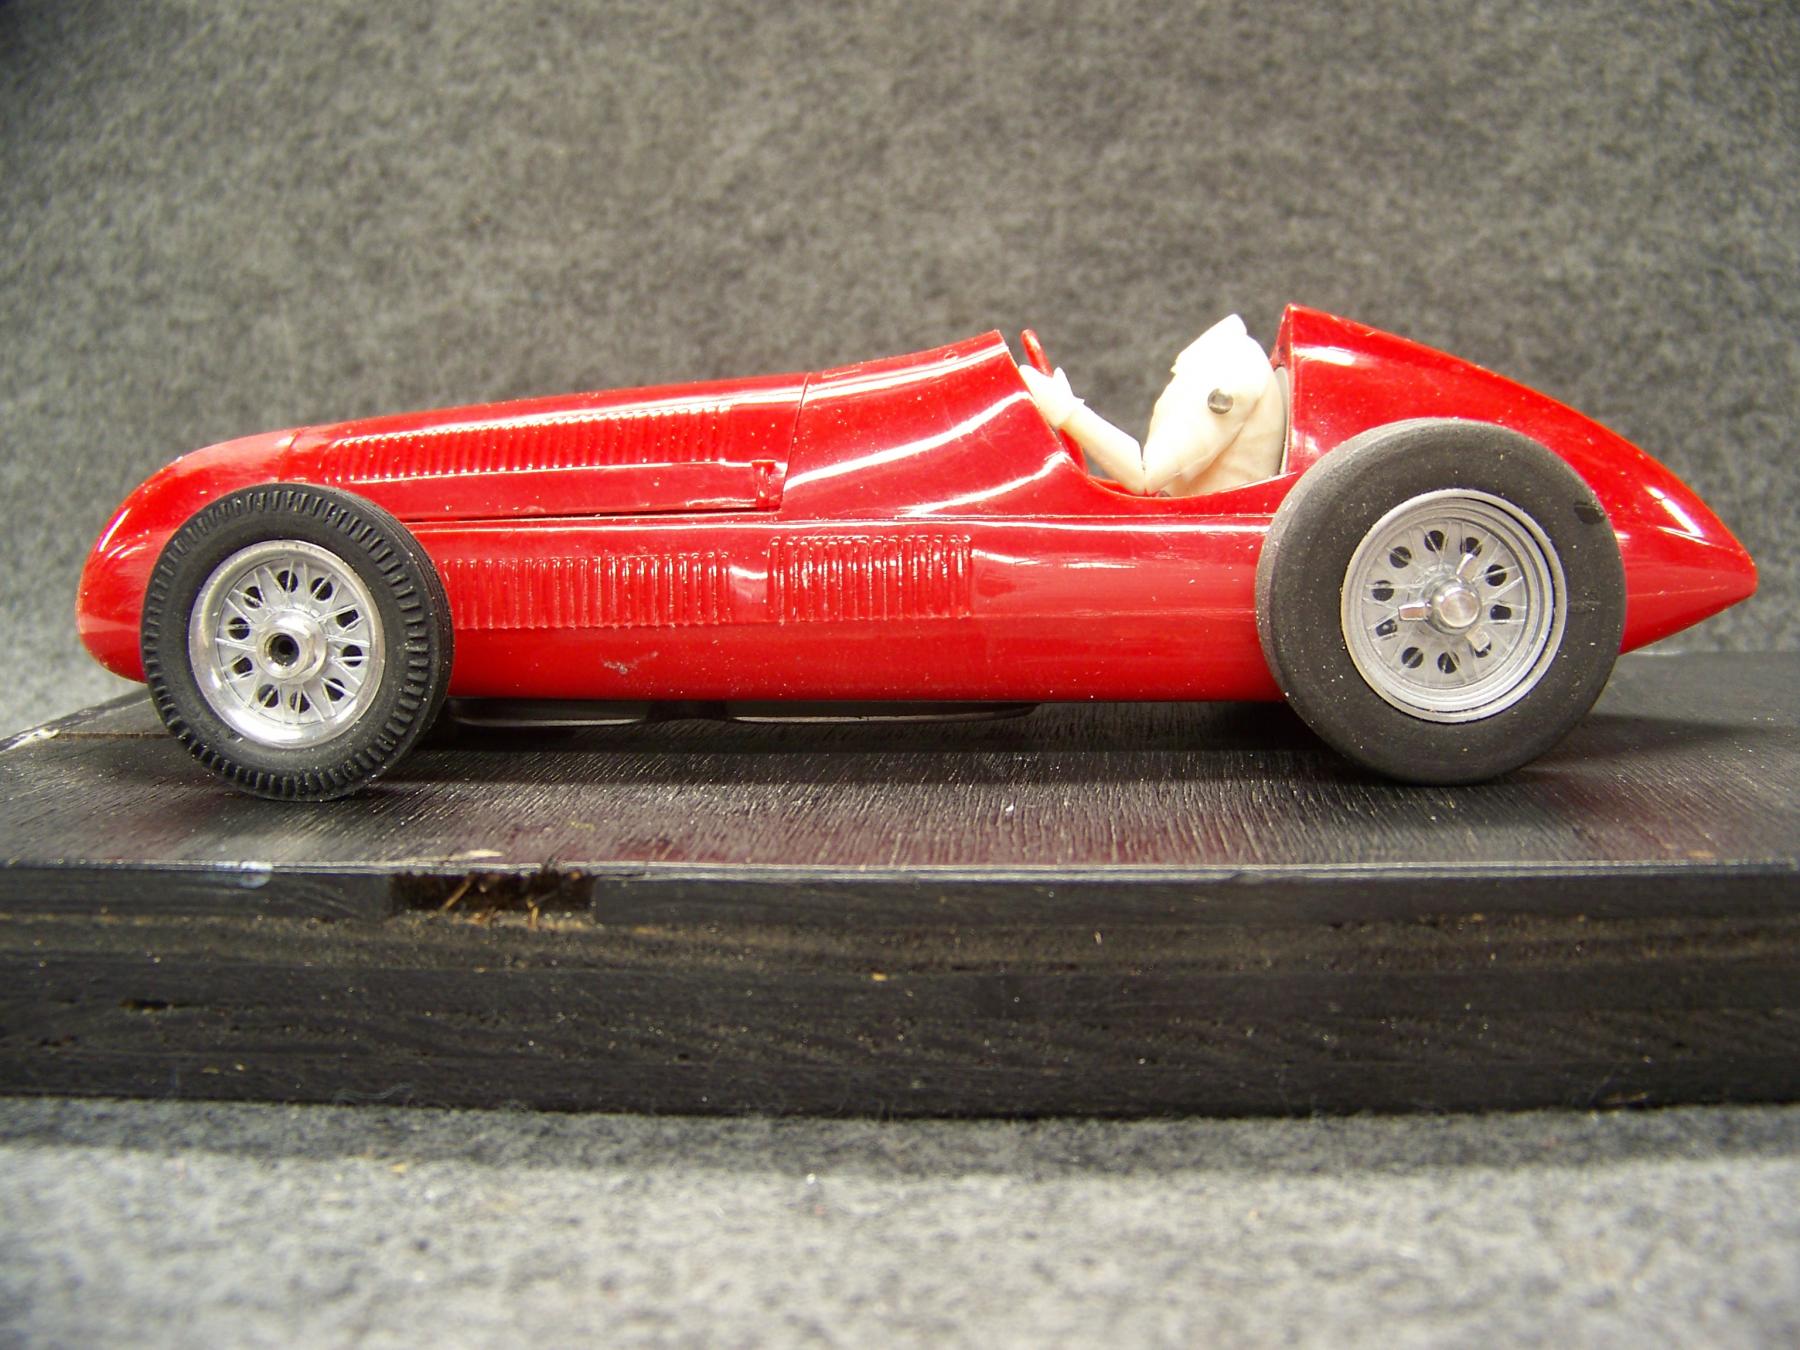
Merit Alfa Romeo GP Type 158
#76

Posted 10 February 2024 - 03:58 PM
I intend to live forever! So far, so good.
#77

Posted 10 February 2024 - 11:57 PM
You are correct Bill.
When there was no plastic motor there I was looking for a feature to take up the space. That's why I was playing with the 2 sets of three wires.
But now I have cam covers and 8 spark plugs to look at when the hood comes off, so the wire will be at a minimum.
I will get some pics soon.
Really apricate you checking in though. ![]()
- Bill from NH likes this
#78

Posted 11 February 2024 - 01:43 PM
I haven't been on slotblog for some time(years) and this build thread is the most interesting for me currently....enjoying it very much actually so thank you Martin.
John Warren
Slot cars are my preferred reality
#79

Posted 11 February 2024 - 04:34 PM
Good to have you back John. So thank you. ![]()
Trying to get the double over head cam straight 8 Merit motor under that hood is a challenge. There was a point when I considered putting a couple of scoops in the hood to clear the cam cover.
But by shaving all the parts down and thinning the hood some in that area it is actually going to fit. ![]()
Working on the water pipes and the radiator to see if those items will fit ![]()
- Jencar17, munter and John Luongo like this
#80

Posted 11 February 2024 - 09:09 PM
Beautiful workmanship Martin. I love the interior.
Rick Thigpen
Check out Steve Okeefe's great web site at its new home here at Slotblog:
The Independent Scratchbuilder
There's much more to come...
#81

Posted 12 February 2024 - 10:31 AM
Thank you Rick, looking forward to my U.K. driver (which is in rout) I will check tracking on that. That will be more fitting I am sure.
After doing all that fitting to the Merit plastic motor I suddenly realized this motor mounting design means I could lower the Pitman motor in the chassis. (some)?
Awhile back I made a new shim/spacer that sets the motor height, the motor height sets the rear axle height, OR DOSE IT???
Its limitation is how misaligned the drive shaft can be. So would .025" be a deal breaker?
It sure would mean I would there would be more space under the hood and I would not have to worry about paint thickness and things like that.
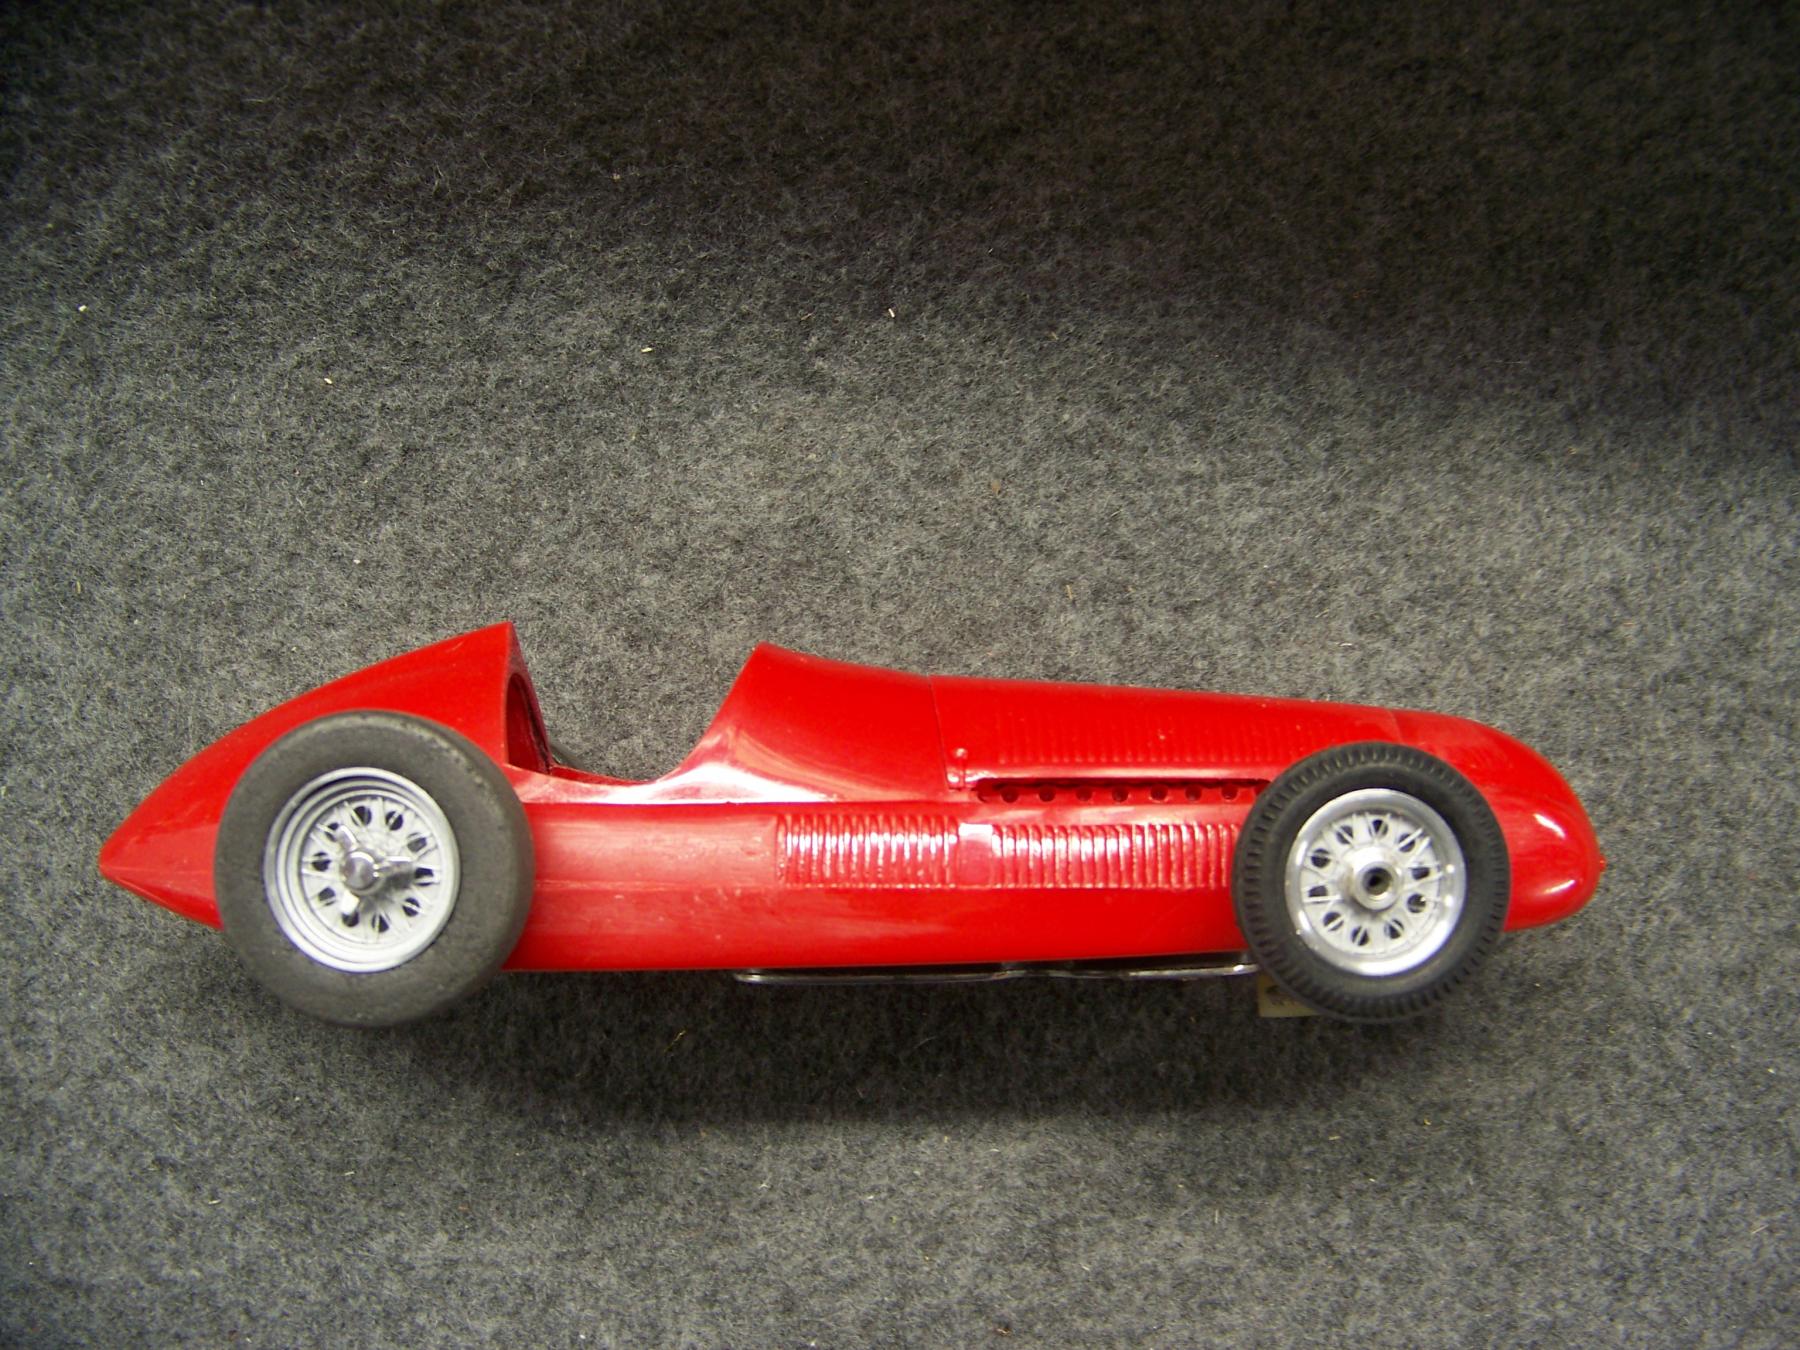
If you look at this pic you can just see the black spacer I replaced to lower the body. That was for stance. But I was not thinking about room for a plastic motor at the time. Now I just need a small amount of room to save from clearance issues and more room for fake pluming and such.
- Jencar17 likes this
#82

Posted 12 February 2024 - 11:27 AM
Could angling the motor down towards the nose help? That design of coupling is used extensively in model railroading, to connect the motor shaft to the gear towers of the trucks on diesel model locomotives. They can take quite a bit of angularity. What hurts is the pinion shaft is carried by only one bearing. Alignment of the height of the coupling is critical.
#83

Posted 12 February 2024 - 11:39 AM
Thanks for your insight Dave, to be clear are you saying that there should be a perfectly straight line from pinion shaft to motor shaft?
Working with a wedge shim could work, but I would be have to realign the drive shaft support bearing ( it should have a self aligning bearing) and the interior fits that housing tight. Do not want mess with that.
I will do some accurate measurements now and see what I have. I was happy with at some point a while back. Sort of signed off on that part.
P.S. did some measurements and motor shaft and drive shaft are inline, so not going to mess with that. I have done the work to get the Merit motor under the hood. Will just have to keep the fake pluming and wiring low profile, all good ![]() It was just something I woke up with in my head.
It was just something I woke up with in my head.
BTW the gap under the motor plate is 1/16" so pretty happy with that also.
#84

Posted 12 February 2024 - 02:08 PM
As long as the C/L of the motor shaft and the C/L of the pinion shaft still cross at the center of the joint, there will not be any binding. As long as you use the center of that joint as the point around which you swing the motor, no change in the pinion shaft would be necessary. But It sounds like you have figured out what you want to do, so moot point.
( Think of the rear suspension of a VW Beetle. The half shaft uses the U-joint as it's inner pivot point. )
#85

Posted 13 February 2024 - 02:35 AM
Martin, I just started following this thread and now I understand why you were asking about Shapeway's drivers. The car is gorgeous by the way. So many lovely details but I especially love the wheels!
#87

Posted 13 February 2024 - 12:42 PM
The Merit grill has so little relief to it. You have come this far, I would do it. You certainly aren't afraid of a little work.
#88

Posted 13 February 2024 - 12:46 PM
I still think you should keep the Merit grille - seems more authentic somehow.
Don
- Flathead likes this
#89

Posted 16 February 2024 - 07:41 PM
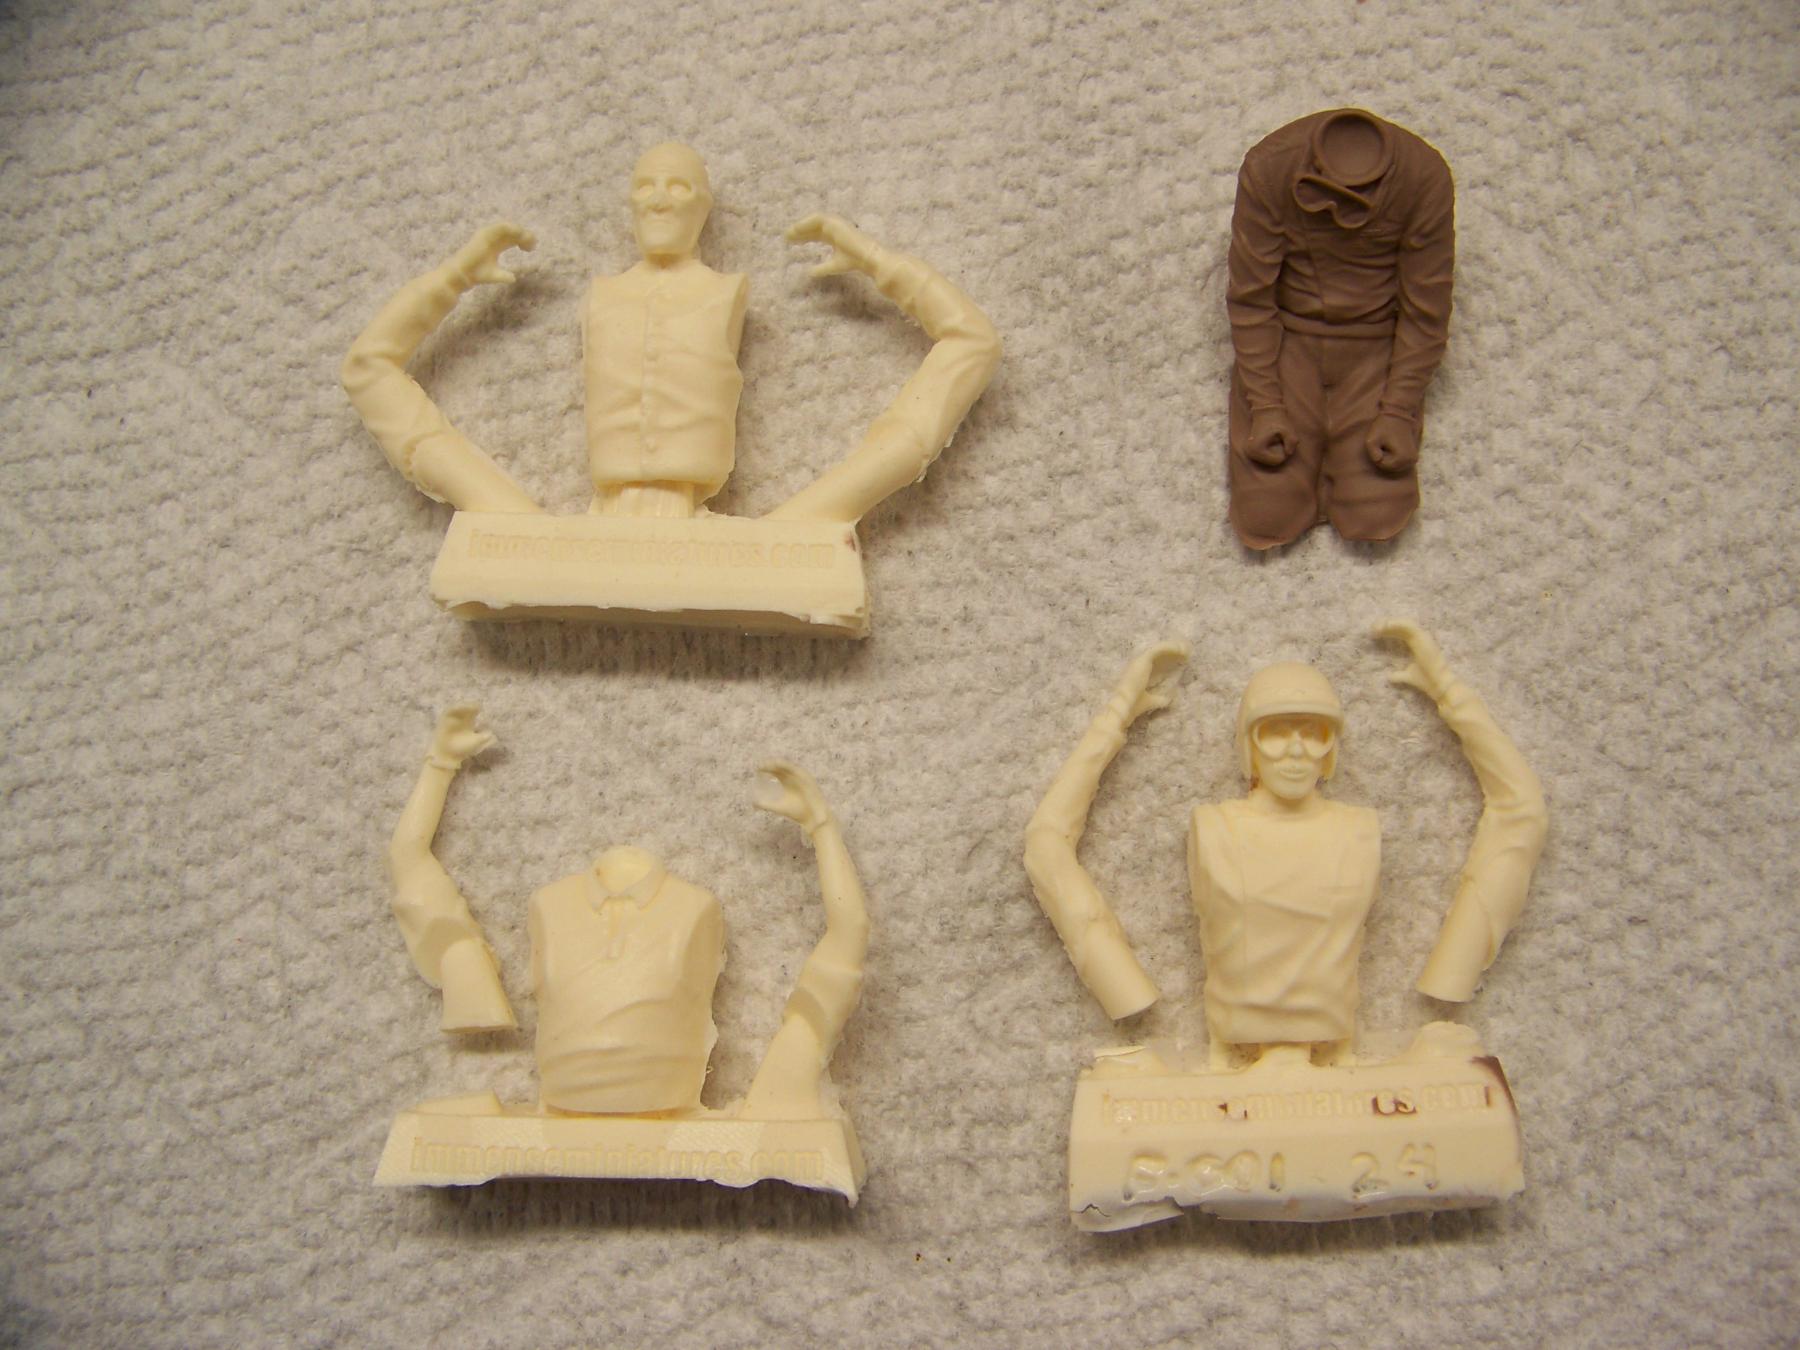
The resin drivers from RS arrived today, (thank you Colin) this will give me a fitment project. I will have to make a seat and get him sitting comfortably.
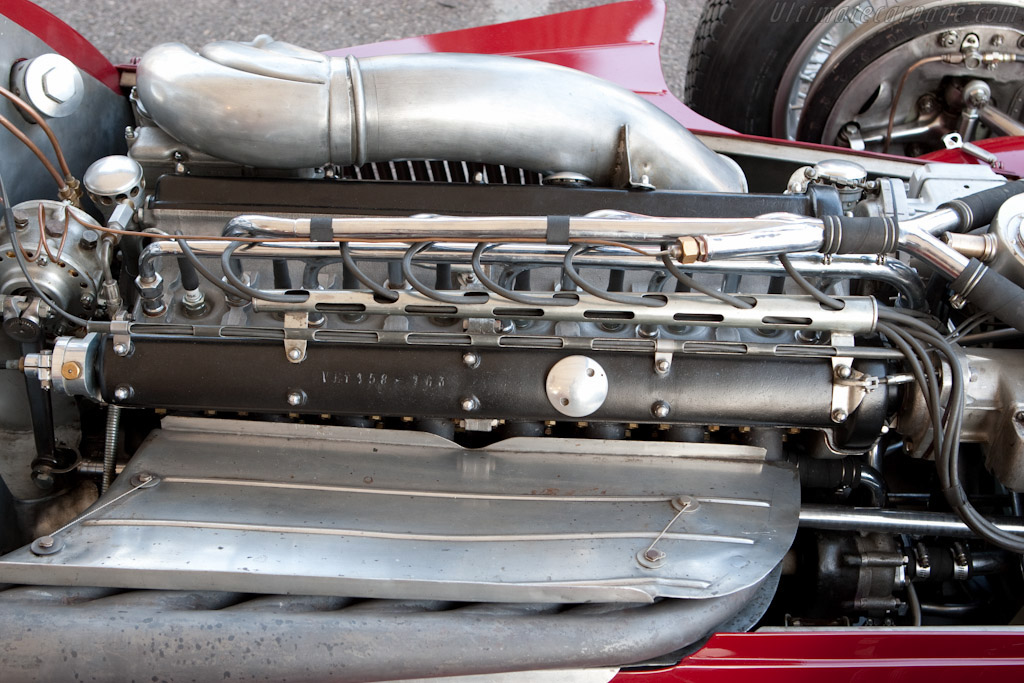
There was a engine detail part that I wanted to make that routed the spark plug wires. (seen in this better pic) Simple enough, its a tube that has a small hole at the rear, then 7 slots spaced to except the spark plug wires, on the big end all 8 wires exit.
You can see the custom tube here on the real car.
It was not clear to me the tube was actually tapered, not until I found this picture. But it makes sense now.
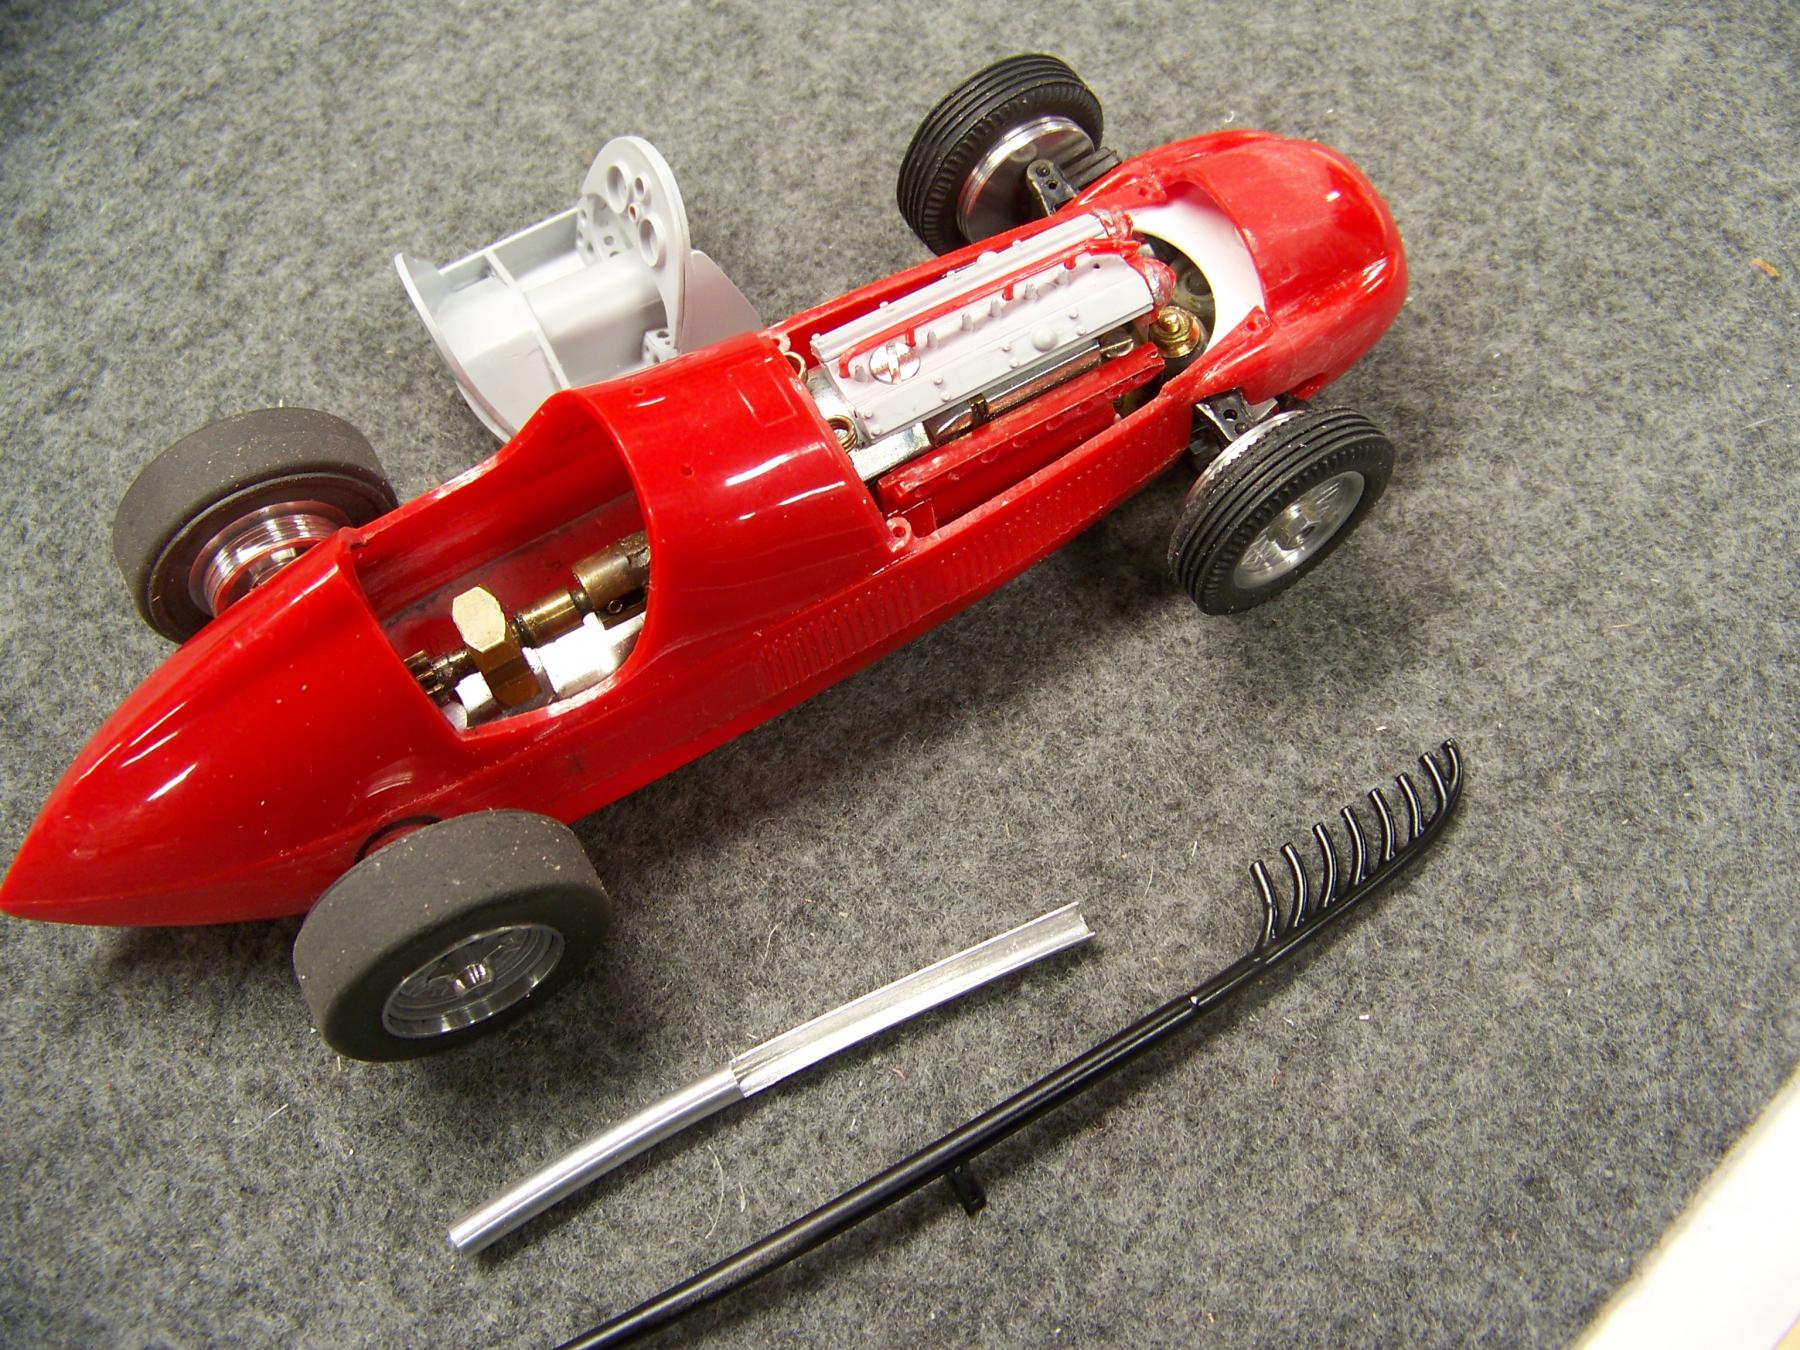
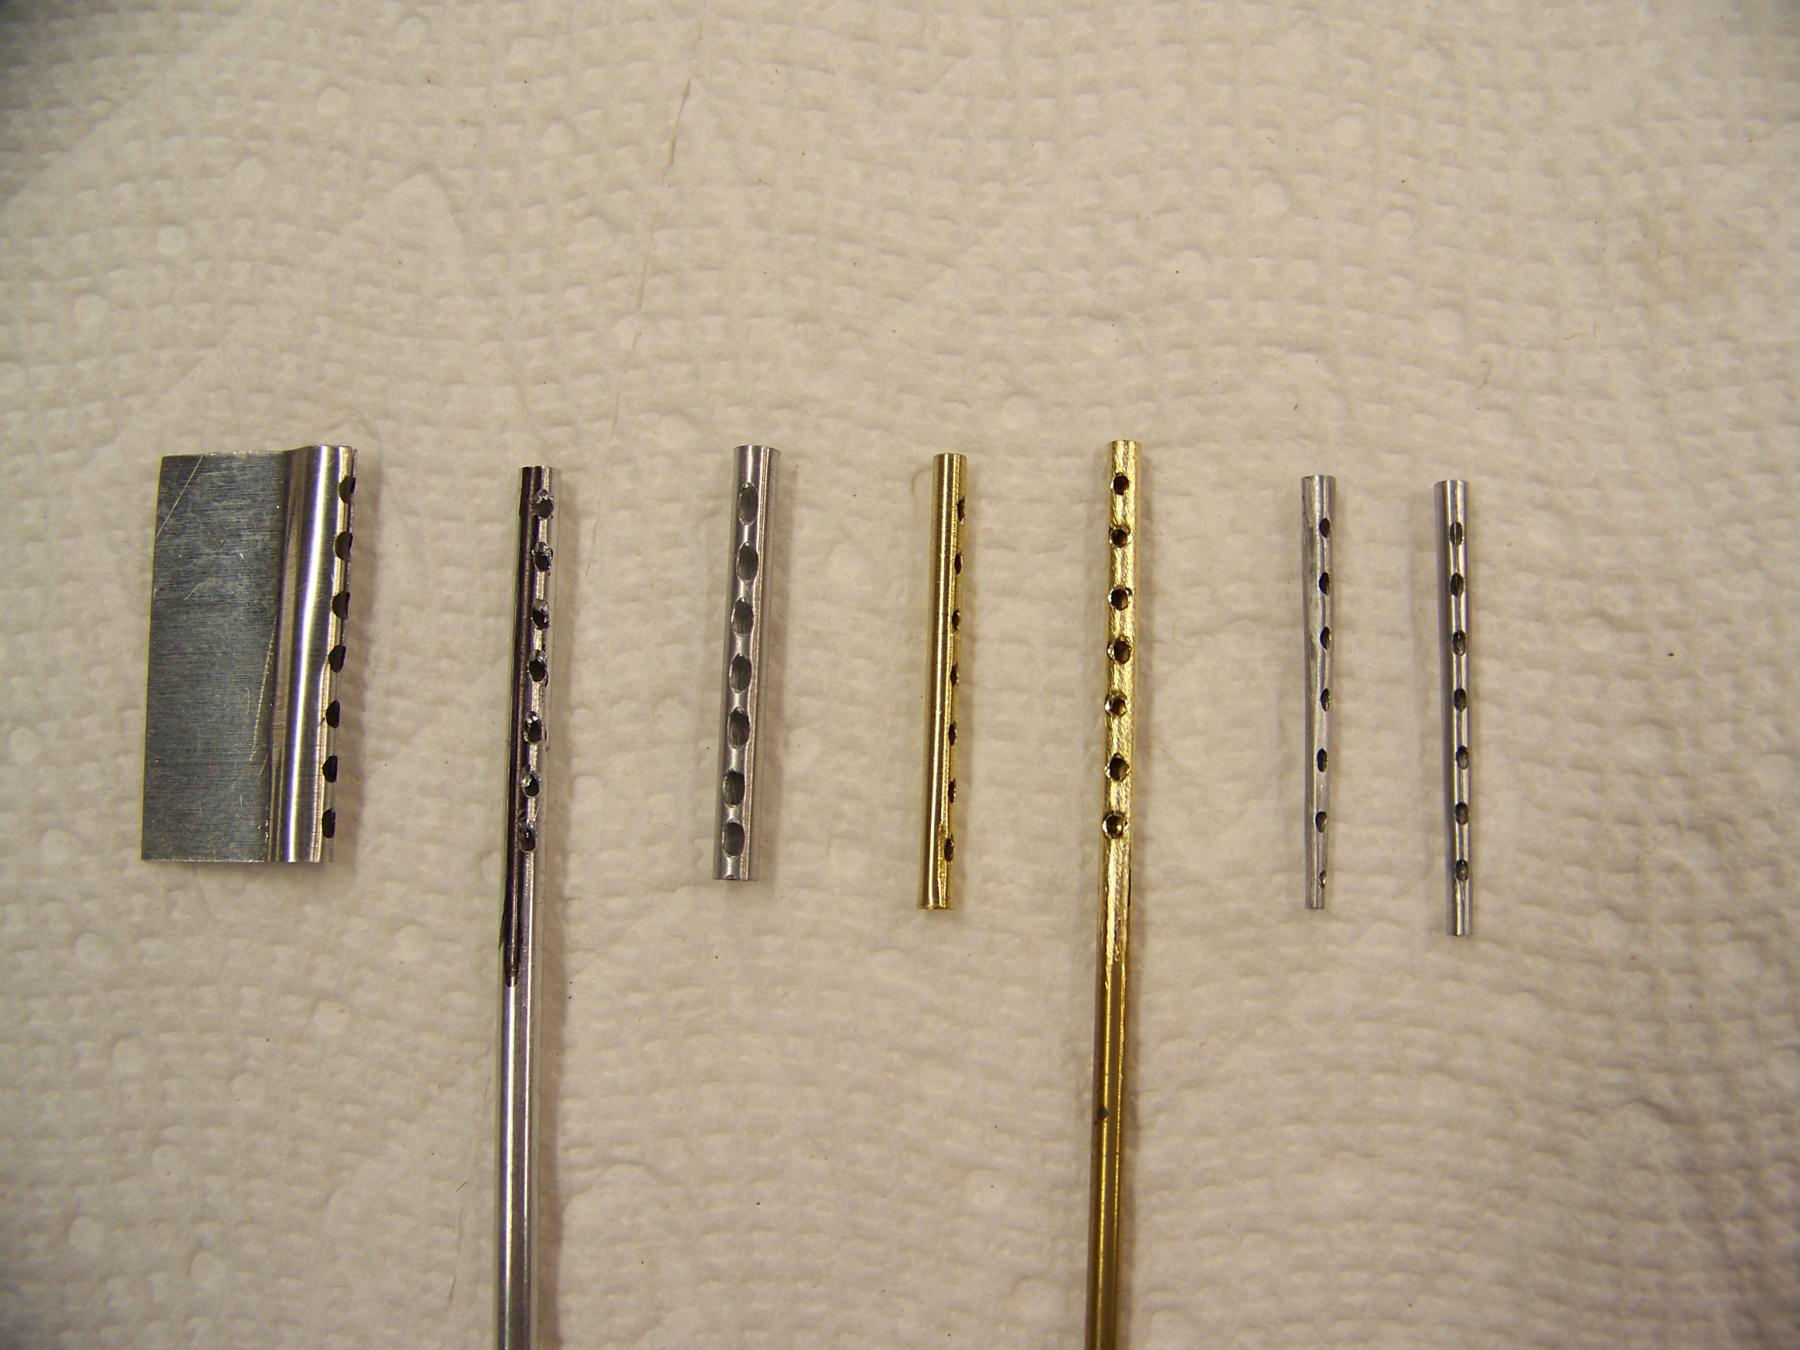
These are my attempts below. Starting with some aluminum sheet on the left. Then trying some aluminum and brass tubing to the right.
Once I realized it was tapered I went back to forming a shallow cone from the same kind of sheet I started with.
With the one on the far right being the best and good enough to call it done.
Remember it is .070" on the small end and .100" 0n the big end approx.. all of which has to fit under the hood.
- don.siegel and Jencar17 like this
#90

Posted 17 February 2024 - 10:24 AM
That wire shield is a toughy. Believe it or not, I have a real one, but it is from an 8-C-2300, and I think it is different. I believe IIRC, the 8-C wires feed in at the center of the tube. It was FUBARed by someone trying to open up the holes to make it easier to feed the wires through, so I had to fabricate a new one.
Getting the holes straight on the model will be a trick. I think I would put those in first, then taper the tube in a lathe. In any event, your attention to this detail is outstanding. Far beyond what I would normally attempt.
#91

Posted 17 February 2024 - 11:46 AM
Of course I believe you have one. Is it tapered like this one? I have learned you have had many real car projects and experiences.
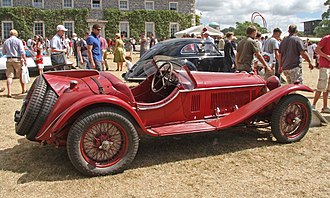
I had to go looking for a pic of 8-C-2300. Is this the car?
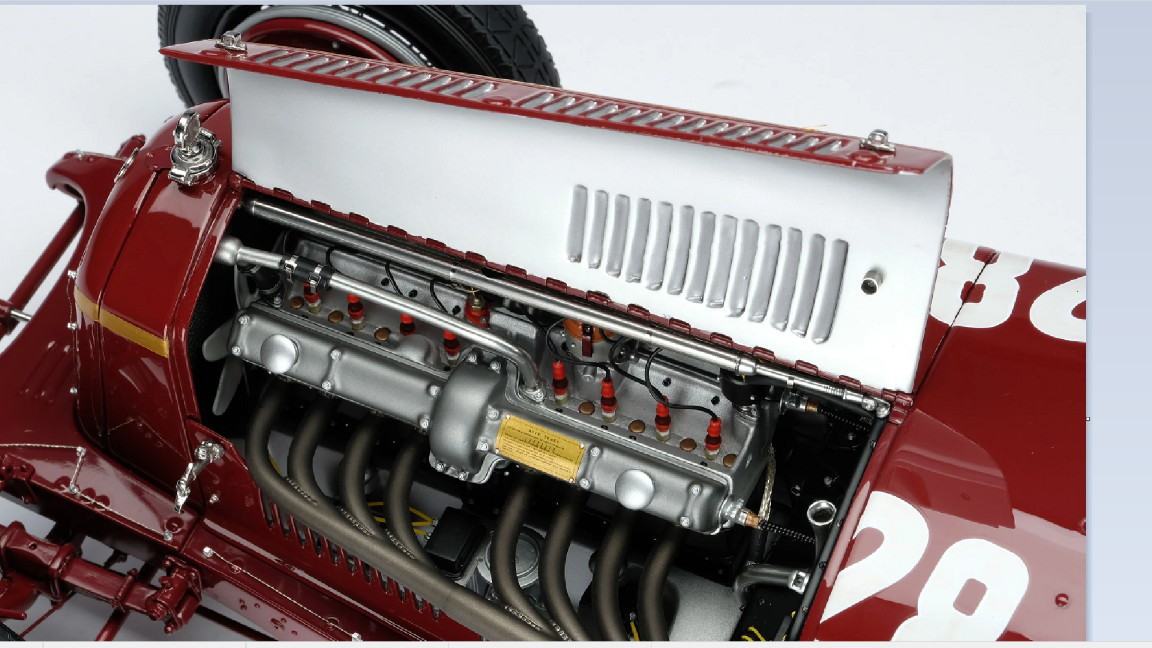
In my search I did find this beautiful 1/8 scale model. Is this it up top in this pic?
Once I knew the size it had to be to fit under the hood, and that was the second one in from the right, all was left to do was make cleaner cone and then drill 7 X .035'' holes then elongate them to make them slots. All done on the bench, its sheet aluminum you can cut with scissors. .014" thick. Pretty easy to work once you have a plan and something to form it around.
I have 1/24 scale spark plug wire on the way, so that will be fun.
Motor and radiator are in silver paint, let that dry and then paint the cam covers black.
When I get a chance I will see if I can get a driver to fit?
#92

Posted 17 February 2024 - 01:58 PM
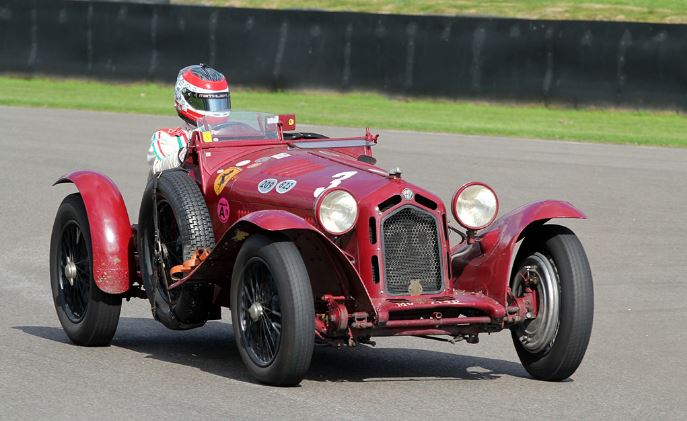
Not that body as in the top photo, although that Touring body is similar to the 6-C-1750 I worked on also for the Rose collection. Ben and Irv Rose were well known collectors from Highland Park, Il., and owned the building the famous "Ferrari out the window" scene was shot for the movie "Ferris Beuler's Day Off". ( I have a crap load of photos from there I need to digitize ) Their 8-C once belonged to Enzo Ferrari and was one of his first race cars. This is it;
It has passed through several hands since the brothers died. The cars were sold shortly after they passed. The house and "Studio" was finally sold by the family a few years ago.
I don't have any pictures of the engine that I can remember, but the shield tube was straight until about where the distributor was, then tapered down from there to the rear of the motor. The camshafts were driven at the center, and the distributor driven off a shaft from the crank. This was accomplished because the engine had two cylinder blocks, on a common crankcase, and a common cylinder head. The shield tube was supported at the front by the radiator surround, and a rod at the rear going to the firewall. This put the tube just under the hood hinge.
The car you show is the Revs Institute car, and the only 8-C that I know of with black cam covers. All the rest were silver.
The cams on the 158 drive at the front, and the magnetos drive off the front of the cams. Each one fires four cylinders. Weird, huh?
#93

Posted 17 February 2024 - 02:37 PM
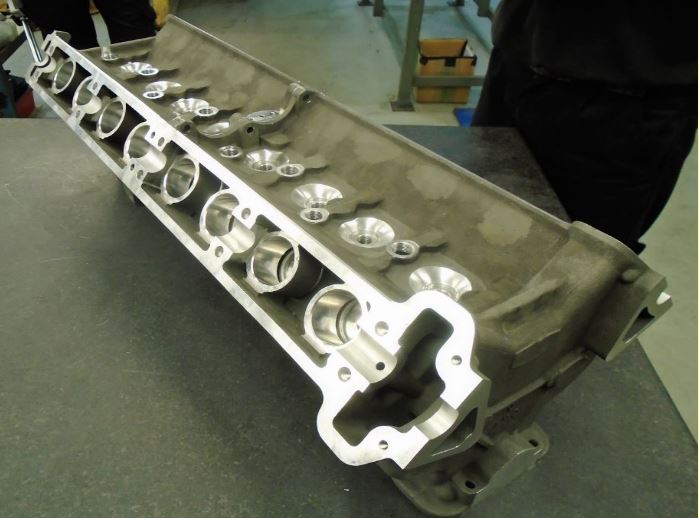
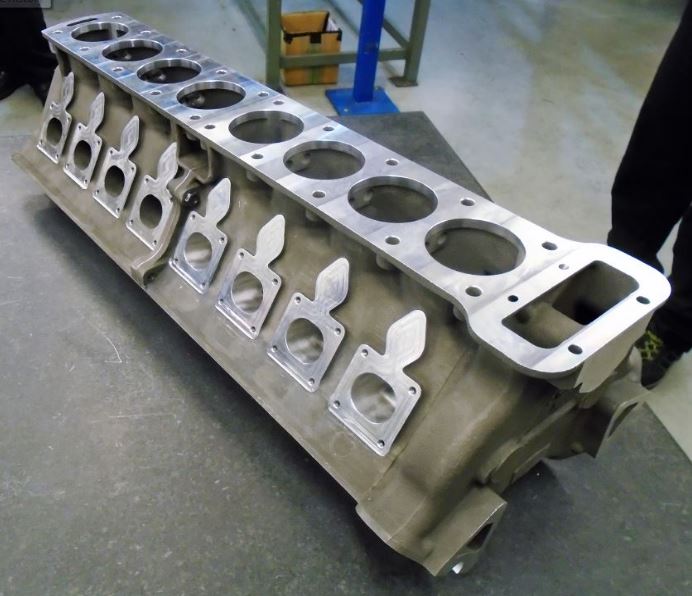
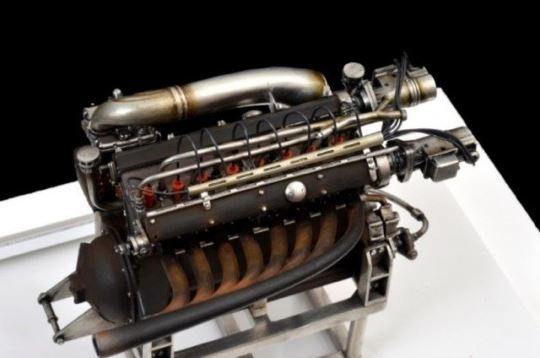
Found some pics of Peter Gidding's Tipo 158 engine being restored , Don't know if they help;
Top of monoblock;
Bottom of monoblock;
It would probably take you the better part of an afternoon to put all this back together again. ![]()
I've never worked on a Tipo 158/159 engine, but Hal Ulrick told me that the cylinders screw in at the top of the monoblock.
#94

Posted 17 February 2024 - 03:03 PM
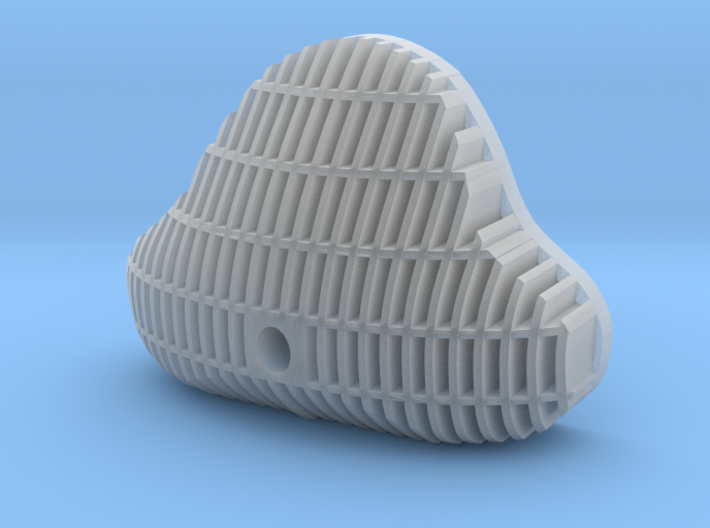
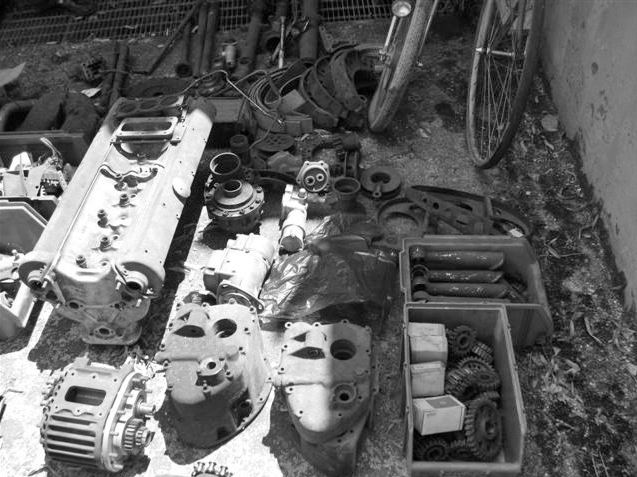
This is great Dave, just seeing that head in the pile lets me know that the cam cover is all one part. So I will paint as one.
Now I am looking for paint colors, for cam cover, spark plugs, spark plug wires etc. Love your thoughts on this?
The body is another question, Alfa used a darker red. I need to find that in a rattle can if possible.
#95

Posted 18 February 2024 - 10:24 AM
Anything to help. This is an amazing project.
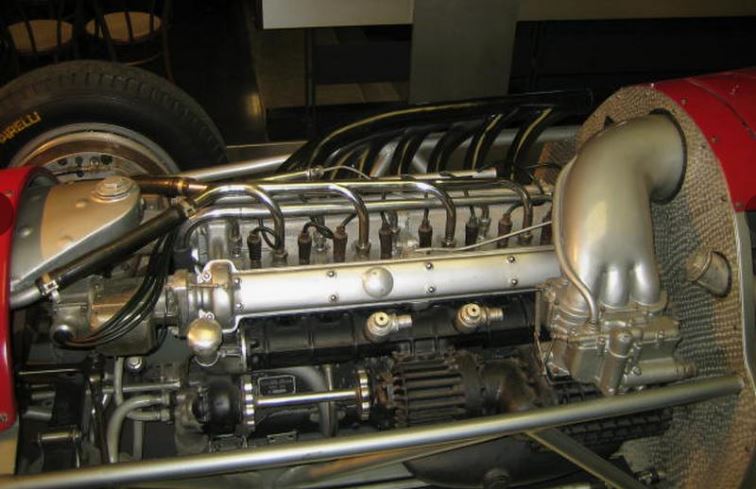
As for paint colors, I won't be as much help as I wish I could be. The cam covers on the Revs Inst. car are black, as are the ones on the display engine at Museo Alfa Romeo, the factory museum. The ones on Peter's original engine look to be bare aluminum.
The Rose's two Alfas were different shades of red. The 8-C-2300 was reputed to be original paint, and much darker than the 1750, which had been painted Ferrari Rosso Corsa when it was restored. The Ferrari prancing horse shield on the cowl of the 2300 was hand painted, so I believe that the paint was very likely original.
The spark plugs were the same as now, with white ceramic insulators, silver bodies. Note however, that on the Giddings head, the plug holes have been countersunk deeper for the shorter threads on newer 9 mm plugs. The plug wires were black rubber insulated with cotton thread sheathing, that was made of red and black thread. I can't give you the exact thread count for sure, but I think it was five black threads to every red thread, braided over the rubber insulation. I'll bet that not a single 158/159 existing today has the original style plug wires. I only know what they looked like because the Ulricks had a special set made in Italy for the Rose 2300 car. And I'm certain the style was carried over to the 158.
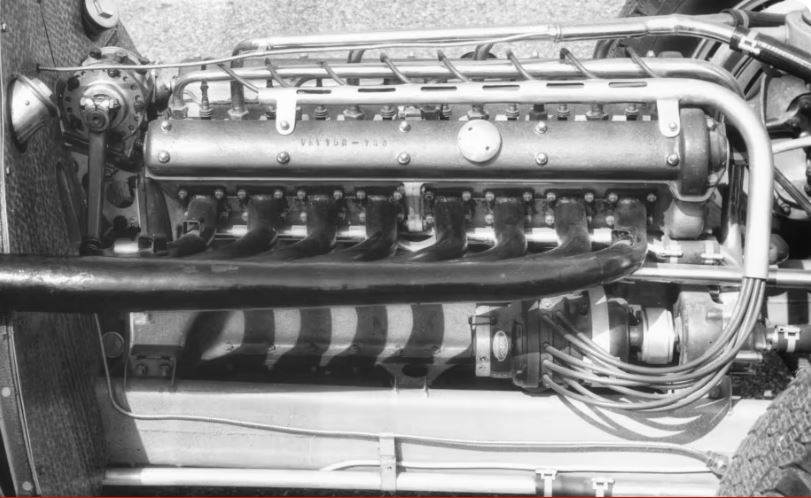
This is the only photo I could find of a 158 with silver cam covers;
This display engine at the Museo better shows the mounting of the magnetos and how the plug wiring goes.
This view shows a different arrangement, with a single mag and a loom tube that has a bend towards the mag.
#96

Posted 18 February 2024 - 11:25 AM
Thanks again Dave, these pics are great. Like all race cars there are many variations and alterations over the years.
My plan is to really simplify the pluming and see what I can get under the hood.(its tight) I ordered brown plug wires just to have contrast with black cam covers.
I was just thinking that the plug wire would not have been a bright color like they are today. So I thought the brown would look like a cloth covering?
I will see when they arrive.
When it comes time to paint the body, I have mixed thoughts. Of course one thought is another dark red Alfa. But what if it was not red ?
Found a lot of reading on the driver I have a resin of. https://en.wikipedia.org/wiki/Tazio_Nuvolari
Some amazing driving and stories from a driver that used the 4 wheel drift as a way to go fast when other drivers were drifting into the ditch.
The story of the 1935 German GP beats all, especially the Nazis power.
- John Luongo likes this
#97

Posted 18 February 2024 - 02:48 PM
Brown is a good choice. I'm sure that from a few feet back, the red and black of the original wires would blend more towards brown.
Don't know of a Grand Prix Alfa in anything but red. Might look good in silver. Back then, the color of the cars was dictated by the nationality they represented. All Italian cars had to be red. British cars had to be green. American cars had to be white with a blue stripe. French cars blue. German cars were supposed to be white. But at the opening race one year, the Mercedes entries came in over weight. Neubauer told his mechanics to remove the white paint, which brought them into spec. With his clout in Grand Prix, he managed to get the German state color changed to silver, to match the cars' aluminum bodies.
Good video on Nuvolari. There are so many stories from that time, which is, in part, why I am so attracted to the era. Speaking of colors, one story in particular revolves around the 1957 Targa Florio. This was a street race, and the local government stationed polizia at all the intersections to control traffic. They were to let the race cars through and hold local traffic. Donald Healey got wind that Enzo Ferrari had paid all the cops to hold up all race cars not painted red. So Donald, overnight before the day of the race, had his guys paint all the Austin-Healey entries red. The cars were, of course immediately disqualified, but Healey and his "racing lawyers" got that overturned on a rules technicality.
#98

Posted 19 February 2024 - 05:13 PM
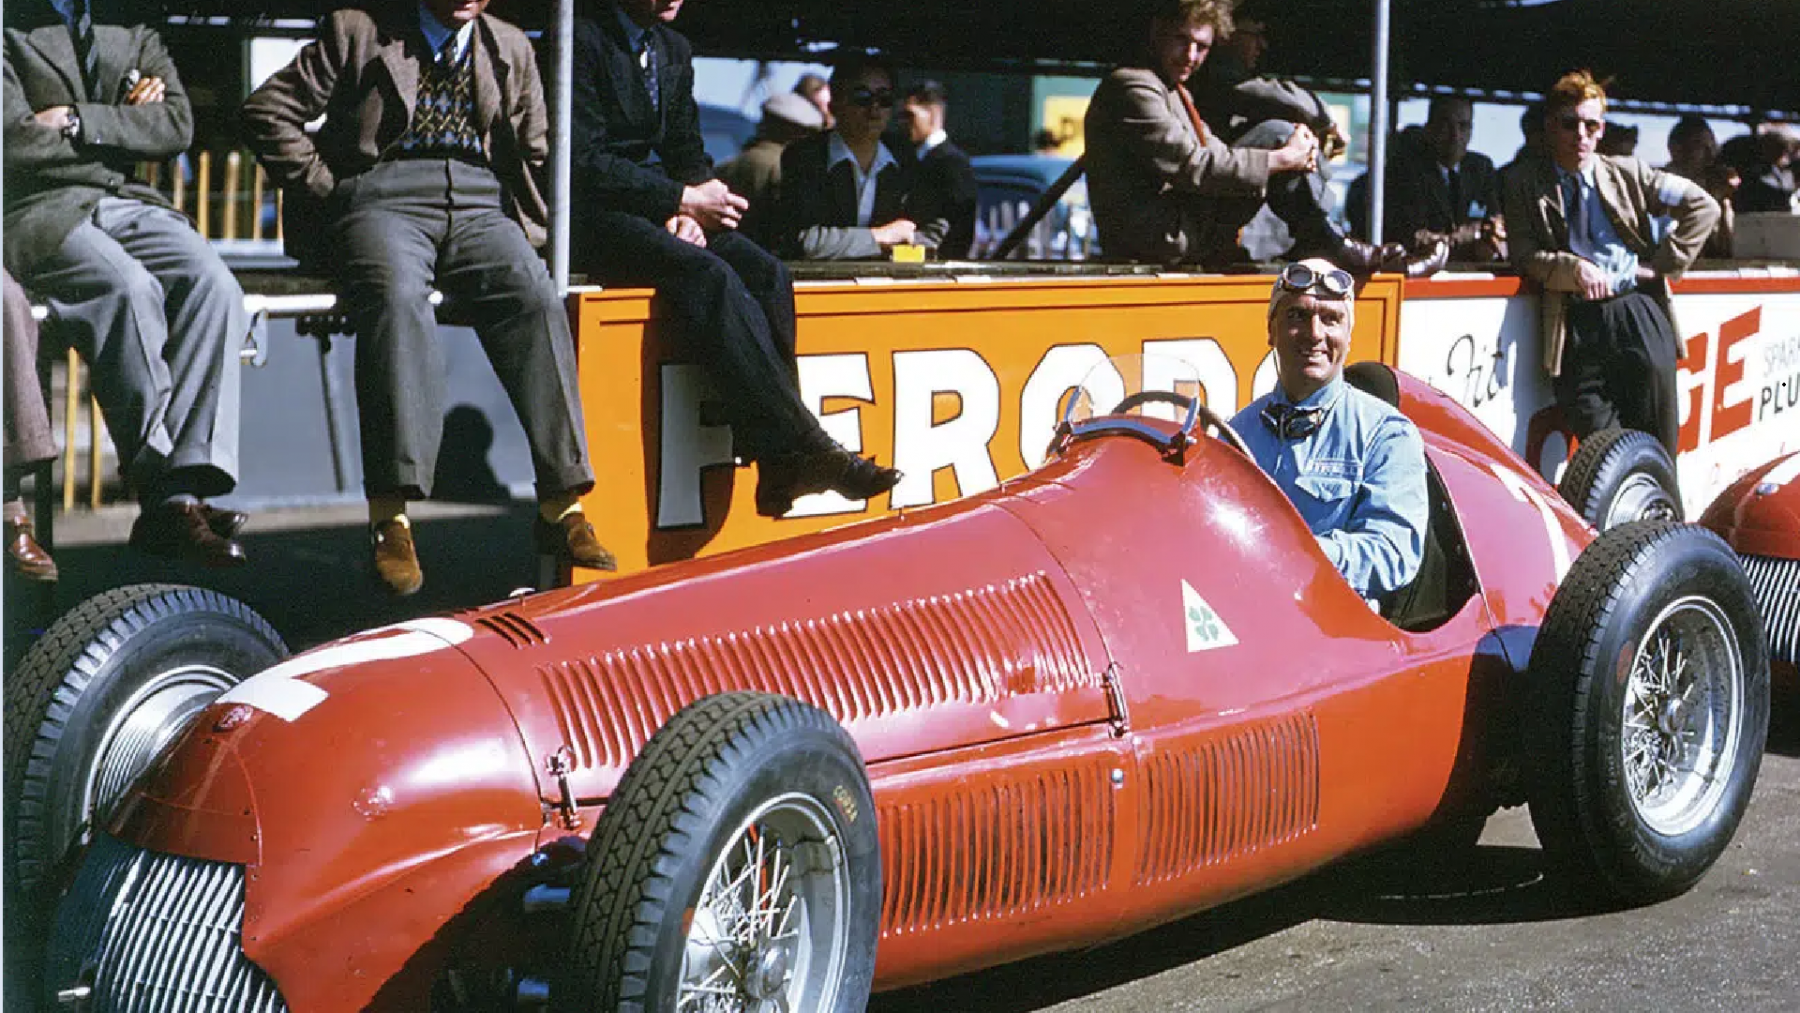
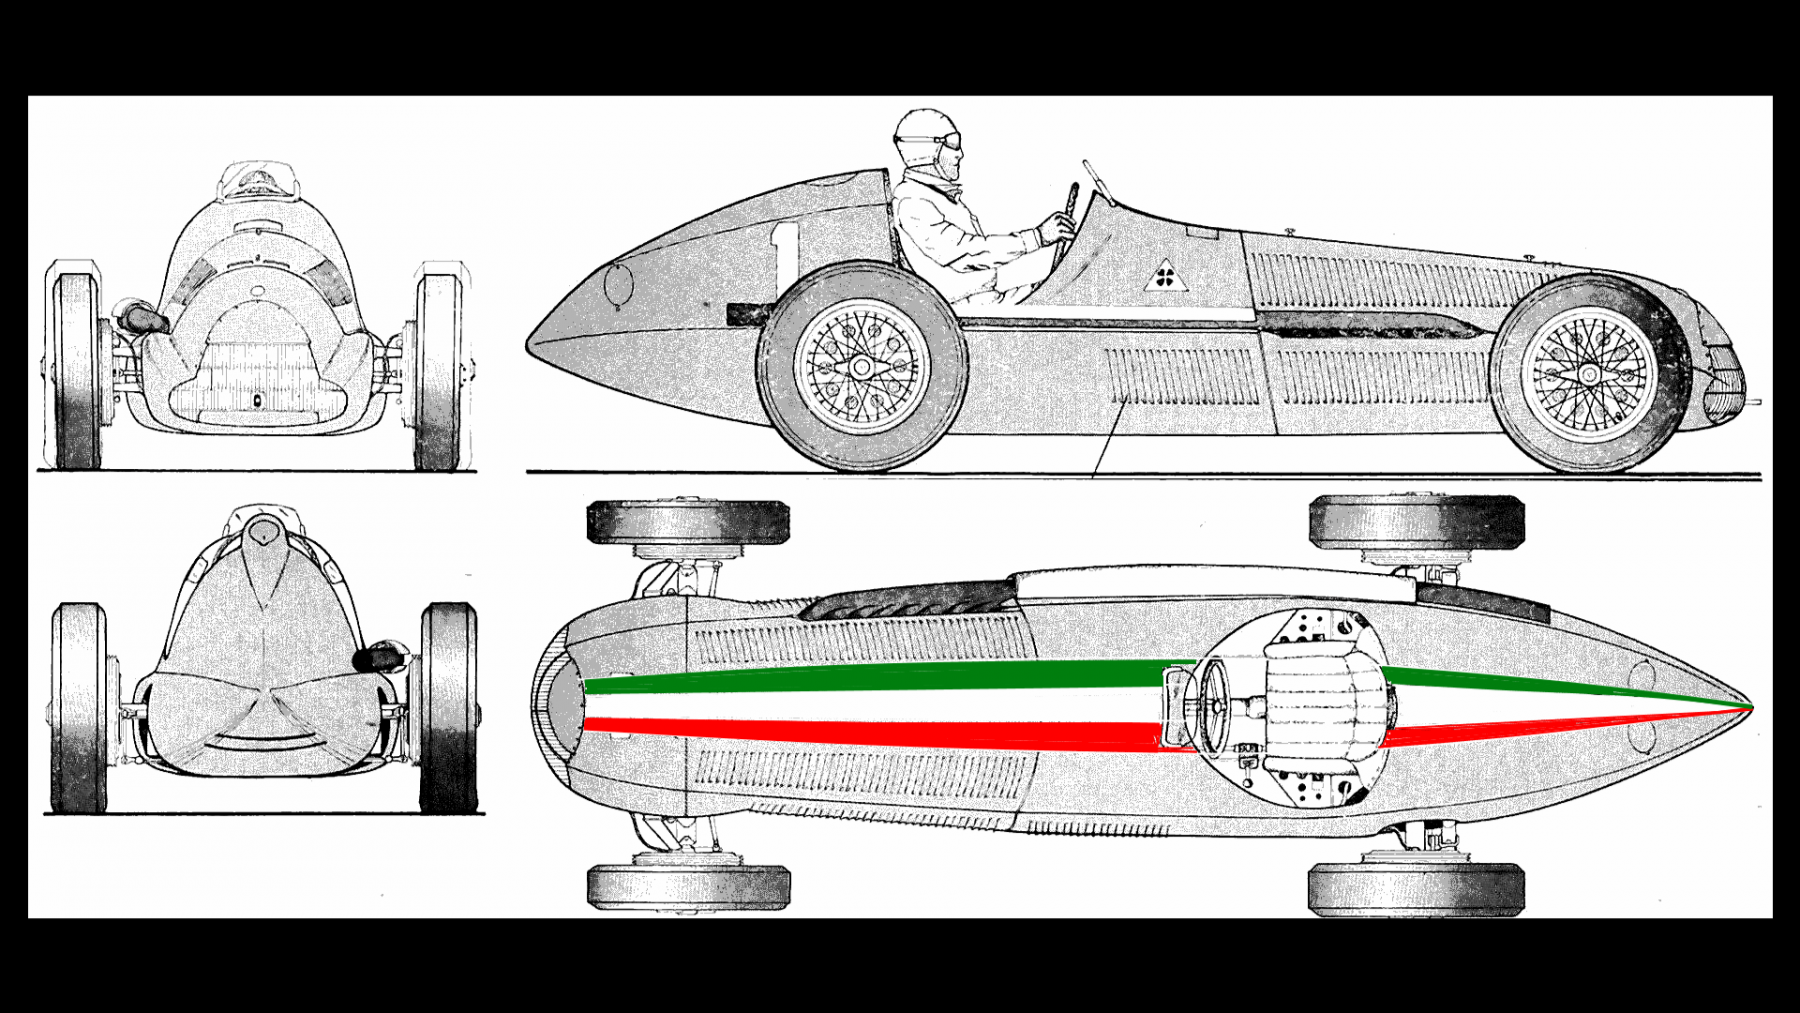
Started cutting and fitting the driver, found these pics for driver position reference.
It appears that for most of the drivers his collar is level to the top of the fuel tank hump, the highest part of the car.
I will set mine a tad lower, and I think he will get an open face helmet. Not sure I like the Nuvolari head. It appears just too skinny and stiff.
It will be removable so if I like one better I can change it.
Not sure how other modelers position the arms to steering wheel but in this case I drilled holes at the joints and used pins to hold the body parts in position.
- Jencar17, munter and John Luongo like this


