

So I guess you don't want the jig motor? 


Mike Morrissey GP replica
Started by
Pablo
, Sep 30 2015 03:45 PM
101 replies to this topic
#51

Pablo
-
- Administrator
-

- 18,460 posts Joined: 20-February 06
Builder
- Gender:Male
- Location:Cleveland, Tennessee
Posted 12 October 2015 - 04:42 PM
Paul Wolcott
#52
Cheater
-

- Root Admin
-
- 25,709 posts Joined: 14-February 06
Headmaster of the asylum
- Gender:Male
- Location:Norcross, GA
Posted 12 October 2015 - 04:49 PM
I'll respectfully pass...
Gregory Wells
Never forget that first place goes to the racer with the MOST laps, not the racer with the FASTEST lap
#53
Bill from NH
-

- Full Member
-
- 14,806 posts Joined: 02-August 07
Age scrubs away speed!
- Gender:Male
- Location:New Boston, NH
Posted 12 October 2015 - 07:27 PM
Do polished brass surfaces tarnish quicker?
Bill Fernald
I intend to live forever! So far, so good.
I intend to live forever! So far, so good.
#54
Pablo
-
- Administrator
-
- 18,460 posts Joined: 20-February 06
Builder
- Gender:Male
- Location:Cleveland, Tennessee
Posted 13 October 2015 - 08:24 AM
I dunno. Ask brassy. 
Wanted to try a different adhesive for the inserts, so I did a test run first on some other wheels.

Wanted to try a different adhesive for the inserts, so I did a test run first on some other wheels.
Paul Wolcott
#55
Pablo
-
- Administrator
-
- 18,460 posts Joined: 20-February 06
Builder
- Gender:Male
- Location:Cleveland, Tennessee
Posted 13 October 2015 - 01:07 PM
JB Weld "Plastic Bonder" worked great. I tested it by trying to push the test inserts out with the dummy axle. I'm pretty sure they'll break before they come loose.

Luciano opted for an endbell upgrade for the sweet Havlicek powerplant. The motor was running strong and cool as is with standard-sized 16D brushes, so I didn't think it prudent to switch the Tradeship to 36D holders. Holders are soldered to the hoods, polished, and aligned.

As long as I'm messing with endbells, might as well upgrade my jig motor also - the white one is so distorted I can't trust it to align the tilt on brackets any more.

Found a sweet FT16D black one that looks like the victim of a hot rewound arm with weak magnets.
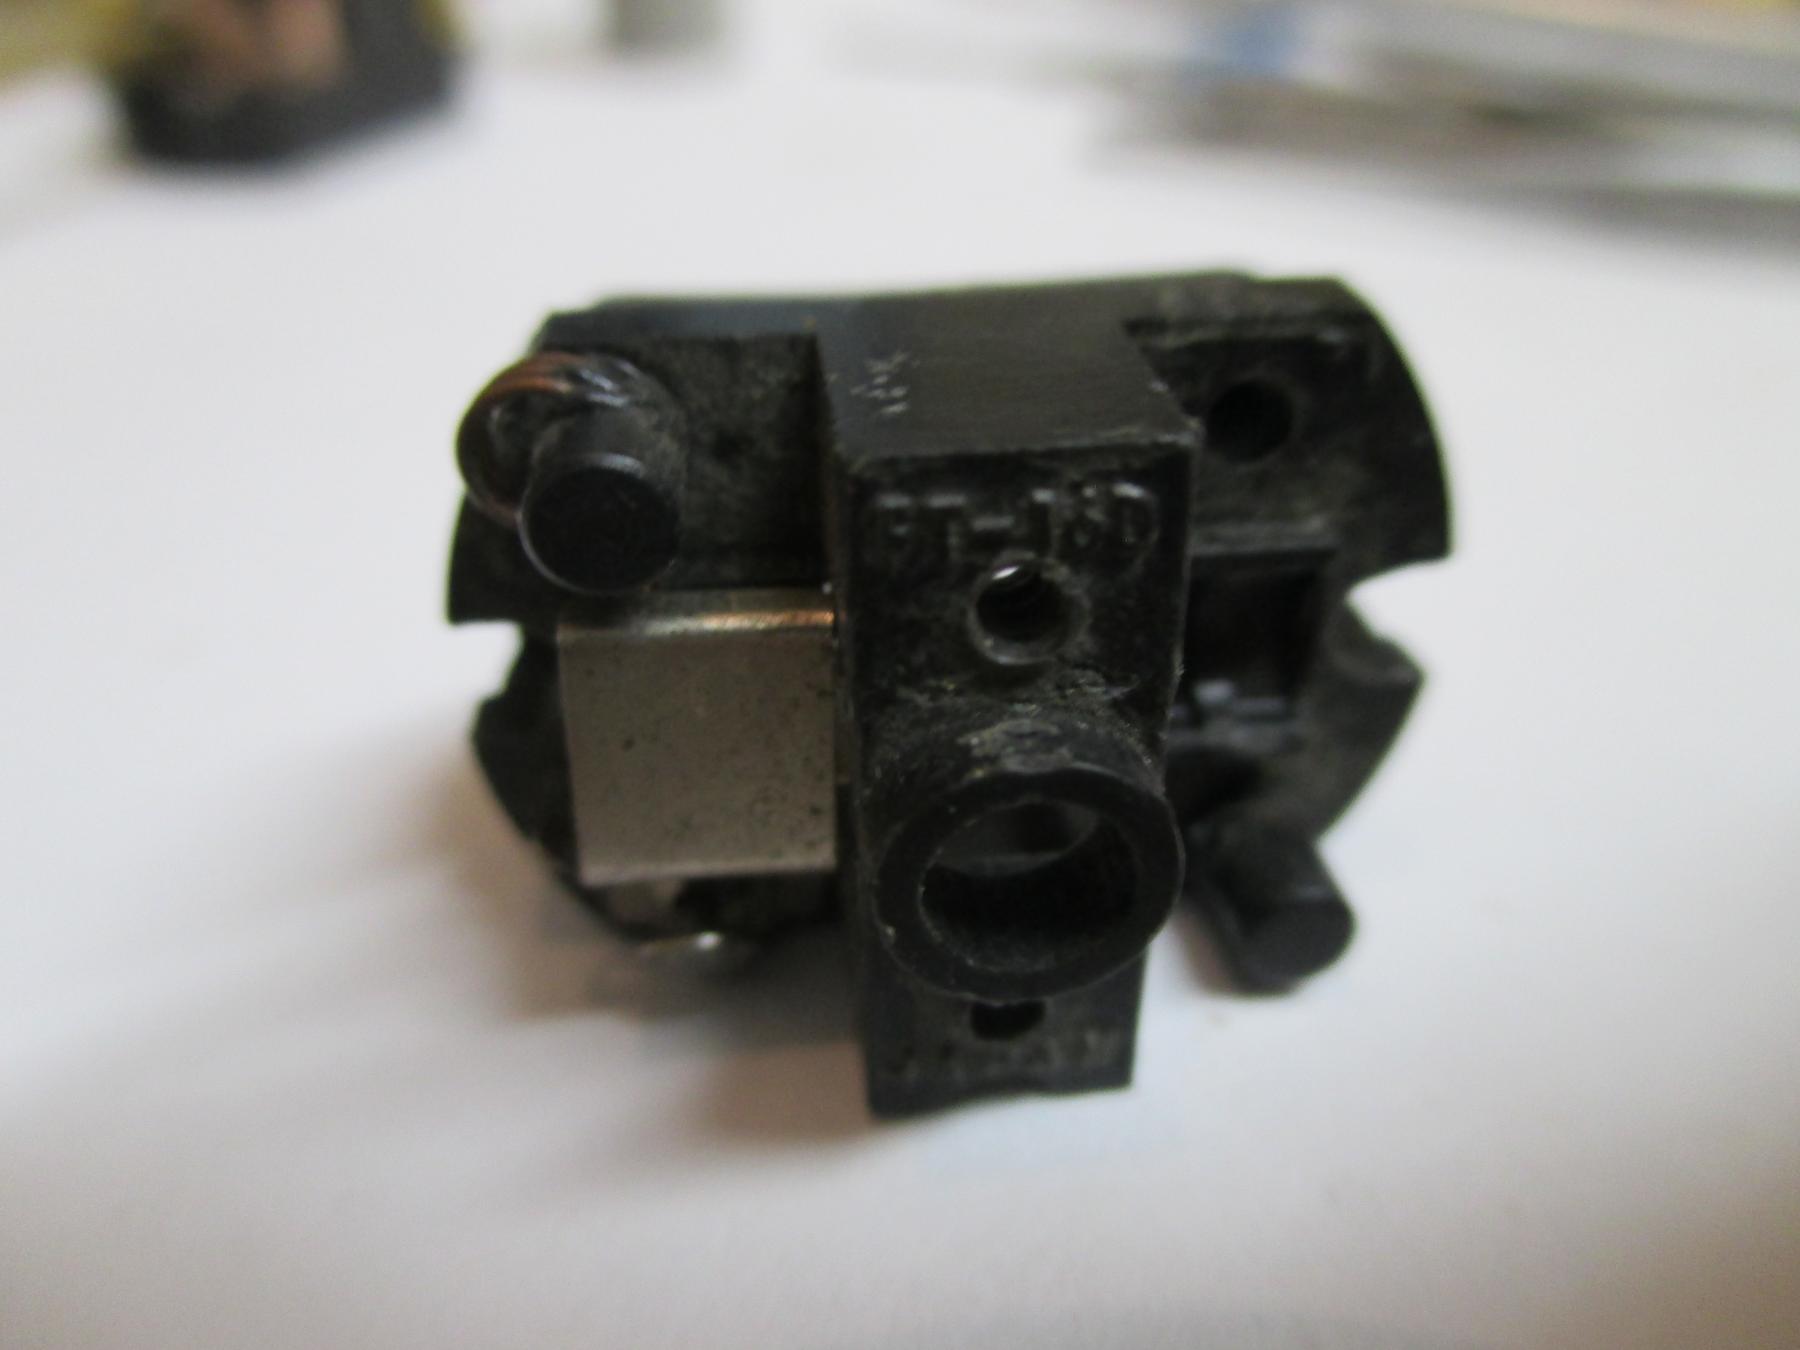
Luciano opted for an endbell upgrade for the sweet Havlicek powerplant. The motor was running strong and cool as is with standard-sized 16D brushes, so I didn't think it prudent to switch the Tradeship to 36D holders. Holders are soldered to the hoods, polished, and aligned.
As long as I'm messing with endbells, might as well upgrade my jig motor also - the white one is so distorted I can't trust it to align the tilt on brackets any more.
Found a sweet FT16D black one that looks like the victim of a hot rewound arm with weak magnets.
Paul Wolcott
#56
Pablo
-
- Administrator
-
- 18,460 posts Joined: 20-February 06
Builder
- Gender:Male
- Location:Cleveland, Tennessee
Posted 13 October 2015 - 02:52 PM
Endbell swap is complete. Of course, with the changes it needed to be broken it again.
Rotation was immediate with the first "click" of the power supply, she drew 1.1 amps at 3 volts, then started dropping.
Always the mark of a good set-up, at least on my equipment it is. After 15 minutes the amps were down to .85 and had stabilized.
Runs very smooth and cool, sounds potent when I feed it some volts.

Another typical Havlicek FT16D motor - great performance. I don't know how he always gets them to run so well with stock size 16D brushes, but he does. 
Pinion is a new Sonic steel 7t press on. Should work great with the Weldun 32t crown.
- Cheater and Peter Horvath like this
Paul Wolcott
#57
havlicek
-

- Subscriber
-
- 11,198 posts Joined: 20-August 07
OCD Rewinder
- Gender:Male
- Location:NY
Posted 14 October 2015 - 07:15 AM
Nice work, Pablo!
-john
-john
John Havlicek
#58
Pablo
-
- Administrator
-
- 18,460 posts Joined: 20-February 06
Builder
- Gender:Male
- Location:Cleveland, Tennessee
Posted 14 October 2015 - 08:15 AM
Thanks, John. I feel like I just performed successful surgery on your infant. 
Piece of cake. Zero change needed on the spacing and it's perfect.
Piece of cake. Zero change needed on the spacing and it's perfect.
Paul Wolcott
#59
Hworth08
-

- Member at Peace
-
- 3,563 posts Joined: 16-February 06
Posting Leader
- Gender:Male
- Location:Springfield, TN
Posted 14 October 2015 - 09:19 AM
A bit off-thread but if all that's wrong with the endbell in post #55 is a melted post, that can be fixed.
Just cut off the melted post, "center punch" the center of the old post with a knife and drill 1/16". Cut a length of 3/32" tubing the same as the post was. Install a spring and attach with a 2-56 self-tapping screw.
This worked so well that some times we did this to a new endbell.
Just cut off the melted post, "center punch" the center of the old post with a knife and drill 1/16". Cut a length of 3/32" tubing the same as the post was. Install a spring and attach with a 2-56 self-tapping screw.
This worked so well that some times we did this to a new endbell.
Don Hollingsworth
11/6/54-2/13/18
Requiescat in Pace
11/6/54-2/13/18
Requiescat in Pace
#60
Pablo
-
- Administrator
-
- 18,460 posts Joined: 20-February 06
Builder
- Gender:Male
- Location:Cleveland, Tennessee
Posted 14 October 2015 - 09:40 AM
Not off thread at all, Don.
I'll take a better look at that end bell and maybe swap it for a worse one.
Thanks for telling me before I cooked it with the torch.
I'll take a better look at that end bell and maybe swap it for a worse one.
Thanks for telling me before I cooked it with the torch.
Paul Wolcott
#61
Pablo
-
- Administrator
-
- 18,460 posts Joined: 20-February 06
Builder
- Gender:Male
- Location:Cleveland, Tennessee
Posted 15 October 2015 - 10:16 AM
Wheel inserts ready. I masked three spots on each for the adhesive to bite unpainted plastic

- Peter Horvath likes this
Paul Wolcott
#62
Pablo
-
- Administrator
-
- 18,460 posts Joined: 20-February 06
Builder
- Gender:Male
- Location:Cleveland, Tennessee
Posted 23 October 2015 - 01:24 AM
Noose, Tony P., and dc-65x were extremely helpful in my planning - without friends like them, I'd simply be lost. 
Final answer for the Dilworth Honda chassis dimensions:
Wheelbase: 4.125" (4-1/8")
Guide lead: .625" (5/8")
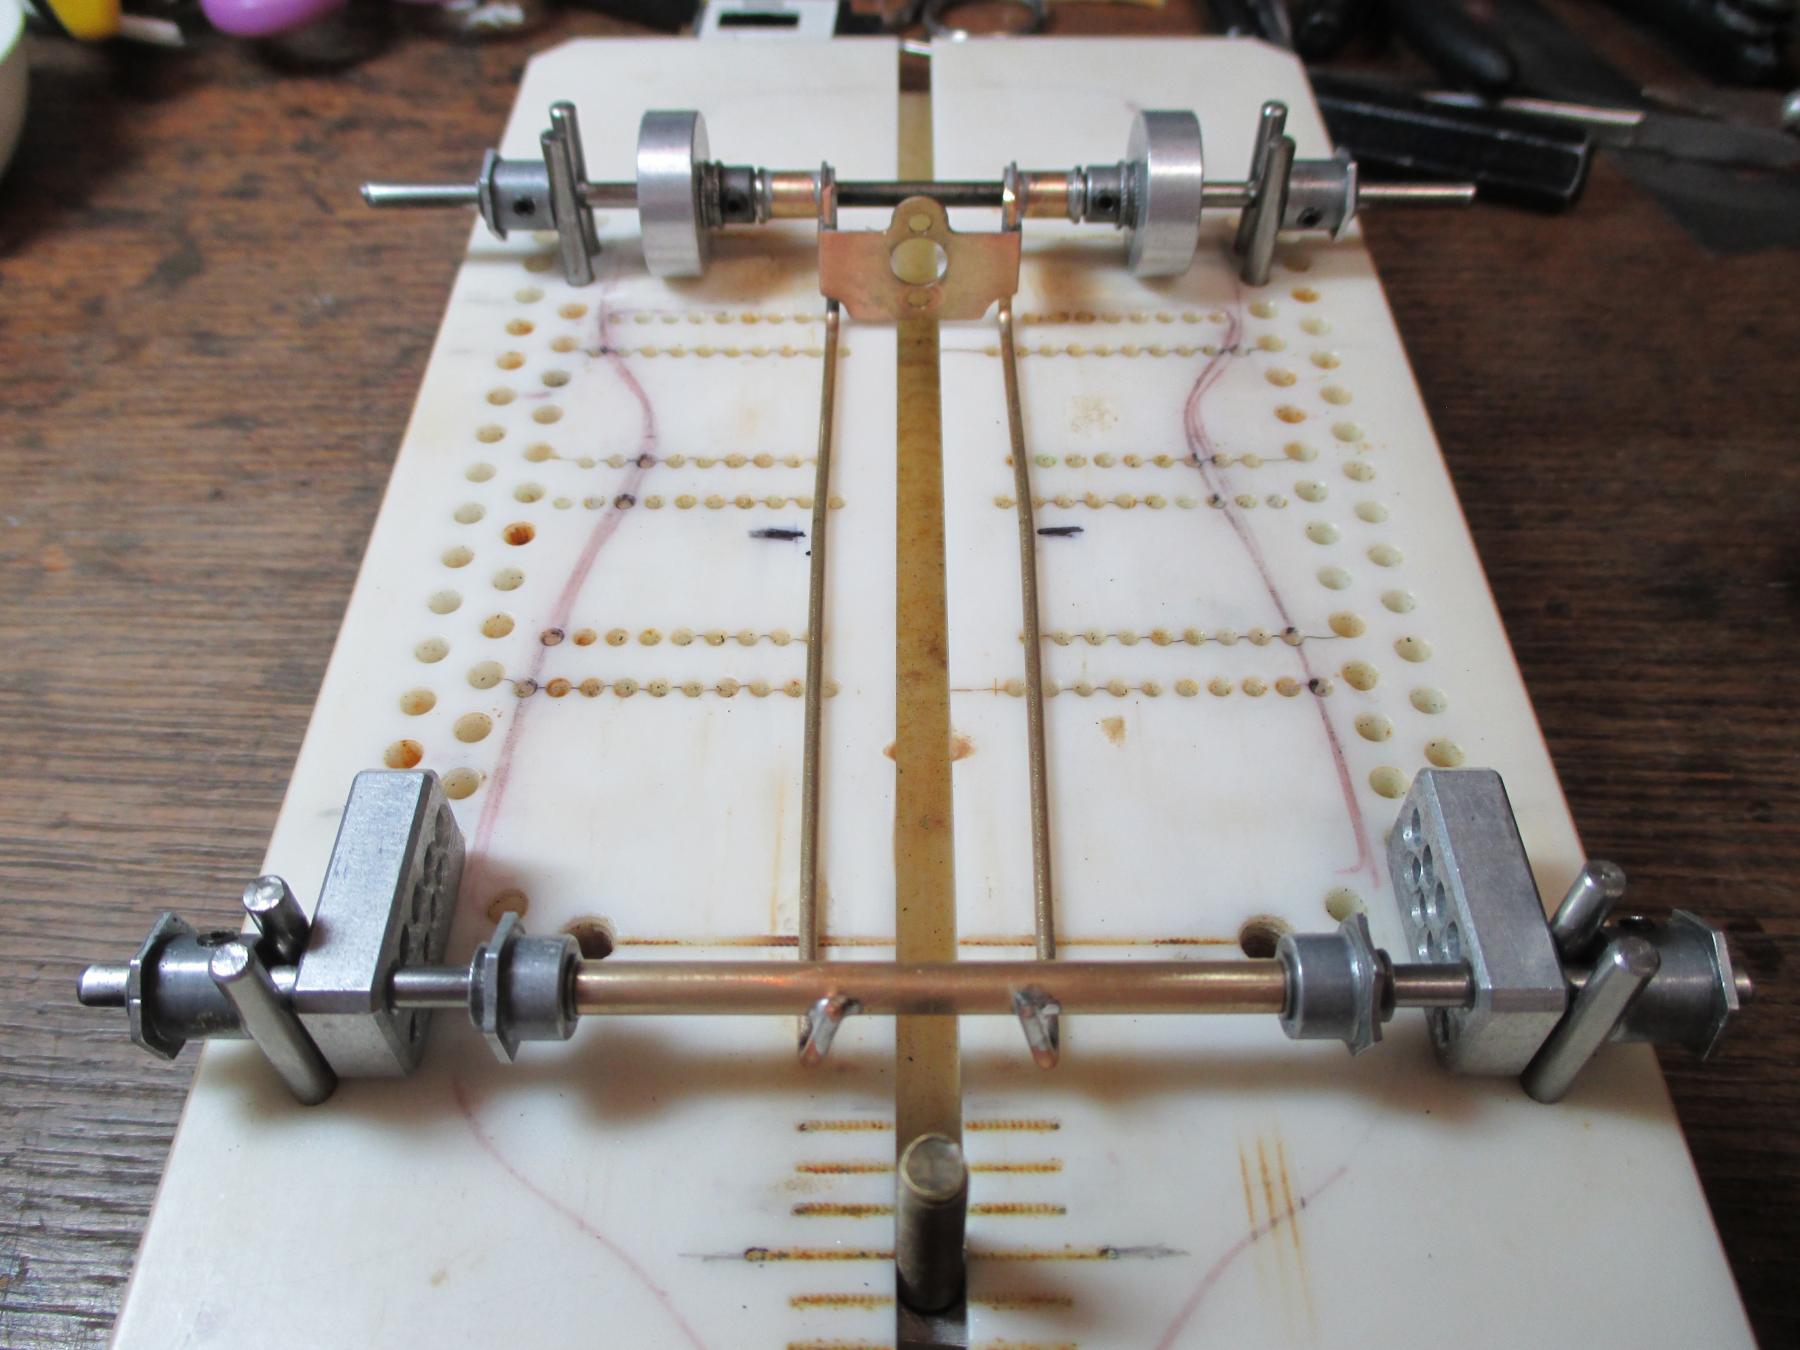
Jig motor is trued and checked in all directions - tilt, left/right, and flat.

Final answer for the Dilworth Honda chassis dimensions:
Wheelbase: 4.125" (4-1/8")
Guide lead: .625" (5/8")
Jig motor is trued and checked in all directions - tilt, left/right, and flat.
- Jencar17 likes this
Paul Wolcott
#63
Pablo
-
- Administrator
-
- 18,460 posts Joined: 20-February 06
Builder
- Gender:Male
- Location:Cleveland, Tennessee
Posted 23 October 2015 - 03:43 AM
Slight inward taper begins in front of the motor.

First set of rails tacked in place.

First set of rails tacked in place.
- Jencar17 and Peter Horvath like this
Paul Wolcott
#64
Pablo
-
- Administrator
-
- 18,460 posts Joined: 20-February 06
Builder
- Gender:Male
- Location:Cleveland, Tennessee
Posted 23 October 2015 - 06:00 PM
Q/A: checking the math to verify the taper is going to work.
Inside widths of the body, front, middle, and rear, are about 1.20", 1.30", and 1.25" respectively.
Outer edges of the rails mike .805", .895", and .863" (they bulge outward slightly from the bracket face to the taper points).
Six .0625" rails = .375"
Front .375" + .805" = 1.18"
Middle .375" + .895" = 1.27"
Rear .375" + .863 = 1.24"
Looks good on paper
- Jencar17 likes this
Paul Wolcott
#65
Half Fast
-

- Subscriber
-
- 2,628 posts Joined: 02-May 07
Keeper Of Odd Knowledge
- Gender:Male
- Location:NYC, Long Island
Posted 23 October 2015 - 06:54 PM
Is their a photo of what the original chassis looked like?
Build on!
Bill Botjer
Faster then, wiser now.
The most dangerous form of ignorance is not knowing that you don't know anything!
Never attribute to malice that which is adequately explained by stupidity
#66
Pablo
-
- Administrator
-
- 18,460 posts Joined: 20-February 06
Builder
- Gender:Male
- Location:Cleveland, Tennessee
Posted 23 October 2015 - 07:00 PM
Thanks for asking, Bill.
Morrissey GP Car Article
Courtesy of Rick Thigpen and Paul Kassens.
- Half Fast likes this
Paul Wolcott
#67
Pablo
-
- Administrator
-
- 18,460 posts Joined: 20-February 06
Builder
- Gender:Male
- Location:Cleveland, Tennessee
Posted 23 October 2015 - 09:22 PM
Professor Motor Russkit replica wheels shod with SBR rubber.
One turned out fine; the other didn't.

They won't leave here until they're both perfect.
Paul Wolcott
#68
Pablo
-
- Administrator
-
- 18,460 posts Joined: 20-February 06
Builder
- Gender:Male
- Location:Cleveland, Tennessee
Posted 24 October 2015 - 11:57 AM
It appears the math and planning for the "semi-form fitting" rails worked.
Overall widths are:
1.203" front
1.275" middle
1.243" rear
Starting to look like a slot car chassis.
The midriff bulge isn't as pronounced as it appears in this photo

Now, where did I put those doggone Dremel 409 cutloff wheels?
- Jencar17 likes this
Paul Wolcott
#69
Pablo
-
- Administrator
-
- 18,460 posts Joined: 20-February 06
Builder
- Gender:Male
- Location:Cleveland, Tennessee
Posted 24 October 2015 - 01:00 PM
For you donut-mounting aficionados, I discovered something:
Sleeving 1/8" wheels to fit the 3/32" JK tool shaft isn't necessary like I thought.
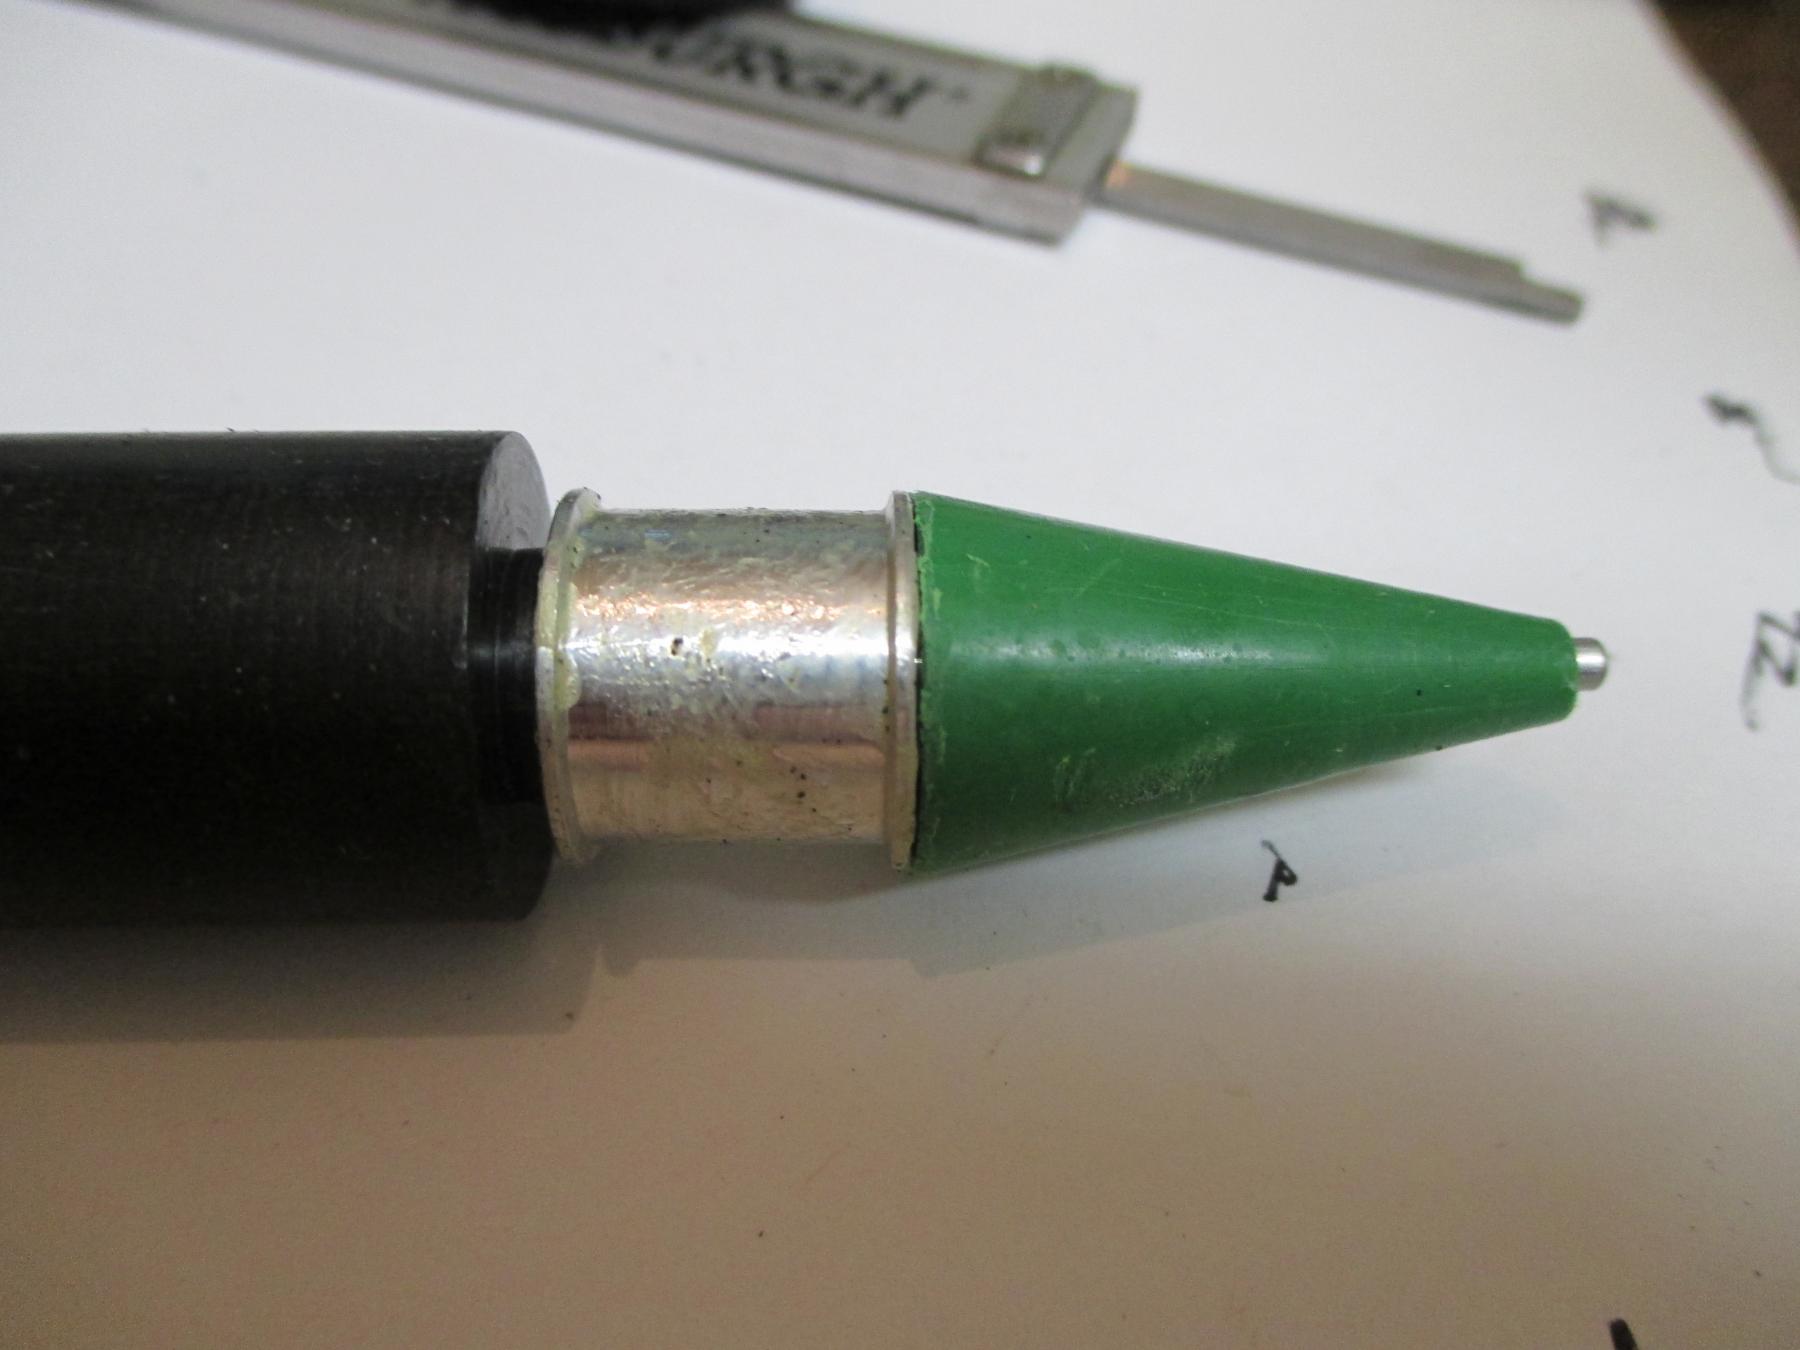
Neither is making the cone (axle) hole a precise fit. Both hub and cone can be sloppy on the shaft and it works like a charm.
What is important is spacing the hub the proper distance away from the hilt, and ensuring the cone OD is slightly larger than the hub lip.
This particular hub needed to be spaced further out than normal due to the taper of the pre-trimmed donuts.
The soaked donut slides onto the hub, then both hub and cone slide right off.
A quick swipe with a thinner soaked Q-Tip and Bam! Done.

- hiline2 and Peter Horvath like this
Paul Wolcott
#70
Pablo
-
- Administrator
-
- 18,460 posts Joined: 20-February 06
Builder
- Gender:Male
- Location:Cleveland, Tennessee
Posted 24 October 2015 - 04:22 PM
After trimming the uprights, she goes onto the flat block for a check.
Perfectly flat, and the bushings are still in perfect alignment.

Note the slight bulge and taper - I think Morrissey's rails were straight, but he used a different brand of Honda body. I'm sure he would approve of my artistic license to improvise for the body on hand.
Many PMs were sent before I decided to do it this way.
- Jencar17 likes this
Paul Wolcott
#71
Pablo
-
- Administrator
-
- 18,460 posts Joined: 20-February 06
Builder
- Gender:Male
- Location:Cleveland, Tennessee
Posted 24 October 2015 - 08:56 PM
Rails to bracket/rails to front axle tube joints all finalized.
The first rails inside the bracket both needed more solder. Hard to get the Ungar in there, so... I laid a pair of .032" solder pieces alongside, bathed it in acid, and fired up the mini torch.

This photo is dedicated to Bob Suzuki, a fellow mini torch user from way back...

Not many people know this - Bob is a supreme artist.

- endbelldrive, Jencar17 and Mark H like this
Paul Wolcott
#72
endbelldrive
-

- Member at Peace
-
- 1,740 posts Joined: 16-February 06
Checkered Flag in Hand
- Gender:Male
- Location:Witless Protection Program
Posted 25 October 2015 - 01:00 AM
Did somebody mention torch? Let's light that candle!
Bob Suzuki
8/19/54-8/?/21
Requiescat in Pace
8/19/54-8/?/21
Requiescat in Pace
#73
Pablo
-
- Administrator
-
- 18,460 posts Joined: 20-February 06
Builder
- Gender:Male
- Location:Cleveland, Tennessee
Posted 25 October 2015 - 09:21 AM
Yeah, baby, yeah!!
The measurements and math worked, because it form fits the Dilworth Honda pretty well. 

It wasn't easy doing the rails that way. Hopefully the handling will benefit from not having to stress the body much.
Tony P told me the butyrate bodies the pros used back in the day took a set well, so they just forced them to fit.
Tom Scott told me this Pablo curved rail chassis was the best handling vintage F1 he'd ever driven:

- endbelldrive, Jencar17, Noose and 1 other like this
Paul Wolcott
#74
SlotStox#53
-

- Full Member
-
- 4,084 posts Joined: 13-March 13
Posting Leader
- Gender:Male
- Location:TX
Posted 25 October 2015 - 10:35 AM
Now I like that curvy rail F1, Pablo.
What is the shell you built it for?
#75
Pablo
-
- Administrator
-
- 18,460 posts Joined: 20-February 06
Builder
- Gender:Male
- Location:Cleveland, Tennessee
Posted 25 October 2015 - 11:08 AM
Paul Wolcott


