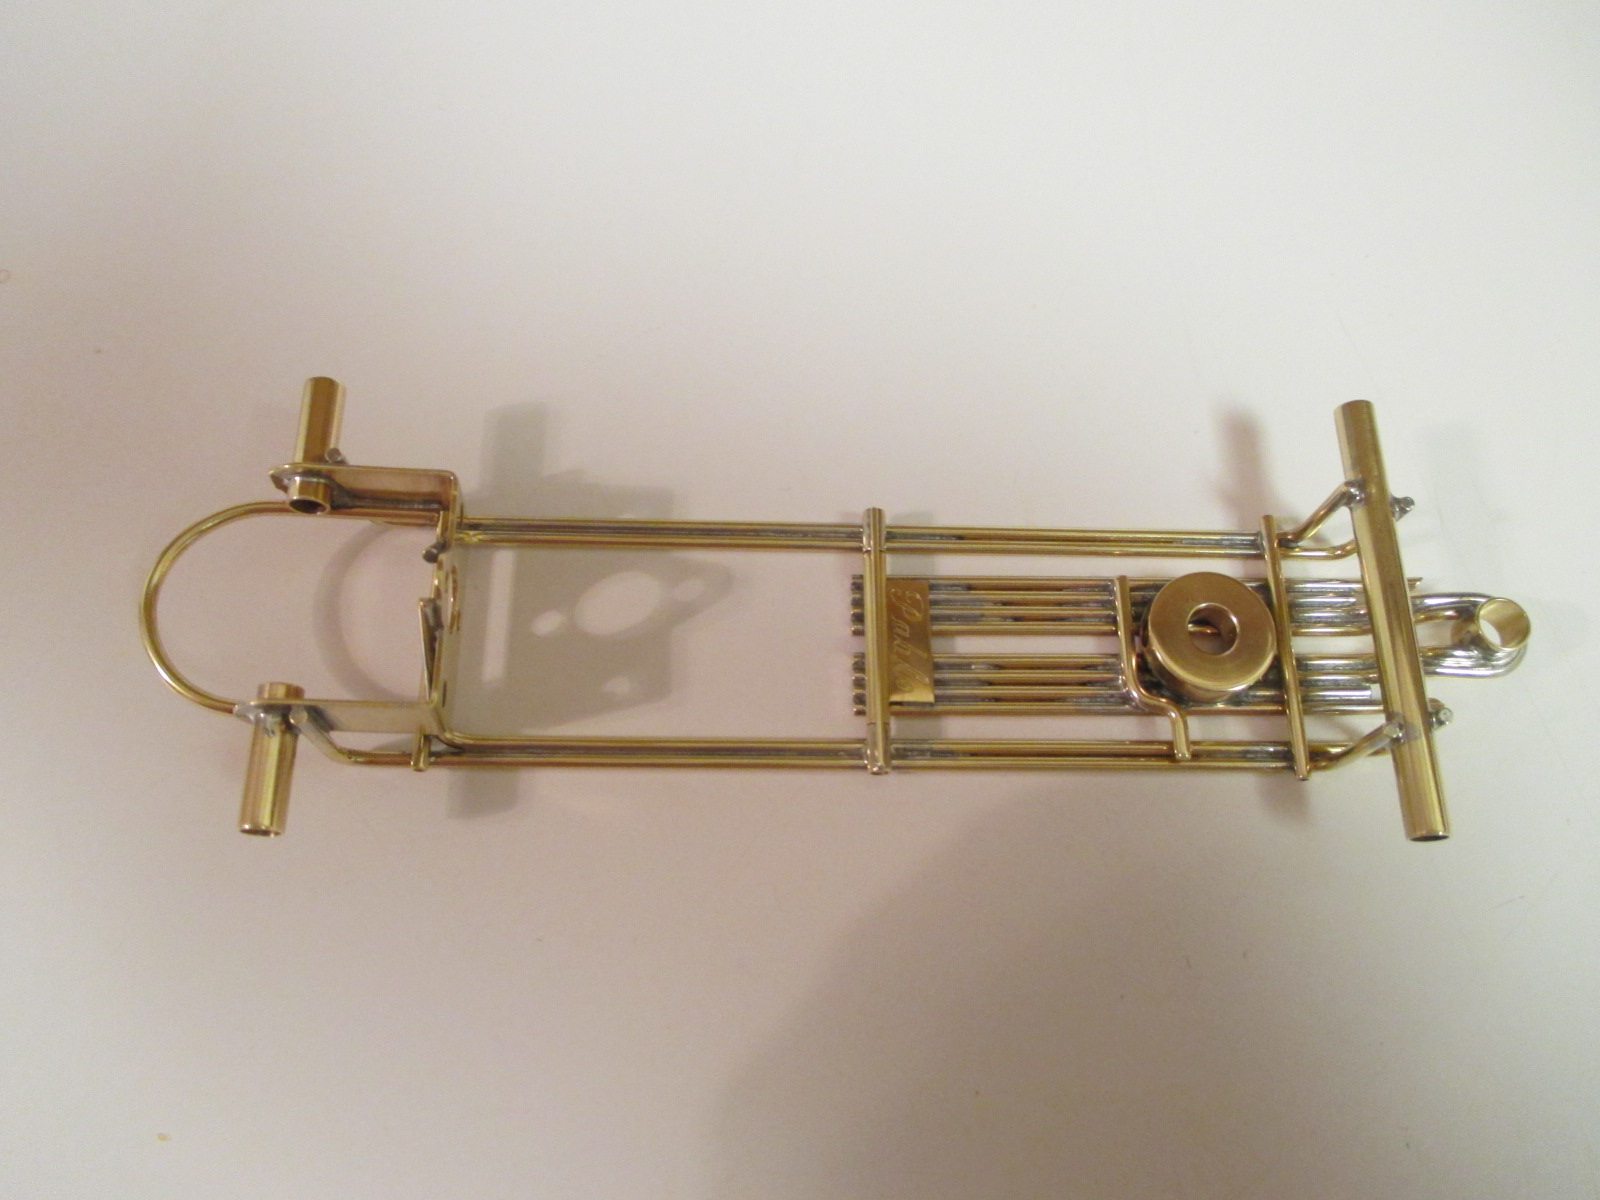
So is the answer, you find it easier to transfer the pin tube's length from an .063" brass rod than the slightly bigger Q-tip shaft? I think the use of the Q-tip shaft to establish pintube length is a good idea, but I've never built an Indy/F1 chassis. Mine have all been for sportscar bodies.

1967 Gurney Indy Eagle 1/24 build
#51

Posted 22 October 2016 - 05:51 PM
I intend to live forever! So far, so good.
#52

Posted 23 October 2016 - 07:16 AM
Correct; easier to get a precise measurement with something small OD.
If I had some wood Q-tips with smaller shafts it would save me a step.
Or maybe a toothpick would be the answer.
No matter what you use, the important thing is getting it right.
Note the shape of the body front axle cutouts - this chassis has to be carefully wiggled and shoehorned into the shell each time.
Chassis is out of the tumbler
- slotbaker, Jencar17 and Samiam like this
Paul Wolcott
#53

Posted 23 October 2016 - 10:49 AM
Very period "Korrect" looking to me Pablo. Very nice indeed.
Rick Thigpen
Check out Steve Okeefe's great web site at its new home here at Slotblog:
The Independent Scratchbuilder
There's much more to come...
#54

Posted 23 October 2016 - 03:57 PM
Nice chassis Pablo! Thanks for responding to my assumption. Q-tips last had wooden shafts when I was a kid. ![]() But today, you can get cardboard, as well as plastic shafts. The round tooth pick I'm currently sucking on must have about 11/2" of .060 dia. wood. Wooden match sticks might work too, but there is no reason to change what you're using. because It works.
But today, you can get cardboard, as well as plastic shafts. The round tooth pick I'm currently sucking on must have about 11/2" of .060 dia. wood. Wooden match sticks might work too, but there is no reason to change what you're using. because It works.
I intend to live forever! So far, so good.
#56

Posted 24 October 2016 - 12:03 PM
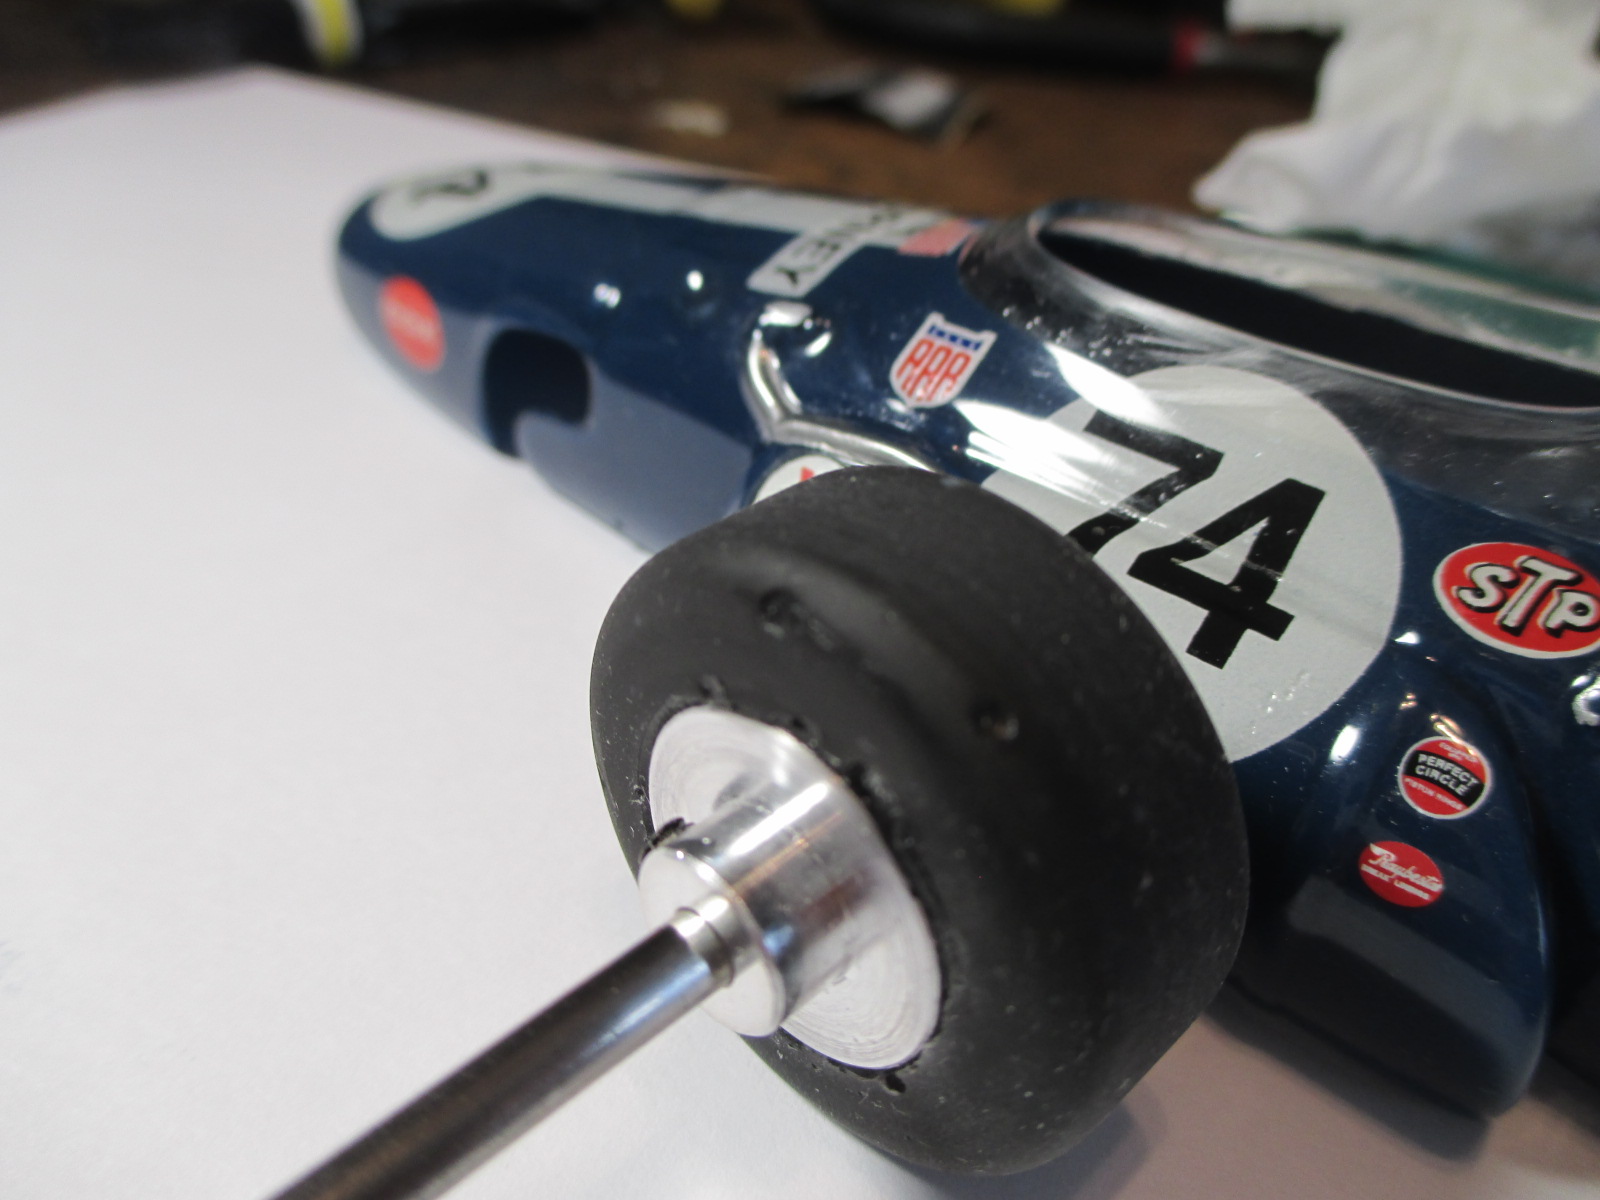
Final sanding on the Ortmanns - 400 grit followed by 2,000 on the Hudy and I'm happy they way they turned out.
They will look great with the Pattos Goodyear Eagle decals and inserts with a coat of Mop n Glo.
But I sure wish there was a way to fill in those huge craters..... think I'll start a new thread.....maybe the home track guys will know ![]()
Paul Wolcott
#57

Posted 24 October 2016 - 03:04 PM
Might try 3M black adhesive.
9/18/51-8/30/24
Requiescat in Pace
#58

Posted 24 October 2016 - 06:31 PM
No mention of a motor has been made. It is going to have a motor, isn't it? ![]()
I intend to live forever! So far, so good.
#59

Posted 24 October 2016 - 06:48 PM
I have used windshield sealer.
"If you have integrity, nothing else matters, and if you do not have integrity, nothing else matters."
Robert Mueller, special counsel (2013)
"... because people have got to know whether or not their president is a crook."
Richard M .Nixon, Nov 17, 1973
"Fool me once, same on... shame on you. Fool me... you can't get fooled again."
George W. Bush
#60

Posted 25 October 2016 - 09:16 AM
Bill, no motor, no gears, no flag. But it is built to fit a 16D EB drive, about 7/35 gears, Cox flag, and 1/16 level clearance with 1.1" and 1.00" OD wheels.
If the owner ever wants to run it, everything will fit perfectly - with one small exception:
I won't be trimming the shell for flag rotation, since it won't have one. But curved scissors can fix that real quick ![]()
Paul Wolcott
#62

Posted 27 October 2016 - 06:53 PM
All urethane tyres are iffy for F1 cars, Paul. There's a new company called BOSA tyres, they do a great job on both sides, but unfortunately they haven't done any 1/24 tyres yet. Urethane tyres are usually bought for performance on hard body cars, not looks.
The Eagle is going to look great anyway!
Chris Wright
#63

Posted 28 October 2016 - 02:49 PM
Finally found some Permatex Black Silicone adhesive locally - tough to find, but so far seems to be working.
Paul Wolcott
#64

Posted 28 October 2016 - 07:10 PM
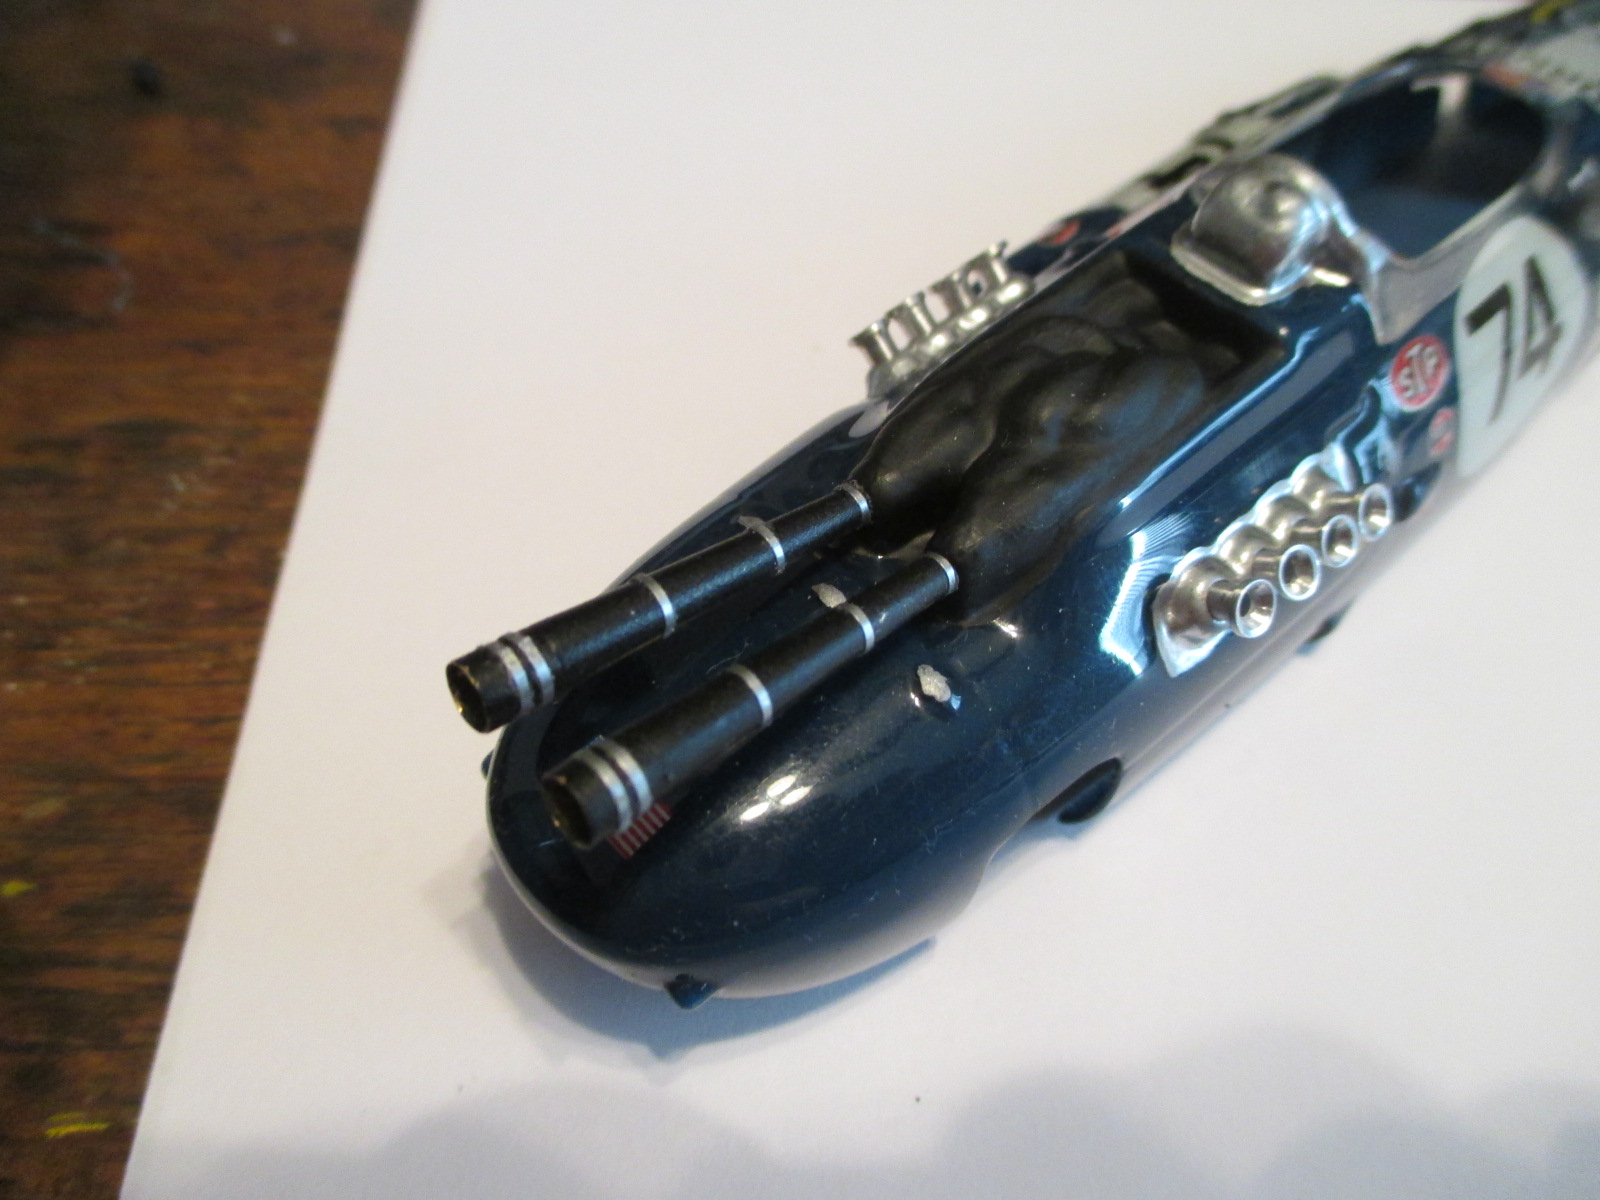
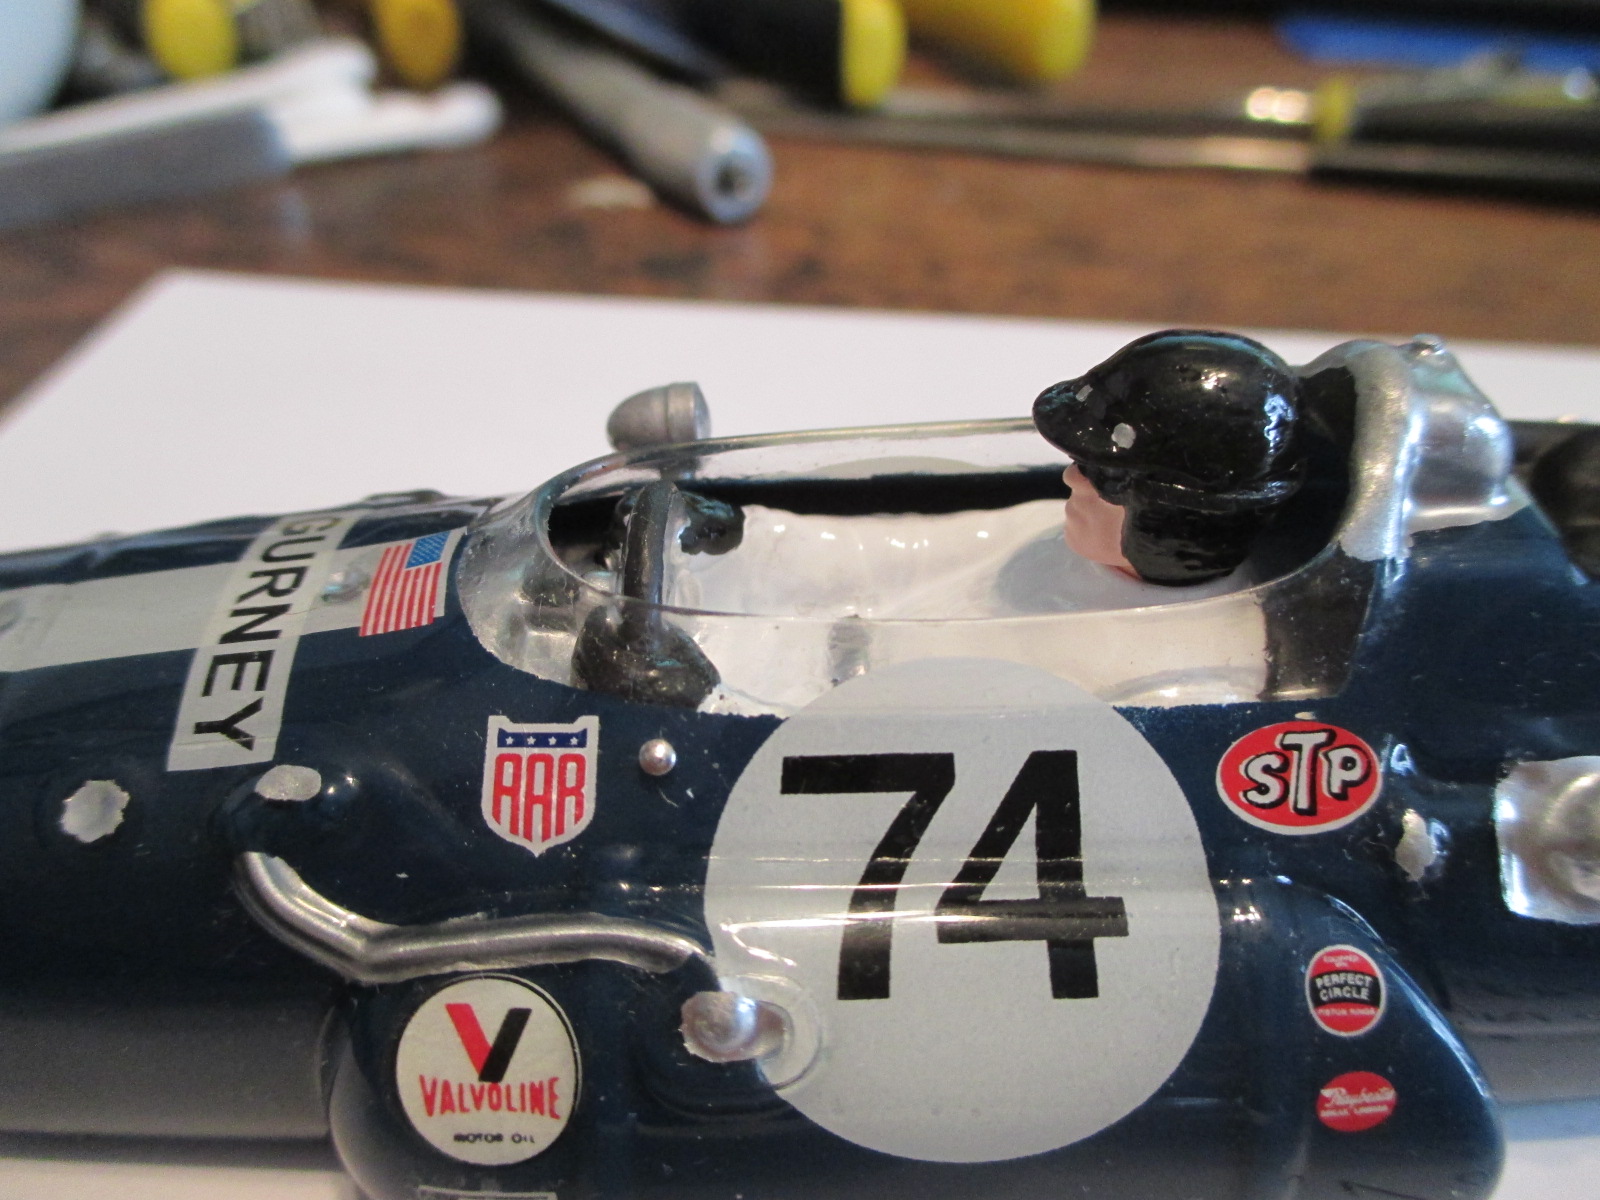
Three coats of a mix of dark blue, metallic blue, and black Testors enamels, backed up with one coat of straight metallic blue.
I'm pretty happy with it - thanks, Rick ![]() - a little overspray wiped right off with Testors thinner "no problemo."
- a little overspray wiped right off with Testors thinner "no problemo." ![]()
- slotbaker, Jencar17, Half Fast and 1 other like this
Paul Wolcott
#65

Posted 28 October 2016 - 07:26 PM
Looks great, Pablo! ![]()
![]()
Rick Thigpen
Check out Steve Okeefe's great web site at its new home here at Slotblog:
The Independent Scratchbuilder
There's much more to come...
#66

Posted 28 October 2016 - 08:19 PM
The body came out looking nice! Are those decals Patto's? Are there any advantages to spraying enamels rather than acrylics and other solvent-based paints? I have some PETG bodies to paint.
I intend to live forever! So far, so good.
#67

Posted 28 October 2016 - 08:55 PM
Thank you, gents - without your tutoring I'd be nowhere ![]()
Bill, the decals are a smattering of mismatched items from here, there, and everywhere.
Paints - my opinion is, no advantage to enamels over acrylics on a butyrate body like this, other than nostalgia.
They didn't have acrylics for slot bodies when Lancer sold these, as far as I know.
Lacquer paints are not good for butyrate bodies, that is for sure.
Using enamels on this body was simply for old times sake, and for a learning challenge.
Thank God I survived it intact ![]()
Paul Wolcott
#68

Posted 29 October 2016 - 01:40 PM
Ortmann tire update: after a second application coat of Permatex Black Silicone adhesive in the craters, my conclusion is, it worked "OK".
Adhesion wasn't great - but good enough for a static model. It will come right off if scratched with a fingernail.
It needs at least 2 applications to fill in large holes.
It's a little too glossy to be a perfect color match, but the floor polish may fix that.
Overall, I consider it an improvement but not as good as I'd hoped.
While cutting the cockpit out of the Lancer Eagle, I watched the 1967 Indy 500 on You Tube ![]()
Man, those were the days...... Andy Granatelli working the pits in a tie and red sports coat, cleaning up a fuel spill..... ![]()
Gurney's car being pushed to the garage after a hard day at the office
Explaining the problems to ABC's Jim McKay - faulty fuel valve wouldn't allow drawing off the left side tank.
Once the engine started running lean due to lack of flow, burned some valves and he was running on 7
Paul Wolcott
#69

Posted 29 October 2016 - 02:15 PM
You can get black cyano glue. It used for gluing PU tyres etc, but could be useful for fillimg the holes in your tyres, too.
Niels, DK
Niels Elmholt Christensen, DK
Former Neckcheese Racing
www.racecars.dk - my Picasa Photos
#72

Posted 31 October 2016 - 10:03 AM
color looks good, Pablo.
Remember, two wrongs don't make a right... but three lefts do! Only you're a block over and a block behind.
#73

Posted 31 October 2016 - 10:47 AM
#75

Posted 04 November 2016 - 12:37 PM


