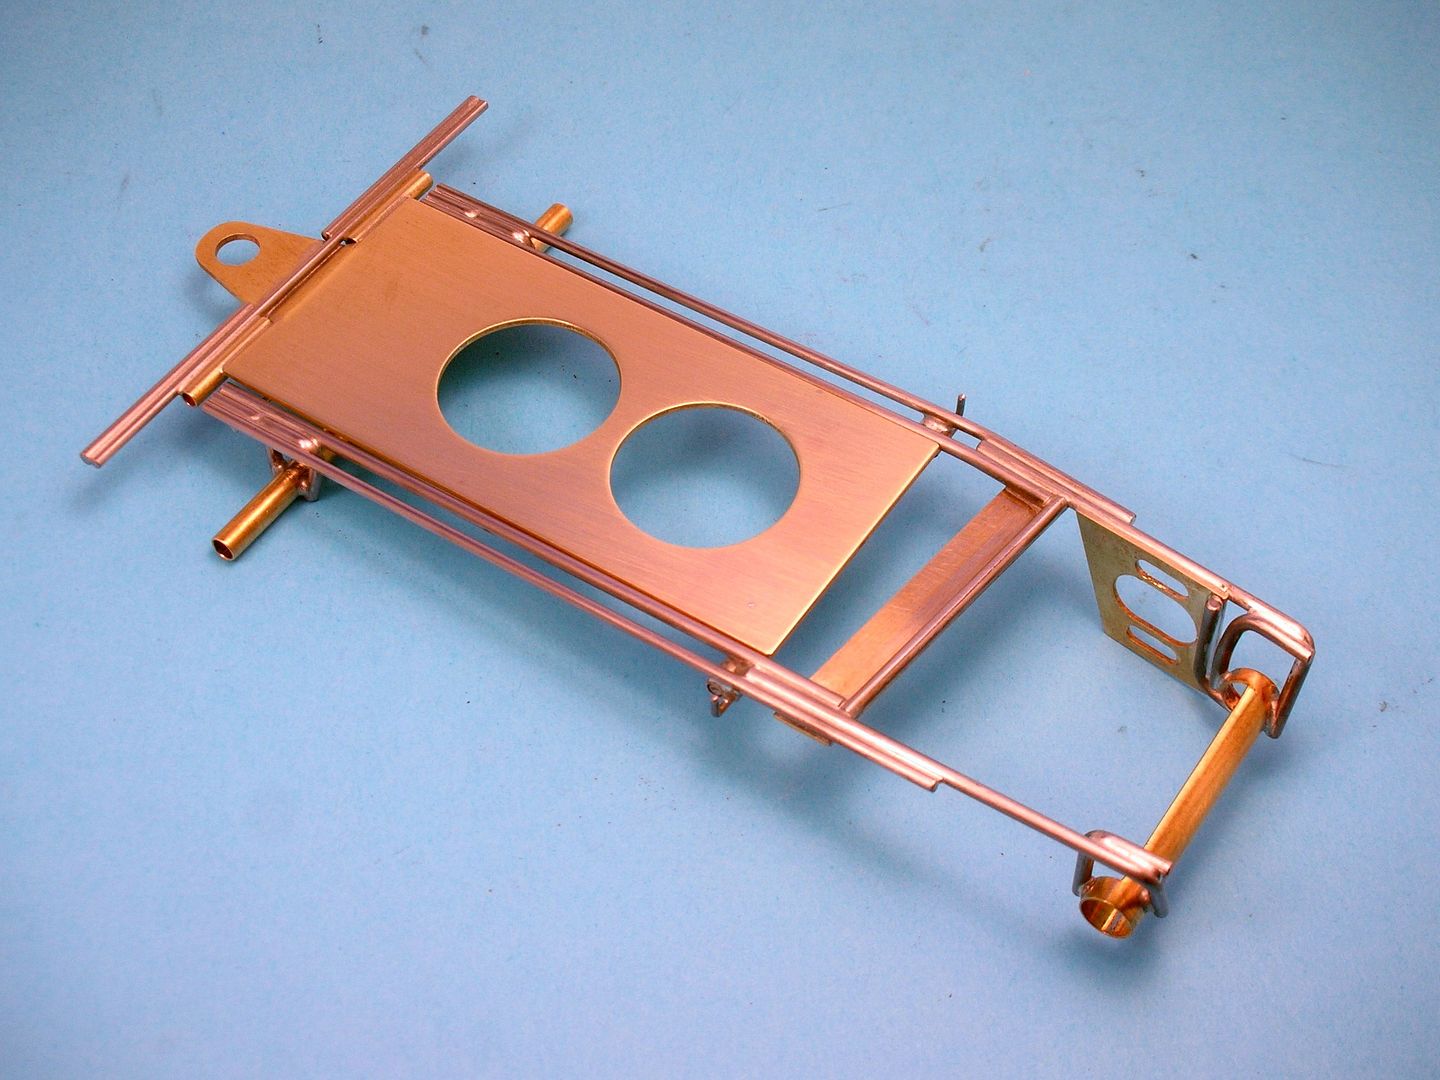
Here's one example of a steel center section that I've found available lately Mike:
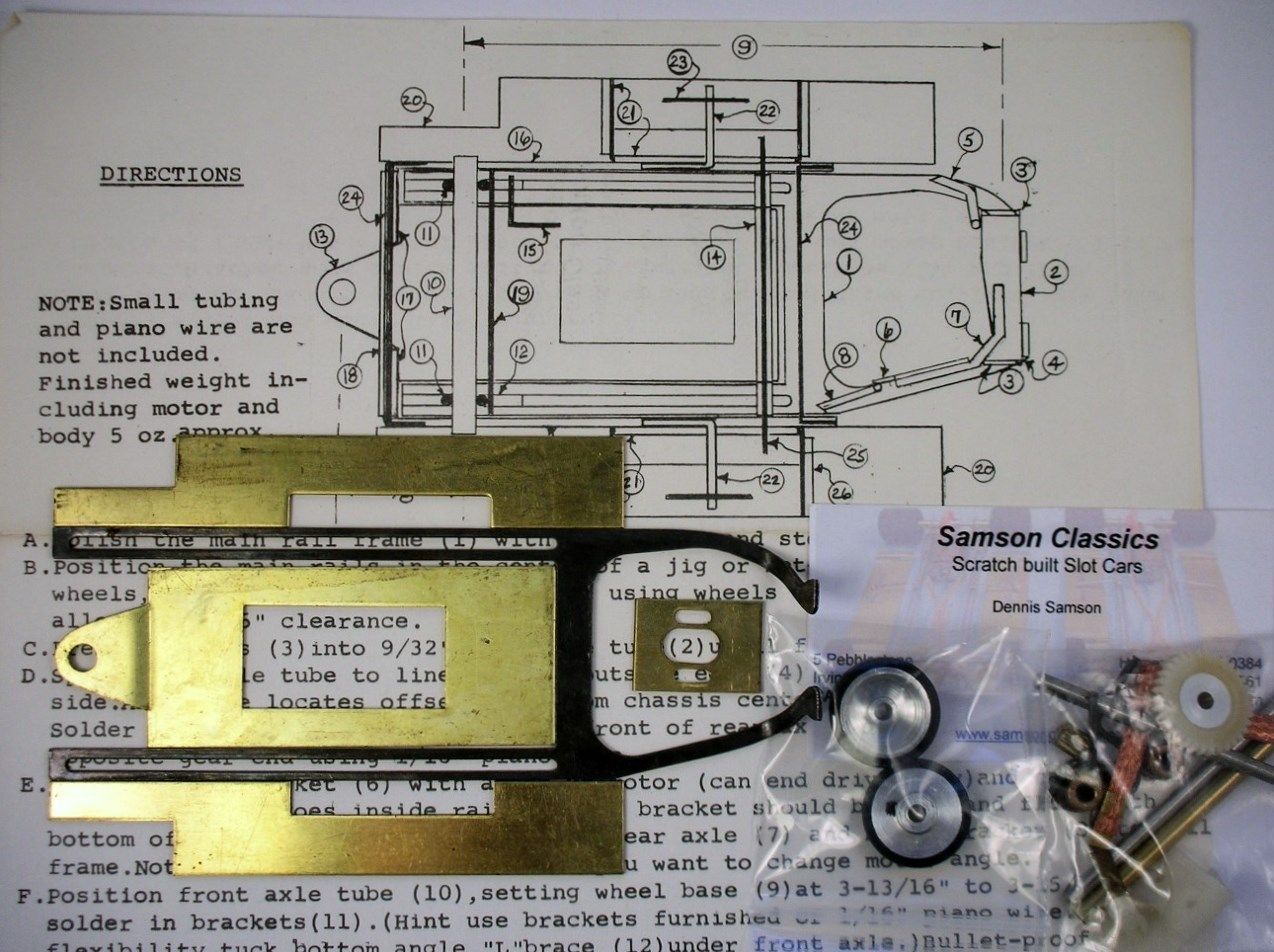
I don't think this style could have been used by cutting out the cross piece. Bill Jr.'s rails are straighter. I wish it would work with this style because I'd like to build a steel car like PdL's picture. It's very cool.
Jeff, I hope to send the finished car down to Rodney for a test on a full size track. The track is nicely kept up with a spray glue finish. I don't think there will be any additional glue used.
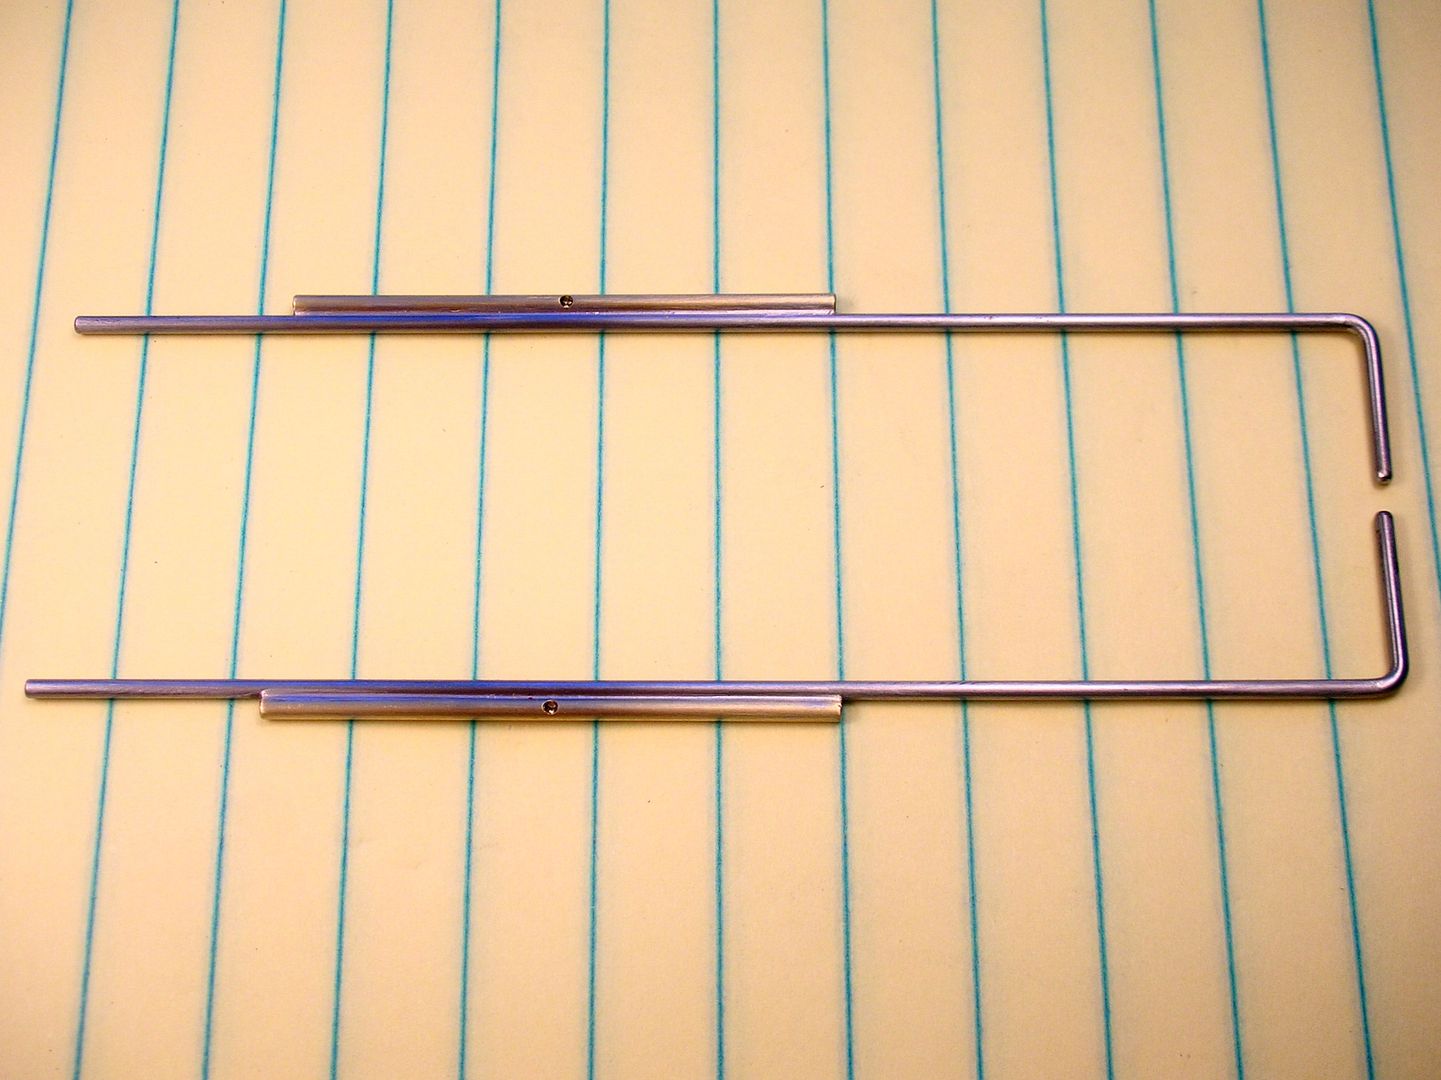
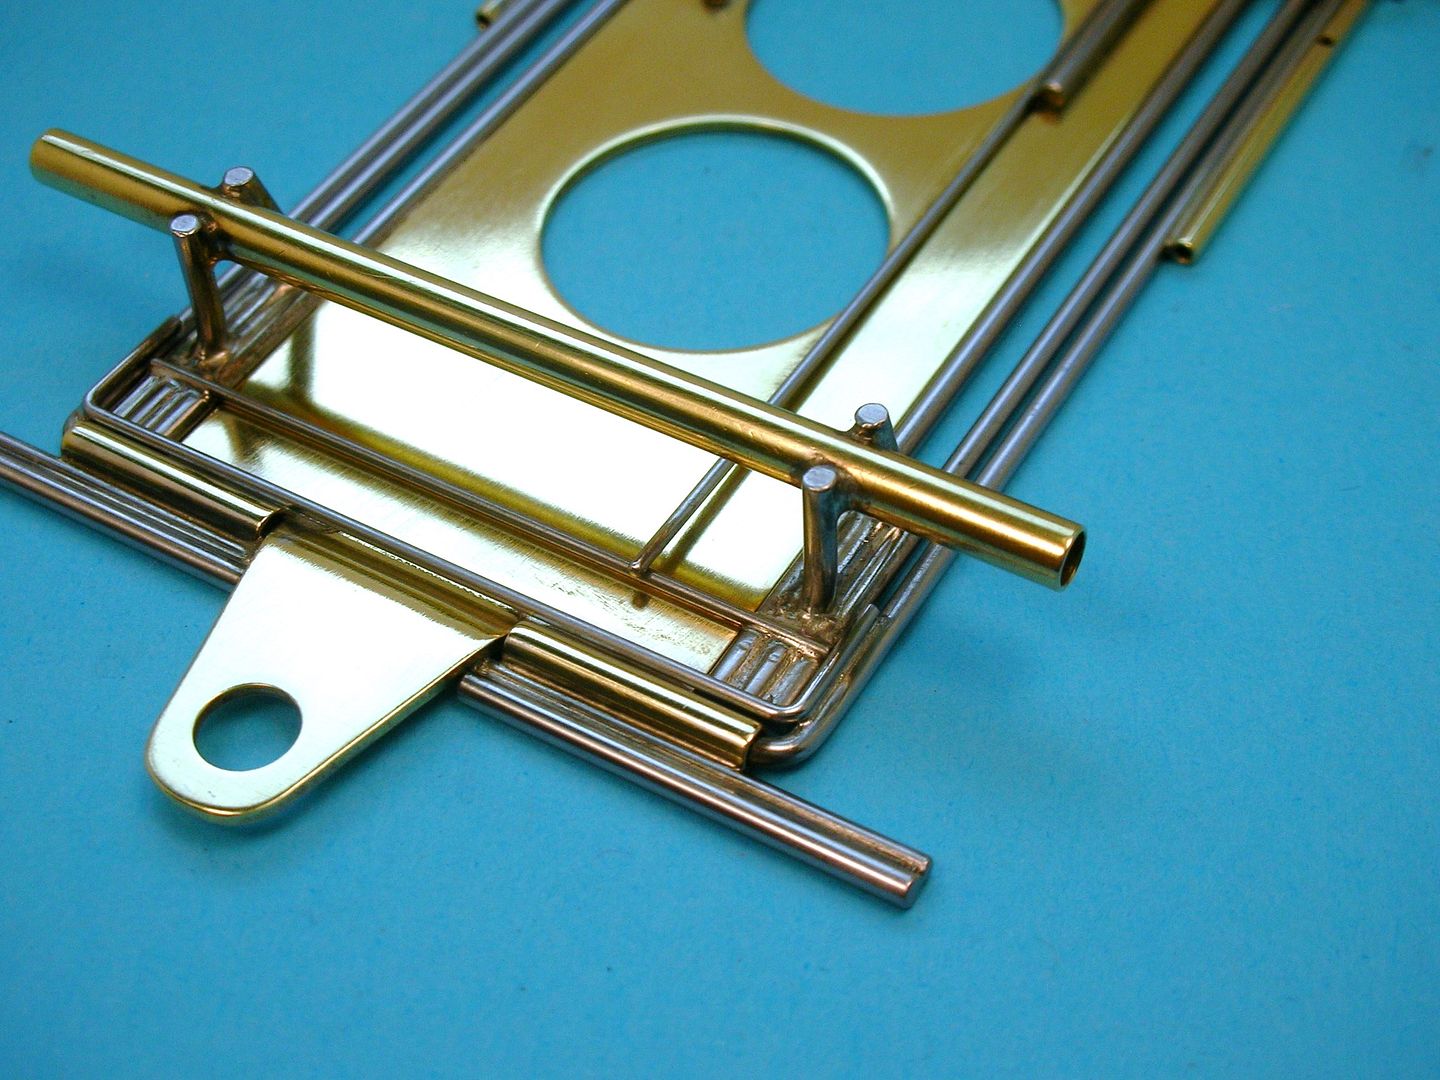
Here's the corrected boo boo zone Bill:
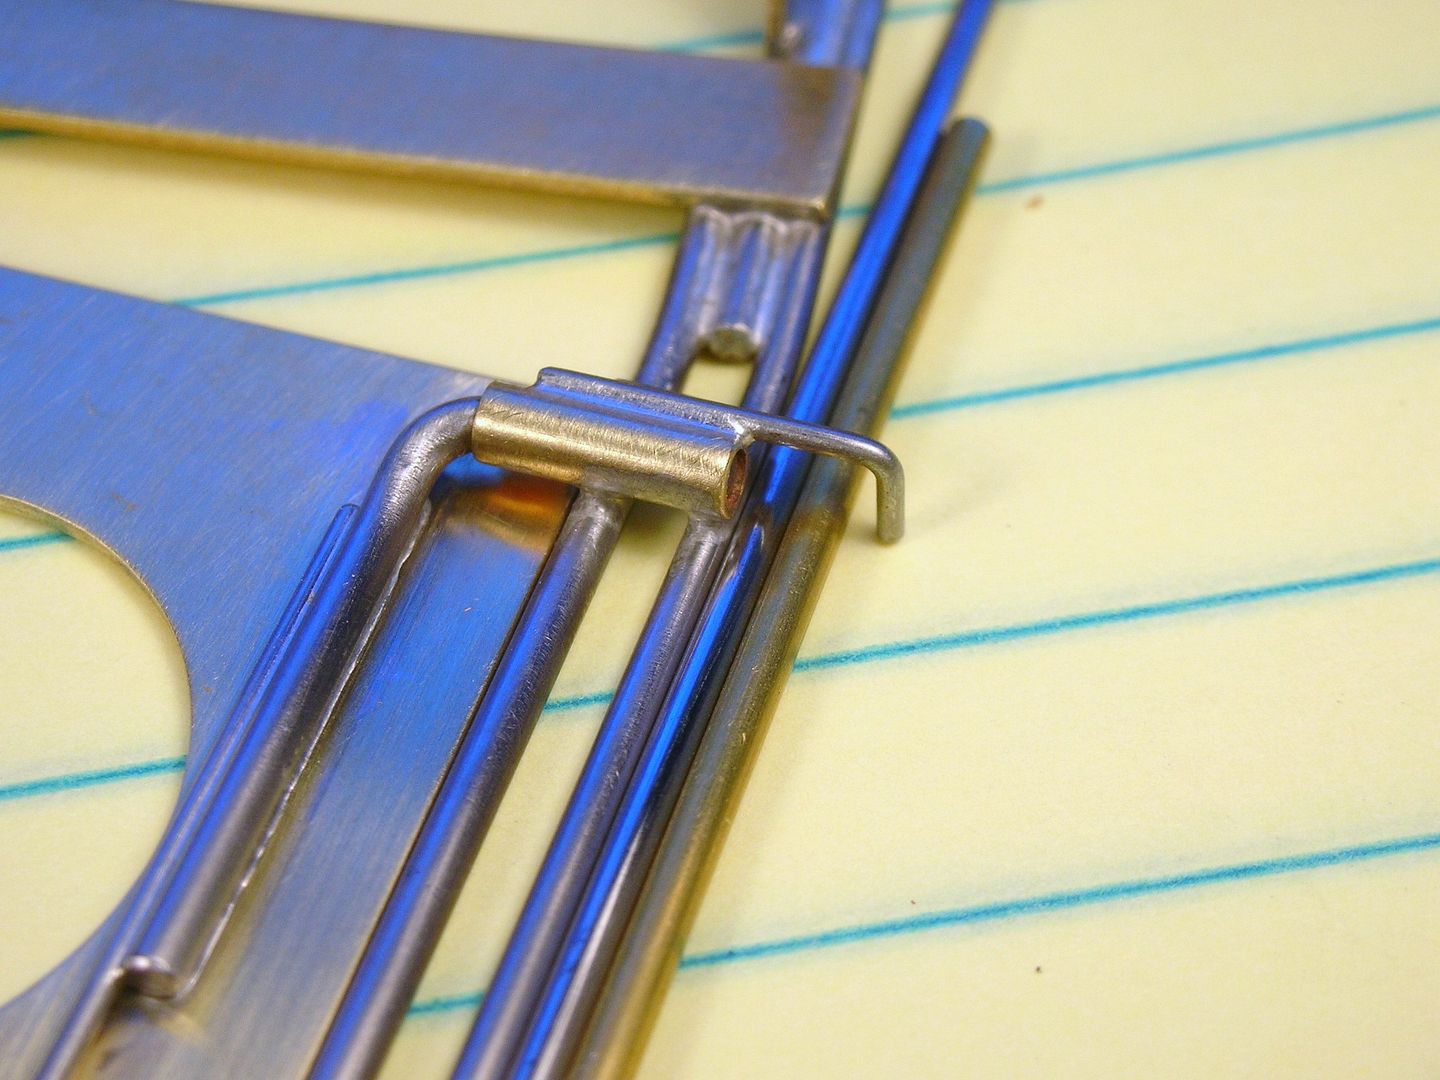
I've never made a plumber stop with a "hook" before, just a straight piece of wire. On my first attempt I only left room for the plumber and forgot about the pan hinge that the "hook" had to clear.
Now I can get back on track with the plumber install.....


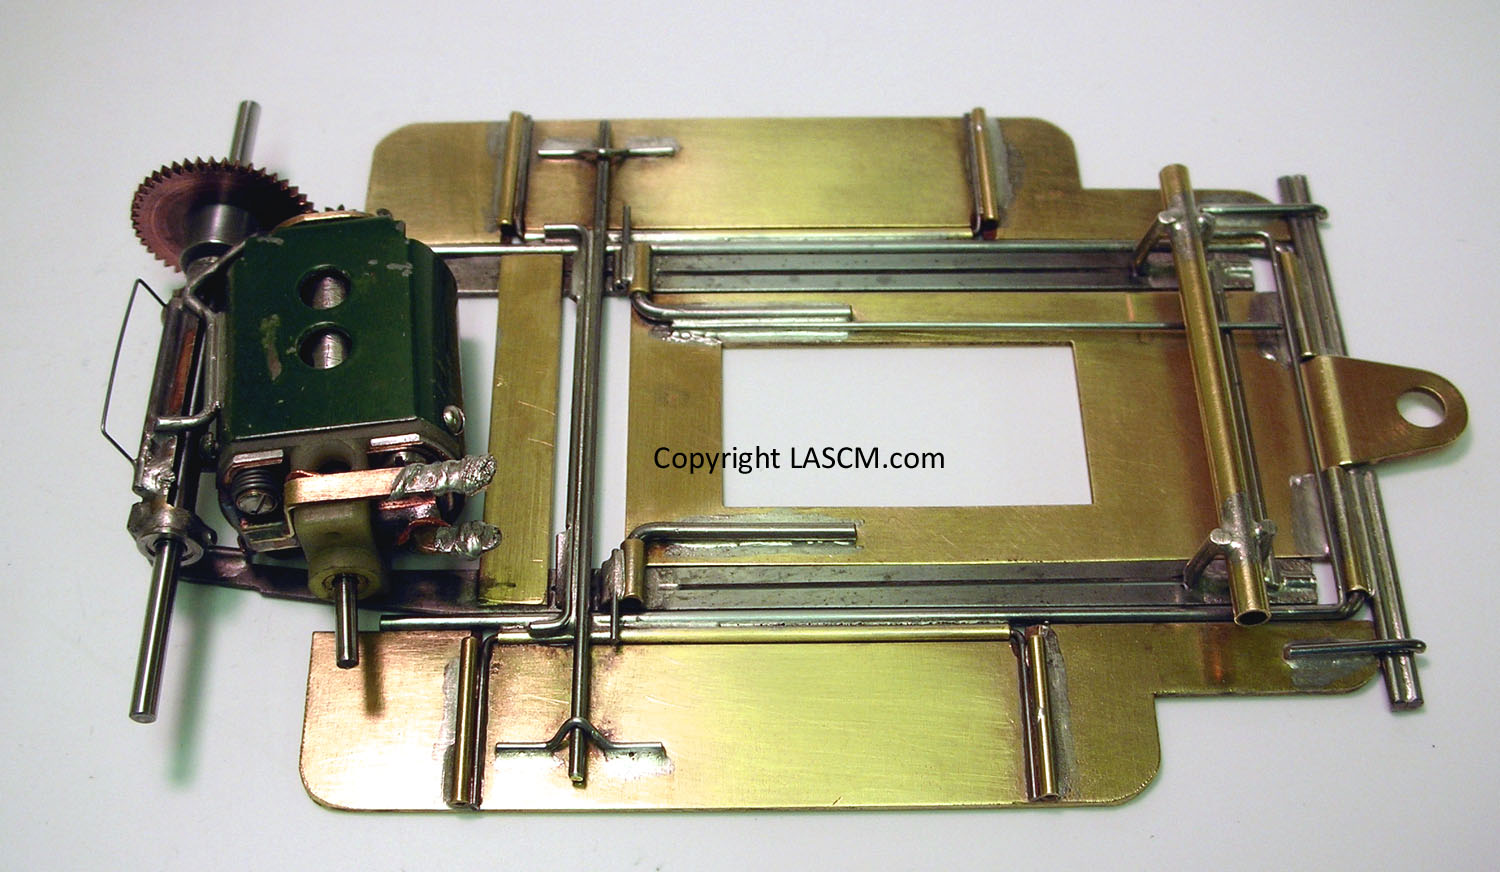
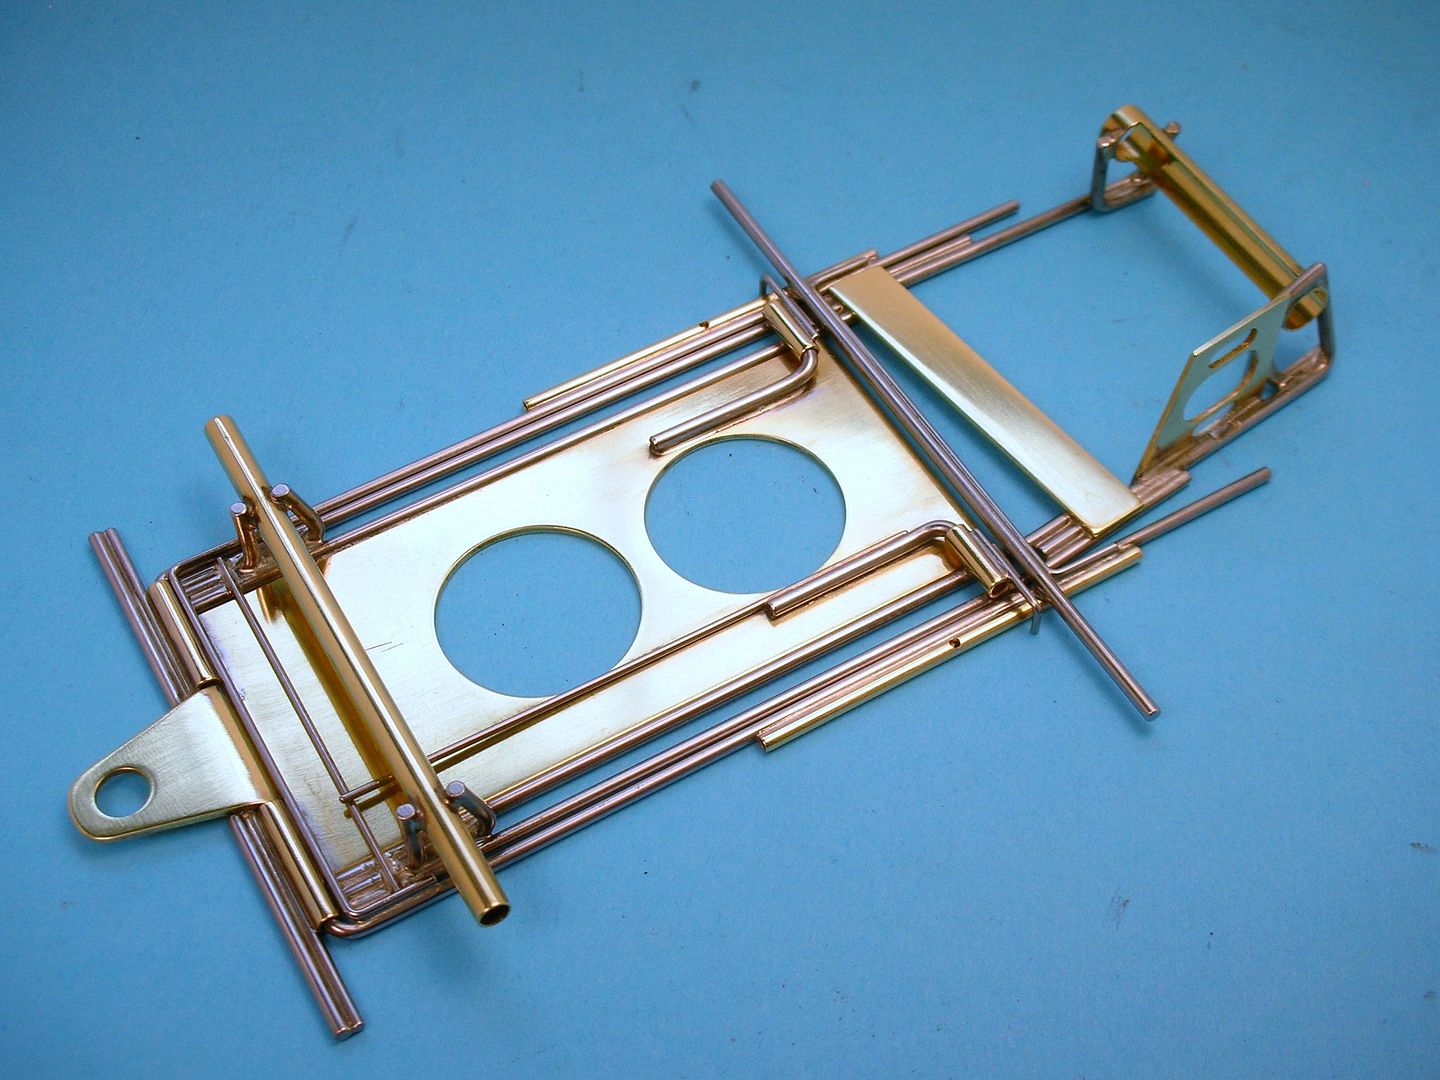
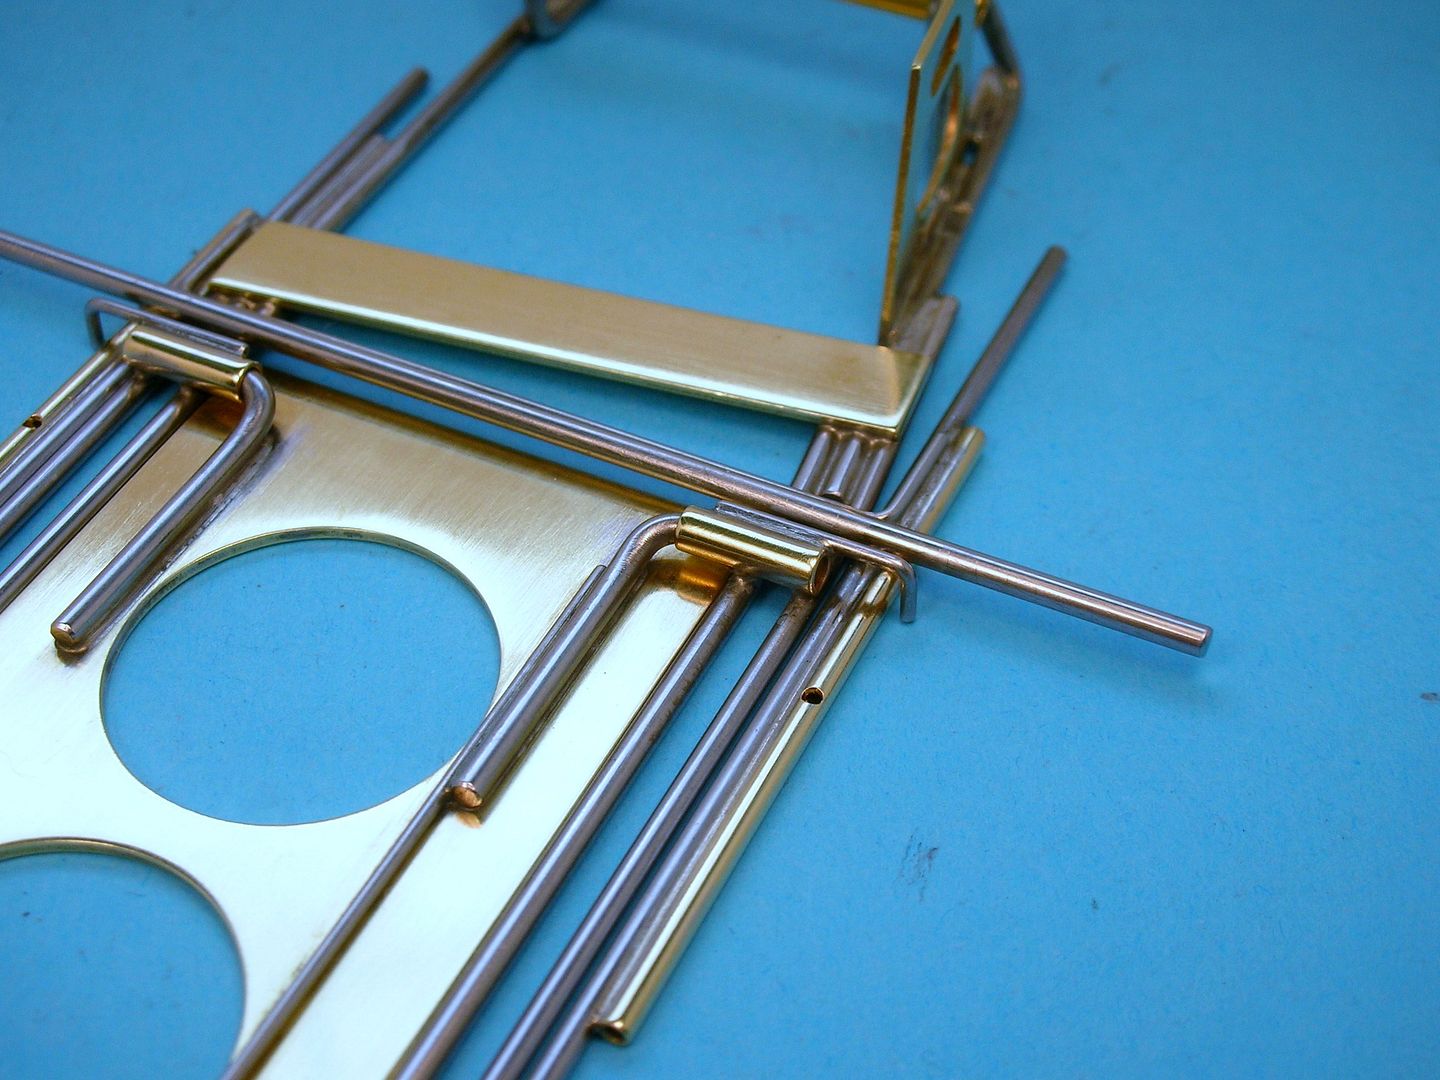
 It has the same "small wire bumper" running under the guide tongue with two-piece 1/16" wire bumpers in front, no reinforcement wires behind the plumber hinge tubes, and angled rear upright for the front axle tube (among other things) as the wire chassis in the MAR article... very cool!


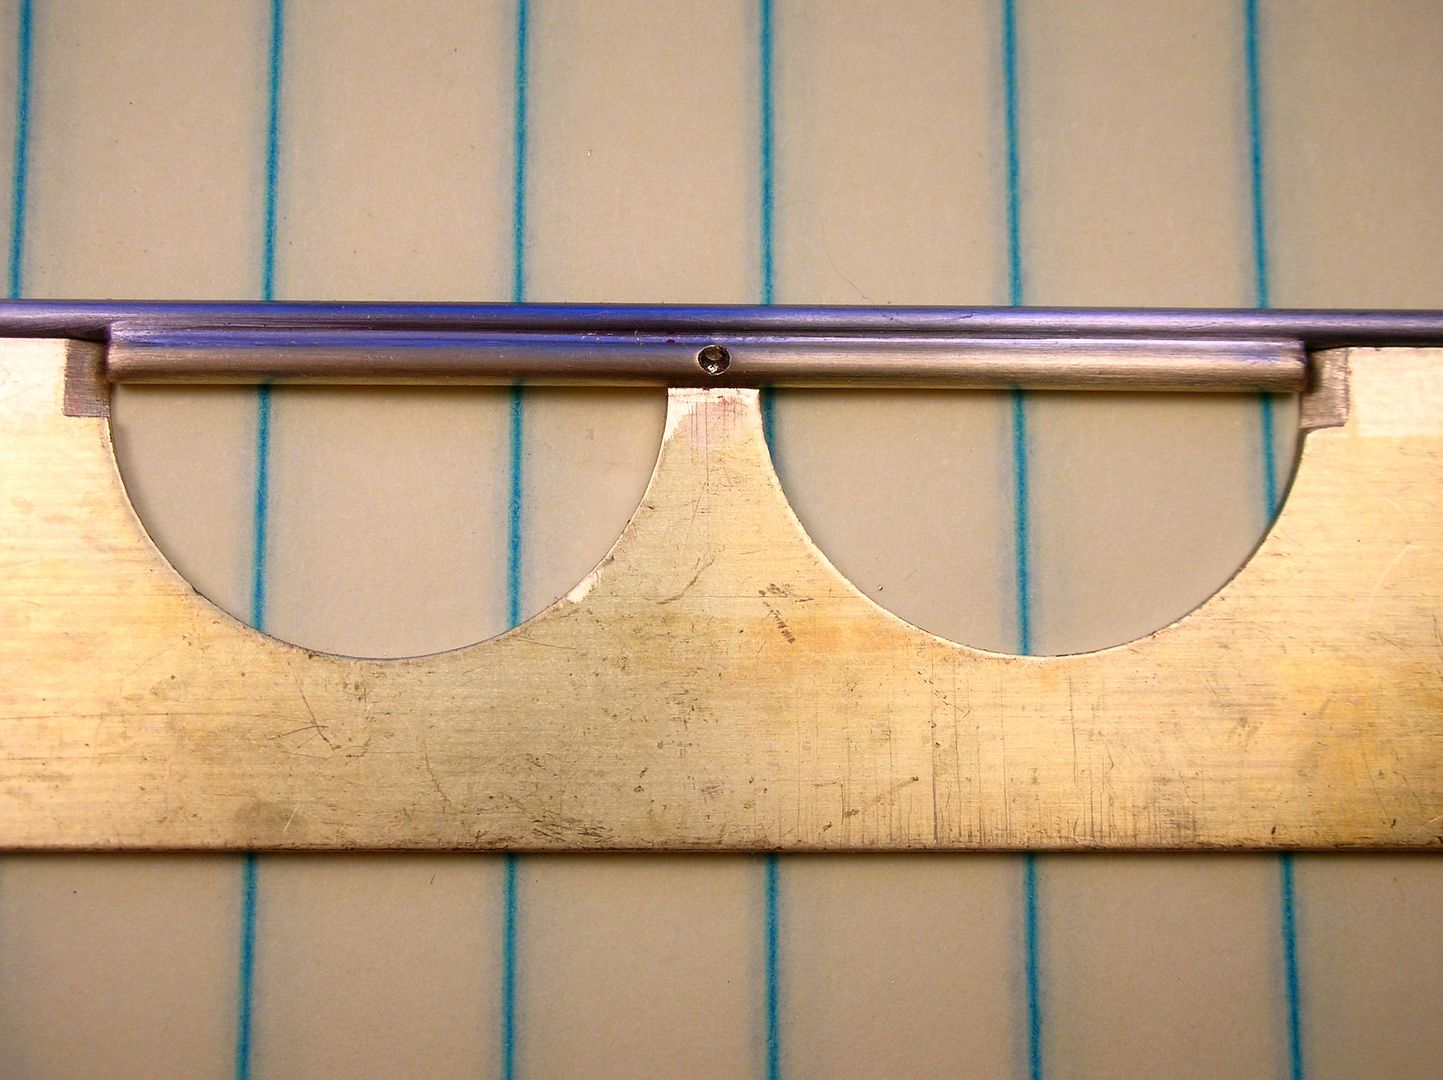
 In hindsight my mistake is obvious to me now.