
Thanks to you. Its great to see Paul build you the car of your youth. This one will be better that new if we know Bablo.
Fun to watch it come together.

|

Posting Leader


Posted 14 September 2019 - 12:12 AM
Thanks to you. Its great to see Paul build you the car of your youth. This one will be better that new if we know Bablo.
Fun to watch it come together.
Builder

Posted 14 September 2019 - 05:59 PM
The Cox greys slipped onto the hubs with my JK donut tool absolutely perfect with just a slight bulge on both sides. Now they cure for a couple days

Paul Wolcott
On The Lead Lap
Posted 14 September 2019 - 06:52 PM
Looks like they were meant for each other!
Builder
Posted 15 September 2019 - 09:50 AM
Crown gears - wanna hear something freaky? A 28T Parma pink mikes about .695" OD, Cox .695, Weldun .705.
A white Wilson's mikes about .662"  No wonder they always mesh so badly, eh?
Paul Wolcott
On The Lead Lap
Posted 15 September 2019 - 12:11 PM
Pablo, we've talked about this already but I'll share for those following along. When I originally bought this car, the track owner took it out of the box and replaced the stock crown with a Cox before I'd even driven the car. He knew. I then drove the car for about 15 minutes and found that the stock black spongies it came with were HORRIBLE! I went back to the track owner and he reached under the counter and produced a fresh pair of grey spongies (probably Cox as well) already mounted and trued on an identical set of American Mags. Again, he knew...
Builder
Posted 15 September 2019 - 03:46 PM
Yup 
Paul Wolcott
Builder
Posted 15 September 2019 - 07:26 PM
Minor surgery time. The motor was installed so nicely I hated to remove it. But it was necessary - the installed 8T brass pinion had to come out, and the chassis needed to be clearanced for the lower motor spring coils.
As long as I had to remove it, I wanted to check if the motor was bound up in any way by the forward endbell housing harness. I didn't suspect it was, but it didn't cost me anything to check it. So I tested the amp draw before surgery - she drew 1.7 amps at 3 volts and sounded perfectly smooth, quiet, and rev happy 
The endbell screw attaching the Dynamic gizmo looks dangerously close to conflicting with the custom Havlicek bushing brace
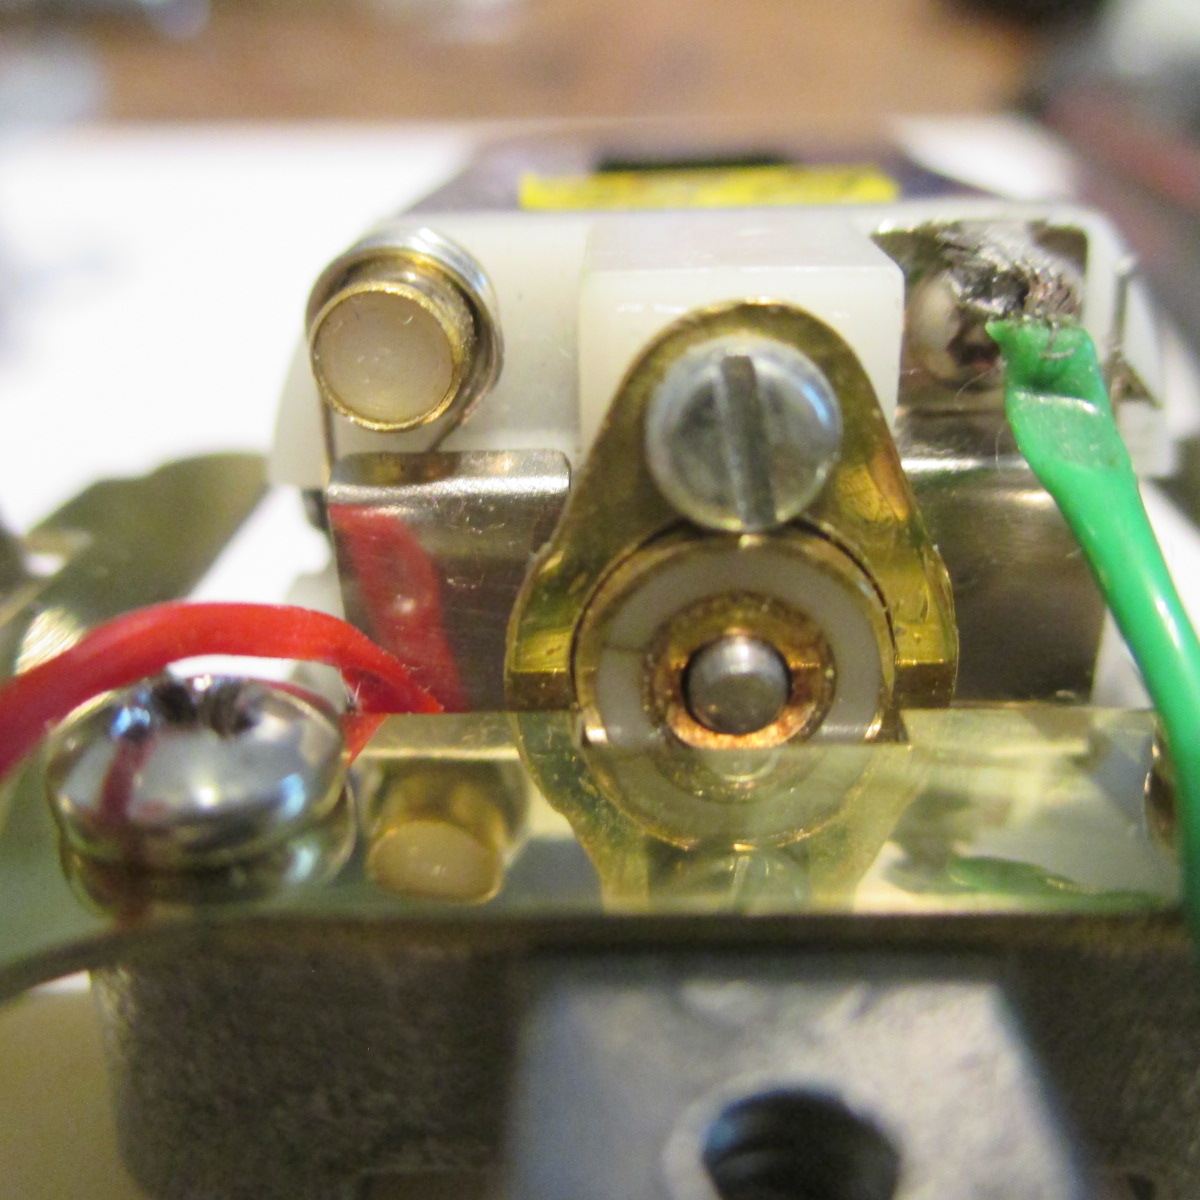
In fact it was too close; you can see a slight galling

So I shaved the head from .150" down to .142" then re-polished it with 400, then 2,000 grit just to be safe

New 7T brass pinion pressed on. Mated to a 28T Cox crown with about .770 OD wheels will be the best combination for this car in my opinion  A straight cut steel 7T and a Parma pink dyed black would be the best choice for a race car but Larry can always go that route later on if he becomes a speed-crazed moron

Chassis notched for spring clearance

Lead wires re-soldered to make it look SANO as possible, and both rotating surfaces of the Dynamic flag hole faced with Magnehone

Motor re-tested to ensure amp draw is the same, yep - 1.7 amps at 3 volts. So it wasn't bound up to begin with, and it's not bound up now  Everything is buttoned up once again and let me just say, every H motor I test always seems absolutely super. But this one is so smooth and quiet I had to feel the shaft to tell when it was spinning - yes it's that smooth. This puppy is very rev happy and sounds really potent. It's almost too much power, but it's so smooth it may be the best Bandit ever
Paul Wolcott
Builder
Posted 16 September 2019 - 04:56 PM
-Tires rough trimmed to about .815. Now they cure another day before final trim/true to about .775
-New Dynamic white flag blueprinted and faced
-Cox 28T crown, slightly used and it's the truest one in my stash

Paul Wolcott
Builder
Posted 16 September 2019 - 06:18 PM
Next step, determine rear axle brass tube spacer lengths, etc. I need the widest axle I could find to support both a 3" width and the knockoffs. Larry supplied 3" axles but I found some in my stash that are slightly wider. This one is new, perfectly straight, has a nice flat spot, and will space the wheels/nuts/existing brass tube pieces/knockoffs perfectly at almost a full 3" when used with Professor Motor .125" Teflon spacers

A note for all vintage freaks, the large Champion steel spacers are nice but be careful when using them with BB's. Spacers should only touch the inner BB races, not both inner and outer. The outer rings are soldered solid to the chassis; only the inner rings rotate. So you could lose a lot of horsepower here if you're not careful
Wrong:

Right:

Same process for the fronts; using my widest straightest best new 3" axle, original tube spacers, and small brass nuts, I can make the wheel widths almost a full 3" and still use the knockoffs. Larry's parts gathering was very good; I simply fine tuned it 

Paul Wolcott
Builder
Posted 16 September 2019 - 08:21 PM
"A tale of two doggies" - mechanical and body maker Q/A puppies (JoJo Wolcott and Gene/ZR1 Pug) concur all is good; nothing left but to await arrival of front tires and root beer paint


Paul Wolcott
Age scrubs away speed!

Posted 16 September 2019 - 08:42 PM
F.Y.I. Bearings with extended inner races should be available, depending upon what you use for bearings. Extended inner races eliminates the possibility of anything placed on an axle from contacting both inner & outer races.
Posting Leader
Posted 16 September 2019 - 10:36 PM
Don't forget Bill, Paul is using a custom bearing adapter, so the bearing is inset, Very neat, see above pic.
Unless you want friction brakes in the corners? 
On The Lead Lap
Posted 17 September 2019 - 12:20 AM
Wow, step away for a day and look what happens! The new rears look awesome, can't wait to see the fronts too. This is coming together much faster than I though (says the man who took a full year to come up with a body mount). And the dogs look awesome too! Gene if you're following along, I have a calendar where each month recreates a scene from Lord of the Rings ... with pugs!
Builder
Posted 17 September 2019 - 04:26 PM
Final trim/true at .775" OD which gives the chassis 1/16" clearance. The gear clears 1/32" which was legal back in the day

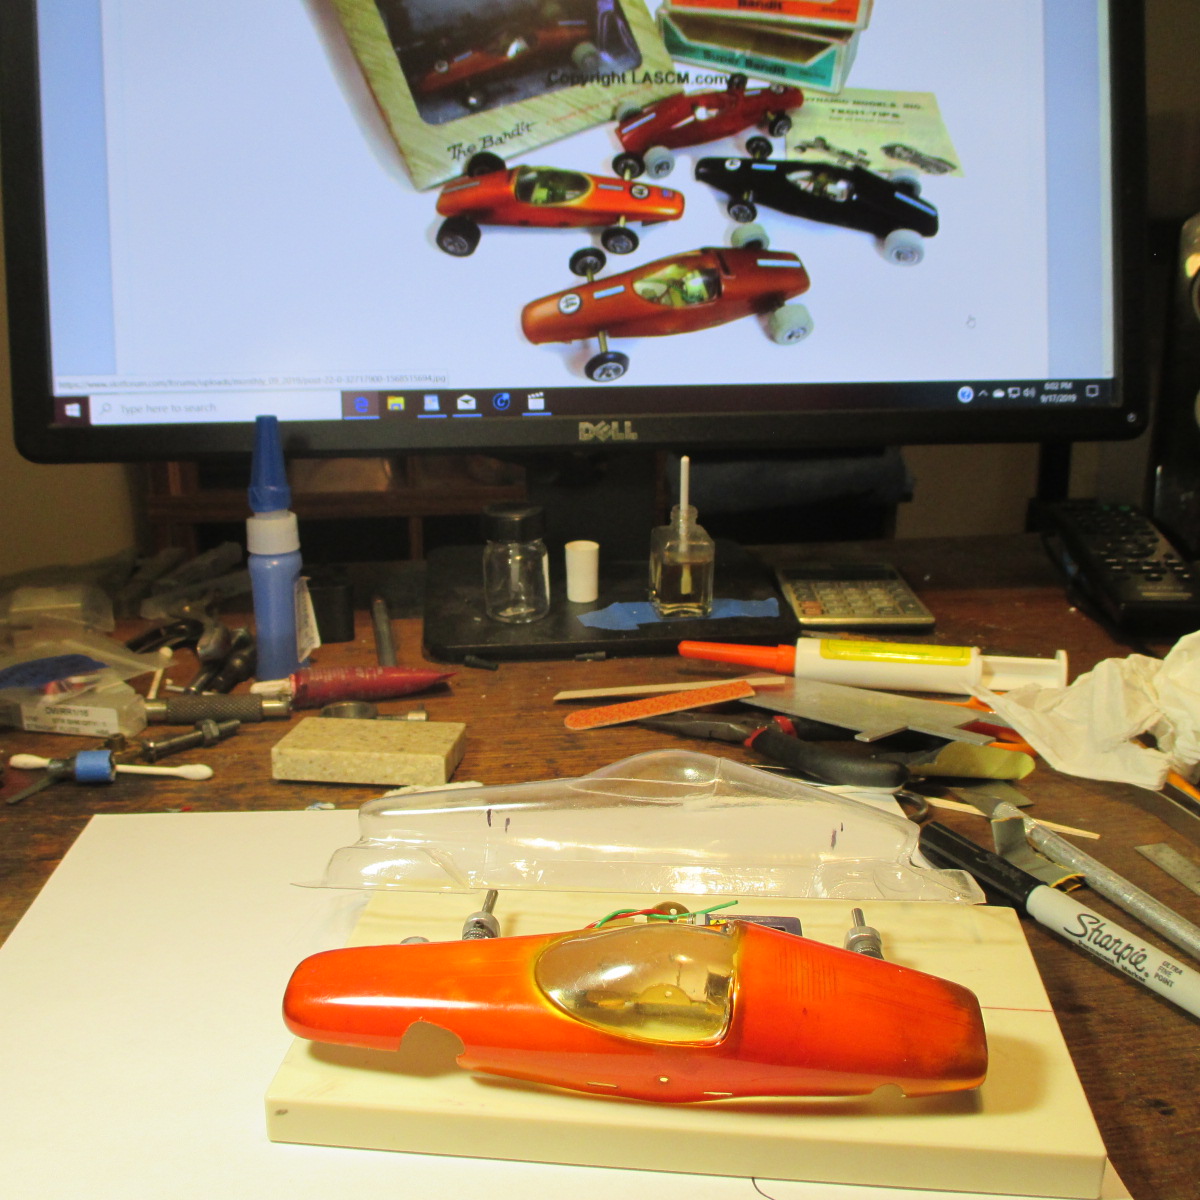
Time to begin the body trim and mount process. I secured dummy axles front and rear using keepers. WB will be about 3 15/16". The Gene/ZR1 body is absolutely top notch detailed and totally user-friendly - cut lines are precise - even the mounting notches are perfectly placed 

There are many Bandit varieties, but this one is Larry's
Paul Wolcott
On The Lead Lap
Posted 18 September 2019 - 01:20 AM
Looking at my old body, perhaps this car should be called a Phoenix instead of a Bandit? Love your workspace Pablo, it's even messier than mine!
Builder
Posted 18 September 2019 - 06:48 PM
Thanks Larry; at least I know where everything is. I haven't lost a single car after 5 pages of SB builds
The secret to trimming bodies is, a little at a time. For a vintage body that's relatively thick, I use sandpaper taped to a flat block and hand sand it

Then punch the axle holes with a hole punch

Next step will be to cut the mount notches, which are about 9/32 above ground zero
Paul Wolcott
Backmarker

Posted 18 September 2019 - 08:14 PM
Builder
Posted 18 September 2019 - 08:24 PM
Learned that trick from Chris Barnes and it works like a charm. Removing the gizmo that collects the holes makes it work even better
Paul Wolcott
Posting Leader
Posted 19 September 2019 - 09:40 AM
I even use the hole punch as a nibbler to cut out wheel arches etc.
Would you like to borrow my rectangular hole punch to cut those slots (just kidding) I wish I had one.
Builder
Posted 19 September 2019 - 10:16 AM
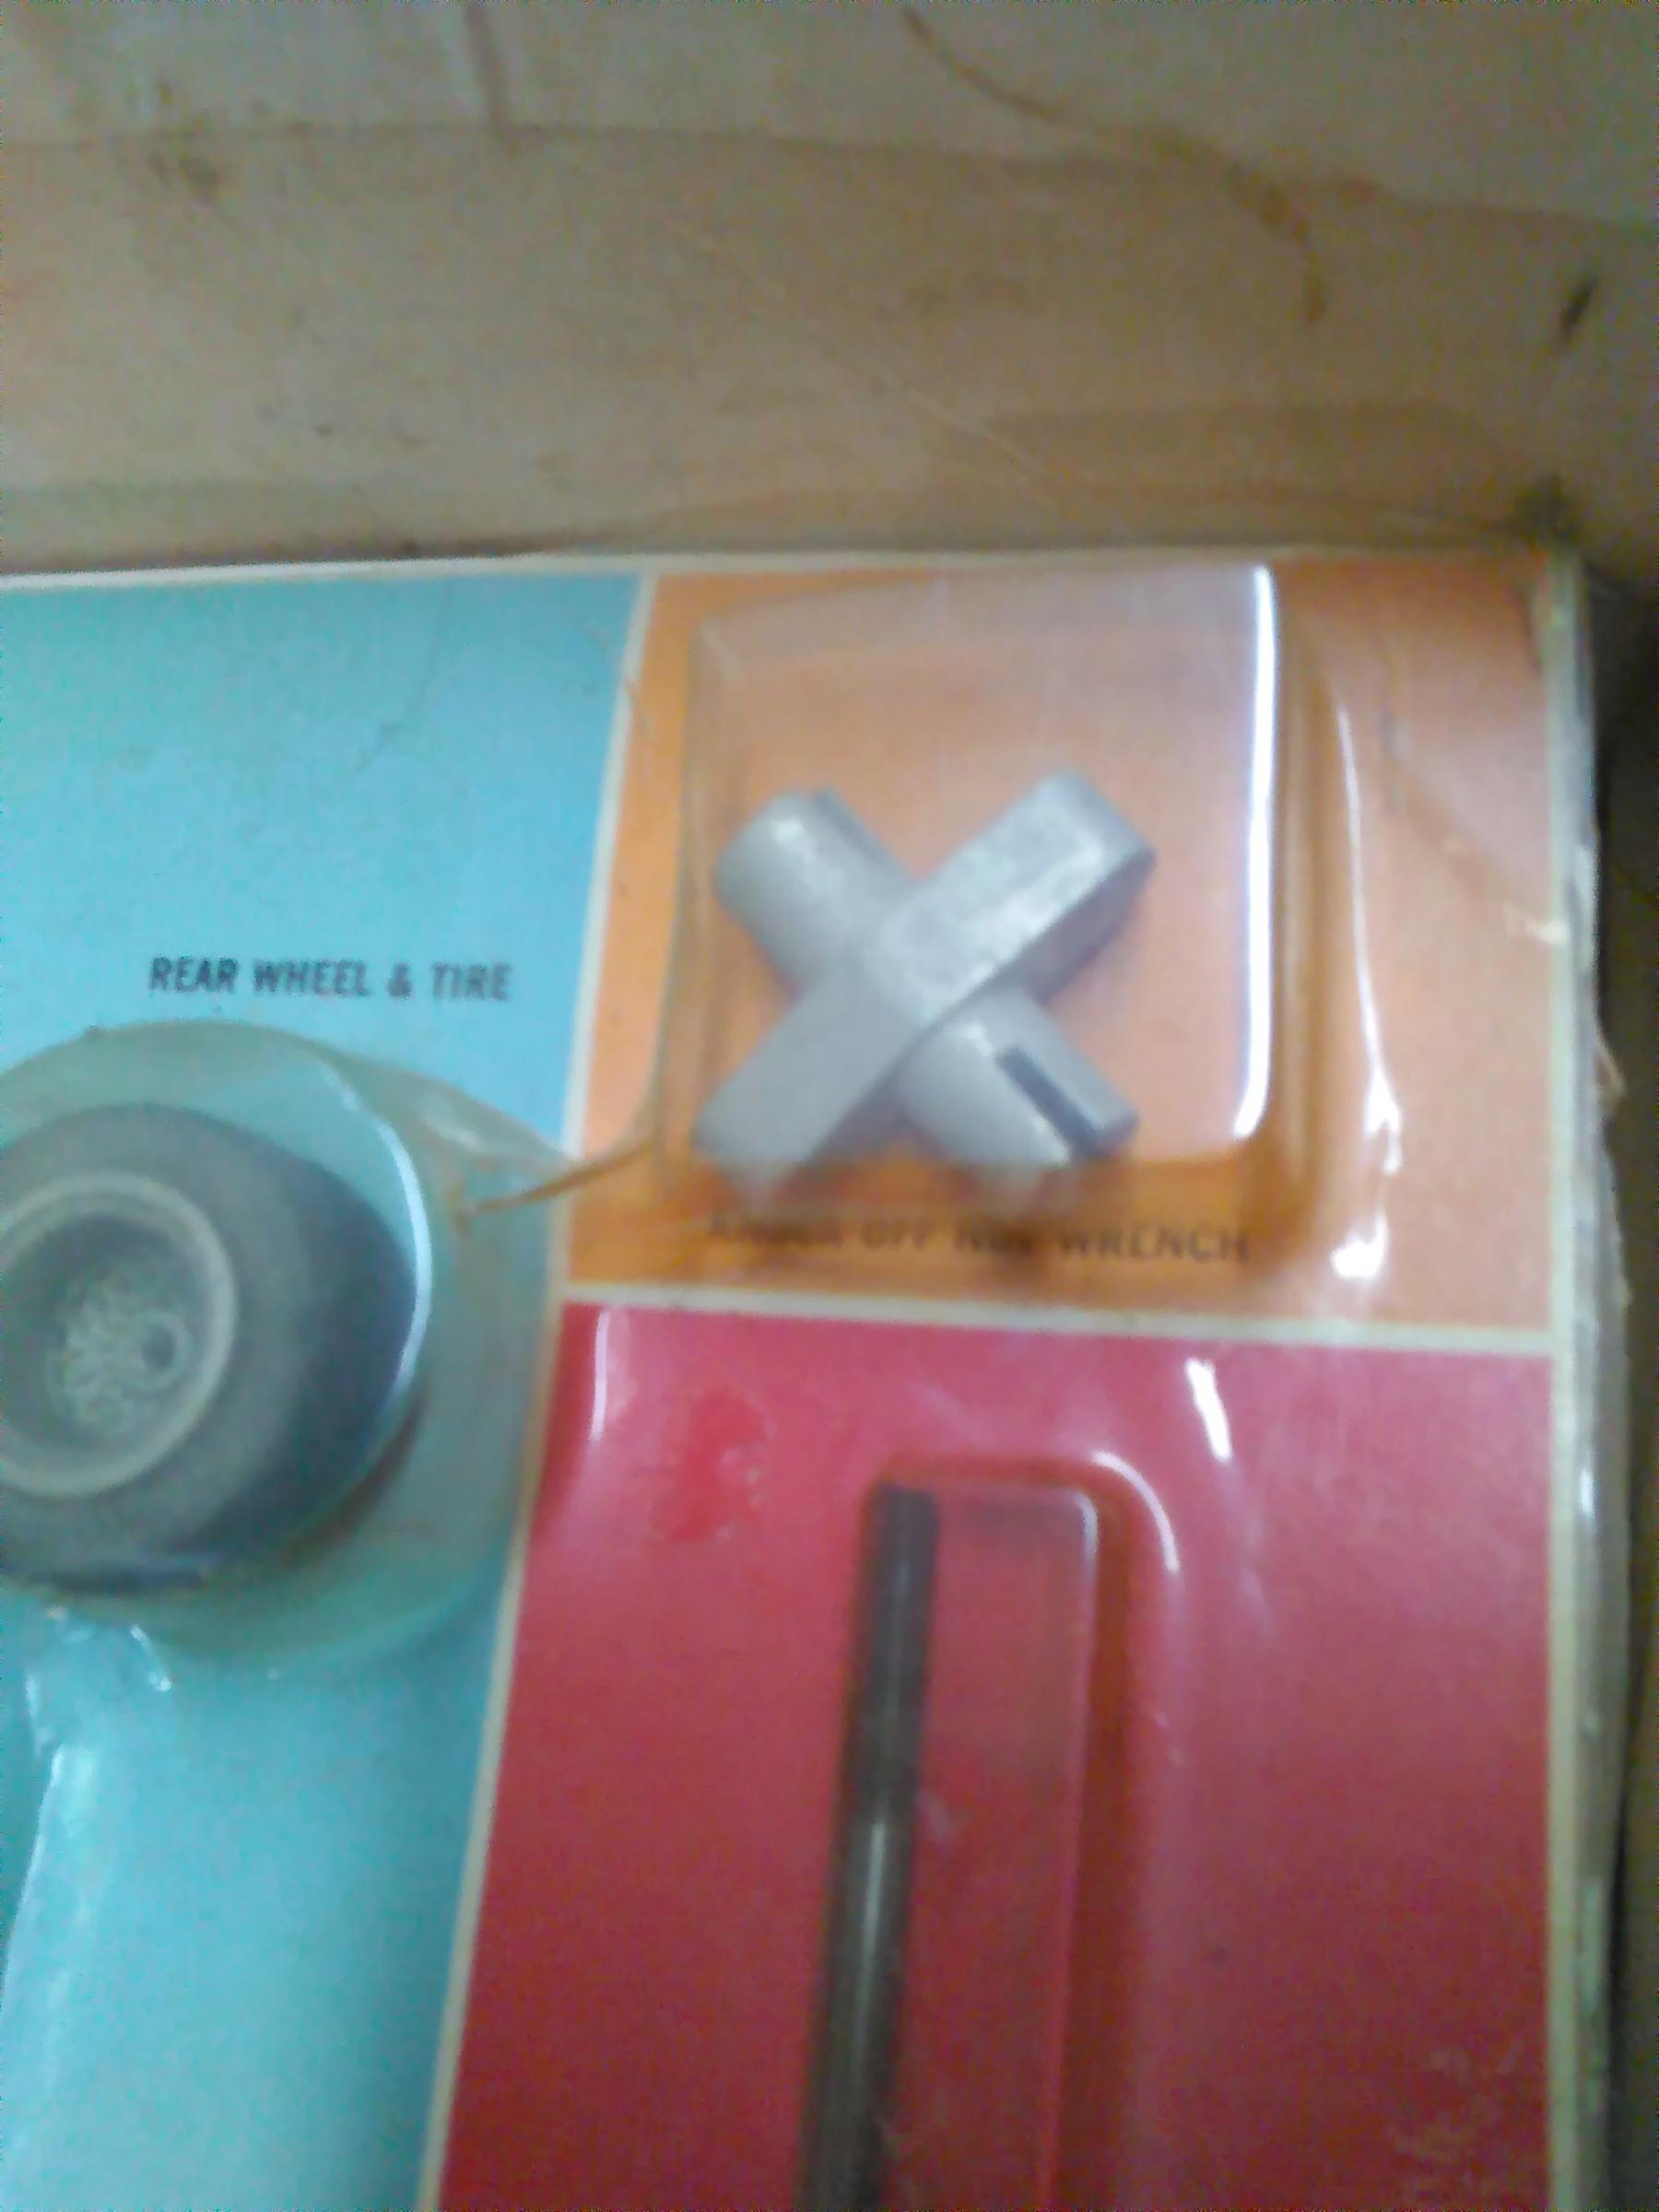
Yes please I need one! That, a Cox open end wrench, and a Dynamic knockoff tool. You could call me "Tim the Tool Man"
Paul Wolcott
Posting Leader
Posted 19 September 2019 - 10:53 AM
I have duplicates of the Cox wrenches for sure. Notice there are 2 Cox wrenches I will send you both.
Not really sure which one is for Dynamic knock offs. #13 or #12 I think.
Just let me know and they are yours.
http://slotblog.net/...3959-tool-time/
What's a title?

Posted 19 September 2019 - 11:33 AM
Martin, #12 is the Dynamic wrench.
Rotor


Builder
Posted 19 September 2019 - 03:58 PM
I was just funnin' Martin, send 'em to somebody who needs 'em. Here is actually what I do have. The Cox wrench metal is so soft it's virtually worthless, so I just keep it on my desk for looks The socket is the correct size for Cox acorn tapered axle nuts

Paul Wolcott
Posting Leader
Posted 19 September 2019 - 04:01 PM
I have Cox wrenches and a #13 to send you.
Let me know.
Our posts almost crashed
Never minding.
Builder
Posted 19 September 2019 - 05:21 PM
Thanks Martin, send them to somebody who needs the addiction. Me, I'm already there
But seriously I wish I had a punch tool for the body mount notches. One small slip and I botch a lot of work. I grabbed a test swatch of the body trimmings and tried many methods - punching, hot punching, nail file to widen a #11 XActo slice, multiple slices, spinning a min-circular file in a drill, punching with a sharpened brass piece, non-sharpened brass piece, nothing works well

I have the exact punch locations Sharpie marked on the body. All I need is a foolproof method to cut four .039" high .270" wide notches. Appreciate any and all good ideas, fellow Slotbloggers
Paul Wolcott


