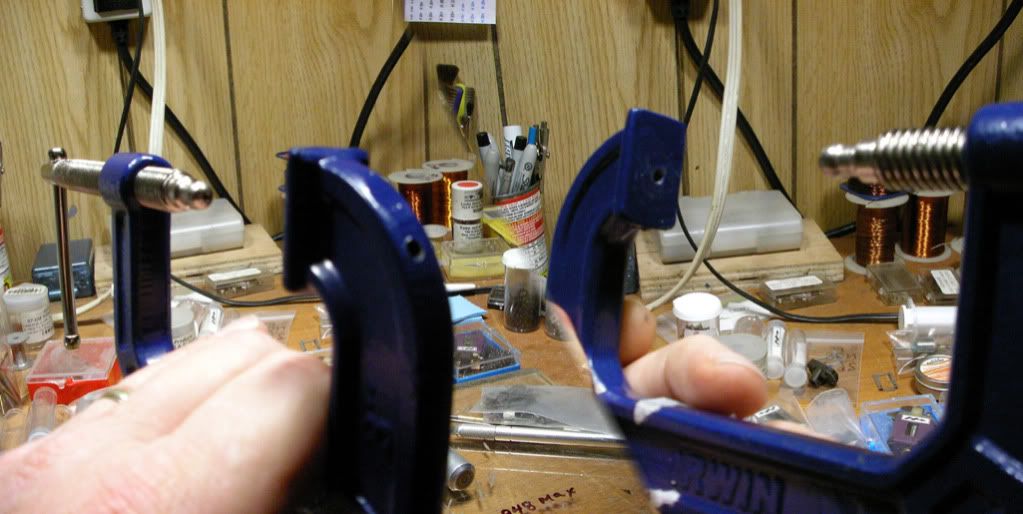
Per Ernie's request, here's some pix to better describe what I do here with these problematic (and formerly intransigent/uncooperative) shafts.
Here's the C-clamp with the swivel pad reinstalled. I saved the pad and sanded it flat on my work glass with some sandpaper stuck to the glass for when I need to use the pad to push stuff. To remove the pad, simply unscrew the clamp all the way and the force of the clamp screw will pop the pad right off.
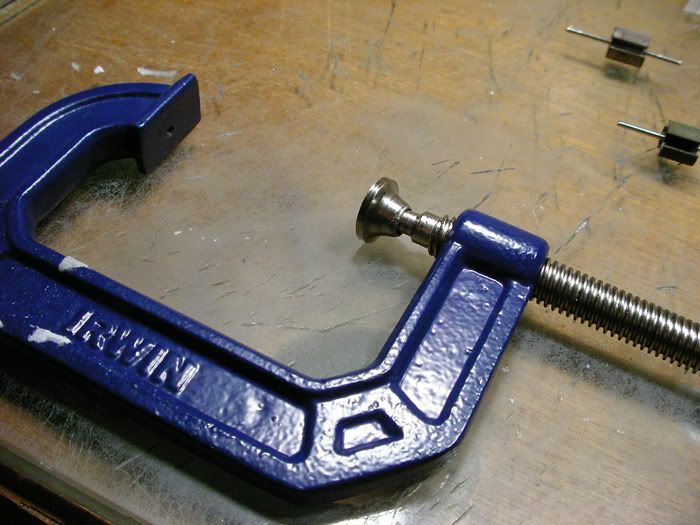
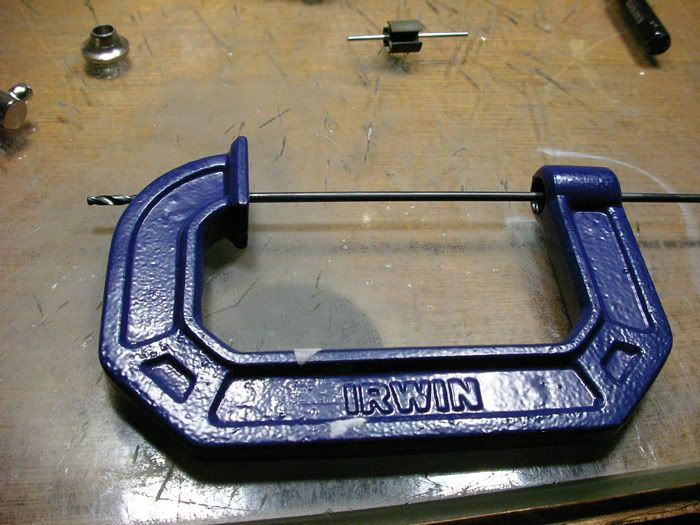
With the pad removed, I reinstalled the screw and tightened the ball end of the clamp screw against the fixed/cast end of the clamp to mark the point of contact between them. This would be my target with the drill. Then I removed the clamp screw again so I could drill through the cast end of the clamp with a long 1/8" drill bit. Eyeballing the bit to keep it centered in the threaded hole used for the clamp screw produced a pretty accurate hole that ran completely through the clamp. A 1/8" hole will also allow for pushing FT36D shafts.
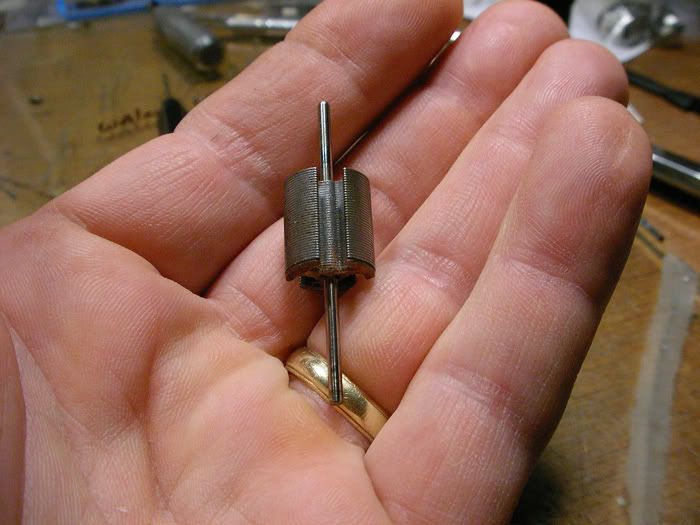
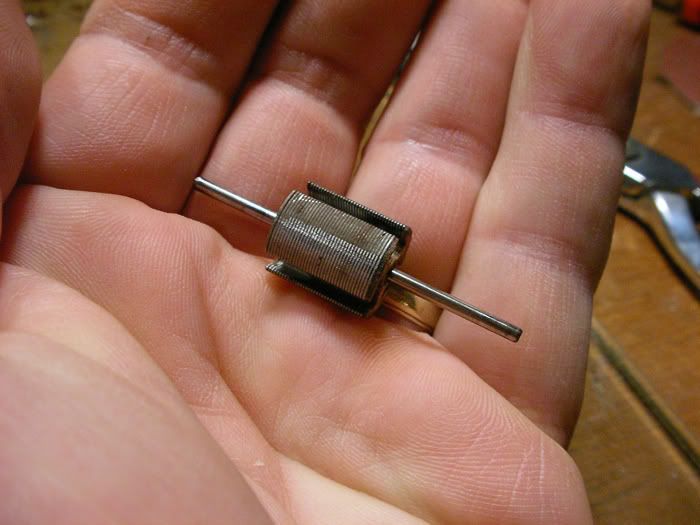
Here's the test subject...an arm of unknown lineage (probably a modern D can arm) and a long stack. Longer stack mean more difficulty pushing the shaft because of increased grip length of the stack plates against the shaft.
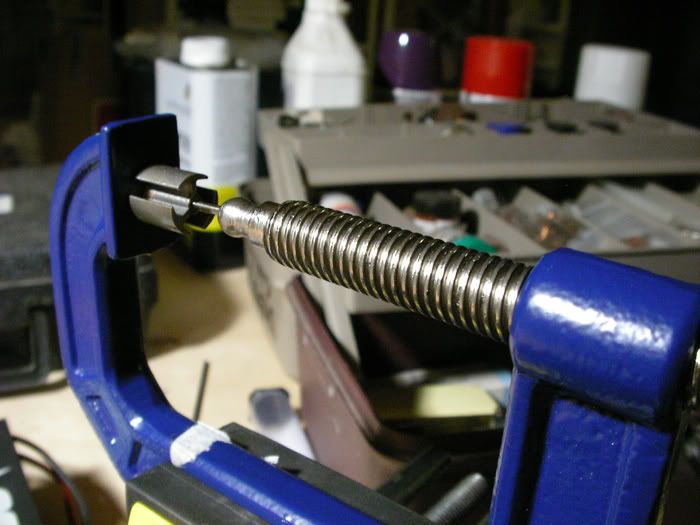
Here's the arm installed in the "pusher". As I had mentioned in the previous post, the ball end of the pusher has a recess ground in it to keep the arm shaft in place as I apply force.
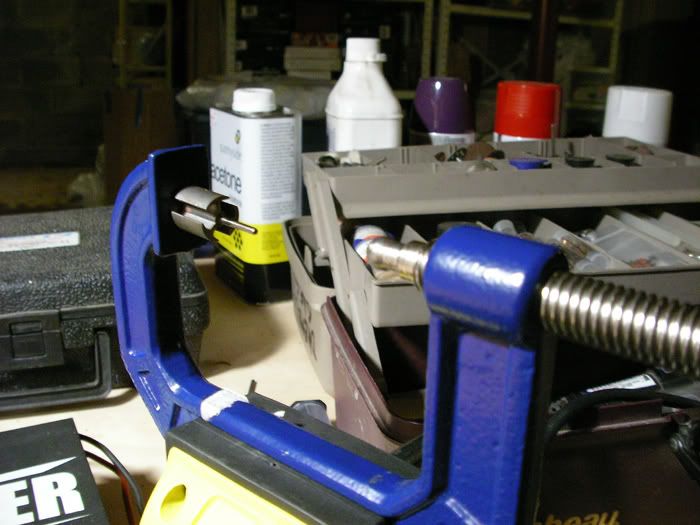
With some force
(not much really because of both the leverage the clamp affords as well as the solid base you're pushing against)...the shaft begins to move.
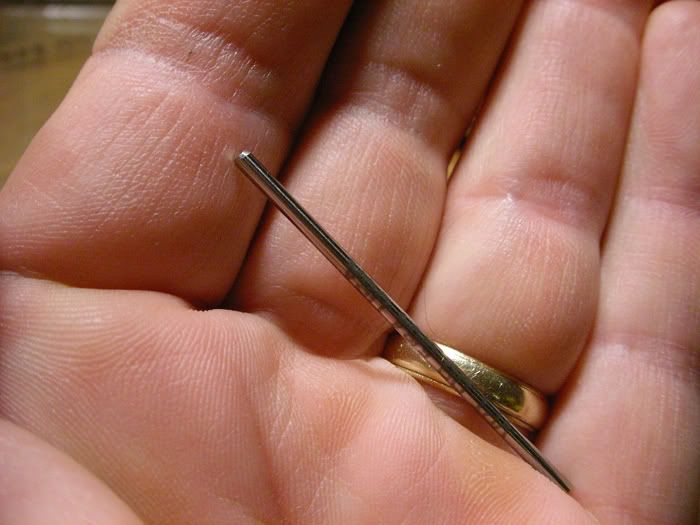
Here's the replacement drill blank shaft with one end slightly chamfered so it will find it's way easily into the center hole of the target stack.
Using the new shaft to push out the old shaft after you push it flush to the stack (I forgot to take that picture, so use your imagination


), you get the old stack with a nice STRAIGHT & HARD new drill blank shaft.
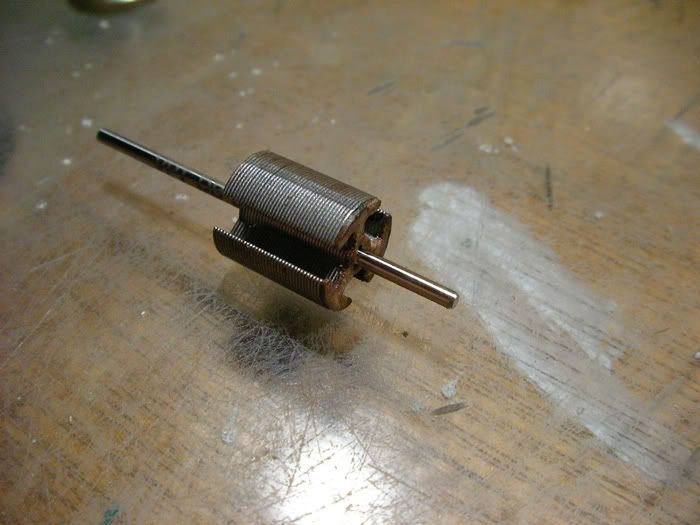
Once you've installed the new shaft, you have to be careful because the lams will often times fall apart with an uncoated stack. The good news is that once you push the shaft the first time, it's easier to do it a second time...here's the original arm with the old shaft reinstalled by using it to push out the drill blank with the C-clamp pusher. At a couple of bucks a throw for the drill blanks...I'll wait to actually keep a drill blank in this arm until it is used for a project. McMaster Carr has both 2mm drill blanks and 5/64ths, but 5/64ths is too undersized for slot car motor bearings and bushings. 2mm is perfect for most bushings but won't fit (without polishing them down) the bearings I've seen and used. Happily, McMaster Carr also has a slightly oversized .0781" drill blank that is a perfect fit for these bearings. For the larger shaft FT36D motors, a 1/8" drill blank is a good fit and those are easy to get as well. You can also use .078" piano wire for some motors and get good results instead of 2mm drill blanks...not as straight and not as hard, but very cheap and you can make up long shaft arms with this. I've tried long pieces of "drill rod" and it's a pretty good material as well and much cheaper than drill blanks, but drill blanks are the best for those "special jobs".
I hope this helps someone.
-john


 This topic is locked
