Jump to content


Photo

Tamiya Lola T70 Hardbody scratchbuilt


  • Please log in to reply
267 replies to this topic

#151 eshorer

eshorer

    Race Leader

  • Subscriber
  • PipPipPipPipPip
  • 903 posts
  • Joined: 25-August 07

Posted 04 August 2019 - 07:01 PM


But for a real scientific test, you would build the chassis with a motor bracket like the below, and try it both ways, on the same day, obviously under the same conditions.


Not so quick! Wouldn't you have to put the motor with the pinion on the opposite side if you were putting it behind the axle? Otherwise it'd turn the wrong direction, no?

Eddie


Eddie (not so Fast anymore) Shorer
Team Boola (circa the '60s)


#152 MSwiss

MSwiss

    Grand Champion Poster

  • IRRA National Director
  • PipPipPipPipPipPipPipPip
  • 25,849 posts
  • Joined: 16-April 06
  • Gender:Male

Posted 04 August 2019 - 07:09 PM

No.

You would run the motor on the same side.

With the motor in front, it "pushes" the spur down.

With the motor in back, it "pushes" the spur up.

The car goes forward, either way.
  • Pablo and Tim Neja like this

Mike Swiss
 
Inventor of the Low CG guide flag 4/20/18
IRRA® Components Committee Chairman
Five-time USRA National Champion (two G7, one G27, two G7 Senior)
Two-time G7 World Champion (1988, 1990), eight G7 main appearances
Eight-time G7 King track single lap world record holder

17B West Ogden Ave., Westmont, IL 60559, (708) 203-8003, mikeswiss86@hotmail.com (also my PayPal address)

Note: Send all USPS packages and mail to: 692 Citadel Drive, Westmont, Illinois 60559


#153 Pablo

Pablo

    Builder

  • Administrator
  • PipPipPipPipPipPipPipPip
  • 18,438 posts
  • Joined: 20-February 06
  • Gender:Male
  • Location:Cleveland, Tennessee

Posted 04 August 2019 - 07:15 PM

:D Eddie, Mike has ice cream in his freezer  :yahoo: 


Paul Wolcott


#154 eshorer

eshorer

    Race Leader

  • Subscriber
  • PipPipPipPipPip
  • 903 posts
  • Joined: 25-August 07

Posted 04 August 2019 - 07:17 PM

No.

You would run the motor on the same side.

With the motor in front, it "pushes" the spur down.

With the motor in back, it "pushes" the spur up.

The car goes forward, either way.


DOH!  And this is why I stick to driving, not building!    :dash2:

Eddie


Eddie (not so Fast anymore) Shorer
Team Boola (circa the '60s)

#155 Pablo

Pablo

    Builder

  • Administrator
  • PipPipPipPipPipPipPipPip
  • 18,438 posts
  • Joined: 20-February 06
  • Gender:Male
  • Location:Cleveland, Tennessee

Posted 04 August 2019 - 07:28 PM

Eddie, sit back, eat some Bon-Bons, exercise your trigger finger, and leave everything else to me :good: 

You are Chase Elliot and I'm Chad Knause :sun_bespectacled:  


  • MSwiss and eshorer like this

Paul Wolcott


#156 Ecurie Martini

Ecurie Martini

    Ecurie Martini

  • Full Member
  • PipPipPipPipPipPip
  • 1,118 posts
  • Joined: 19-February 06
  • Gender:Male
  • Location:Baltimore MD

Posted 04 August 2019 - 09:24 PM

"The culprit is, 3/32 axles riding loose in 1/8 square tubes are very sloppy. So the wheels let the chassis droop"


I don't know if this will be of any use but, FWIW, I often use 1/8" OD round tubing as a carrier for 3/32" axles.  (I don't know how the dimensions/tolerances compared to the square stuff)


When used for front axles, I run them dry.  The loads in a 1/32 car are so light that oil would only add vicious drag.


EM


Alan Schwartz

#157 Pablo

Pablo

    Builder

  • Administrator
  • PipPipPipPipPipPipPipPip
  • 18,438 posts
  • Joined: 20-February 06
  • Gender:Male
  • Location:Cleveland, Tennessee

Posted 05 August 2019 - 06:18 PM

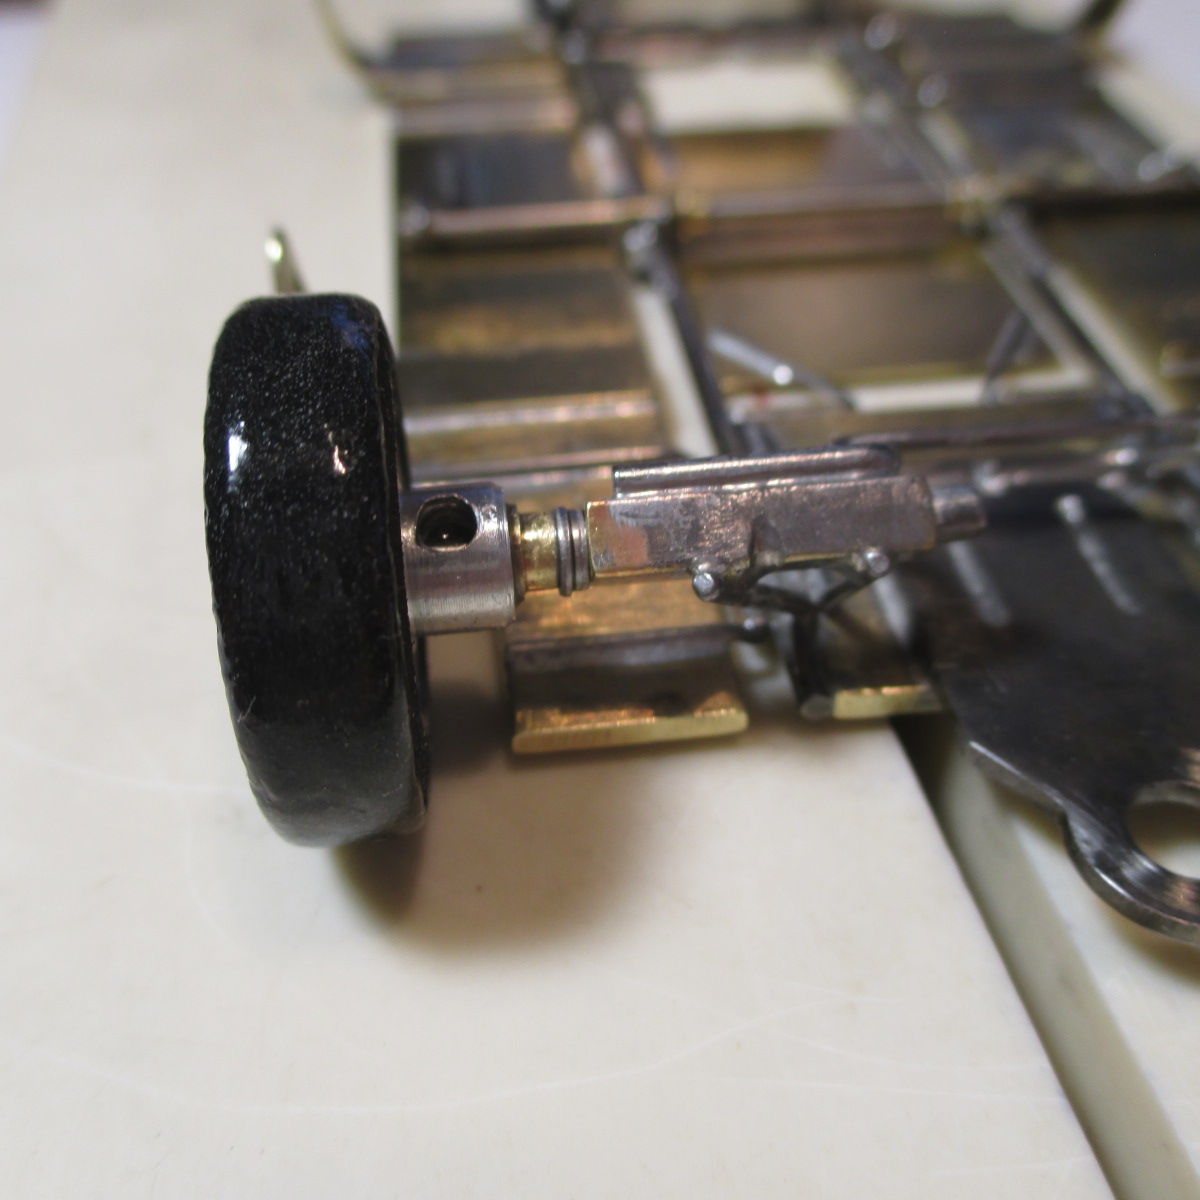
Front wheel assemblies are done, split wire axles soldered solid in the square tubes. I made notches to allow solder to flow in. It ain't "pretty" but it's race car. It's strong and it's right


IMG_3055.JPG


I exceeded my clearance goal a little, it will pass tech no problemo. I spaced the wheels out as far as I could - track is 2 13/16". WalMart clear nail polish is slick and they rotate with minimal wobble.


Would I do the setup the same way in the future? No. The use of square tubes gave me a little more solder joint area for the uprights compared to round tubes, but next time I'd probably just make "Z" hangers out of .063, solder them straight to the split 3/32 wires, wire wrap them, and use keepers. Onward …………  :wink2:


  • Jencar17 and Tex like this

Paul Wolcott


#158 Pablo

Pablo

    Builder

  • Administrator
  • PipPipPipPipPipPipPipPip
  • 18,438 posts
  • Joined: 20-February 06
  • Gender:Male
  • Location:Cleveland, Tennessee

Posted 06 August 2019 - 08:00 PM

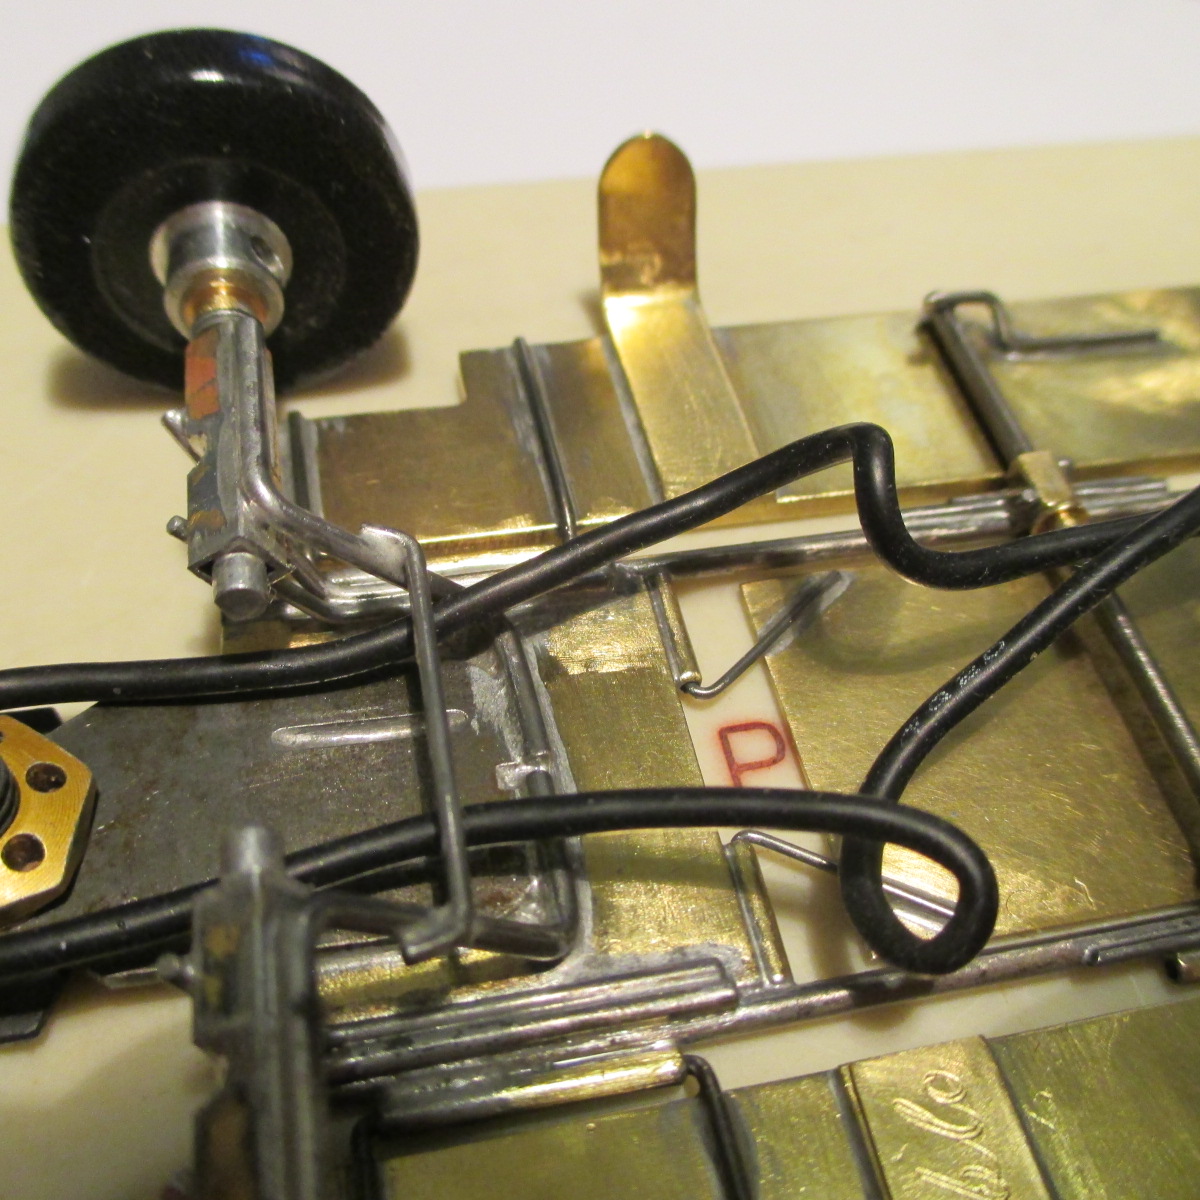
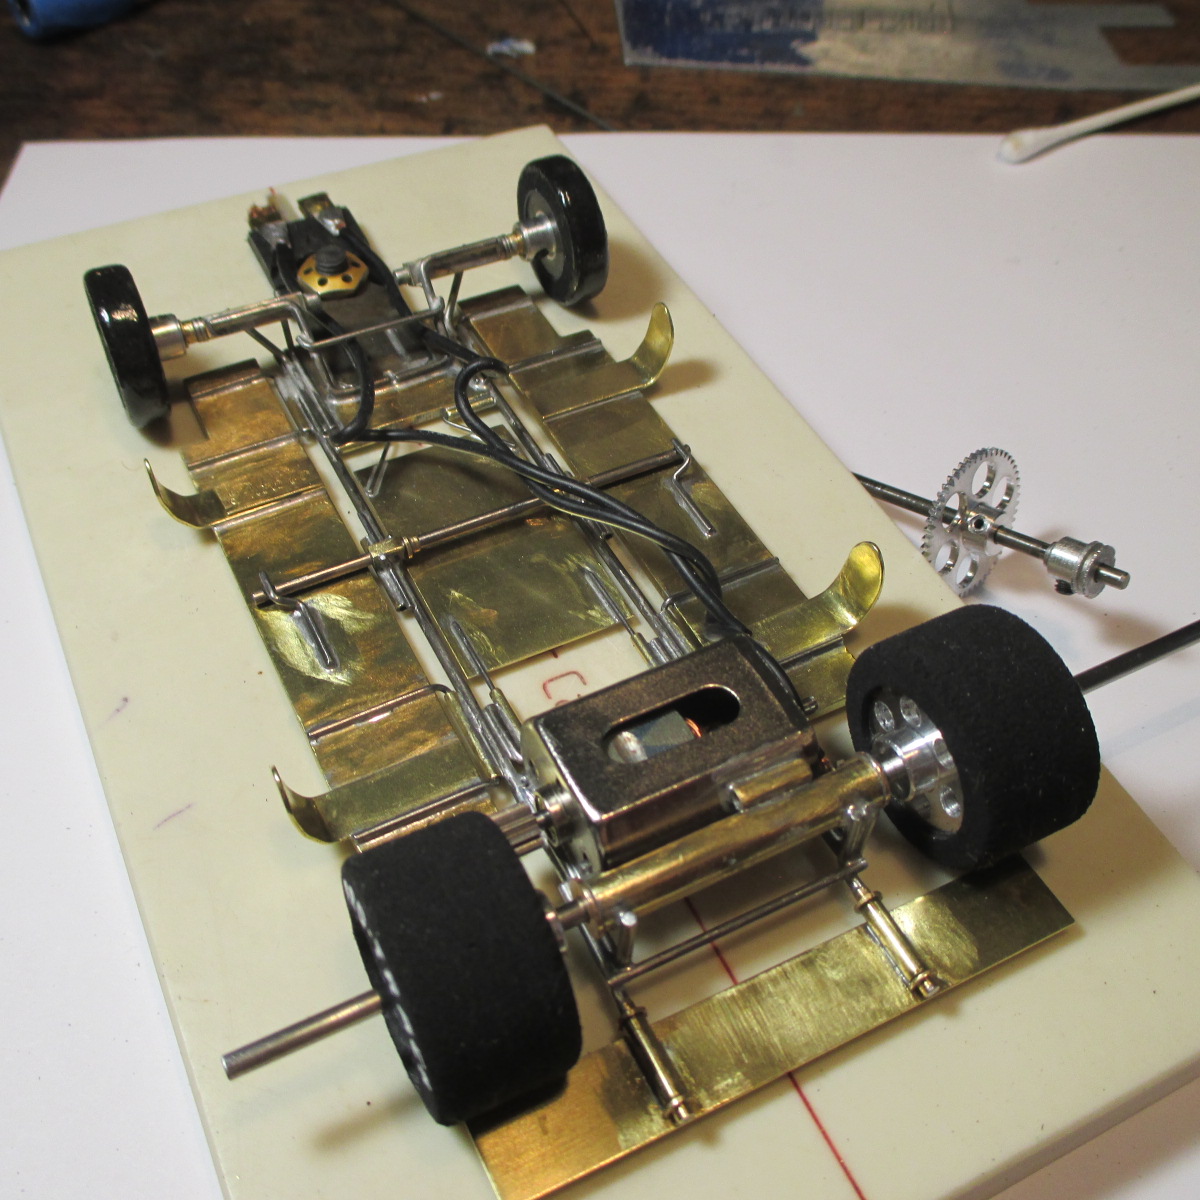
I tried several methods of lead wire routing for self-centering the flag - the "BP Kink" did the trick perfectly


IMG_3061.JPG  


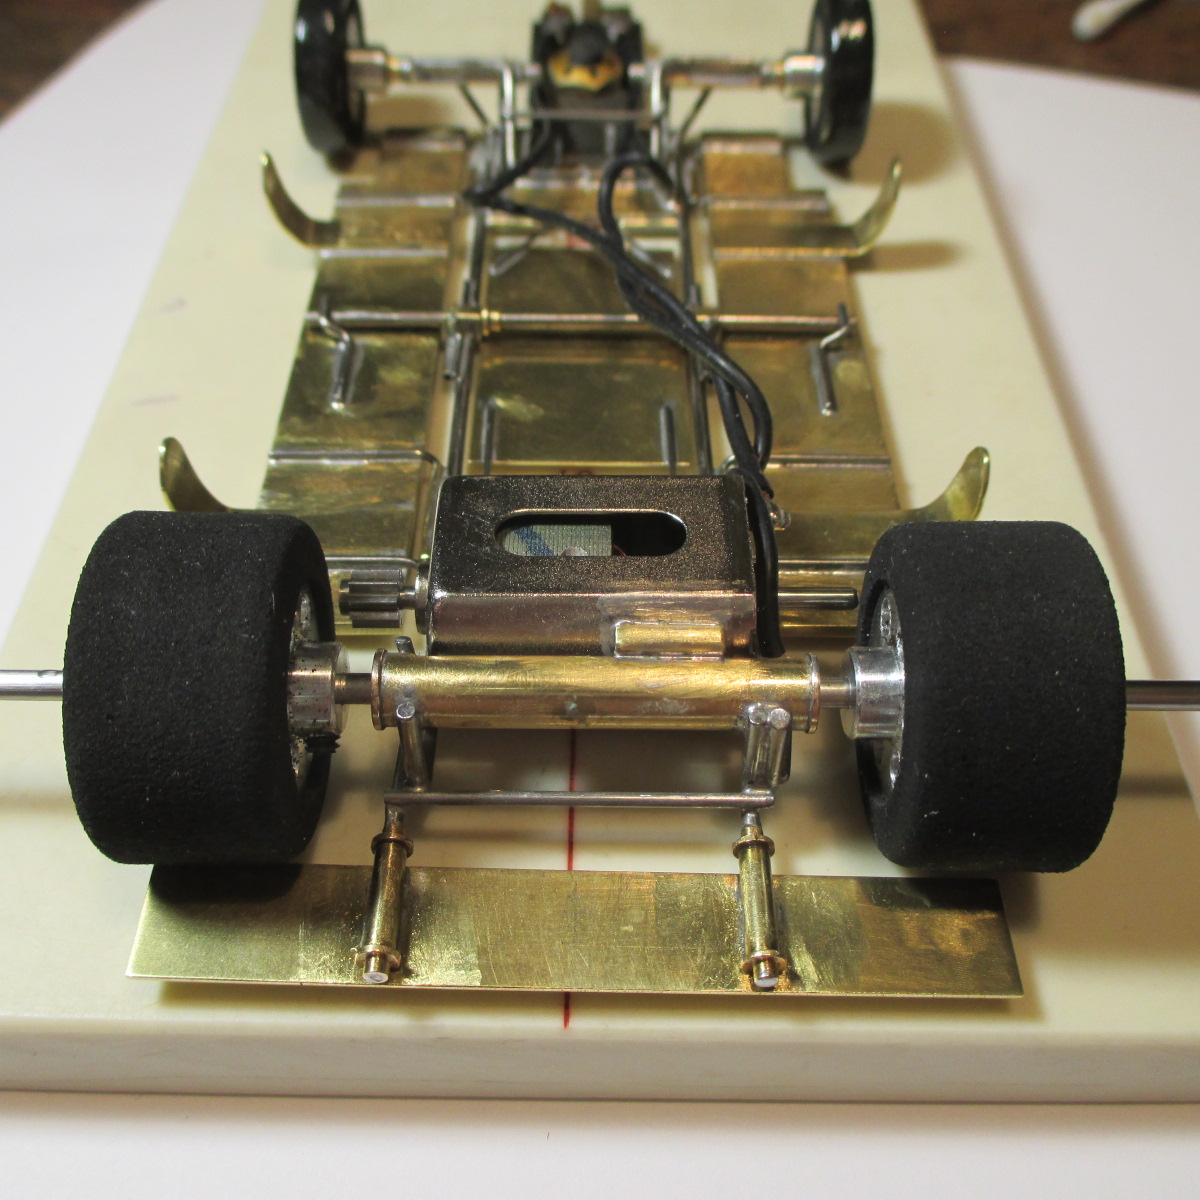
Daytona rears mike about 1.025" OD. So I'll need to trim them down a little. Looks like I'll need to shave some meat off the EB side of the old Hawk Retro shaft as well. No problemo :D


IMG_3067.JPG  


  • Jencar17, Peter Horvath and Jaeger Team like this

Paul Wolcott


#159 eshorer

eshorer

    Race Leader

  • Subscriber
  • PipPipPipPipPip
  • 903 posts
  • Joined: 25-August 07

Posted 07 August 2019 - 10:19 AM

It's looking pretty dang close to a test run! What's the final weight with body and interior expected to be? Remember, it's legal (and highly recommended) to shave weight off the inside of the body. Very clean build!

Eddie


Eddie (not so Fast anymore) Shorer
Team Boola (circa the '60s)

#160 Rotorranch

Rotorranch

    What's a title?

  • Full Member
  • PipPipPipPipPipPip
  • 1,755 posts
  • Joined: 22-November 10
  • Gender:Male
  • Location:Atlanta, GA

Posted 07 August 2019 - 10:27 AM

I don't think it's going to run worth a flip!


It's got no spur gear!!!   :shok:   :laugh2:  :sarcastic_hand: 


Rotor


Jeff Chambers

Posted Image      Posted Image
                                         "Kinky Kar"

#161 Pablo

Pablo

    Builder

  • Administrator
  • PipPipPipPipPipPipPipPip
  • 18,438 posts
  • Joined: 20-February 06
  • Gender:Male
  • Location:Cleveland, Tennessee

Posted 07 August 2019 - 04:52 PM

What's the final weight with body and interior expected to be?


My goal is >150 grams fully dressed, with no weights added. I haven't pre-planned it but it will be fun to guess. I promise I am not cheating, I'll guess 145 grams. It has so many places to add weight down low, it really doesn't matter. You can make it as heavy as you want to until the motor starts bogging  :) 


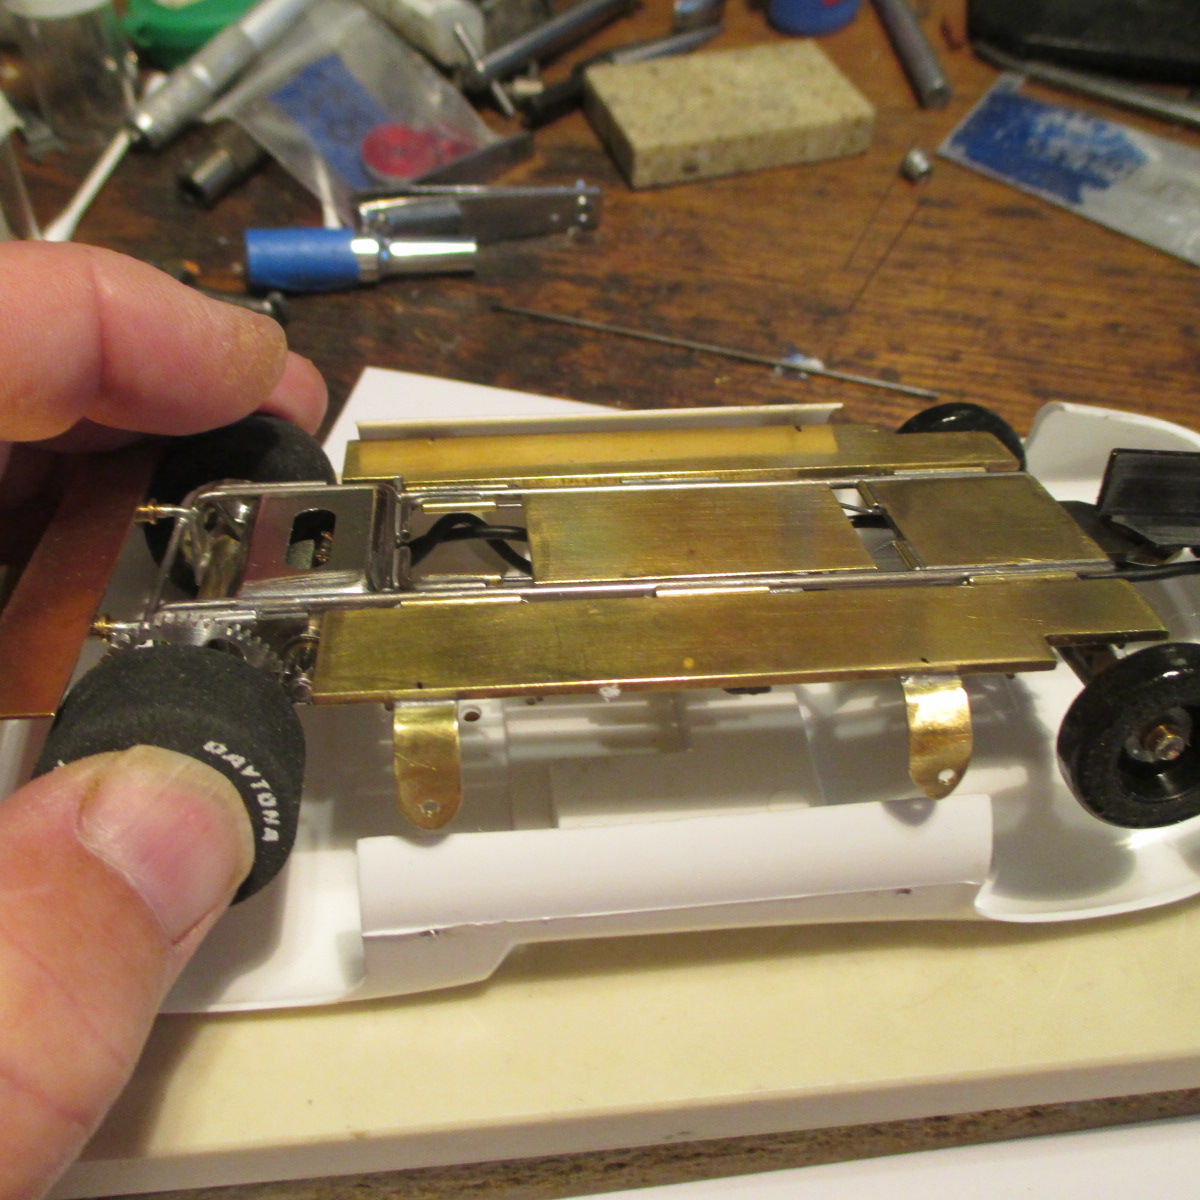
Motor EB shaft trimmed, rears trimmed/trued to .990 OD. She clears about .023 front and .063 rear. Plenty of practice meat to still pass tech 


IMG_3074.JPG


  • Jencar17 and DE38 like this

Paul Wolcott


#162 Pablo

Pablo

    Builder

  • Administrator
  • PipPipPipPipPipPipPipPip
  • 18,438 posts
  • Joined: 20-February 06
  • Gender:Male
  • Location:Cleveland, Tennessee

Posted 07 August 2019 - 04:55 PM

It's got no spur gear!!!  


Rotor


Rotor, you must have missed the post where I said it's a pulley drive. Don't you see it? It's the new JK Wankel mini-motor with Whisper Jet drive  :crazy:


  • Rotorranch likes this

Paul Wolcott


#163 Rotorranch

Rotorranch

    What's a title?

  • Full Member
  • PipPipPipPipPipPip
  • 1,755 posts
  • Joined: 22-November 10
  • Gender:Male
  • Location:Atlanta, GA

Posted 07 August 2019 - 05:12 PM

ROFLMFAO...  :shok: 


I want 2 of them!!!


Rotor


  • Pablo likes this
Jeff Chambers

Posted Image      Posted Image
                                         "Kinky Kar"

#164 Pablo

Pablo

    Builder

  • Administrator
  • PipPipPipPipPipPipPipPip
  • 18,438 posts
  • Joined: 20-February 06
  • Gender:Male
  • Location:Cleveland, Tennessee

Posted 07 August 2019 - 06:42 PM

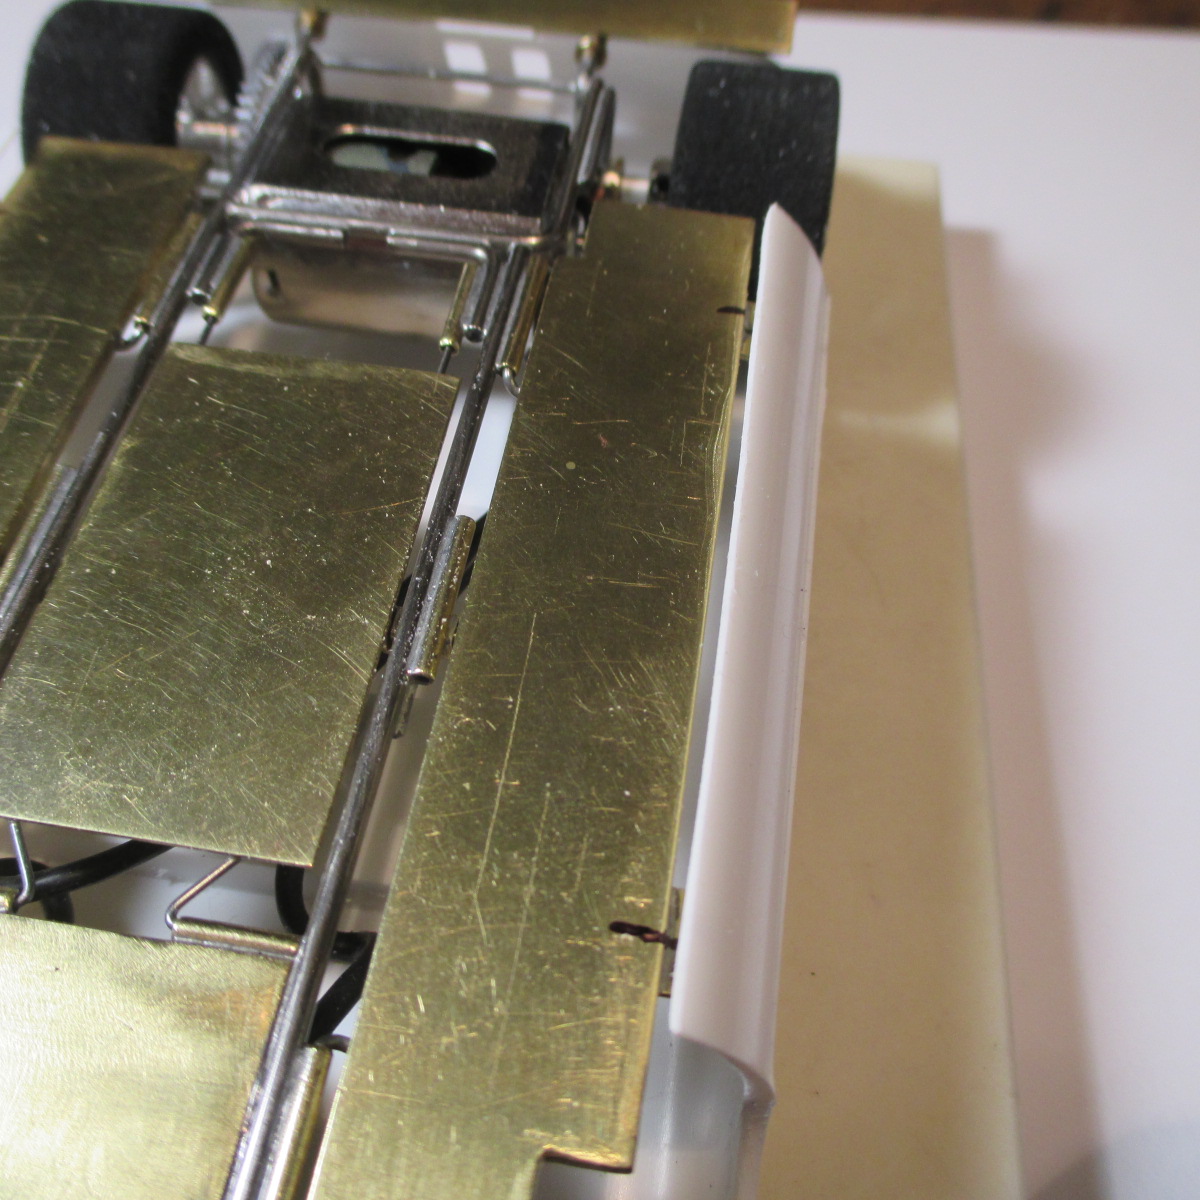
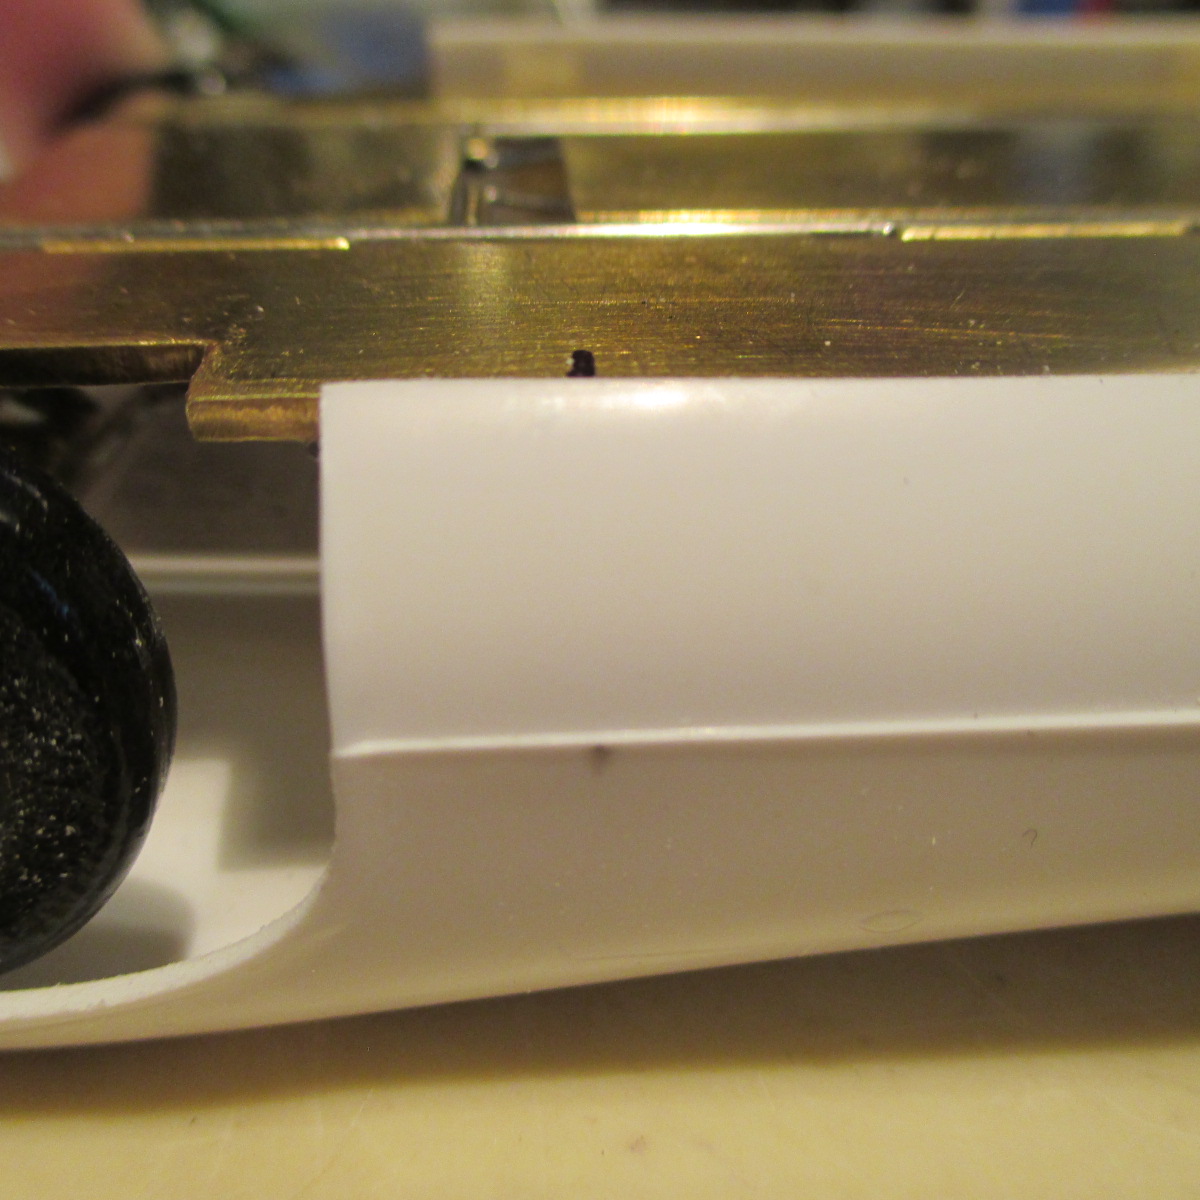
I trimmed a little bit of the body skirt. Not vertically - just horizontally


IMG_3084.JPG


Time to drill holes in the body for mounting, right at the pencil mark slightly above the body line


IMG_3087.JPG


  • Jencar17 likes this

Paul Wolcott


#165 Pablo

Pablo

    Builder

  • Administrator
  • PipPipPipPipPipPipPipPip
  • 18,438 posts
  • Joined: 20-February 06
  • Gender:Male
  • Location:Cleveland, Tennessee

Posted 08 August 2019 - 07:01 PM

Looks like I won't need my Gene ZR1 backup body mount plan - I got the clips to work fine  :good:

Gene's method looks real nice and I look forward to trying it on my next hardbody to see if I prefer it over clips  :)


Eddie, I don't know how much experience you have with clips, so forgive me if I over-explain this  :shok:

To mount the body, first insert one side, then grab the skirt on other side and flex it out until the .025 mount tabs fit in


IMG_3099.JPG


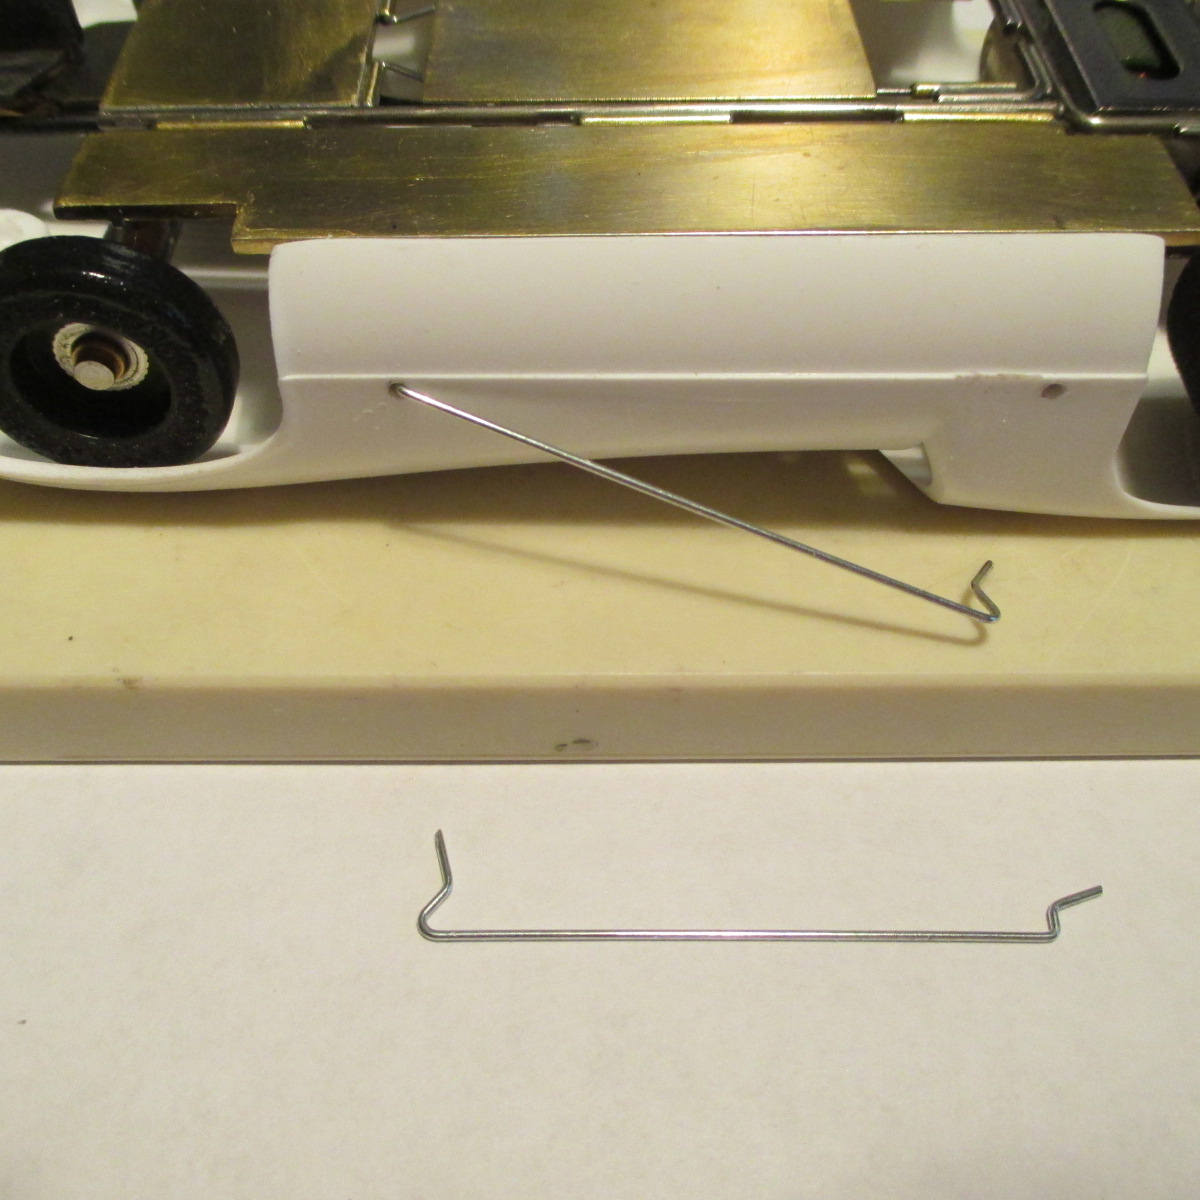
Then insert a clip through the forward holes (JK 2" clips are shown but I will be making my own custom clips)


IMG_3101.JPG


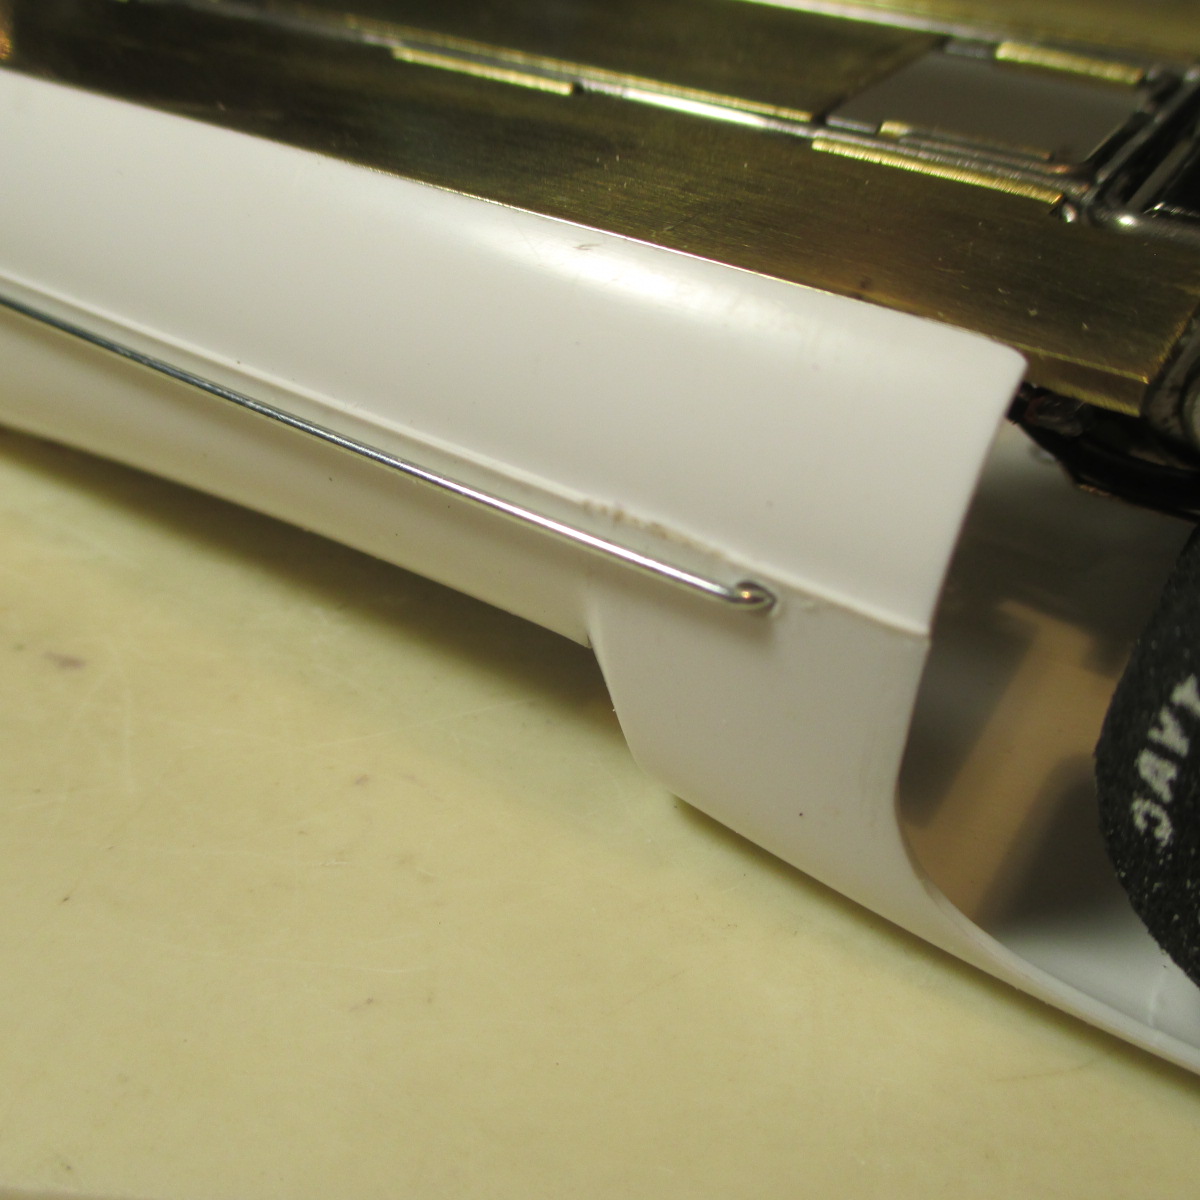
Then place the rear end of the clip through the body, fiddle it into the chassis tab, and push it home. It should snap in with a pleasant "click"  :)


IMG_3104.JPG


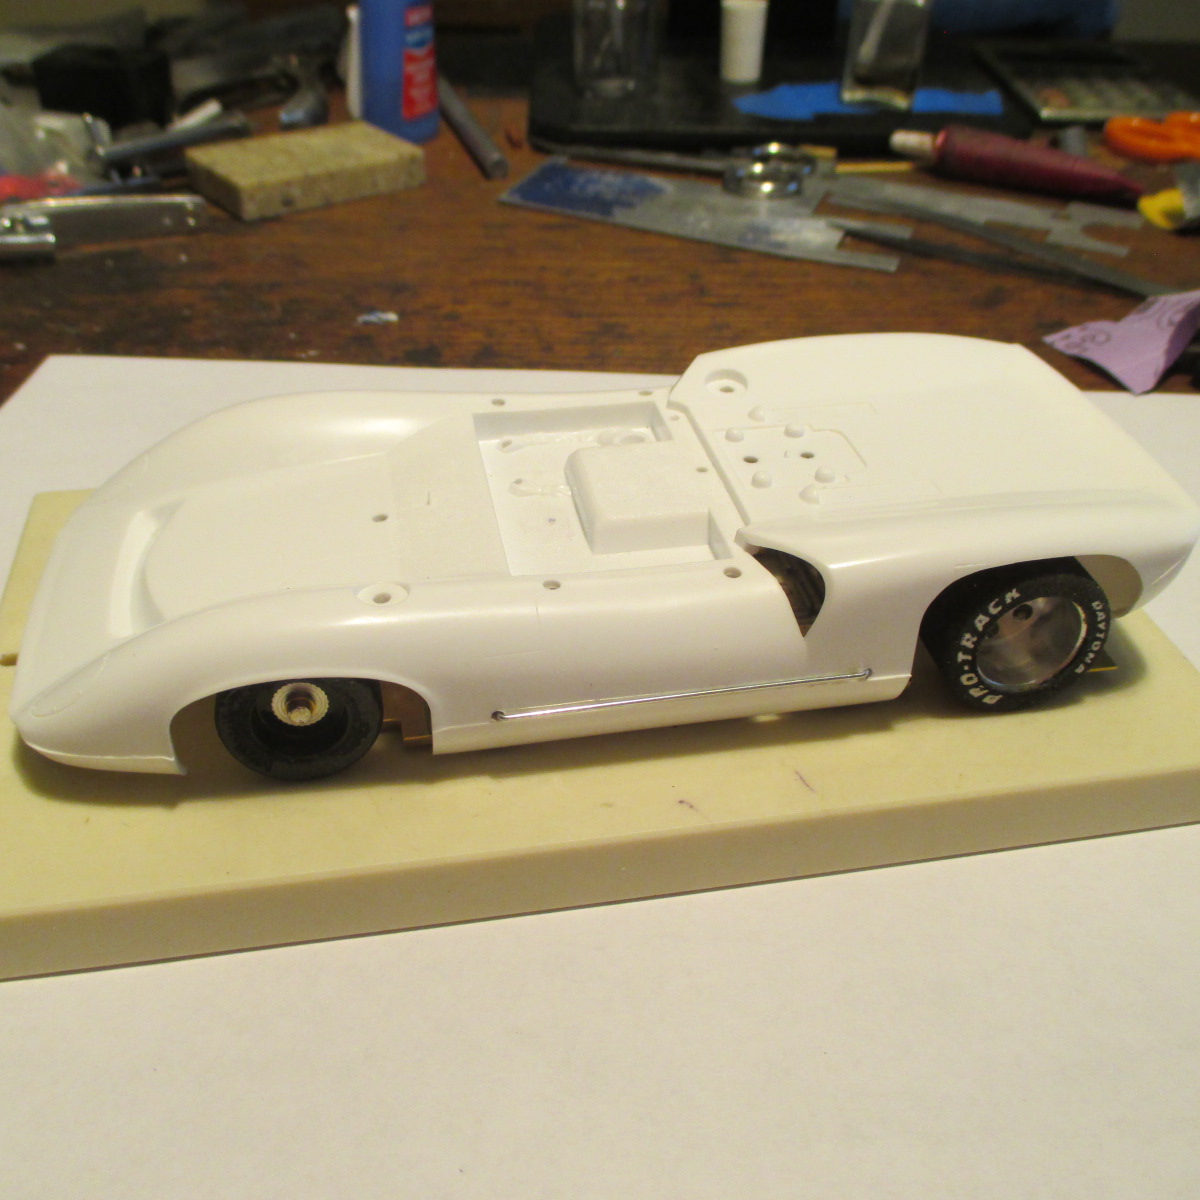
Repeat on other side. Body stance turned out real nice, and I was able to punch the rear wheel track out to 2 7/8. Depending on who techs the car, you may even be able to make it a full 3"  :good:


IMG_3106.JPG


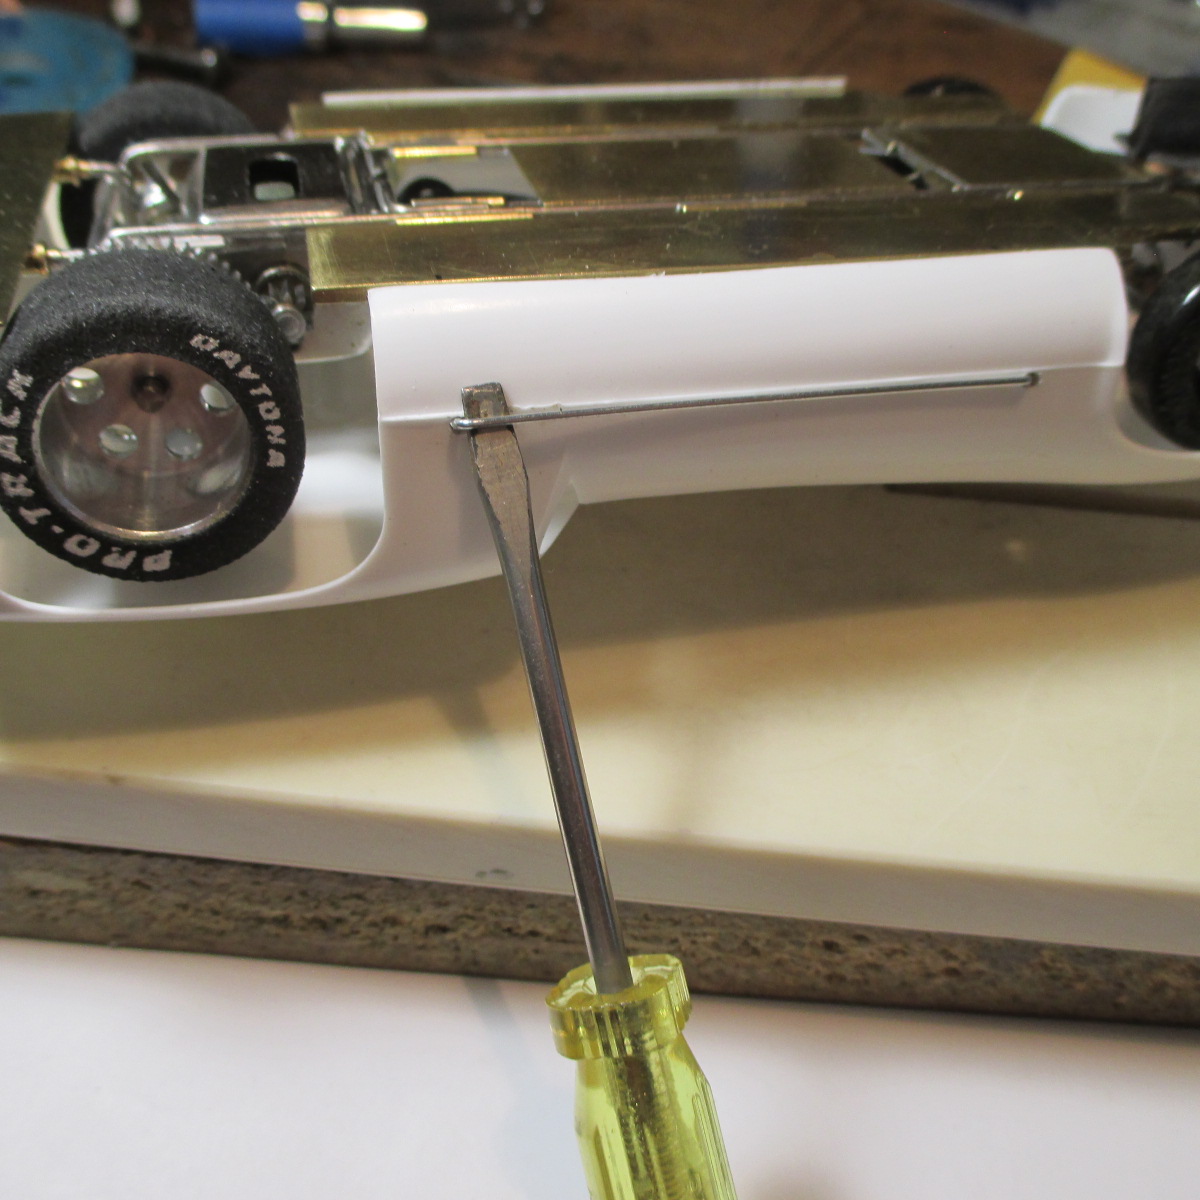
To remove the body, place a small screwdriver aft between clip and body, rotate, clip comes out 


IMG_3094.JPG


  • slotbaker, Jencar17 and Jaeger Team like this

Paul Wolcott


#166 MSwiss

MSwiss

    Grand Champion Poster

  • IRRA National Director
  • PipPipPipPipPipPipPipPip
  • 25,849 posts
  • Joined: 16-April 06
  • Gender:Male

Posted 08 August 2019 - 07:11 PM

Great job mounting that curved side body, Pablo.
 
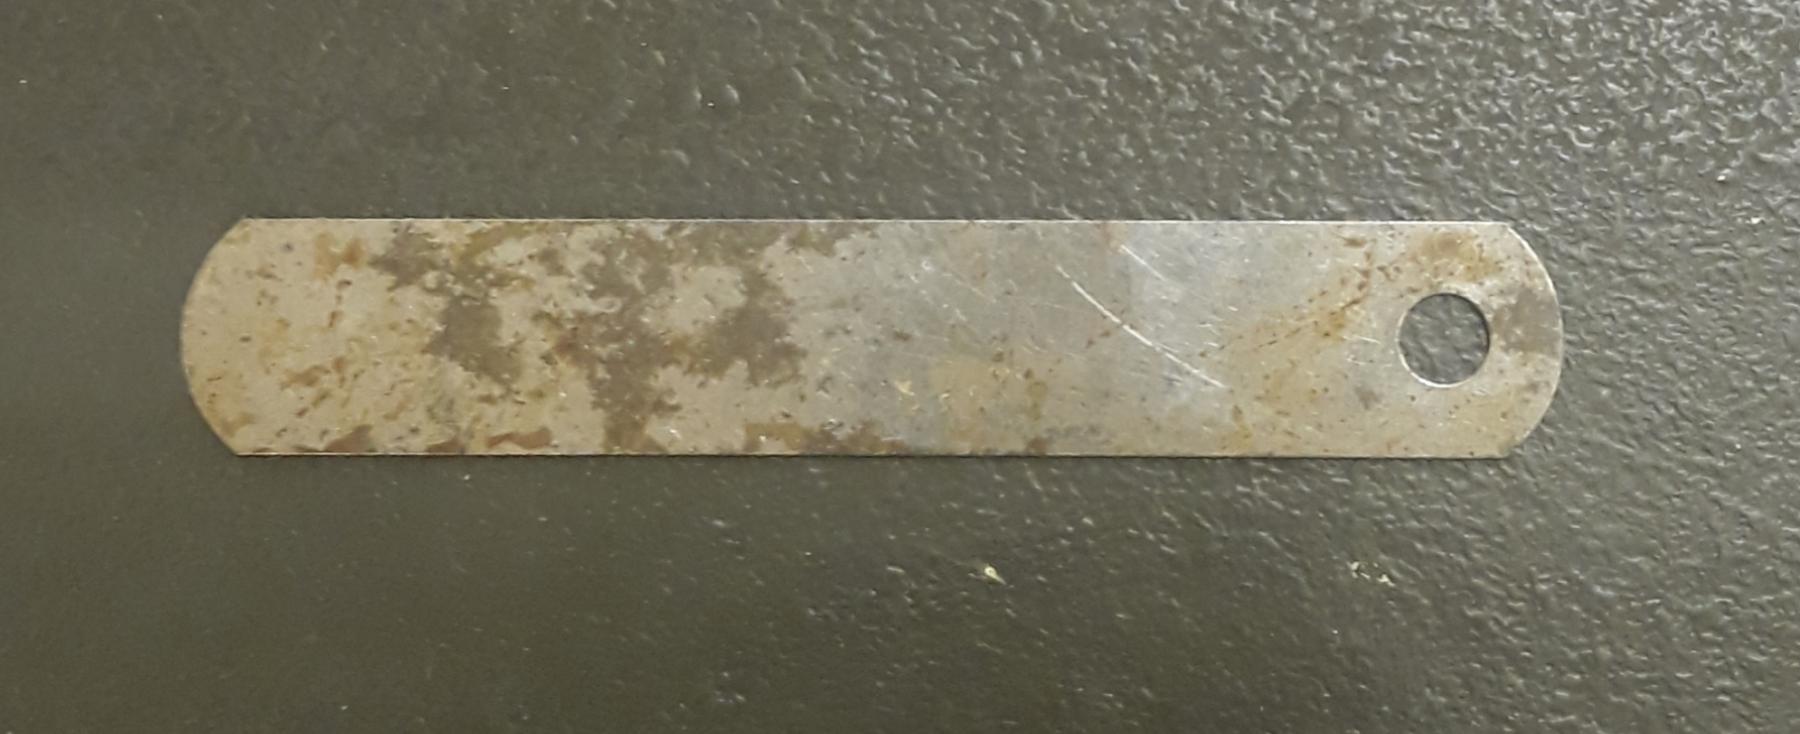
Below is your better weapon to remove the body clips, especially with a hard body that will have paint (or clear) on the outside.
 
A fairly thick, (.024" in this case), feeler gauge.


It's thin, not tapered, still stiff enough, and with being wider, will give you better leverage.

20190808_190818.jpg


  • slotbaker, Pablo, Jencar17 and 1 other like this

Mike Swiss
 
Inventor of the Low CG guide flag 4/20/18
IRRA® Components Committee Chairman
Five-time USRA National Champion (two G7, one G27, two G7 Senior)
Two-time G7 World Champion (1988, 1990), eight G7 main appearances
Eight-time G7 King track single lap world record holder

17B West Ogden Ave., Westmont, IL 60559, (708) 203-8003, mikeswiss86@hotmail.com (also my PayPal address)

Note: Send all USPS packages and mail to: 692 Citadel Drive, Westmont, Illinois 60559


#167 Don Weaver

Don Weaver

    Checkered Flag in Hand

  • Subscriber
  • PipPipPipPipPipPip
  • 1,853 posts
  • Joined: 26-October 07
  • Gender:Male
  • Location:Lexington. SC

Posted 08 August 2019 - 07:45 PM


"Gene's method looks real nice and I look forward to trying it on my next hardbody to see if I prefer it over clips"  :)


Another hardbody in the works?   Looking forward to another Pablo build.   BTW, really good looking stance on the mounted body :good: !!


Don


Don Weaver

​A slot car racer who never grew up!


The supply of government exceeds demand.
L.H. Lapham
 
If the brain-eating amoeba invades Washington
it will starve to death...


#168 Pablo

Pablo

    Builder

  • Administrator
  • PipPipPipPipPipPipPipPip
  • 18,438 posts
  • Joined: 20-February 06
  • Gender:Male
  • Location:Cleveland, Tennessee

Posted 08 August 2019 - 08:18 PM

Thanks Mike, thanks Don  :D  Good gouge on using the feeler for leverage, Mike. I'm sure Eddie is listening …….


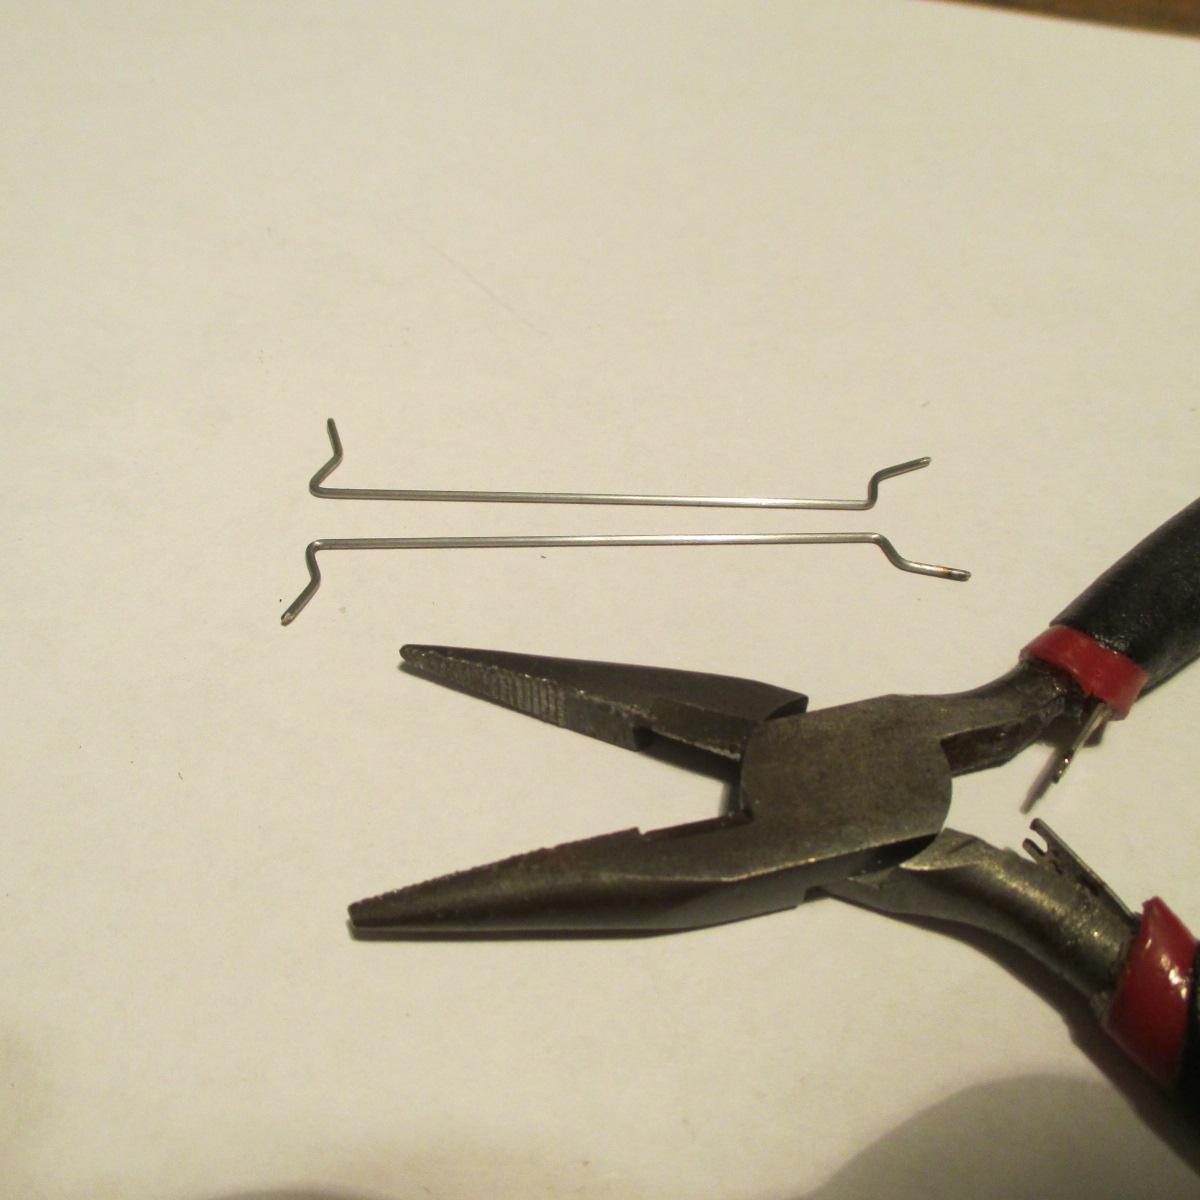
The 2 inch JK clips were just for fitting - I fabricated my own custom clips using pliers and a ruler. I don't always nail my bends first try, but this time I did. They snap fit perfectly, ends are sharpened, and give a little more body wiggle than the JK clips


IMG_3120.JPG


  • Jencar17, MSwiss, Tex and 1 other like this

Paul Wolcott


#169 eshorer

eshorer

    Race Leader

  • Subscriber
  • PipPipPipPipPip
  • 903 posts
  • Joined: 25-August 07

Posted 08 August 2019 - 08:32 PM

It is SO coming together! I've got similar wire clips on a Gonzo car, so I'm familiar with them. His clips go straight into tubing, instead of the brass holders. Two things as it's nearing completion, which I may have mentioned before: 1. Make sure the body doesn't "stress" the chassis or pinch it with the clips in place. It should even shake a tad, if anything. 2. Controversial, but since it's legal, lighten the body from the inside with a grinding tool as much as possible. That hardbody weight up high is what generally hampers the handling. Any chance of it getting here for our August 18th race? No pressure. But you are cranking that thing out at a very nice pace! FYI: We race on 3rd and 5th Sundays, so there could be two opportunities in September.  

Eddie

PSsssst... No official tech takes place during our monthly races, unless a car is obviously wide, or dragging or missing a tire/wheel. It's the NATS and Enduros where things get serious!


Eddie (not so Fast anymore) Shorer
Team Boola (circa the '60s)

#170 Pablo

Pablo

    Builder

  • Administrator
  • PipPipPipPipPipPipPipPip
  • 18,438 posts
  • Joined: 20-February 06
  • Gender:Male
  • Location:Cleveland, Tennessee

Posted 09 August 2019 - 08:37 AM

1. Got it covered :good: As soon as you feel it in your hands, you will know.

2. Got it covered  :good:  You can carve more if you want when you get it.


You can add as many steel 20 thou spacers as you want up to 3" and the body will allow it, but at some point in excess of 2 7/8 the sidewalls are gonna start peeking out...……  ^_^


Aug 18? I'll do the best I can.


  • eshorer likes this

Paul Wolcott


#171 Pablo

Pablo

    Builder

  • Administrator
  • PipPipPipPipPipPipPipPip
  • 18,438 posts
  • Joined: 20-February 06
  • Gender:Male
  • Location:Cleveland, Tennessee

Posted 09 August 2019 - 03:42 PM

-rear axle given final trim, it has just enough extra meat on the stbd. side to punch the wheels out to a full 3".


-running gear readied with set screws 120 degrees apart; she passes the drivetrain test real nice, very smooth.


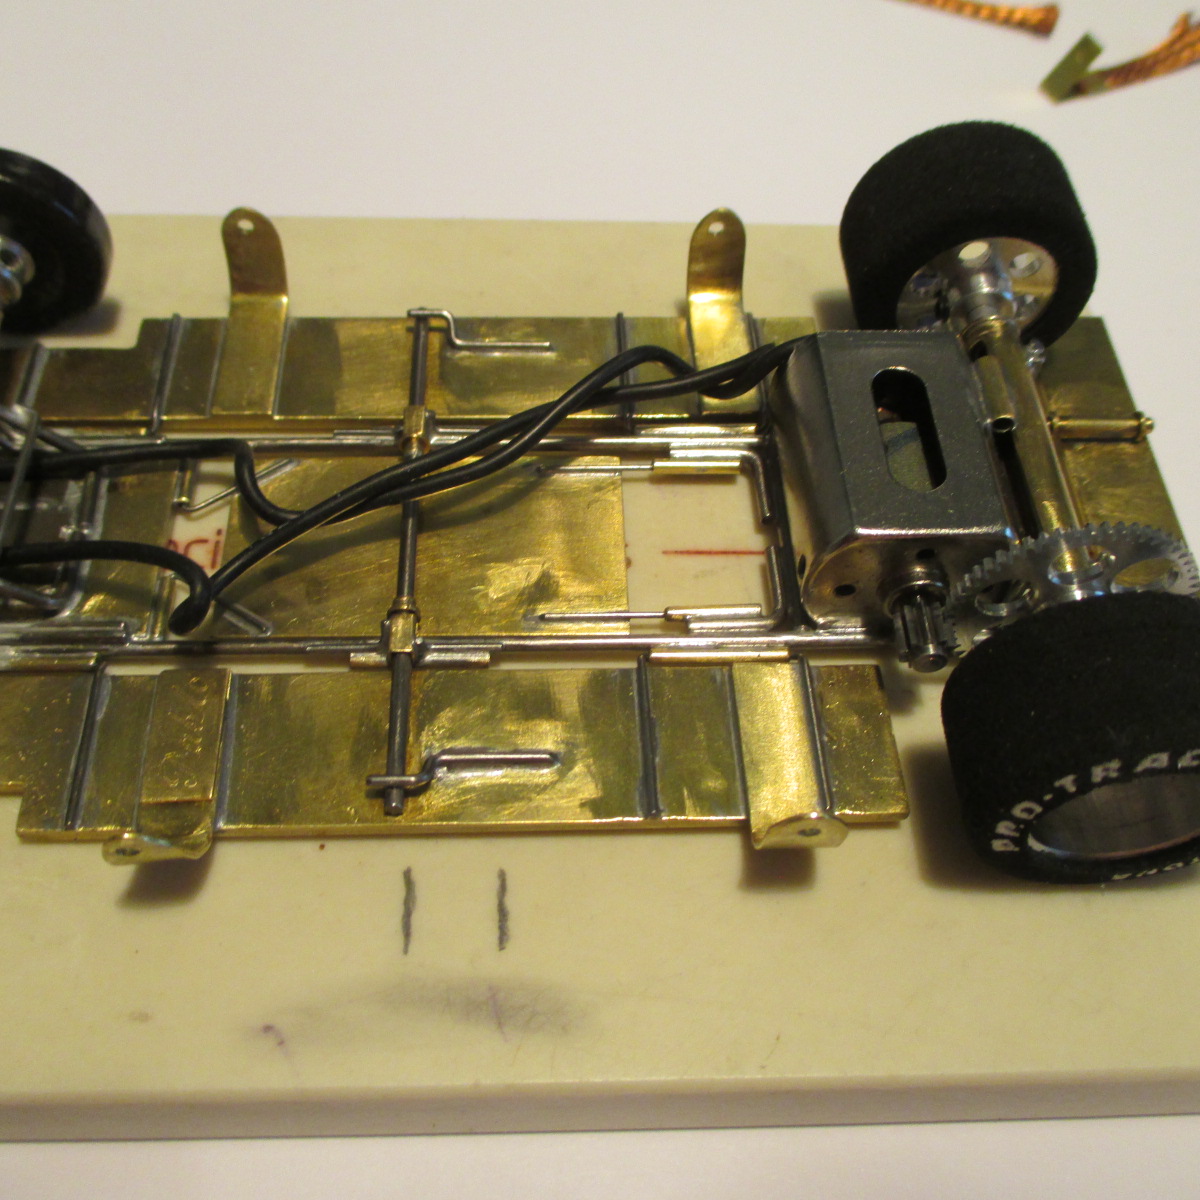
-current weight with body on and no lead added is 139; current fore/aft balance point is at the right hand pencil mark - I want it to go forward a little to the left mark close to the bite bar - time to start adding weights to meet my weight goal while making the balance perfect


IMG_3123.JPG


  • Jencar17 and eshorer like this

Paul Wolcott


#172 eshorer

eshorer

    Race Leader

  • Subscriber
  • PipPipPipPipPip
  • 903 posts
  • Joined: 25-August 07

Posted 09 August 2019 - 05:09 PM

Interesting. What do you use to determine the ideal balance point? That is, why are you wanting it to be at the forward mark? In our 1/32nd scale Hardbody RTR club cars we use a formula to get a percentage to determine the balance between the center of the rear axle and the center of the guide post. I don't recall what it is exactly, but I know it would move your pencil mark even further back.

Can you weigh the body? I'm just curious what it's checking in at. I'm guessing a good 20-30 grams will need to be added for starters. Usually just in front of the rear tires on those outer pans. 

Eddie


Eddie (not so Fast anymore) Shorer
Team Boola (circa the '60s)

#173 Pablo

Pablo

    Builder

  • Administrator
  • PipPipPipPipPipPipPipPip
  • 18,438 posts
  • Joined: 20-February 06
  • Gender:Male
  • Location:Cleveland, Tennessee

Posted 09 August 2019 - 06:07 PM

To check my balance point fore/aft, I use a piece of whatever rod or tube is handy, like a 3/32 tube, hold it under the chassis and cradle the car. No science here, just seat of pants, and my educated fingers. All my best handling anglewinder/sidewinder cars seem to balance about midway between rear axle and flag shaft. I usually use that as a starting point, and adjust from there.....


You say your 1/32 cars have the balance point further aft. The "BP Platform" will be your answer to that ……...


The body as is, weighs 23. But I haven't cut the interior out yet. Stand by for body work. 


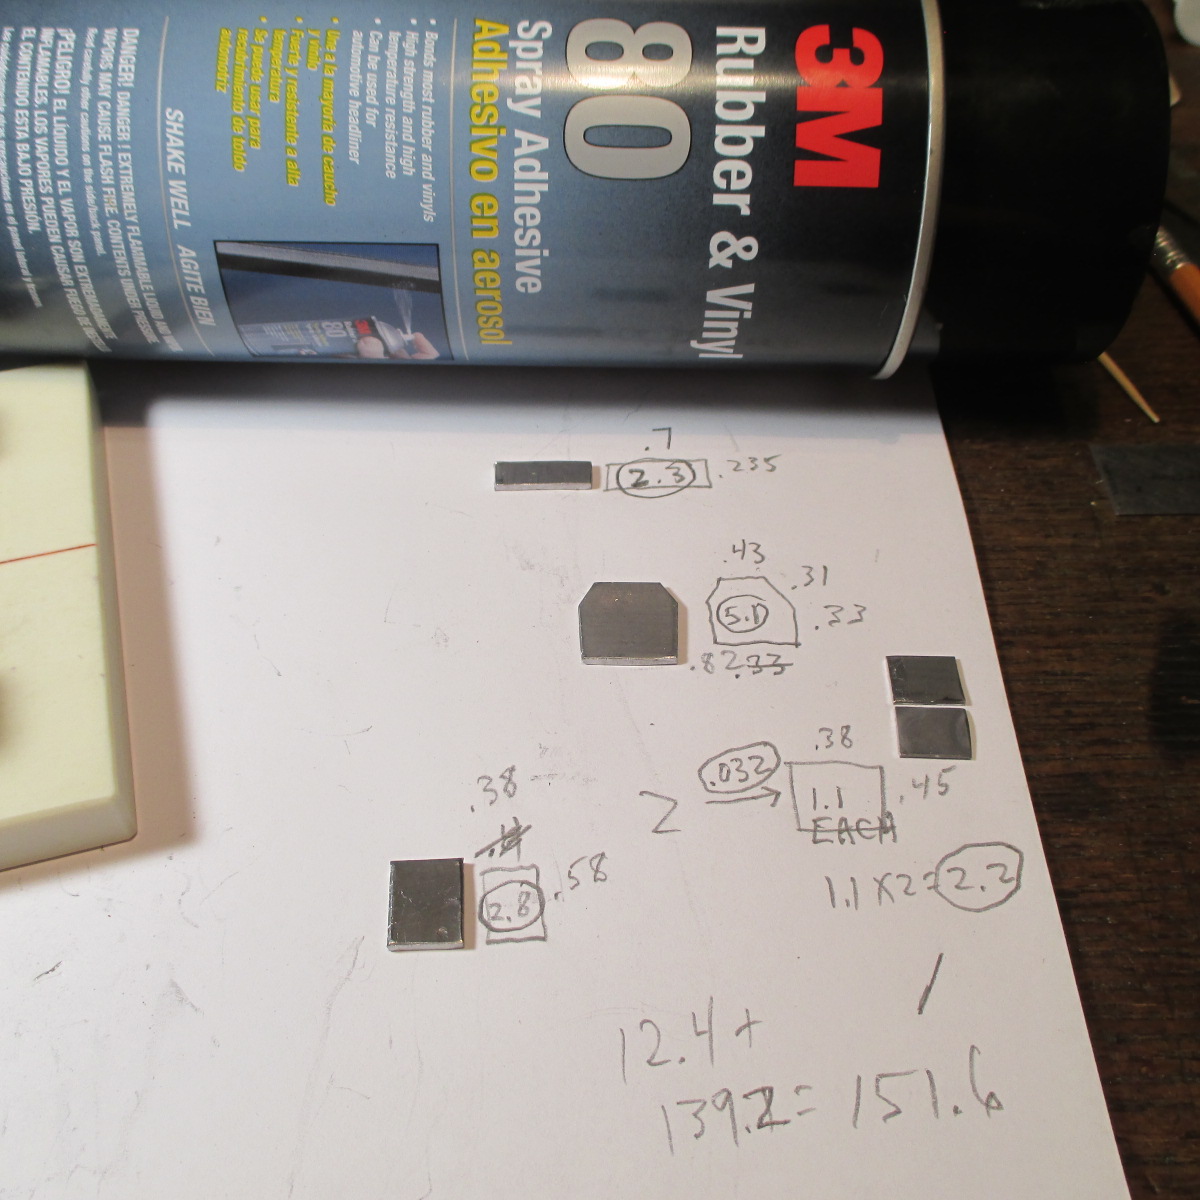
Just to show there actually is a method to my simple "pencil and ruler" madness, here is the simple math, dimensions and weights of those I consider permanent. As I said in my previous post, the goal is to add overall weight, and change the balance point forward a little. Once attached, the car plus body should weigh about 152 and the balance point should be very close to the bite bar.


Tony P. says the best attachment method for weights is contact cement. So I went crazy, found every single weight I could find here at The Ranch and those that still have factory glue residue and self adhesive tape got soaked in Lac thinner for a while. That way they all sit as low as possible and will be attached with 3M #80, or sometimes double sided wing tape. Eddie, if you want to remove them, just a touch of lac thinner will release them  :)


IMG_3127.JPG


Paul Wolcott


#174 Pablo

Pablo

    Builder

  • Administrator
  • PipPipPipPipPipPipPipPip
  • 18,438 posts
  • Joined: 20-February 06
  • Gender:Male
  • Location:Cleveland, Tennessee

Posted 09 August 2019 - 06:44 PM

IMG_3138.JPG


IMG_3134.JPG


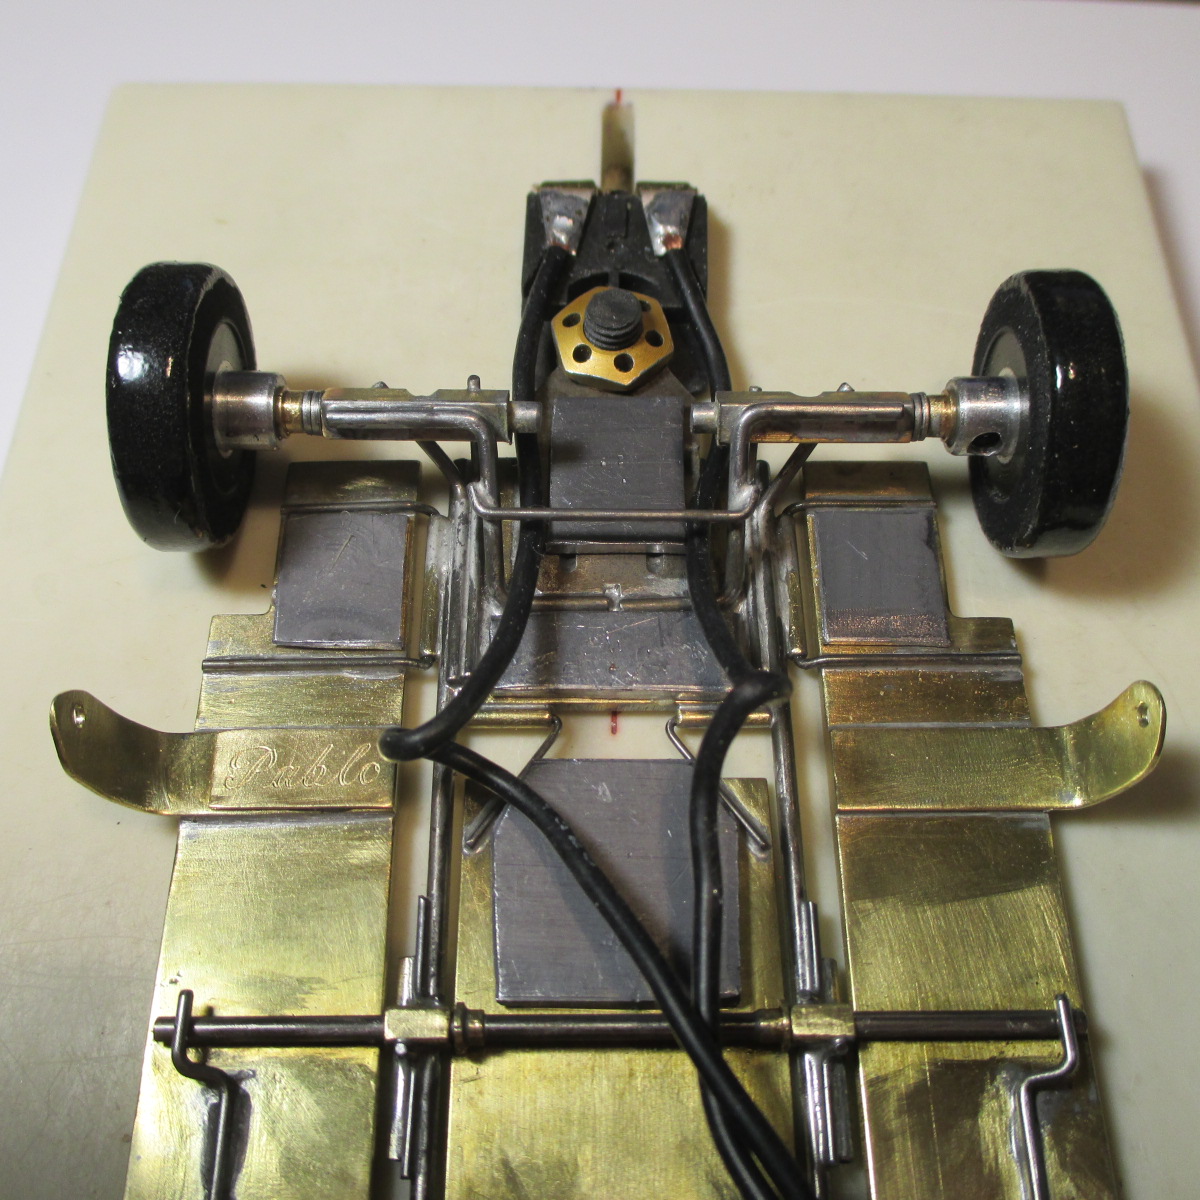
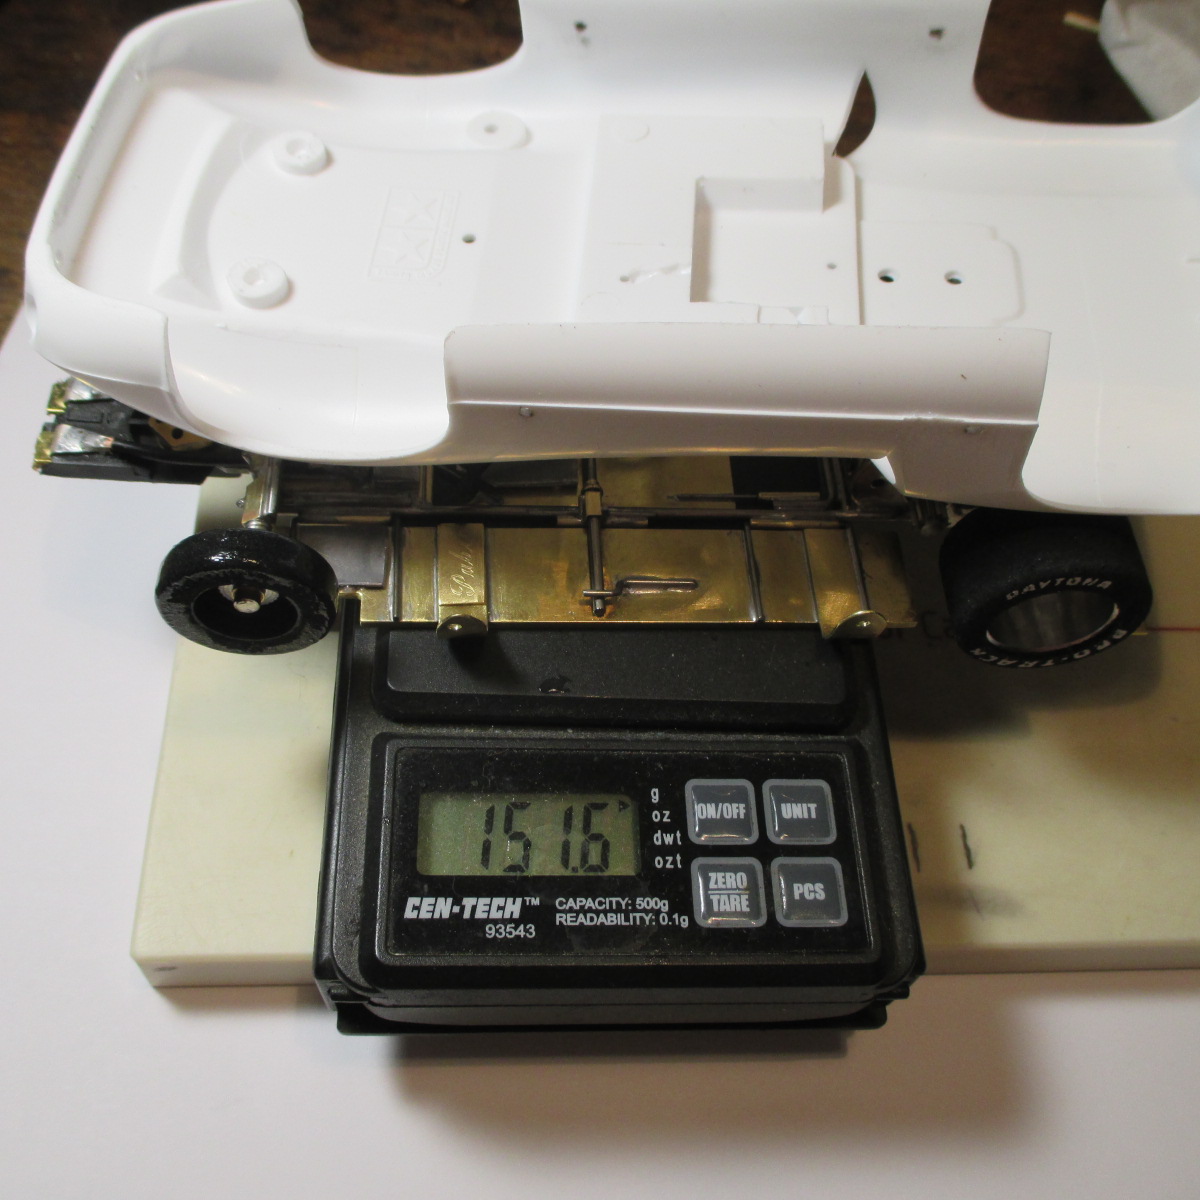
Balance point is now slightly aft of the bite bar and weight with body is 151. I'm happy with my weighting, and Eddie can fine tune it to his liking at the track. Onward  :)


Paul Wolcott


#175 Pablo

Pablo

    Builder

  • Administrator
  • PipPipPipPipPipPipPipPip
  • 18,438 posts
  • Joined: 20-February 06
  • Gender:Male
  • Location:Cleveland, Tennessee

Posted 09 August 2019 - 08:33 PM

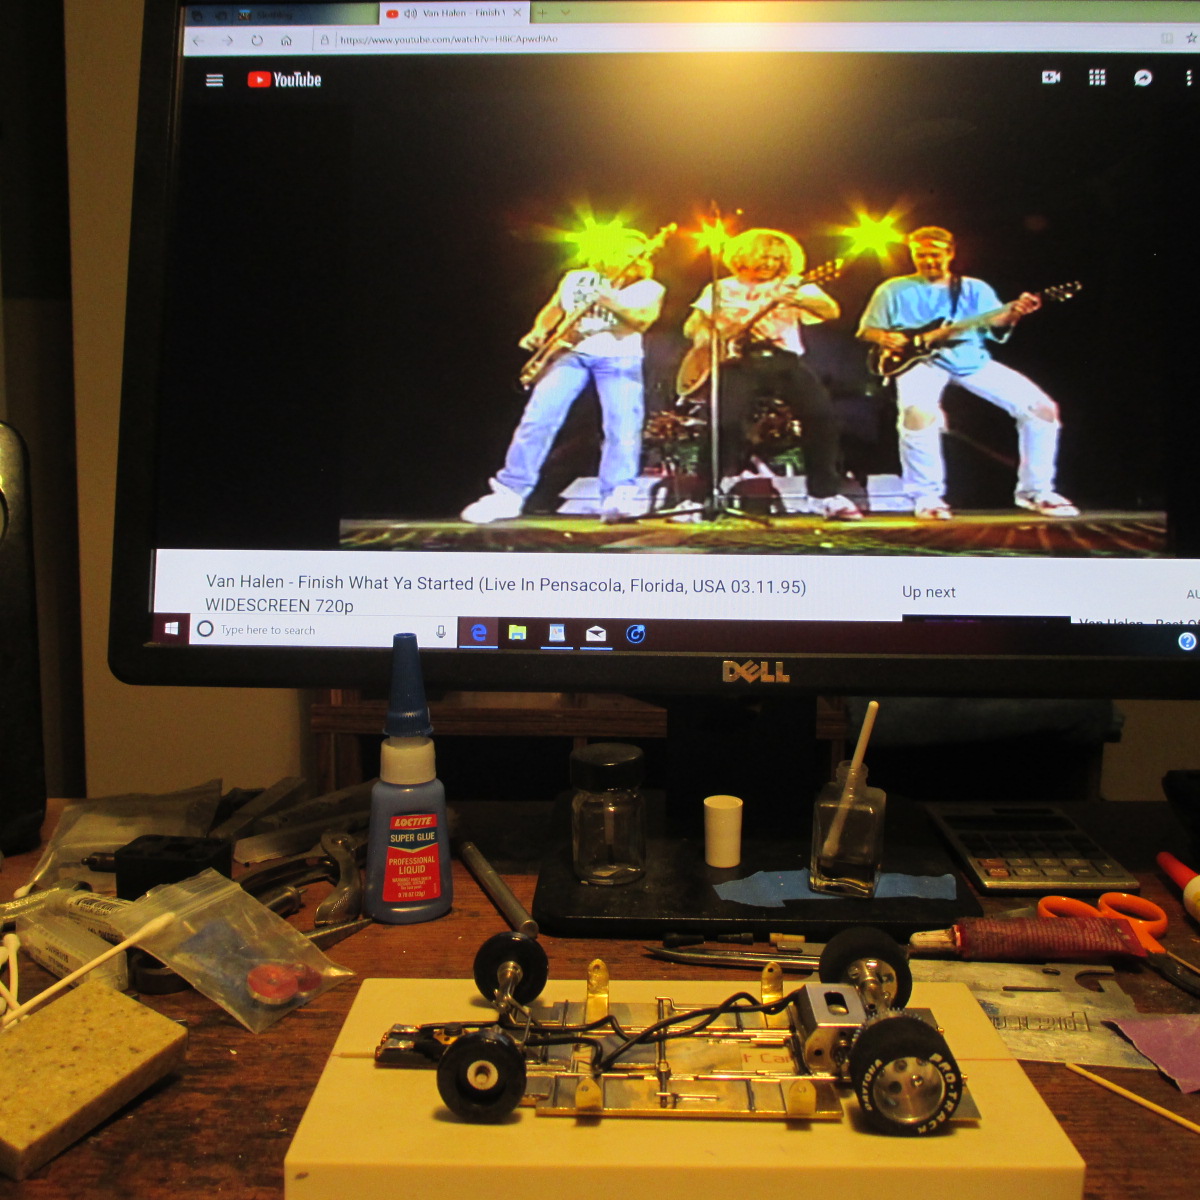
Will it be ready for racing 18 August? It all depends on how long it takes me to apply stickers, doll it up, clear coat it, and take it to the post office. Why don't you ask Sammy Hagar and Van Halen 


IMG_3155.JPG


Paul Wolcott


Electric Dreams Online Shop