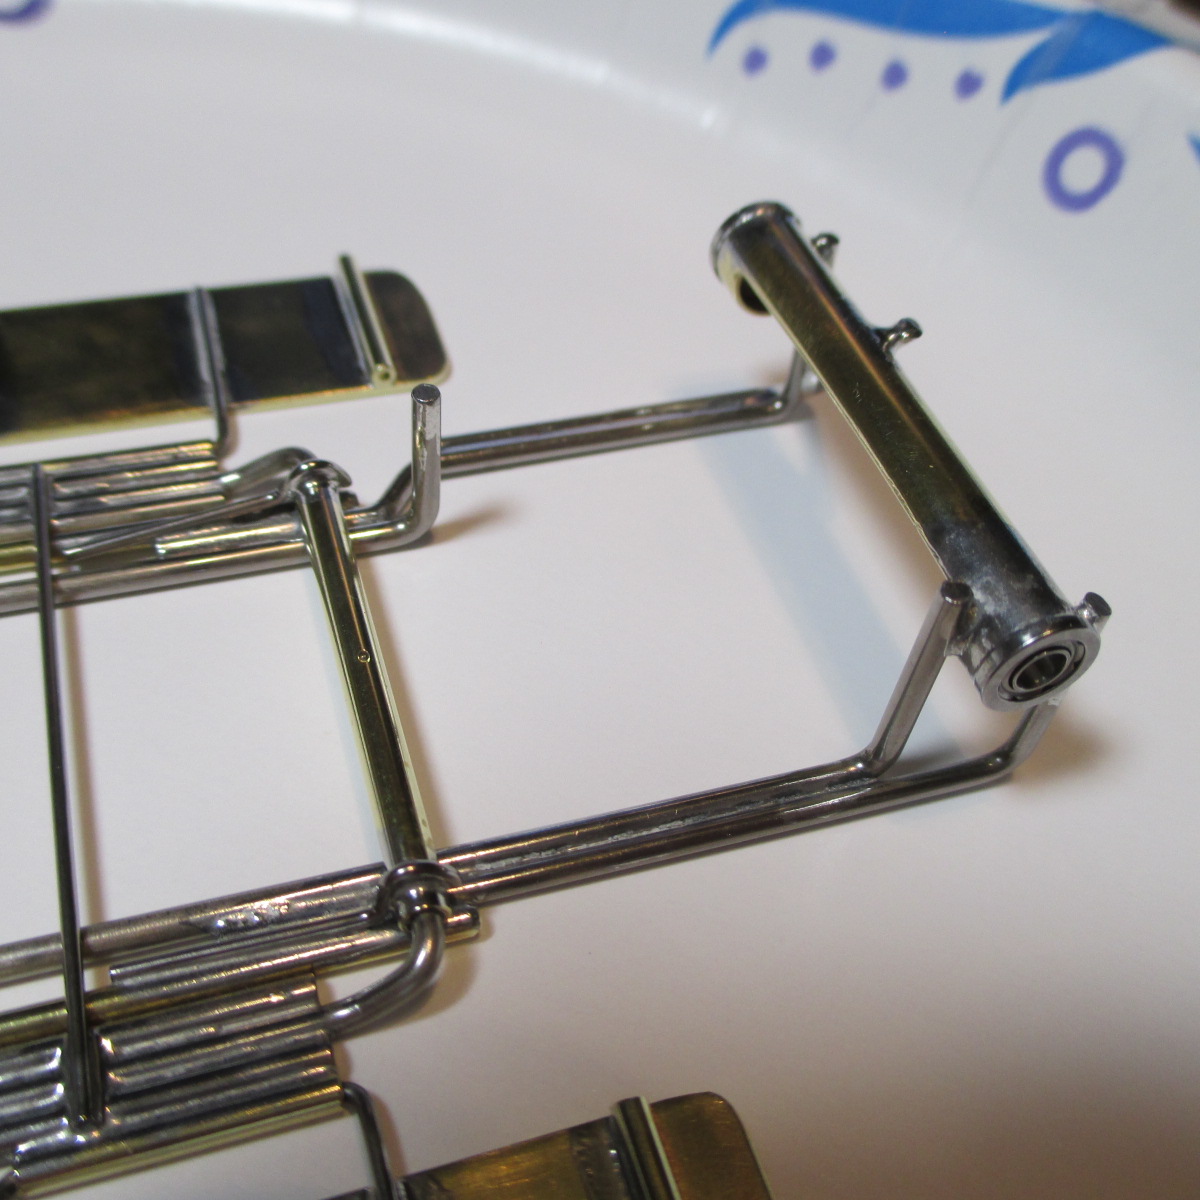
You could drill some1/8" holes for use of them with other jigs too, except the ceramic honeycomb ones..

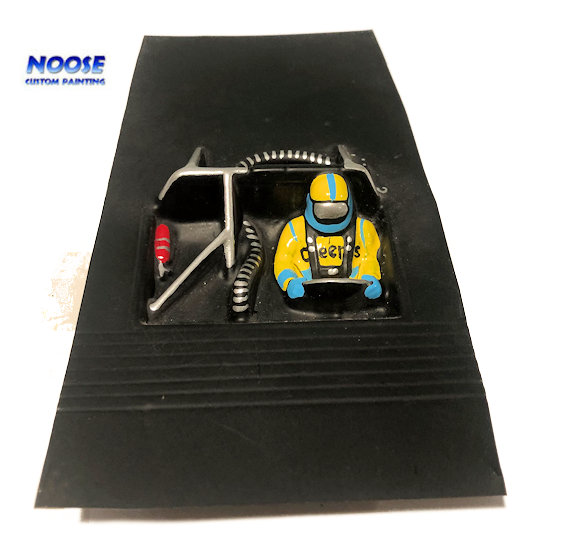
NASCAR 'Cheerios' Johnny Benson 4.5" hardbody
#76

Posted 20 July 2021 - 09:42 PM
I intend to live forever! So far, so good.
#77

Posted 21 July 2021 - 01:52 AM
ha ha. pablo, the genius of your "axel stands" is the repeatability of your construction techniques. any tire size, axel height or frame build can be duplicated easily. great idea. AND, your making use of parts that otherwise would have been discarded - repurposing them. i love it!
Glad you like it, John. "Recycle Sally" LOL
Bill is the genius who invented me - he created a monster (and probably regrets it now ![]() )
)
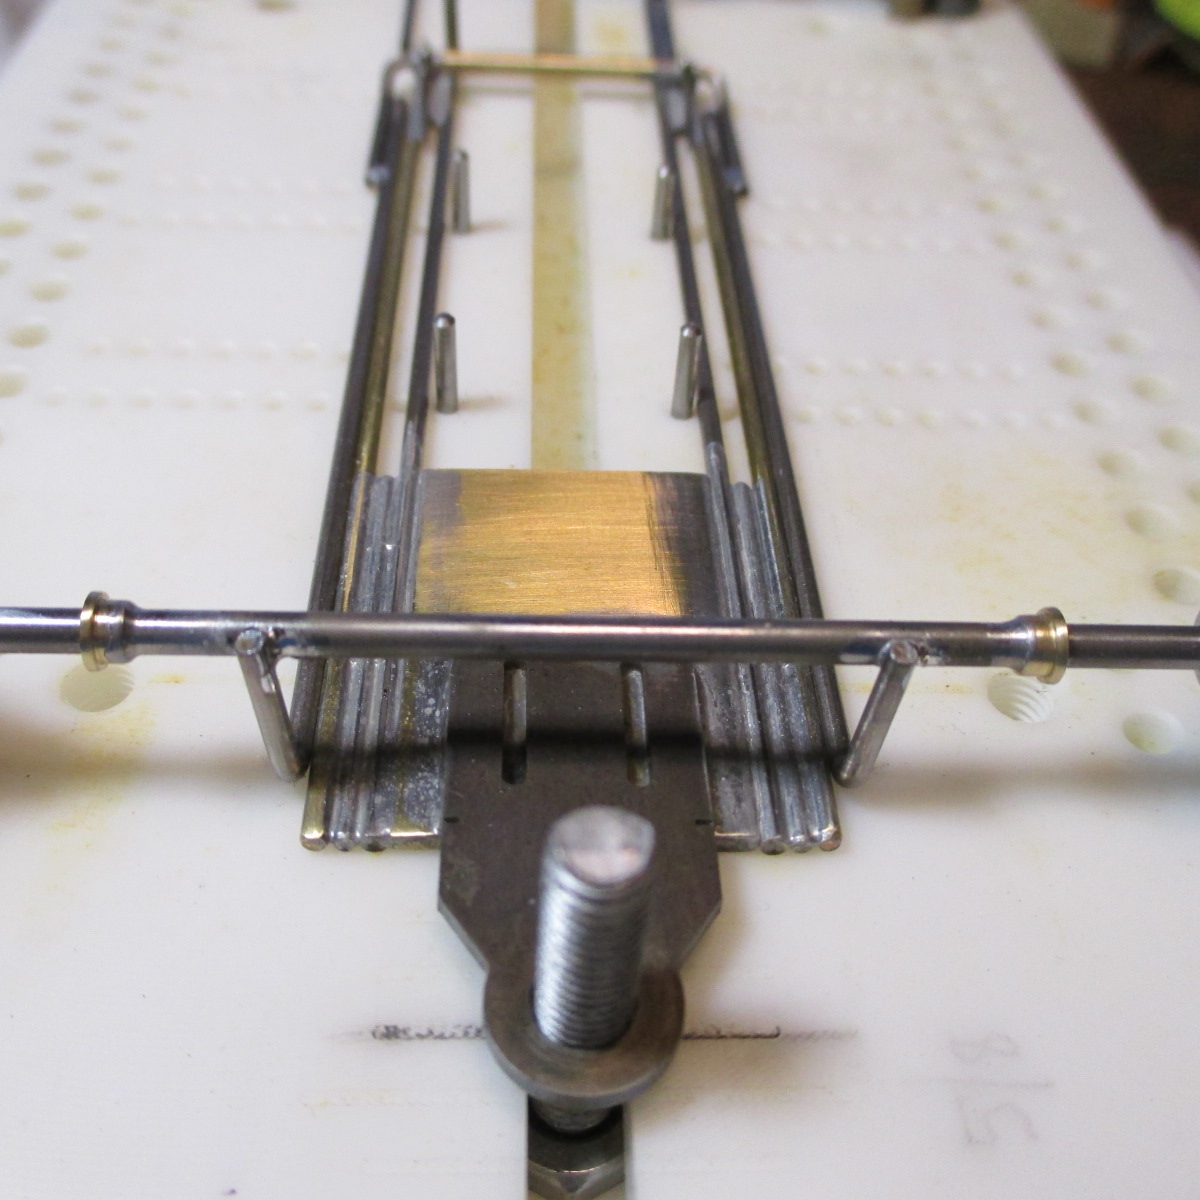
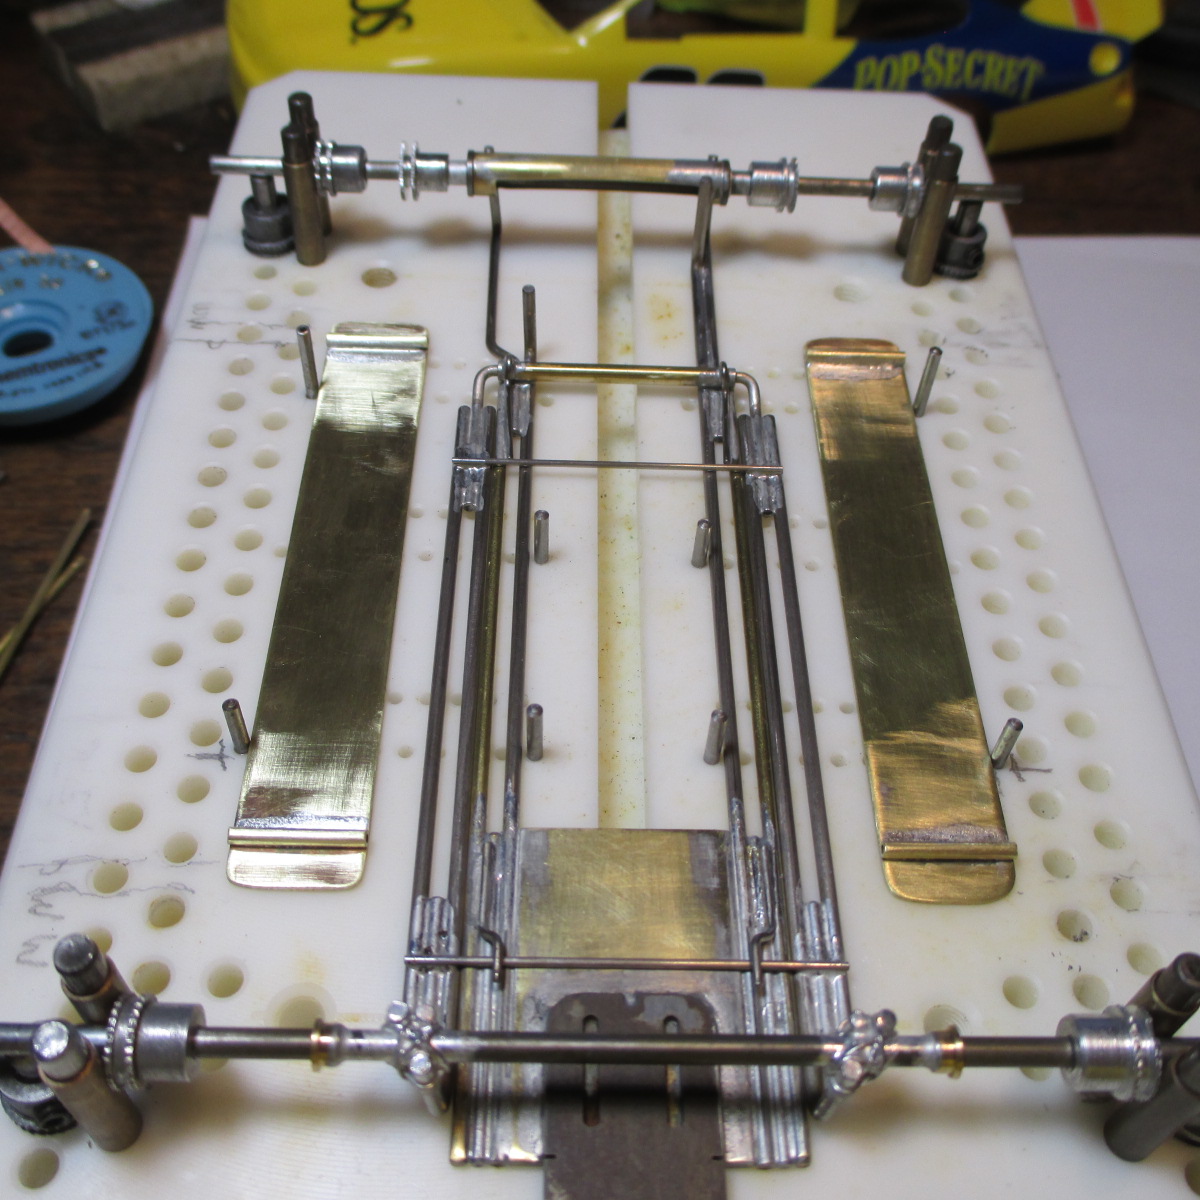
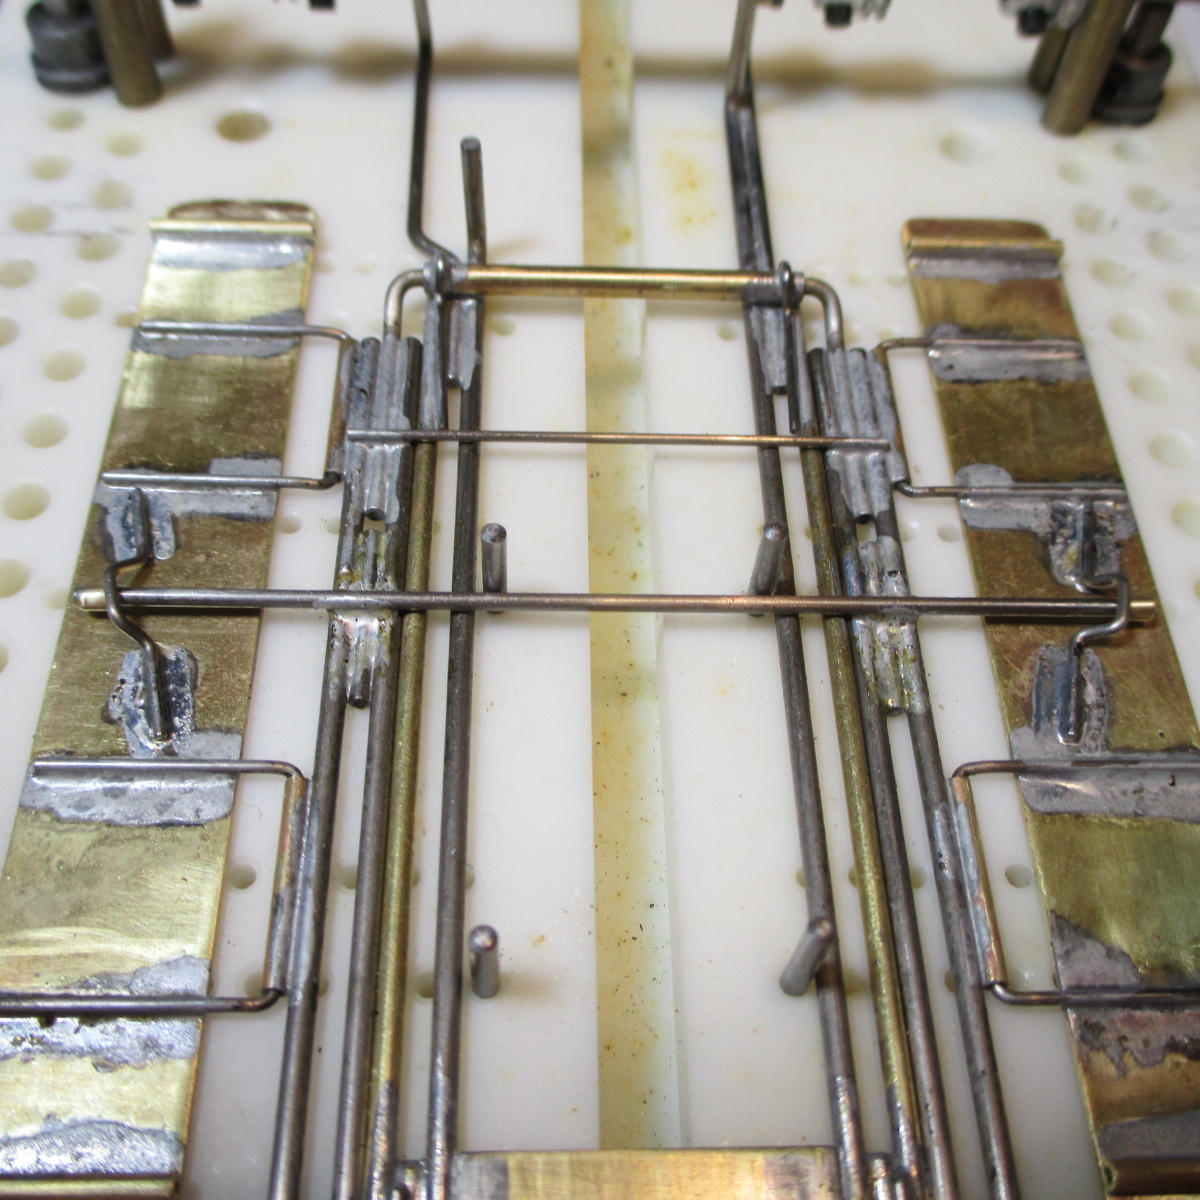
.063 Iso inner rails tacked in place. Influenced by Foamy (Dennis Hill)
- Peter Horvath and John Luongo like this
Paul Wolcott
#78

Posted 21 July 2021 - 07:54 AM
I may see some unique building compared to my own, but I have no regrets. ![]() I still have my Rat Shack parts for "Pablo Connecters."
I still have my Rat Shack parts for "Pablo Connecters." ![]()
- Pablo likes this
I intend to live forever! So far, so good.
#80

Posted 21 July 2021 - 06:38 PM
If you need to change gear ratios, are you going to also have to re-bend the upright at the end of the chassis's inner right main rail fore & aft?
- Pablo likes this
I intend to live forever! So far, so good.
#83

Posted 22 July 2021 - 03:32 PM
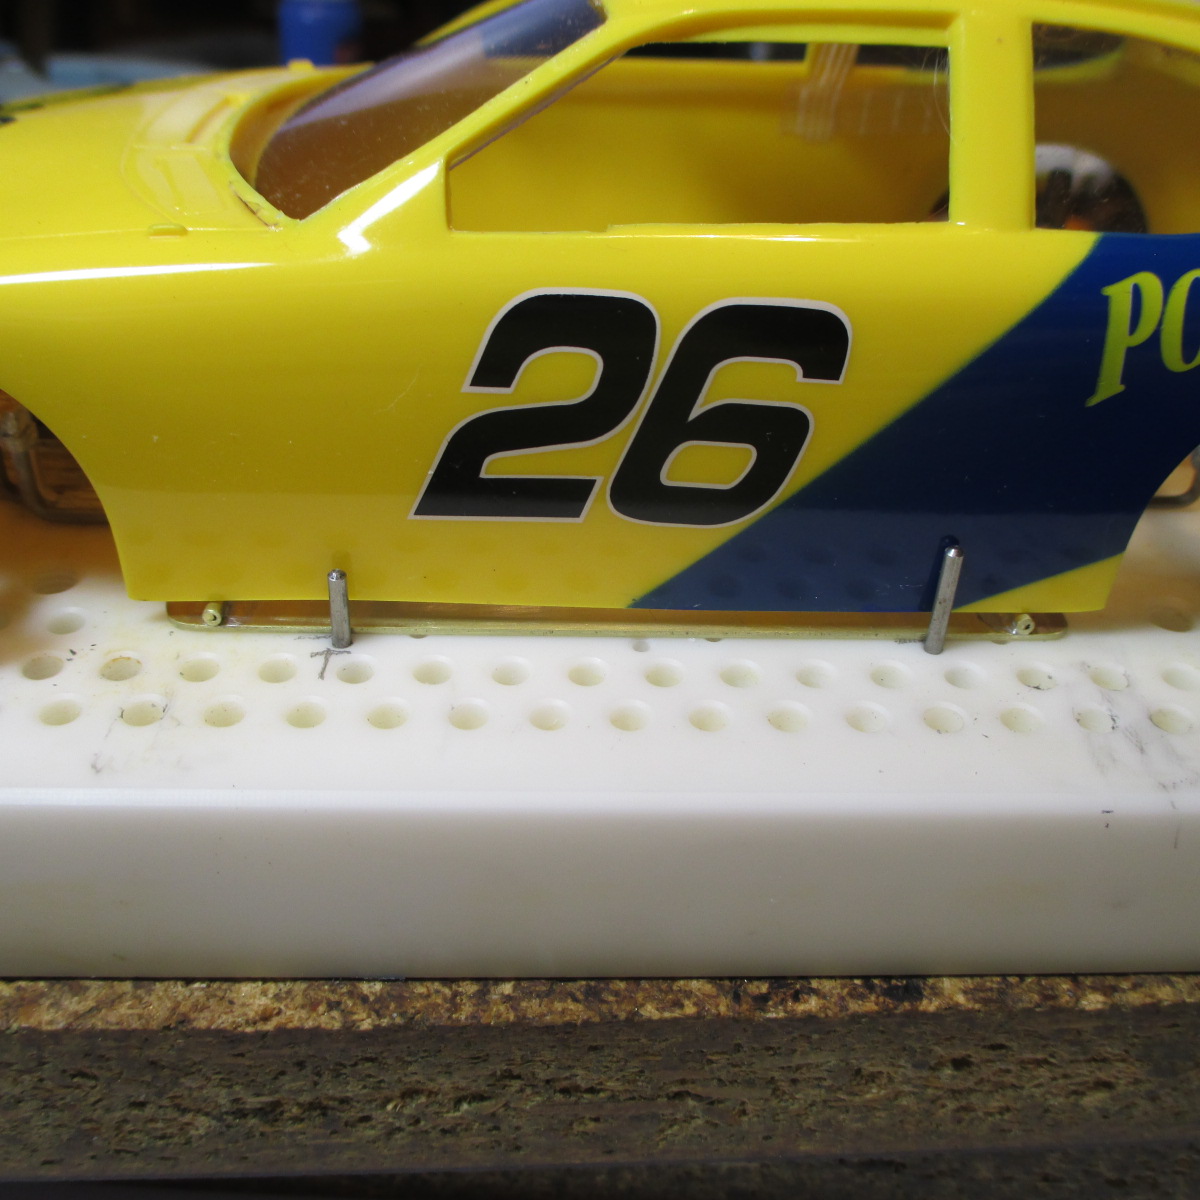
Noose did a good job! If you happen to get another yellow Pontiac, you could build the Michael Waltrip Country Time Lemonade car.
I intend to live forever! So far, so good.
#84

Posted 22 July 2021 - 11:38 PM
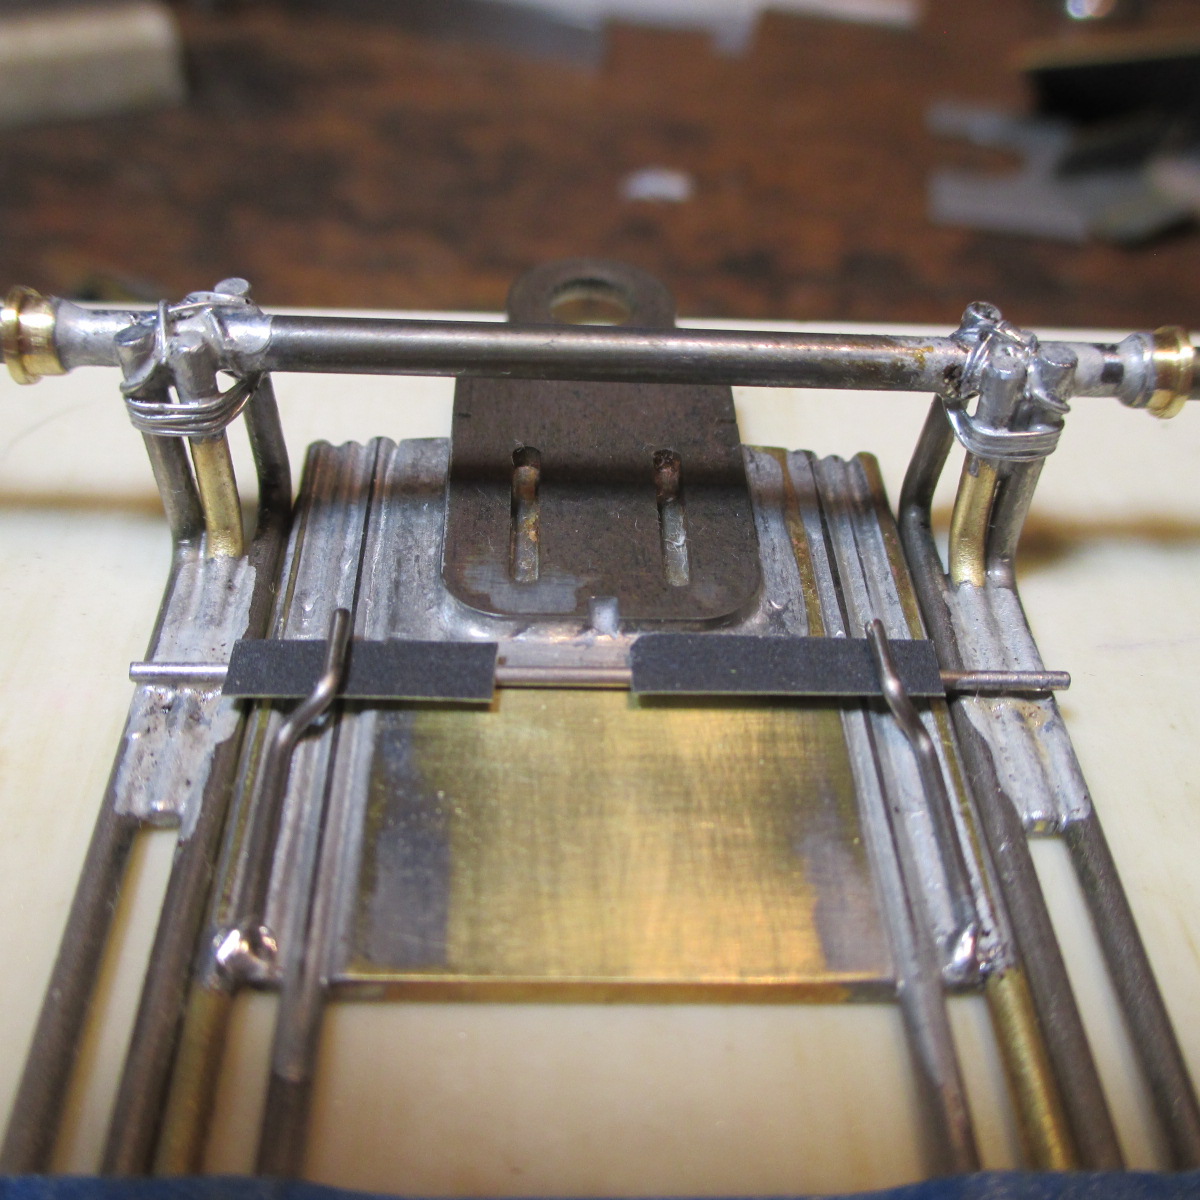
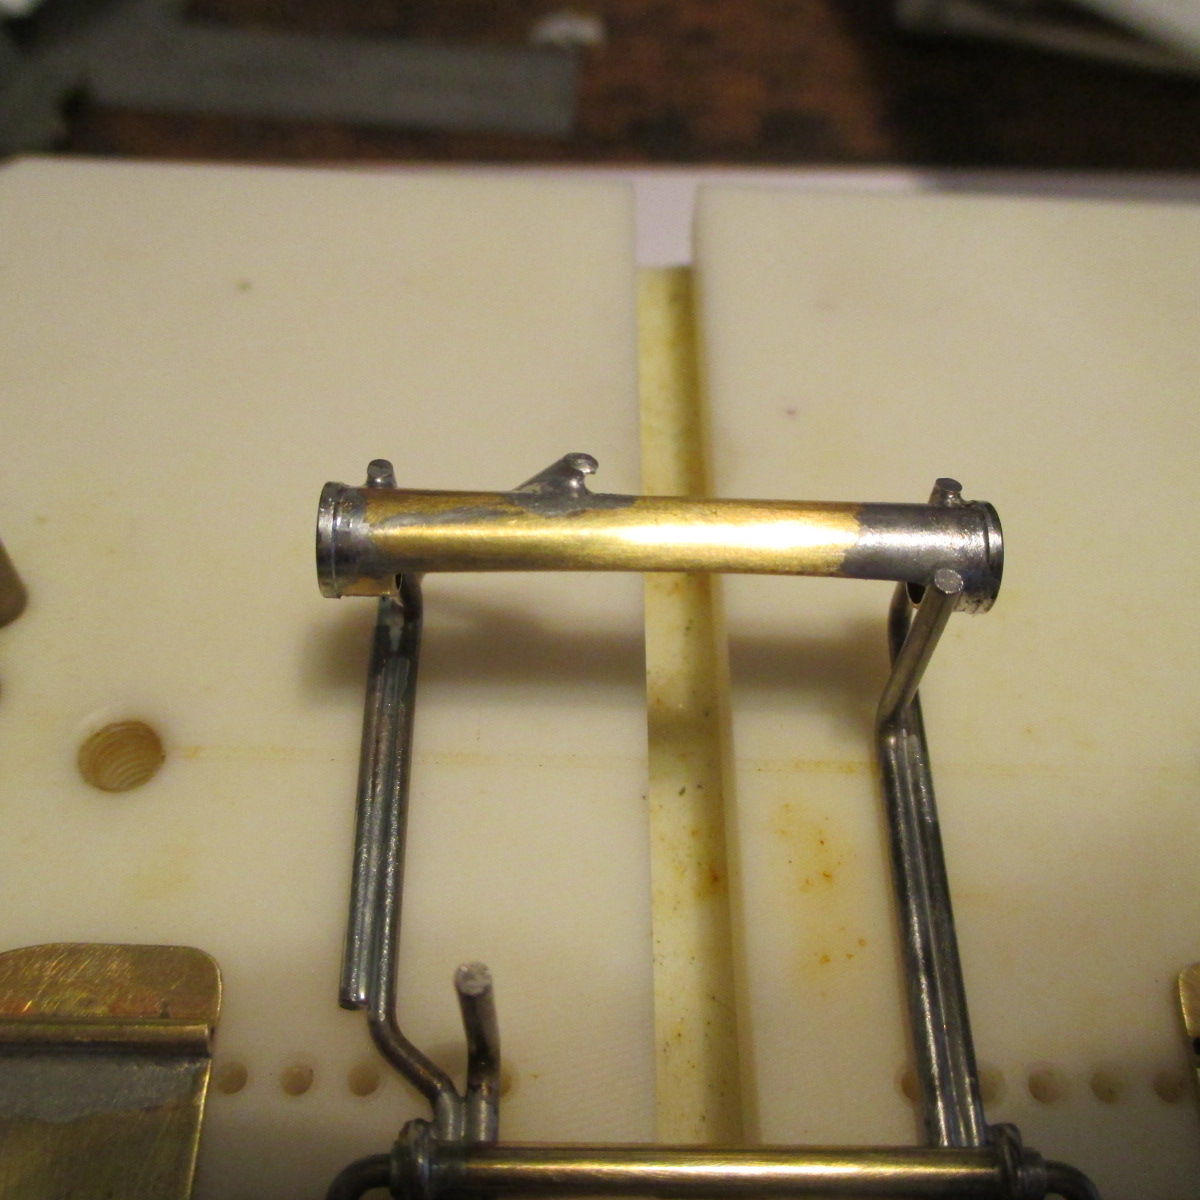
Forward cross-piece and twin Iso upstops. A little tiny bit of movement is all I want, so I used pieces of 7 thou sandpaper to set the stops. Front axle uprights wired tight and soldered. It may not be pretty, but it won't fail ![]()
- Peter Horvath, boxerdog, John Luongo and 1 other like this
Paul Wolcott
#86

Posted 23 July 2021 - 10:39 PM
Hey Pablo, Please tell me I am seeing this wrong, In post #84 the front axle looks high on the left. Is this an optical delusion ![]()
- Pablo likes this
#87

Posted 24 July 2021 - 06:57 AM
It's just the camera angle. I guarantee it's level. I don't guarantee my uprights are always exactly the same height though ![]()
Paul Wolcott
#88

Posted 24 July 2021 - 10:24 AM
That's what I was hoping. ![]()
![]()
![]()
- Pablo likes this
#89

Posted 24 July 2021 - 03:08 PM
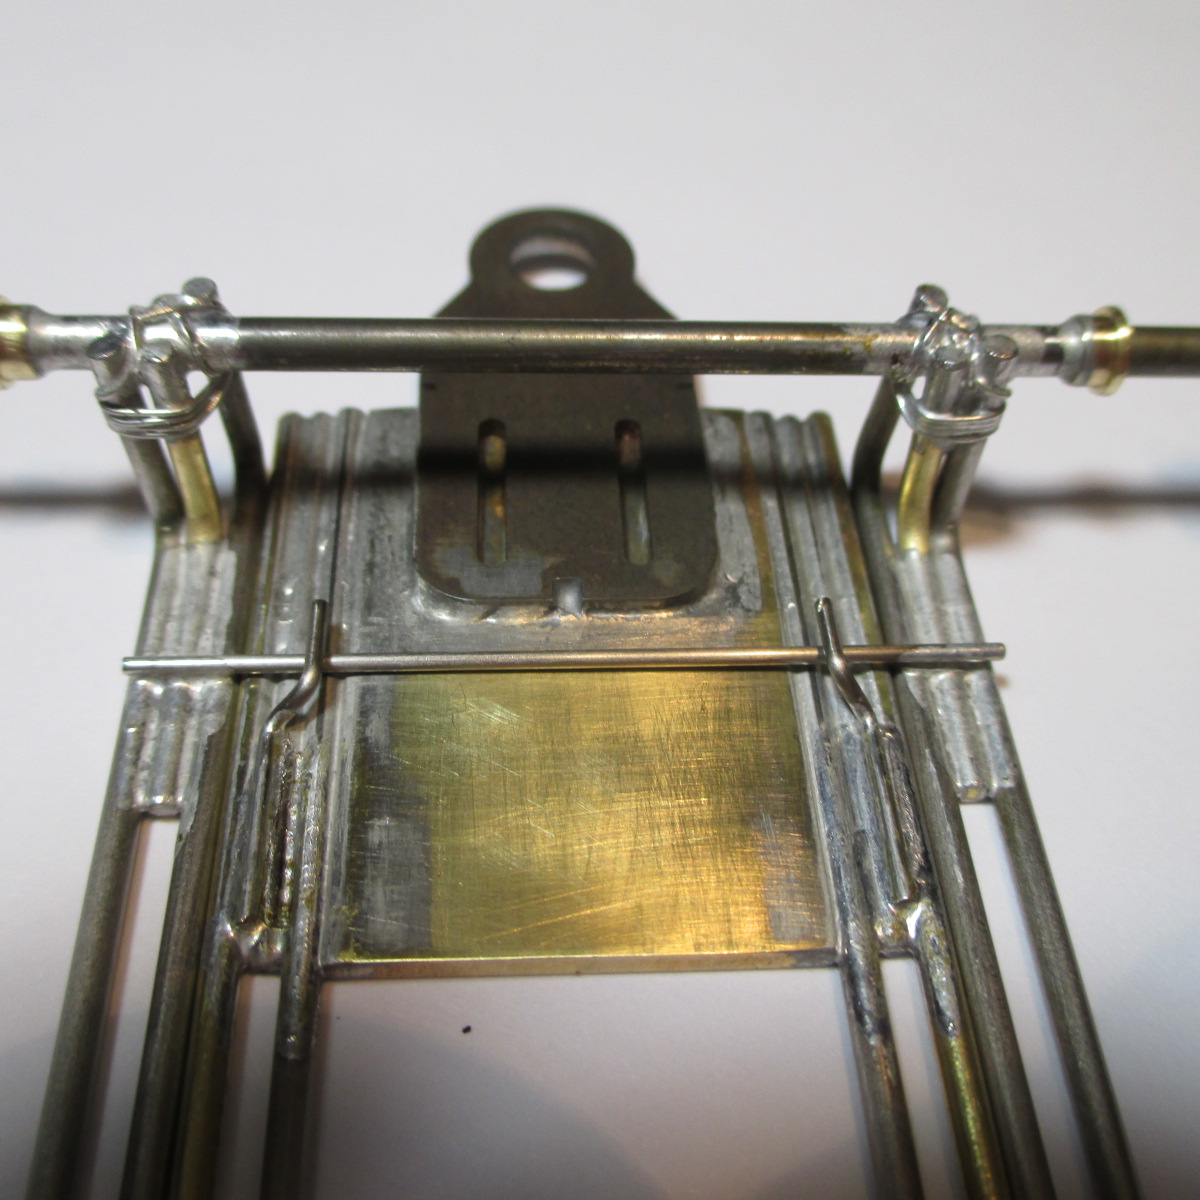
While you were getting highway hypnosis staring at my axle, you missed the forward Iso crosspiece wire isn't laying flat on the stdb. side. ![]()
![]() I didn't notice it until I posted the photo and have since fixed it.
I didn't notice it until I posted the photo and have since fixed it.
Since I tested and was happy with the amount of lift the stops gave the Iso rails, after I fixed the cross piece error the stbd. piece needed to be tweaked. Easy fix. Now it's perfect.
By all means, don't hesitate to keep watching me ![]() Chassis building is a piece of cake compared to painting - you screw a paint job and you are done
Chassis building is a piece of cake compared to painting - you screw a paint job and you are done ![]()
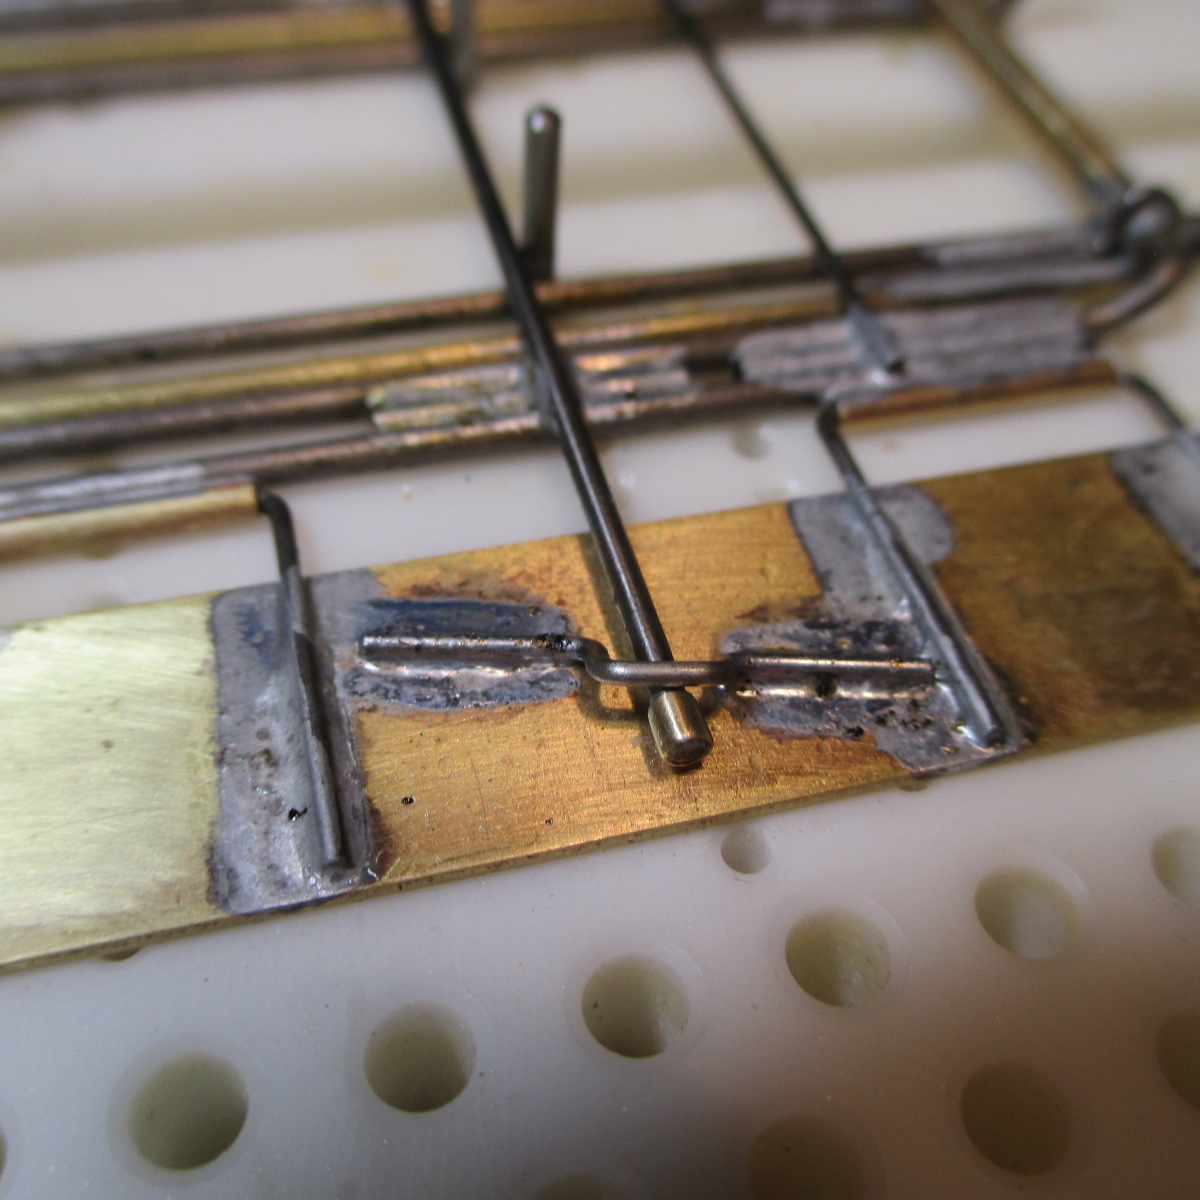
Time to solder pan hinge tubes ...........
- Bud Greene likes this
Paul Wolcott
#90

Posted 24 July 2021 - 07:21 PM
Chassis building is a piece of cake compared to painting - you screw a paint job and you are done

When your cars go fast enough, nobody even notices your paint details. So are you building a scarred horse, or a pretty turtle? ![]()
I intend to live forever! So far, so good.
#92

Posted 25 July 2021 - 10:14 AM
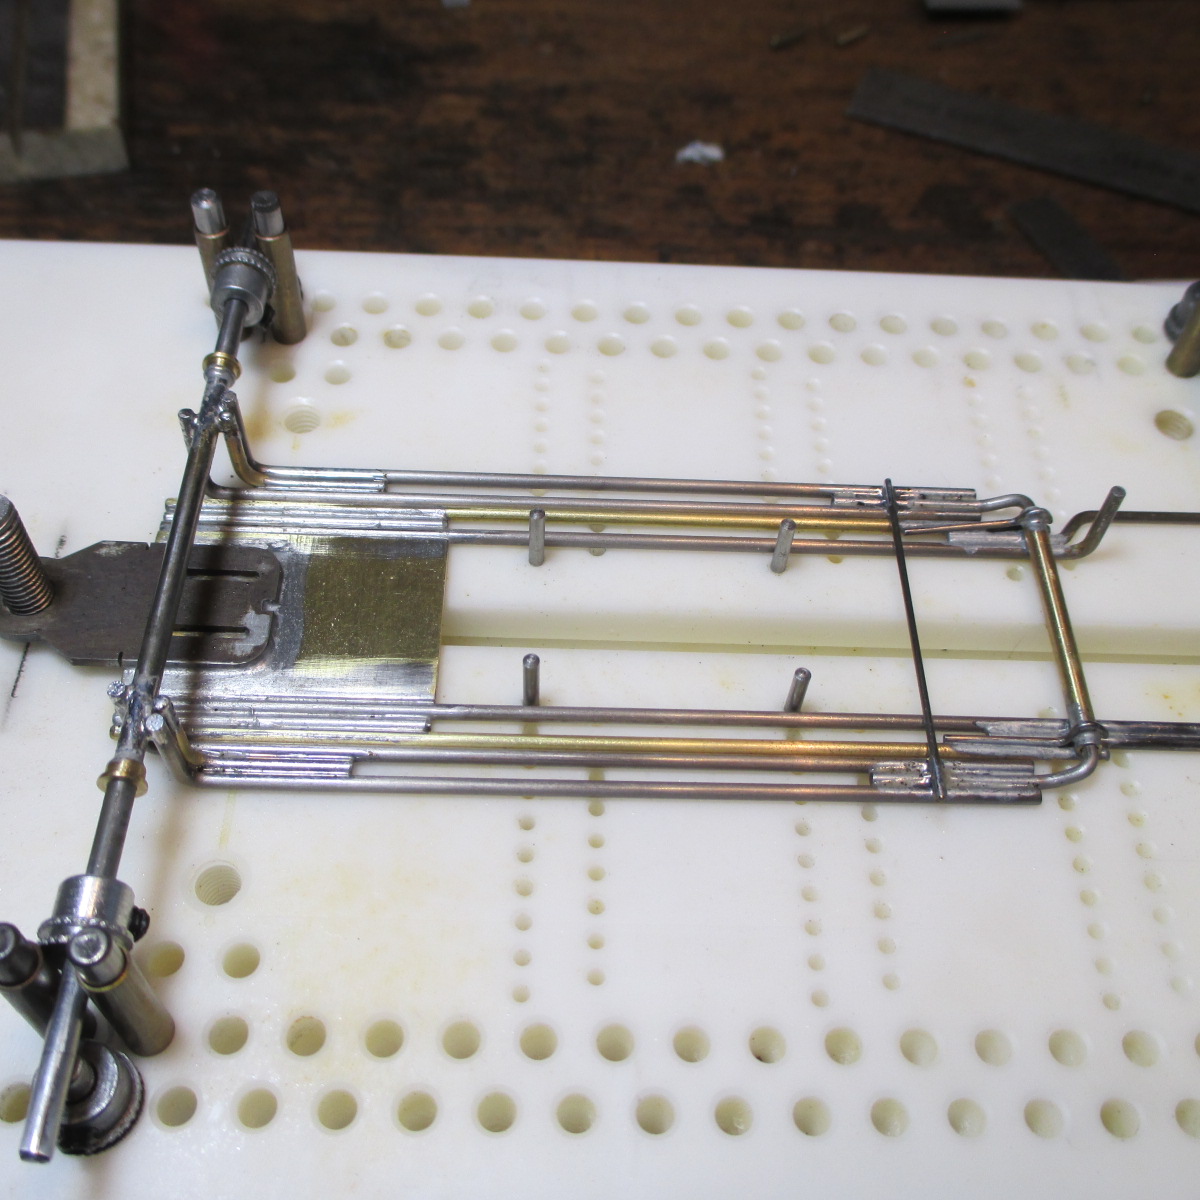
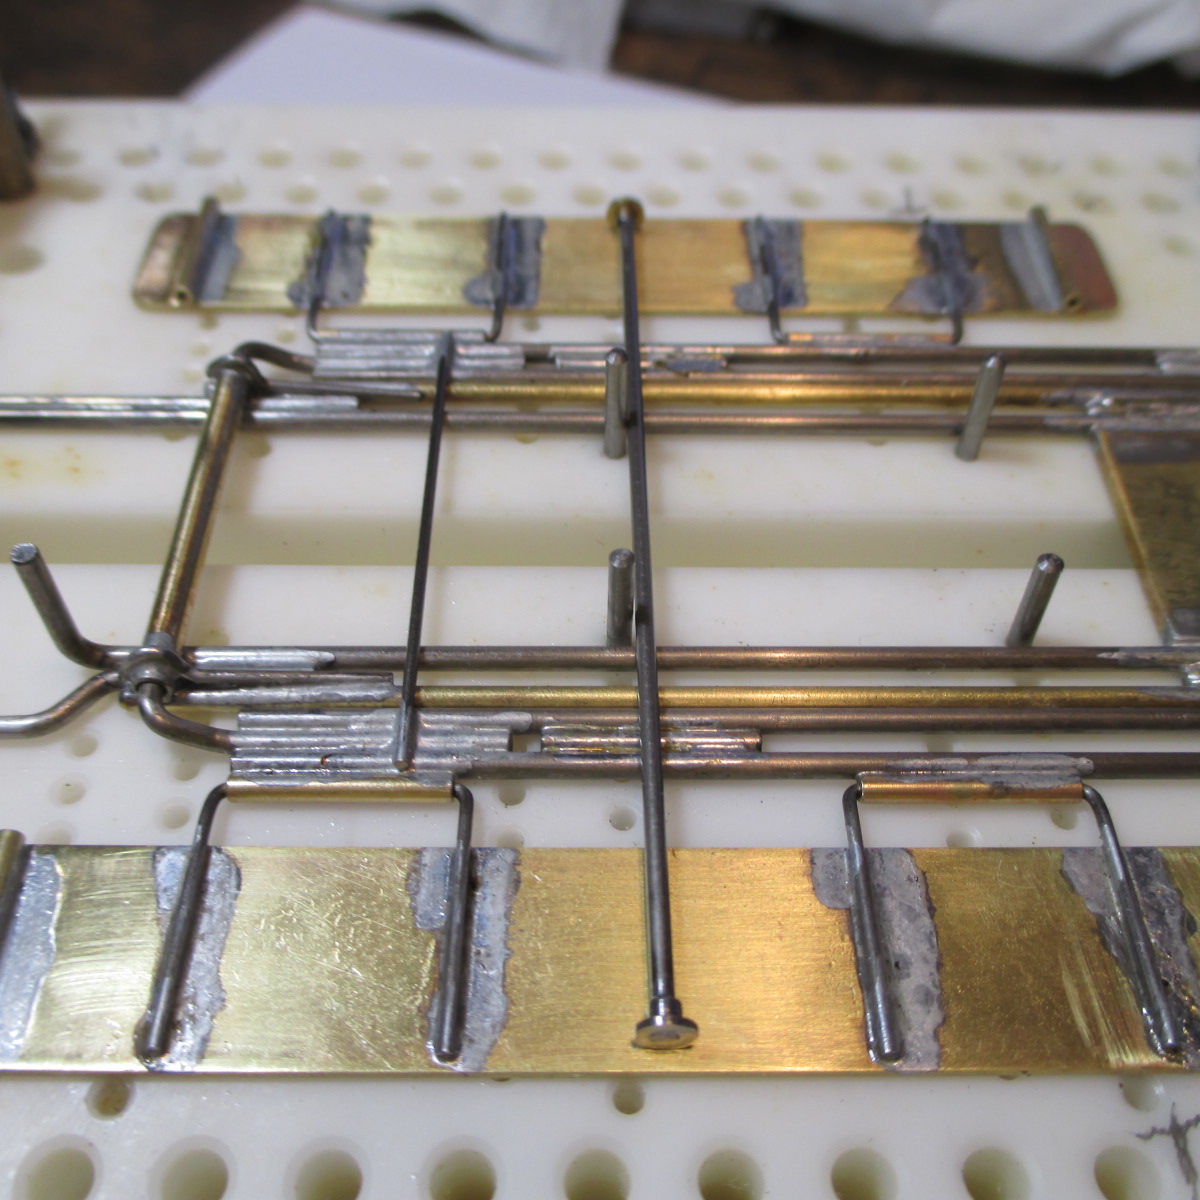
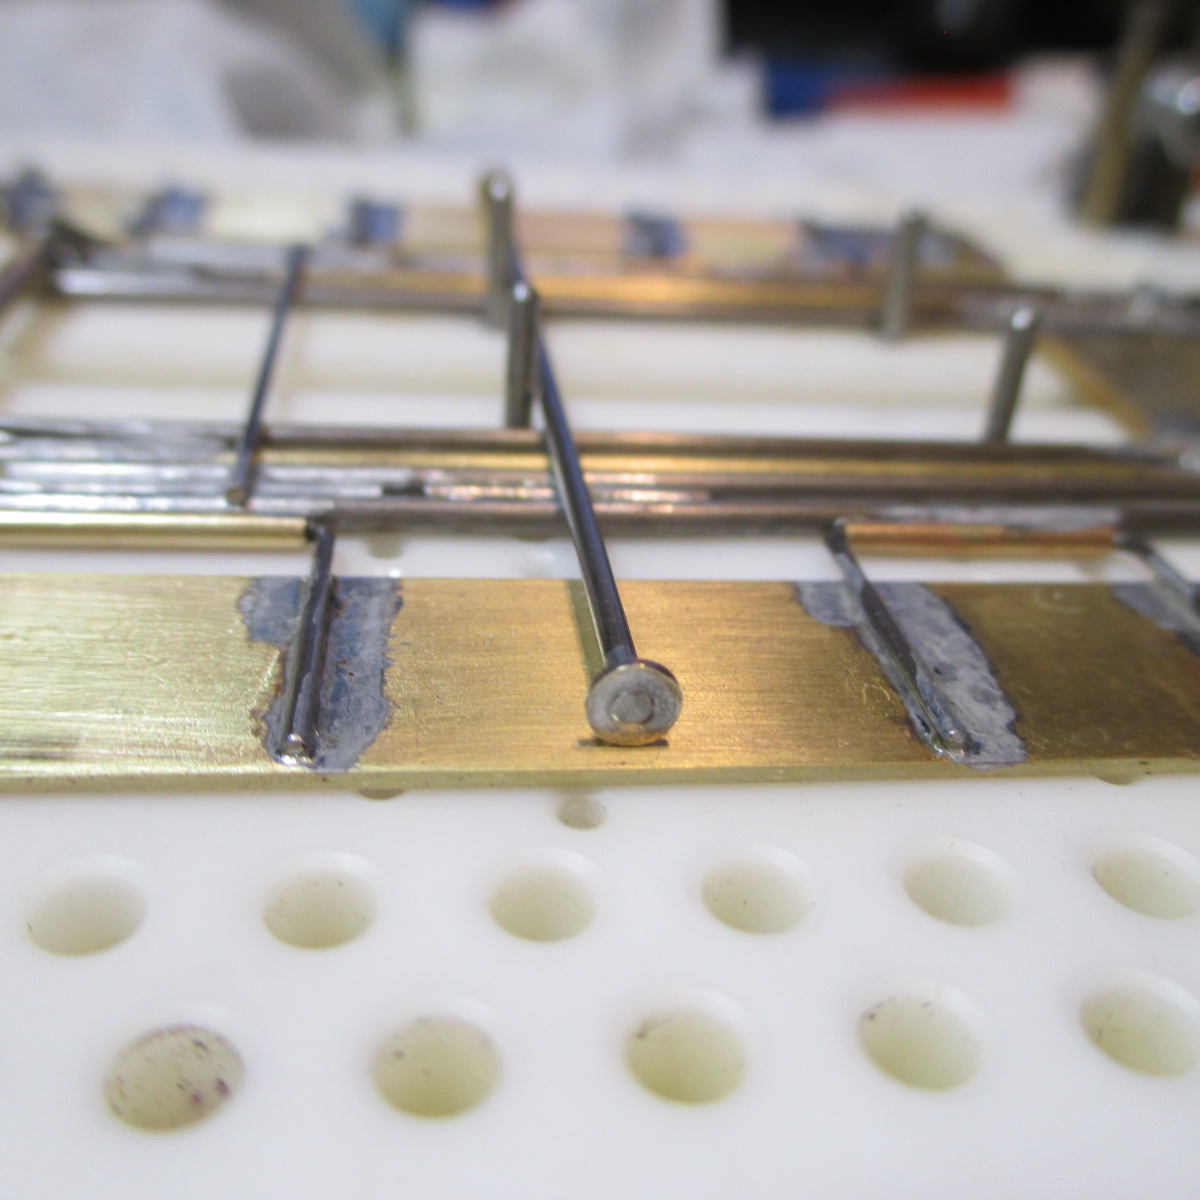
I added little .055 wire spacers in between the Iso rails to provide more surface area where the .047 bite bar gets soldered. Looks like a plumber's nightmare, eh? ![]()
Always doing things the same way would get boring for me; I like to change things up. But I'll never tire of copying the masters. The hinge wires for example are Tony P. style, and the simple square-ish pans are Katz style. Scratchbuilding methods that simply "work" will never die because they work.
The brass retainers on the bite bar ends will get shaved down to give me the exact amount of pan lift I want before being installed
- Peter Horvath and John Luongo like this
Paul Wolcott
#94

Posted 26 July 2021 - 04:01 PM
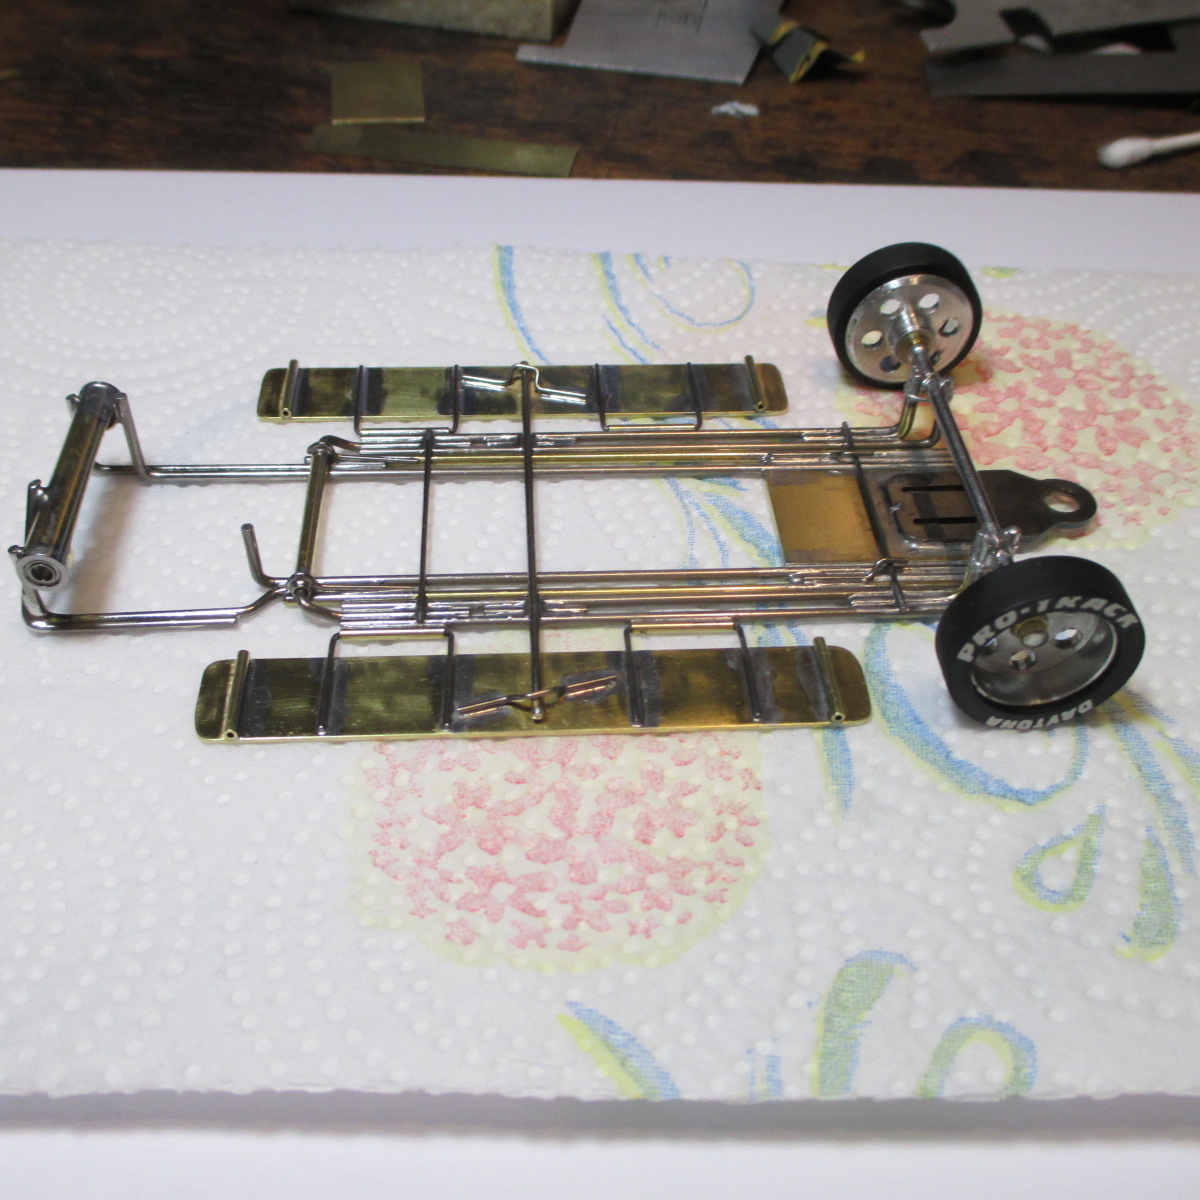
Added another brace to the right rear end, removed the jig BB's, rough trimmed the front axle ends, gave it an SOS/baking soda bath, installed the new BB's, smoothed the rough solder edges off with a carbon wire wheel, and into the tumbler she goes
- Peter Horvath, Bud Greene and Isaac S. like this
Paul Wolcott
#95

Posted 26 July 2021 - 04:41 PM
I usually built in extra pan flop so the amount could be tuned in or out for particular tracks by placing tape under the bite bar ends. Six of one, half dozen of another. ![]()
- John Luongo likes this
I intend to live forever! So far, so good.
#97

Posted 29 July 2021 - 06:40 PM
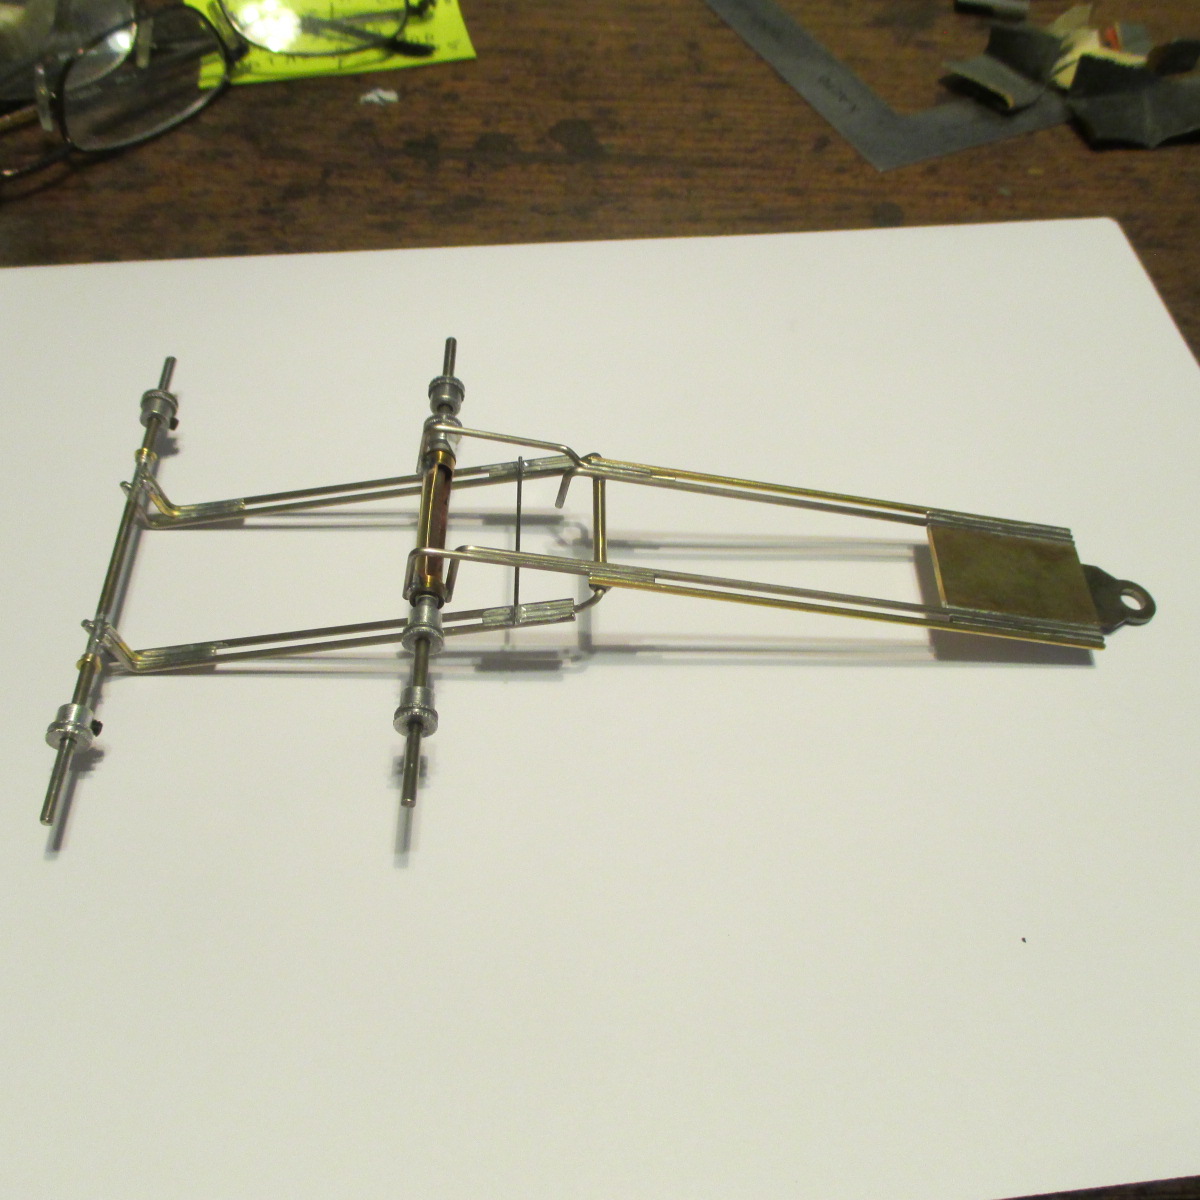
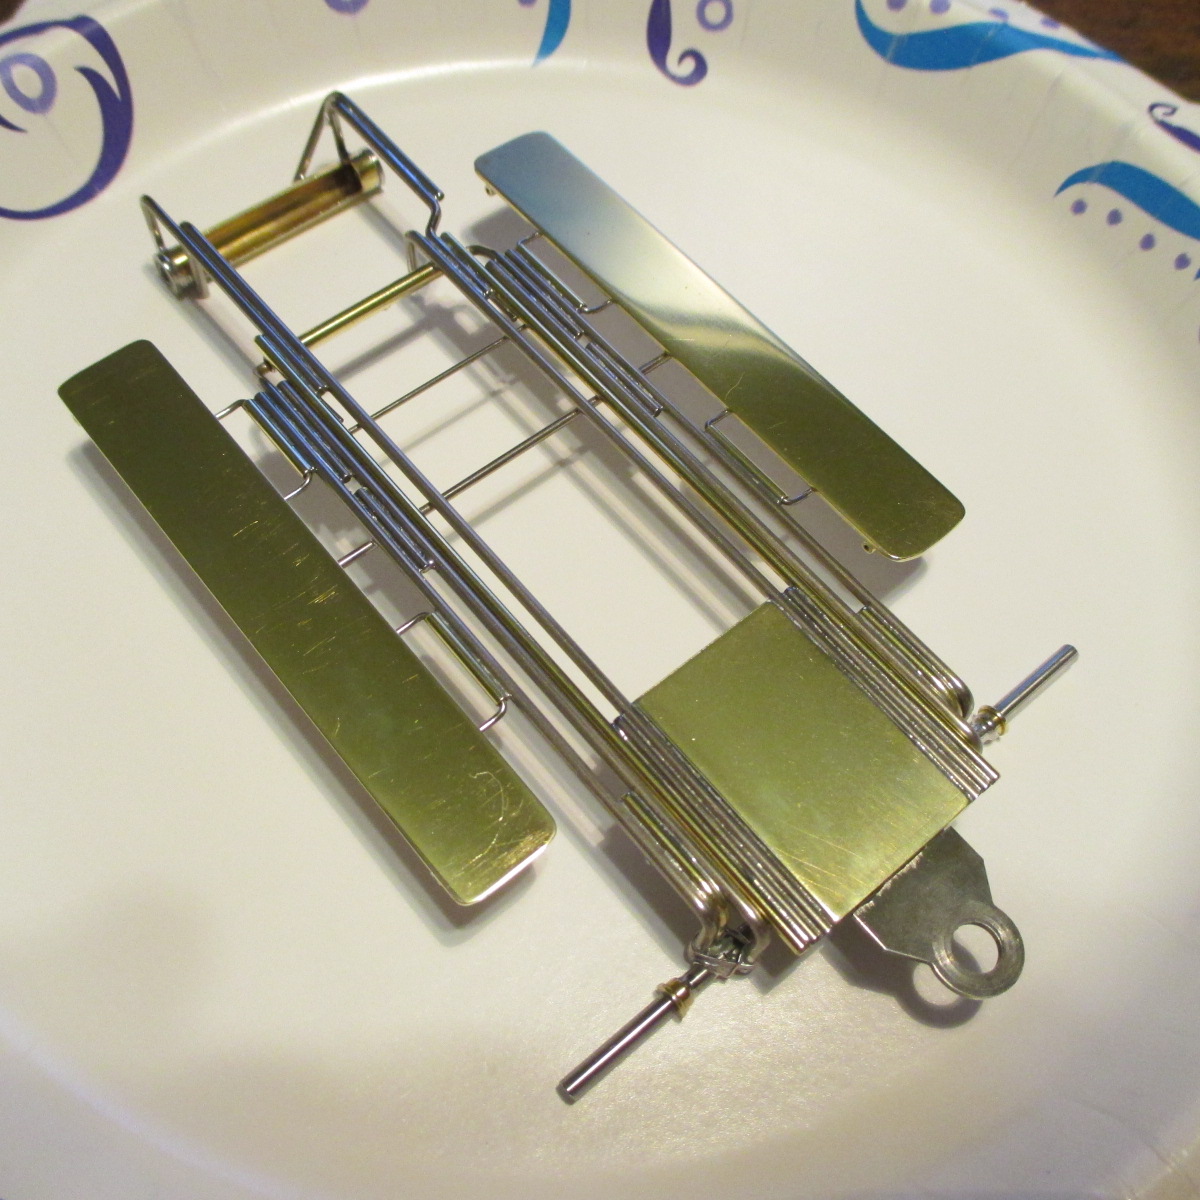
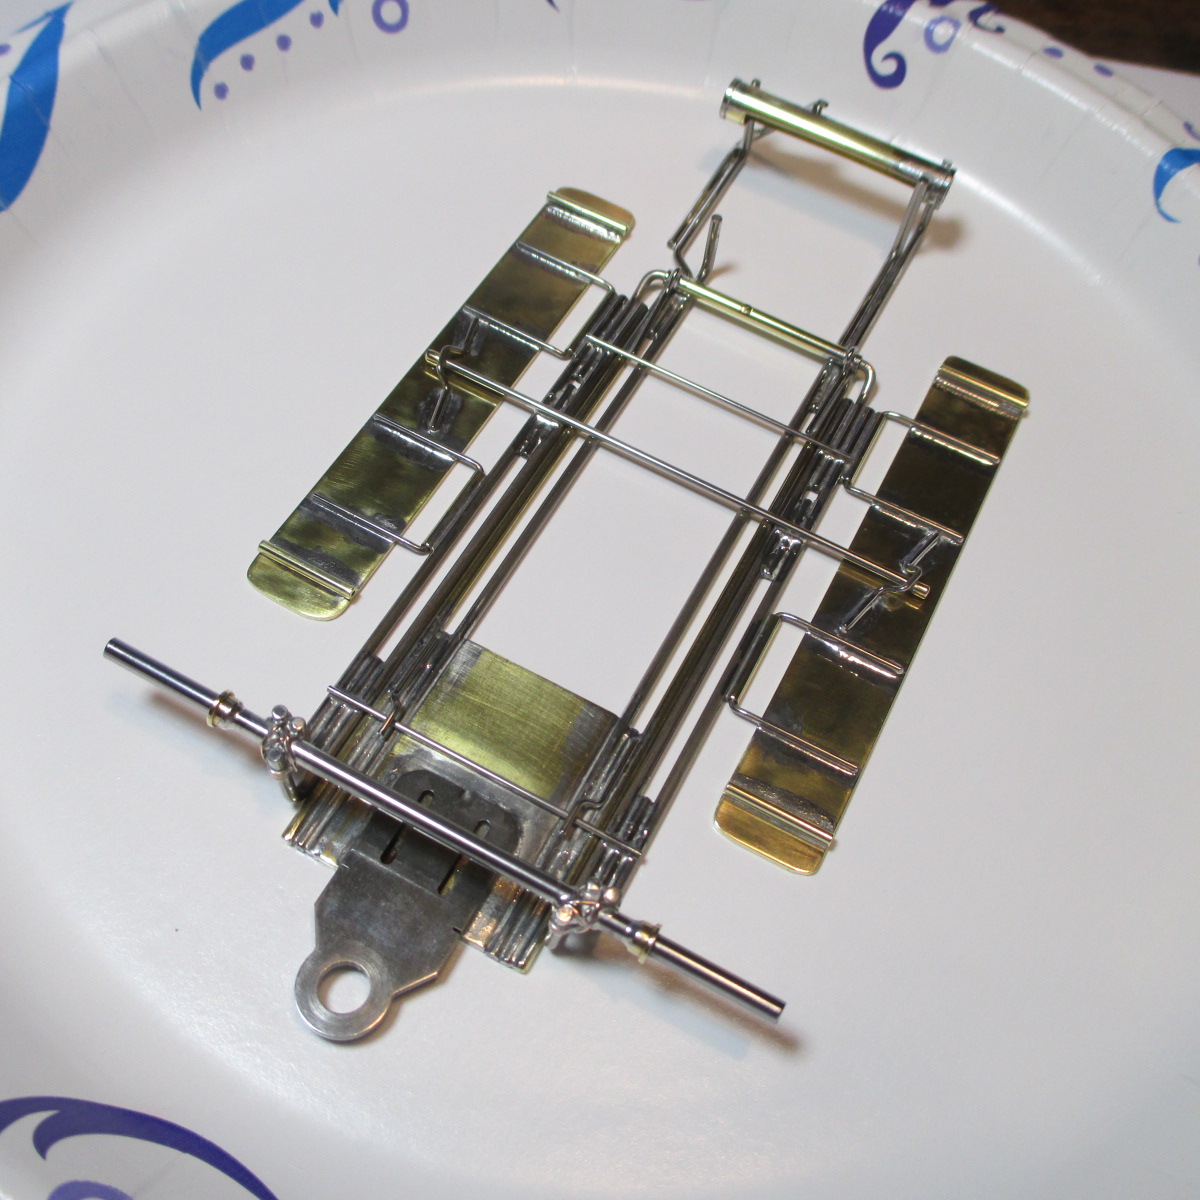
Independently rotating Pro-Tracks installed at 2 15/16" width, and about 25 thou clearance under the axles. Gives me a little fudge factor over 15 thou as per the rules.
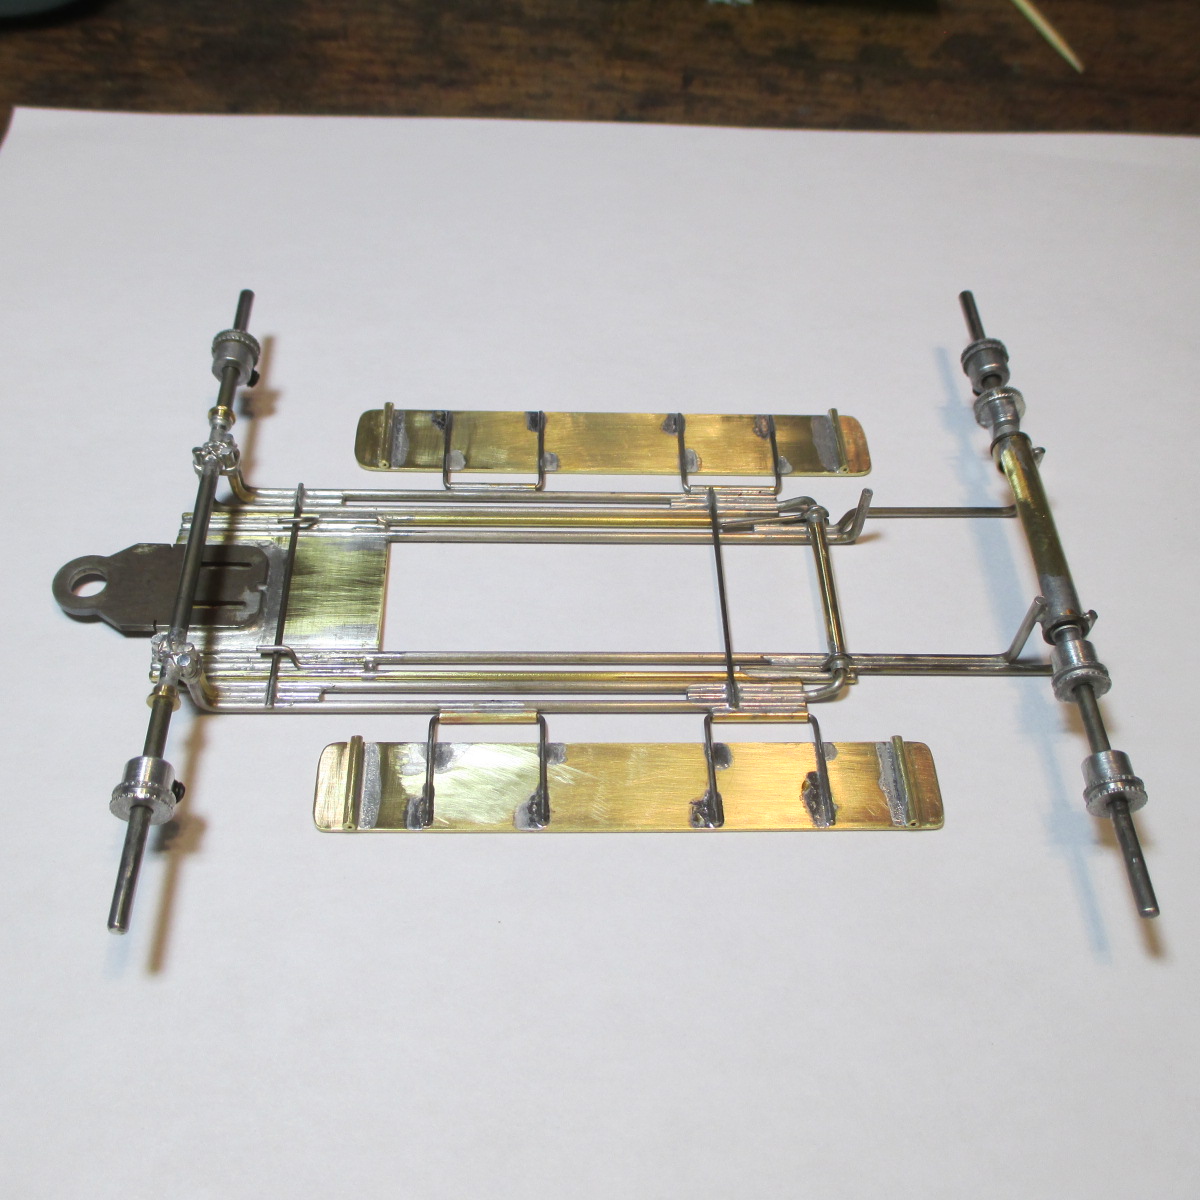
Whoever ends up racing this car needs to remind the tech inspector it's an Iso design - the tongue needs to be elevated a hair before sliding a tool under it up front. Otherwise the 15 thou tool will hit the chunk.
Chassis is slathered in WD-40 and all moving parts re-oiled before assembly continues. The tongue needs to have a film of protective lube every so often, or else it will try to oxidize. If anybody knows a way to prevent this tendency when soldering dissimilar metals, I'm all ears
- Peter Horvath and Isaac S. like this
Paul Wolcott
#98

Posted 29 July 2021 - 07:54 PM
a quick, light spray of clear lacquer on a clean, dry guide tongue may help to minimize the expected oxidation by sealing it off from the air. best regards
#99

Posted 30 July 2021 - 10:38 AM
Both sides, or just the top?
Paul Wolcott
#100

Posted 30 July 2021 - 11:45 AM
Tin all surfaces with solder before attaching to the front plate.
Tin with silver solder, it's more durable than 60/40 or 63/37.
Use Cobra brass tongues like you get at PM.
Get can of Boeshield T-9,
I intend to live forever! So far, so good.


