


So I went to the track and ran it. Handled pretty good but was afraid to really push it......of course that's why I was there! I finally decided and ran it into the end of the straight wall. Now I know what breaks. I've bought some "Tough" resin that I'm going to print another one with. Then back to the track... It's kinda like when we were learning to fly RC planes back in the 70's. Bring back all the hardware and throw the rest in the trash!

Anything goes!
Started by
pn6
, Sep 06 2025 04:54 PM
33 replies to this topic
#26

pn6
-
- Full Member
-

- 200 posts Joined: 13-December 19
On The Lead Lap
- Gender:Male
- Location:SoCal
Posted 25 May 2026 - 04:28 PM
Paul Nadeau
#27
Martin
-

- Moderator
-
- 4,667 posts Joined: 22-February 09
Posting Leader
- Gender:Male
- Location:US
Posted 27 May 2026 - 08:46 AM
I for one learn more from a failure than a success. Please can you show what broke when it crashed.
Its a journey for sure and I applaud your efforts.
I hope you still have the crashed car you can show?
Keep it up.
Martin.
Martin Windmill
#28
pn6
-
- Full Member
-
- 200 posts Joined: 13-December 19
On The Lead Lap
- Gender:Male
- Location:SoCal
Posted 27 May 2026 - 09:31 AM
Sorry Martin but I did in fact trash the chassis. I immediately went about drawing up a much beefier version but have yet to print it. Now that I've tried the "tough" resin on a small part I'm thinking I may print the beefed up version with that stuff. I've also been playing with the Starship design that you and Larry have been working with so progress has been slow. I need to pick one and finish it but after picking up some junk Dynamic stuff I have a bench full of that too!!
The original chassis : front axle tube shattered on the right side
right side body mount broke at the pivot point
I'm really thinking of incorporating something similar to that built-in front wing/bumper design from the starship onto my chassis......
Paul Nadeau
#29
Martin
-
- Moderator
-
- 4,667 posts Joined: 22-February 09
Posting Leader
- Gender:Male
- Location:US
Posted 27 May 2026 - 10:18 AM
Just remember to design with appropriate radii. Spread those loads.
Do you have time to make the same parts in "tough" resin and then do a stress test on each? I would be interesting in that result.
Martin Windmill
#30
pn6
-
- Full Member
-
- 200 posts Joined: 13-December 19
On The Lead Lap
- Gender:Male
- Location:SoCal
Posted 01 June 2026 - 08:12 AM
Oh I’m sure the difference will be dramatic. The water washable resin is very brittle. This new stuff is very hard but has some flex. Impact damage is totally different. I’ll do a hammer test on both soon.
Paul Nadeau
#31
Dave Crevie
-

- Full Member
-
- 5,146 posts Joined: 16-February 09
Grand Champion Poster
Posted 01 June 2026 - 04:24 PM
Looks like you missed the crown rule of engineering, "Use fillets and radii wherever possible." A couple areas I see that could used some beefing up with those.
The inside corners of the rear crossbar behind the motor;
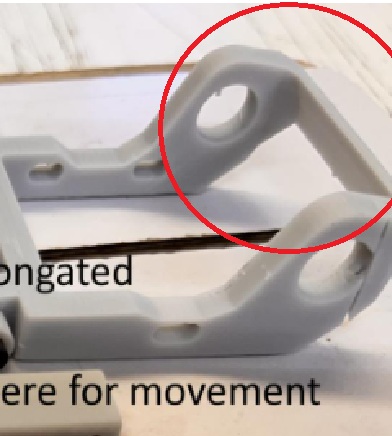
It looks in post 9 that you may have already done this.
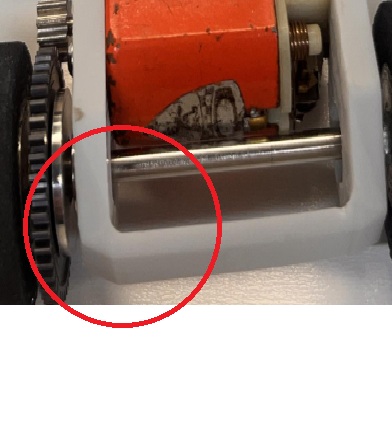
The front corners of the motor box;
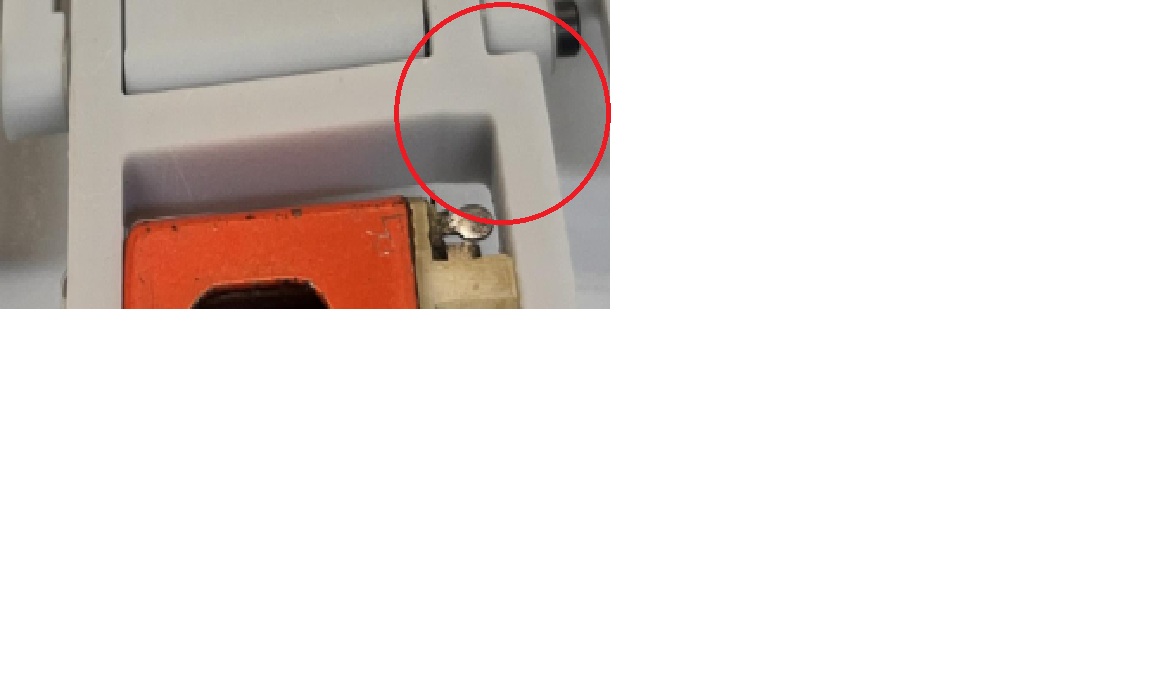
This type of change could be utilized in other areas as well. It is almost a sin not to do that now.
- NSwanberg likes this
#32
pn6
-
- Full Member
-
- 200 posts Joined: 13-December 19
On The Lead Lap
- Gender:Male
- Location:SoCal
Posted 02 June 2026 - 08:28 AM
Hi Dave
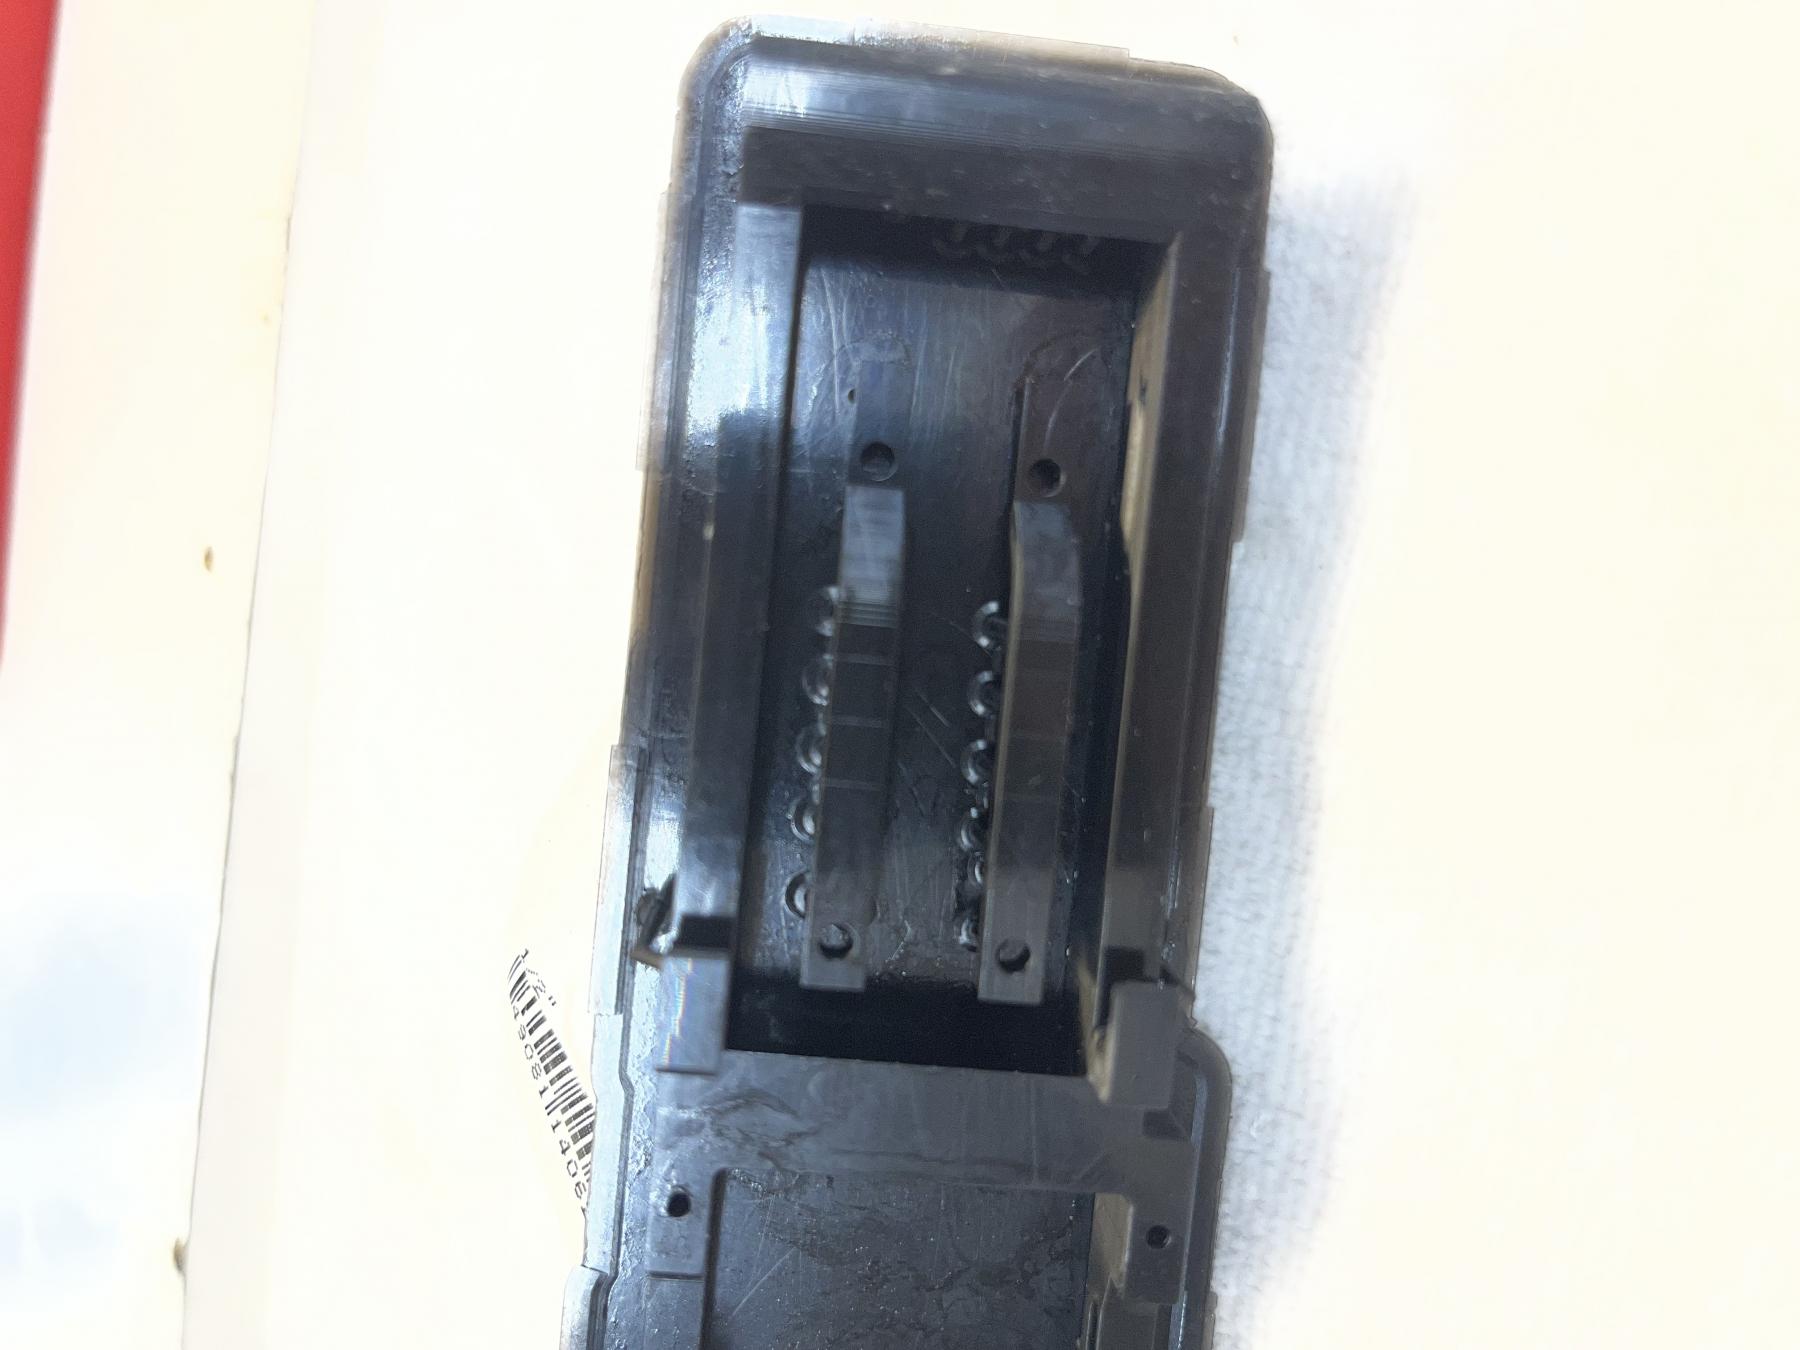
Yes on some initial prints I havent taken the time to filet the corners as I was more interested in fitment of the parts with shrinkage and warpage and actual printing factors needing to be worked out.
Ive just finished another idea chassis printed in a new tough resin. The finish isnt very good but its the first time Ive used a non-water washable resin and the fact that its black shows all kinds of oddities. Its definitely tough though.
Yes on some initial prints I havent taken the time to filet the corners as I was more interested in fitment of the parts with shrinkage and warpage and actual printing factors needing to be worked out.
Ive just finished another idea chassis printed in a new tough resin. The finish isnt very good but its the first time Ive used a non-water washable resin and the fact that its black shows all kinds of oddities. Its definitely tough though.
Attached Images
Paul Nadeau
#33
Dave Crevie
-
- Full Member
-
- 5,146 posts Joined: 16-February 09
Grand Champion Poster
Posted 02 June 2026 - 02:05 PM
Just posted that to make sure you didn't forget. In reality, rigorous testing will bring out the weak spots. You will find that as you strengthen the weak spots, new weak spots will make their appearance. Hard testing is the final proof of the product. Colin Chapman would design and build cars with little factory testing. He would let the customers find the faults. I don't agree with that policy. I don't ever want a product to be returned with a customer complaint.
I like what you do. Have been following the various projects, and am pleased with what I see,
#34
pn6
-
- Full Member
-
- 200 posts Joined: 13-December 19
On The Lead Lap
- Gender:Male
- Location:SoCal
Posted 05 June 2026 - 01:18 AM
This chassis is built. I don’t have any pics yet.
I’m playing with another idea using a hawk motor too.
I’m playing with another idea using a hawk motor too.
Paul Nadeau




