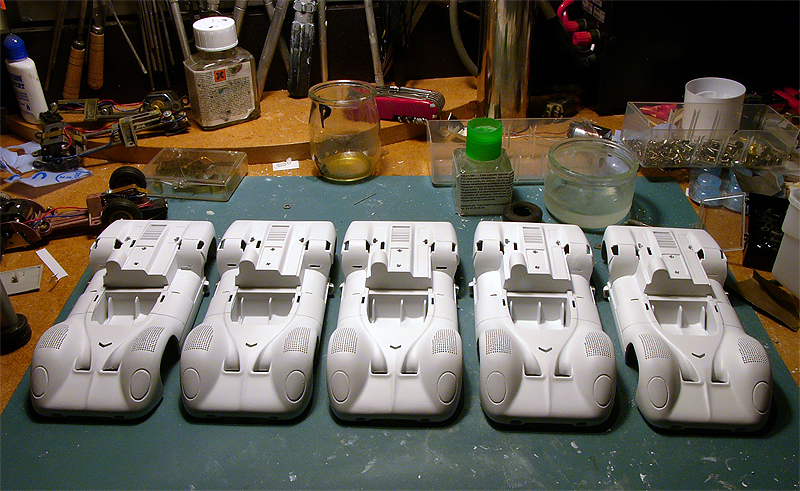
This does not always only imply the body, as we will see now with the Chaparral 2A.
Indeed, a good knowledge of the chassis, engines, wheels, axles etc. may lead to some modifications. I must precise that we will only consider the Cox parts, to make a possibly modified but 100% Cox car.
Furthermore, we have to start with it because the technical choices of the frame and rolling trains may induce modifications or enhancement of the body.
May-be do you remember the Cheetah I made with a full interior… This could only be possible because of the existence of some aftermarket Cox parts, a chassis for the TT-X 150 engine that gave more room for the interior.
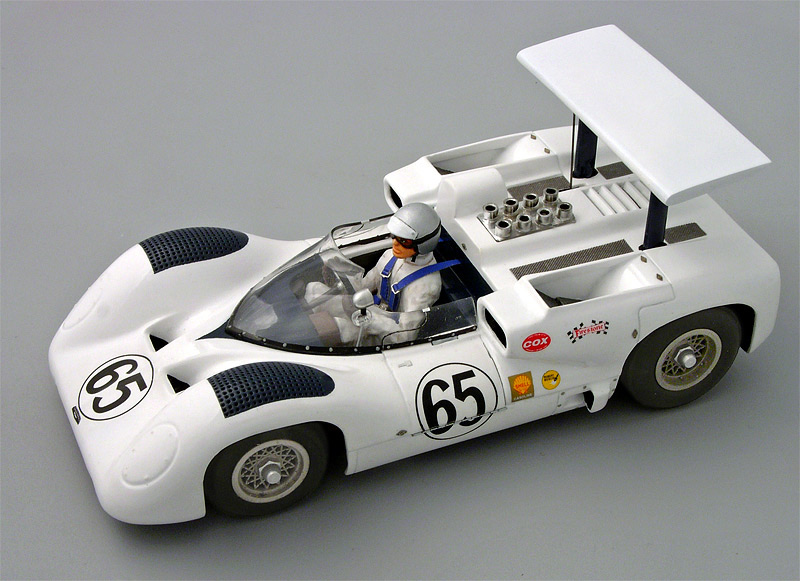
Here, I decided to make a somewhat special 2A with Ackermann steering (with Chaparral wheels at the four corners, not only at the rear) mounted on a Team-Modified (adjustable) chassis.
First of all, the Ackermann steering with Chaparral wheels.
At first, I considered the extra-narrow Chaparral wheels, just as used in the RTR Lotus and Ford GT that were sold by Cox with narrow wheels (always those of the Ford GT).
I chose not to modify the Chaparral Extra Narrow wheels for them to suit, but rather modify the Ackermann steering, so the standard nuts could be used. We will see that.
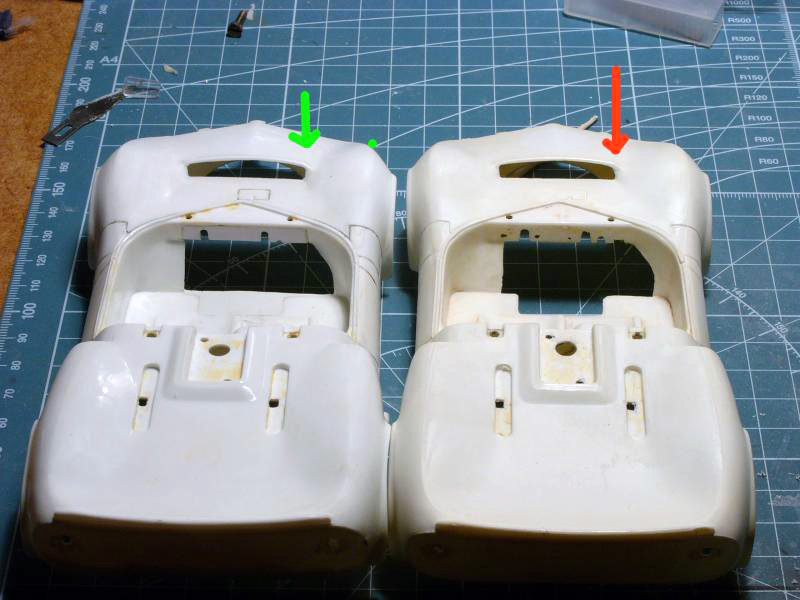
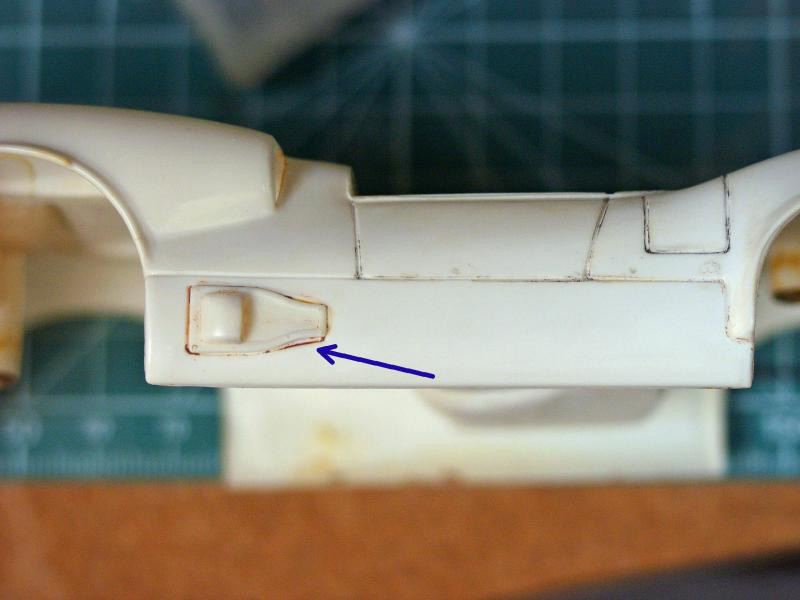
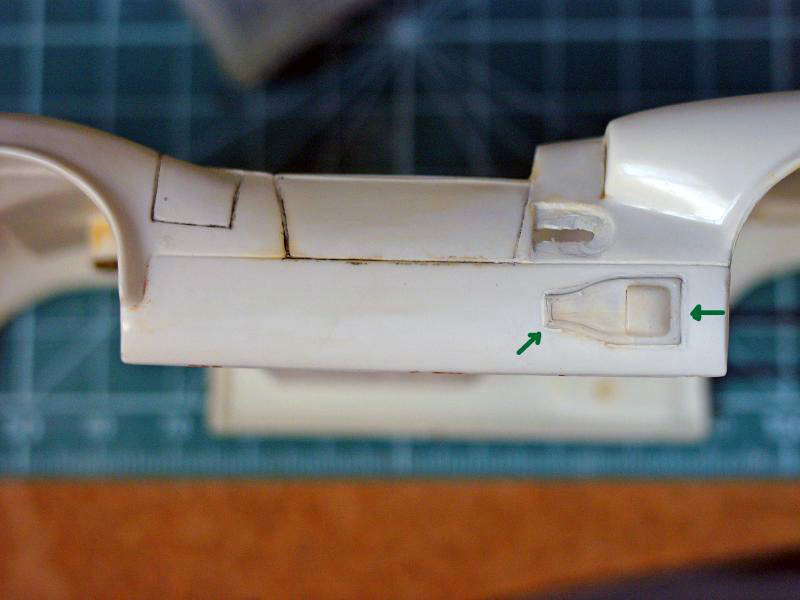
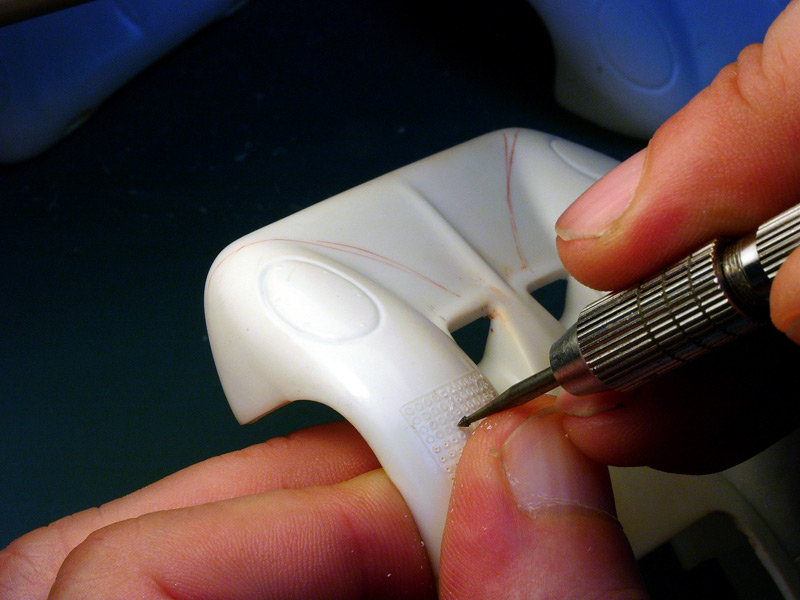
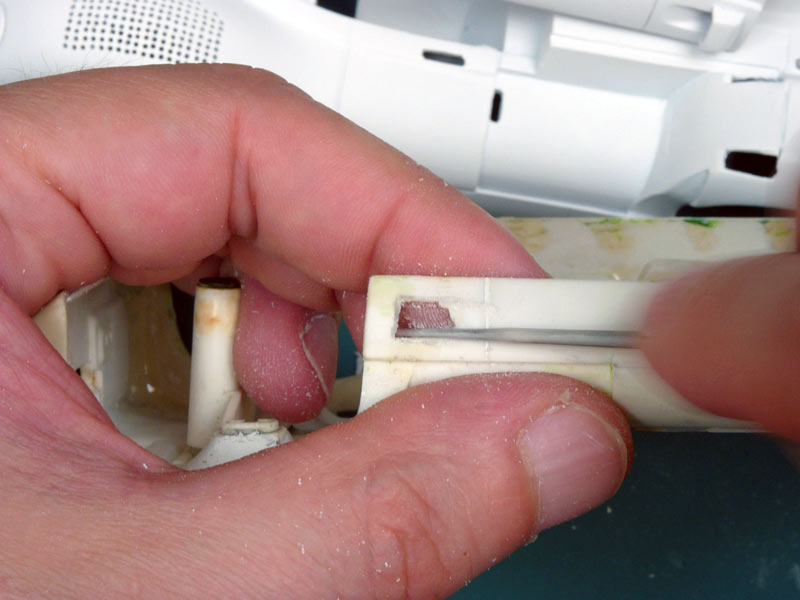
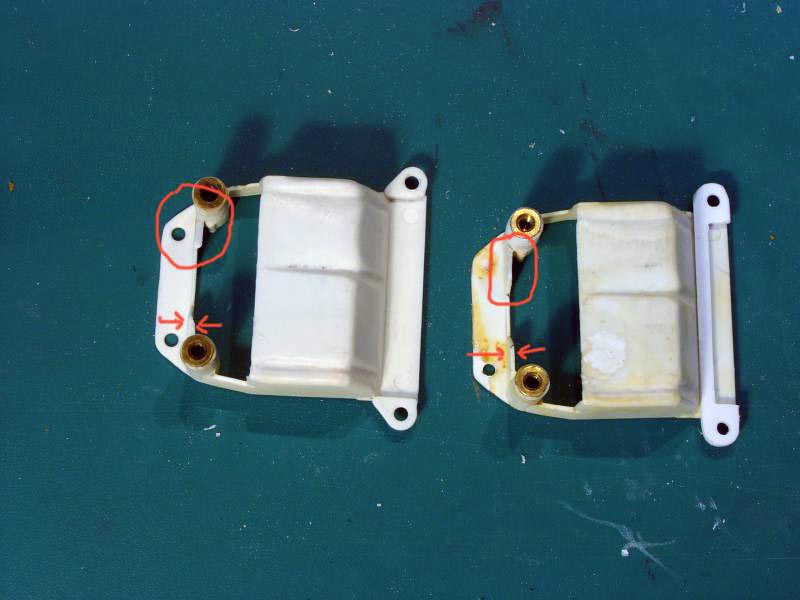
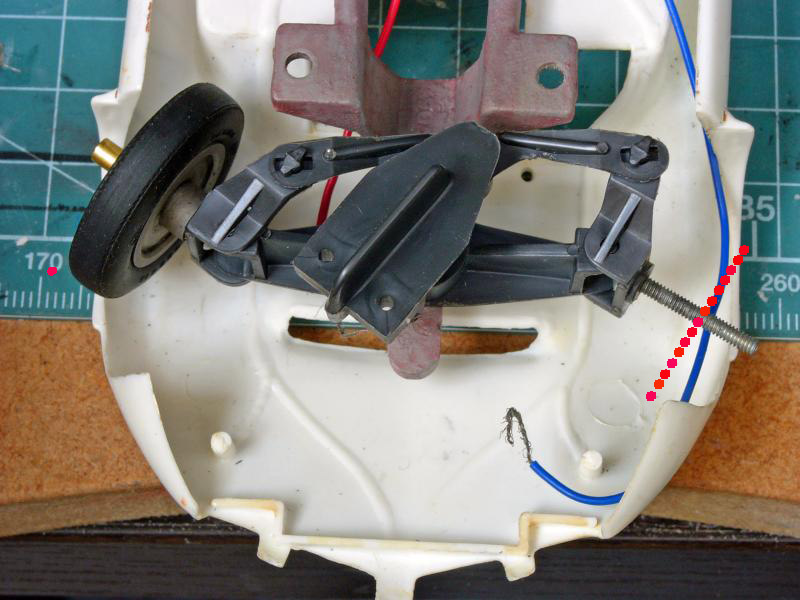
But first of all the Ackermann also had to be modified to be placed a little backward.
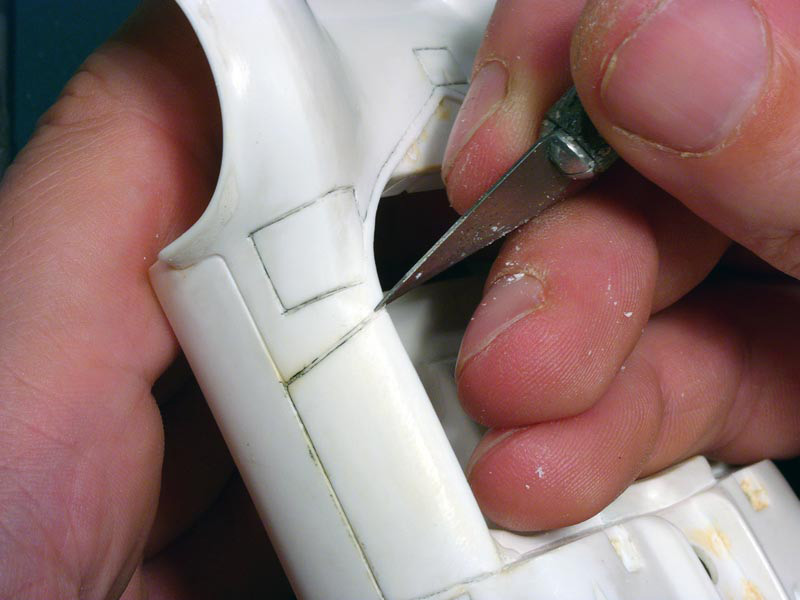
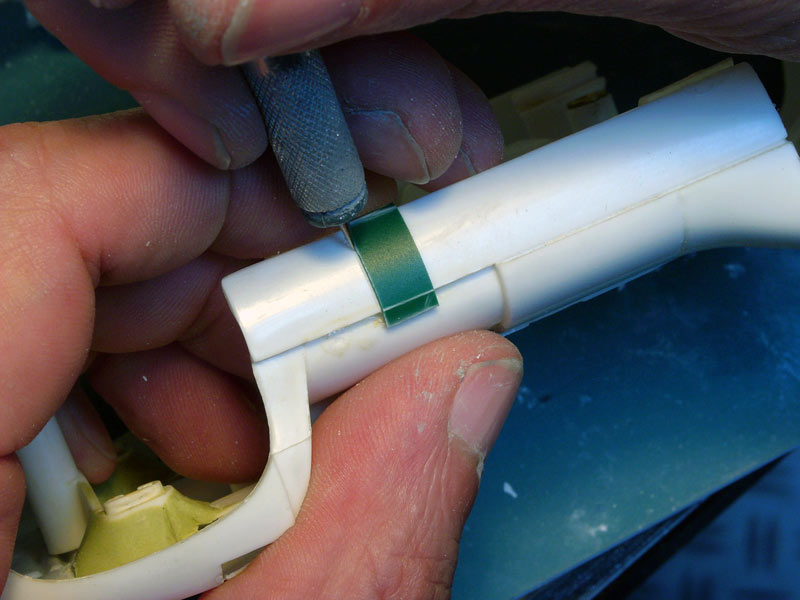
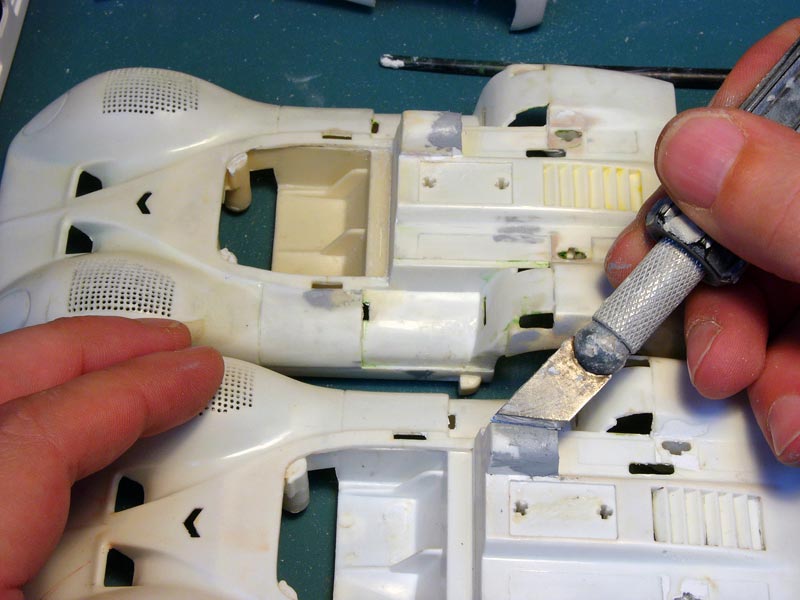
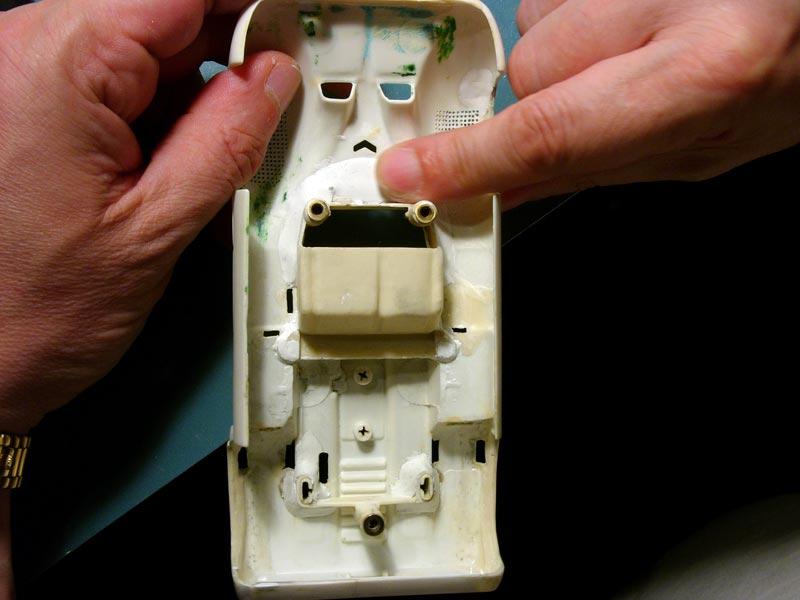
This was done thanks to the cuttings indicated in red in the next picture and to give more room for the mounting screw forward. as indicated in green:
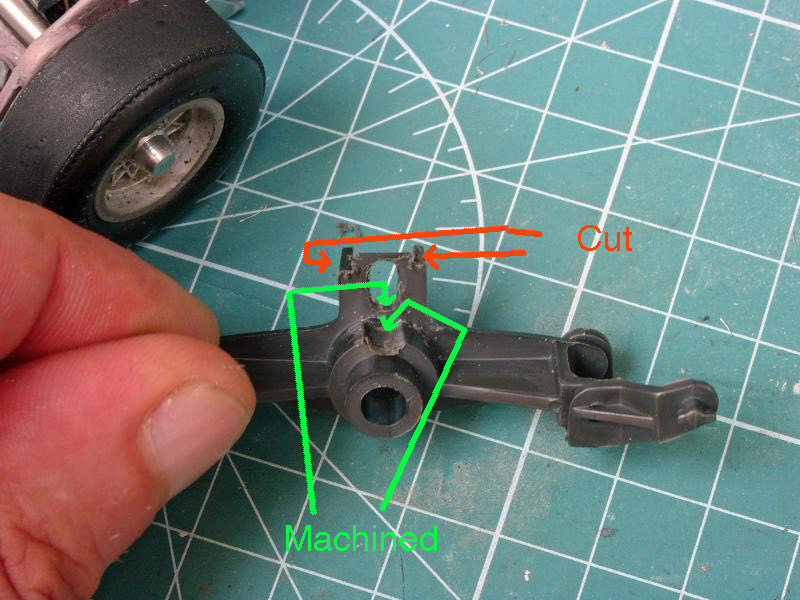
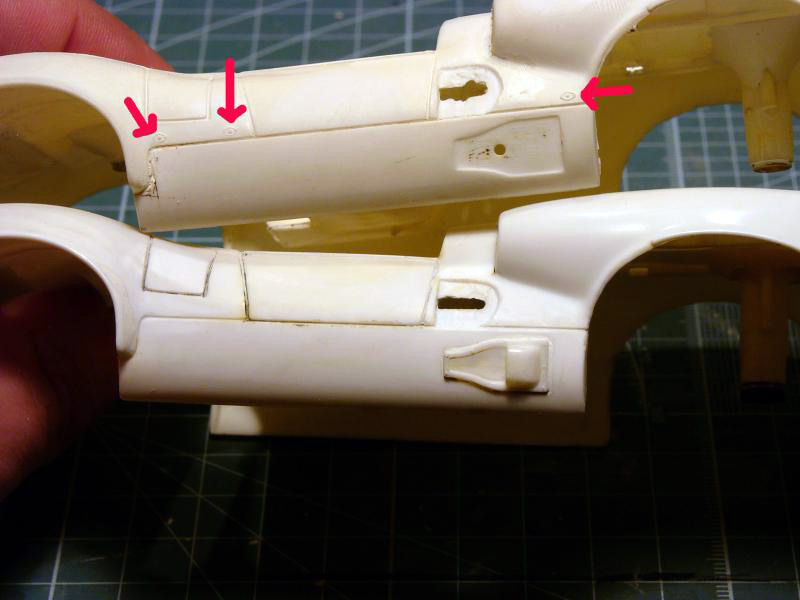
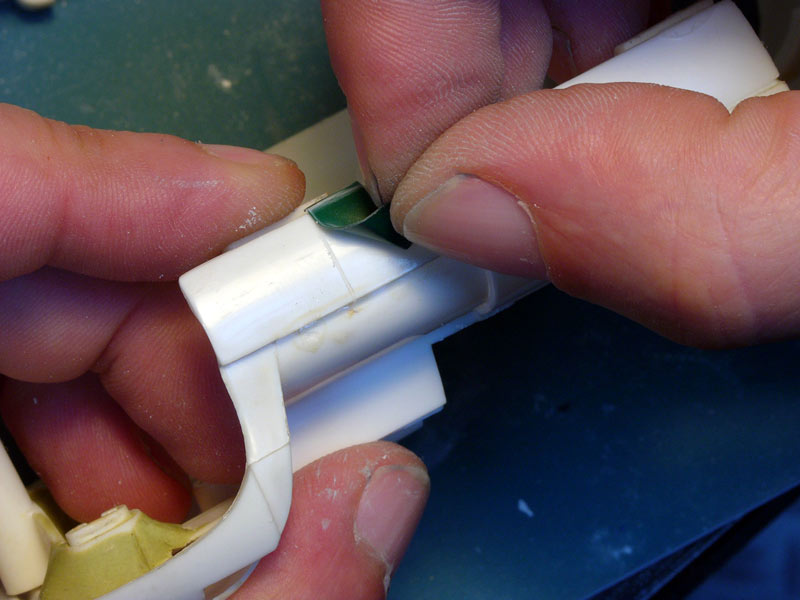
This implied to make the tie rod narrower (otherwise it would touch the frame)
We see this in the following picture, with a standard Ackermann as a reference:
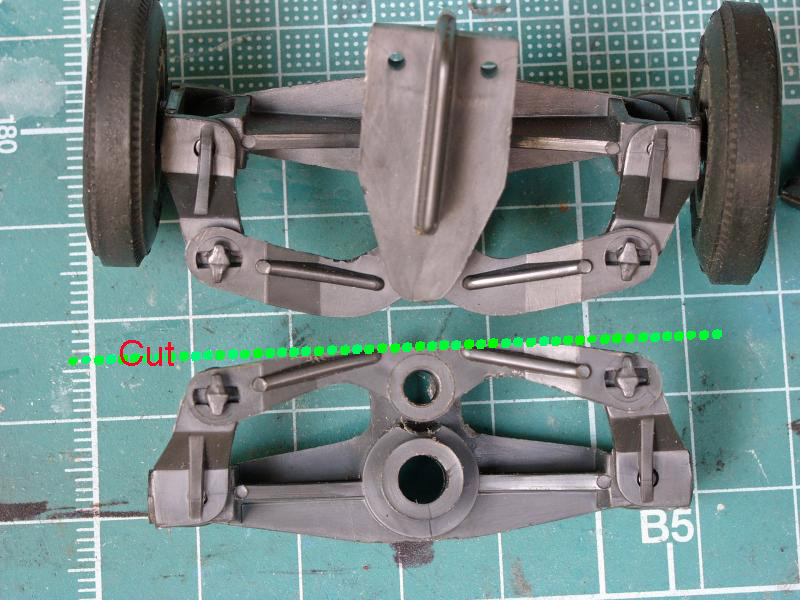
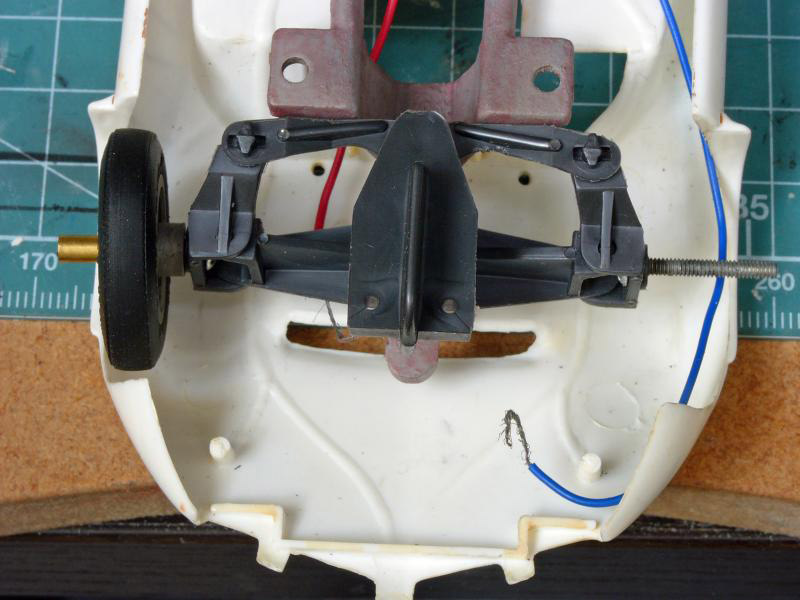
The whole, from an upper view:
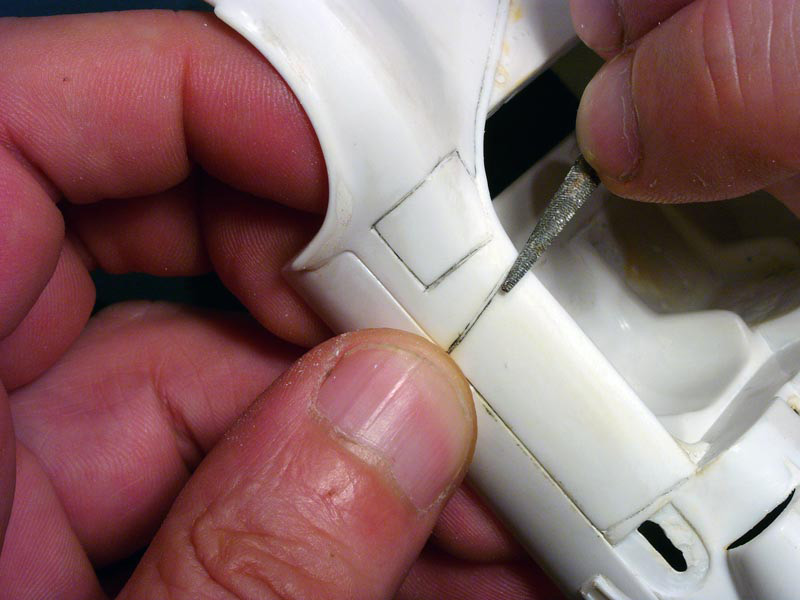
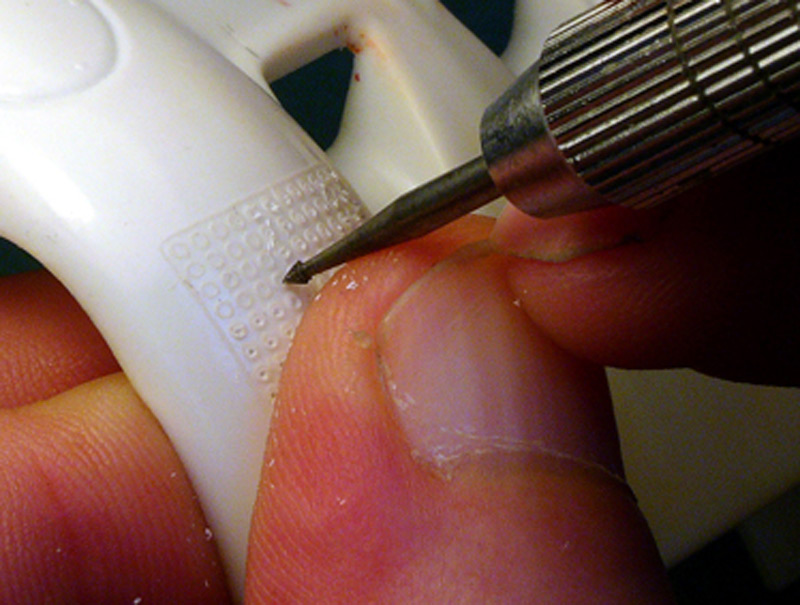
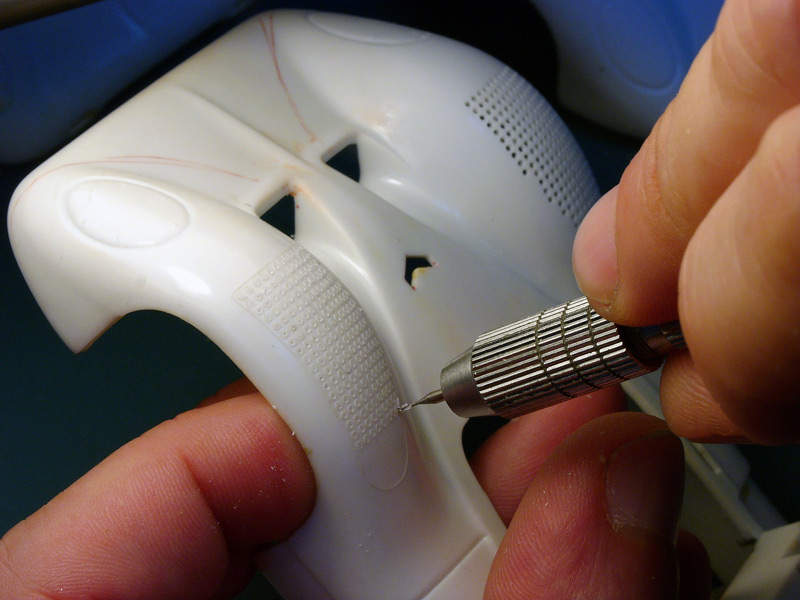
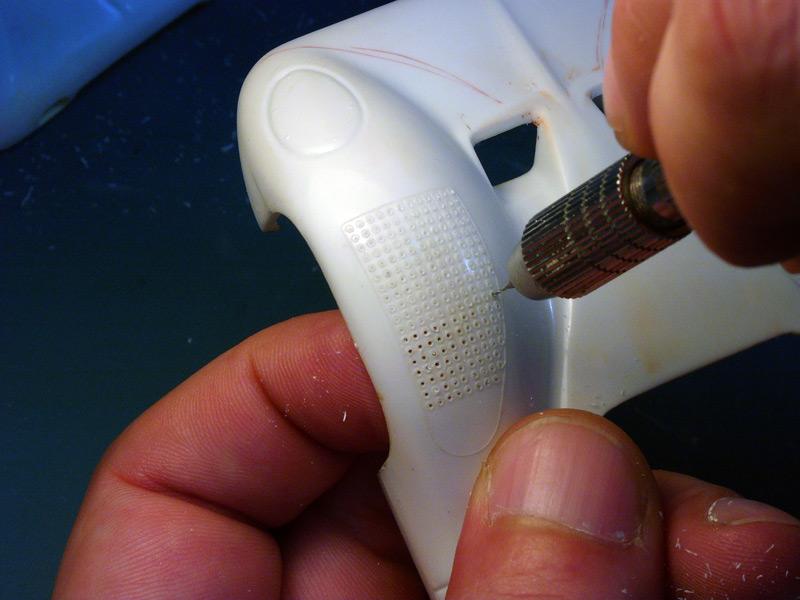
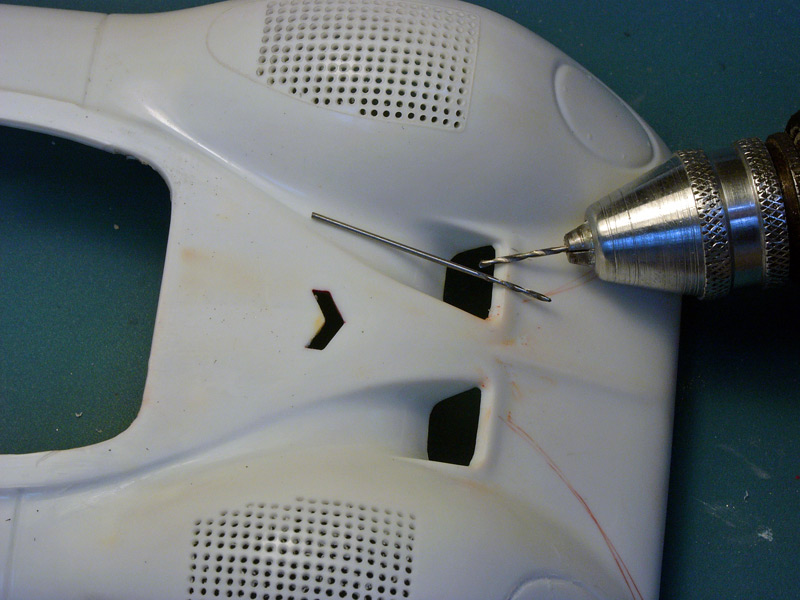
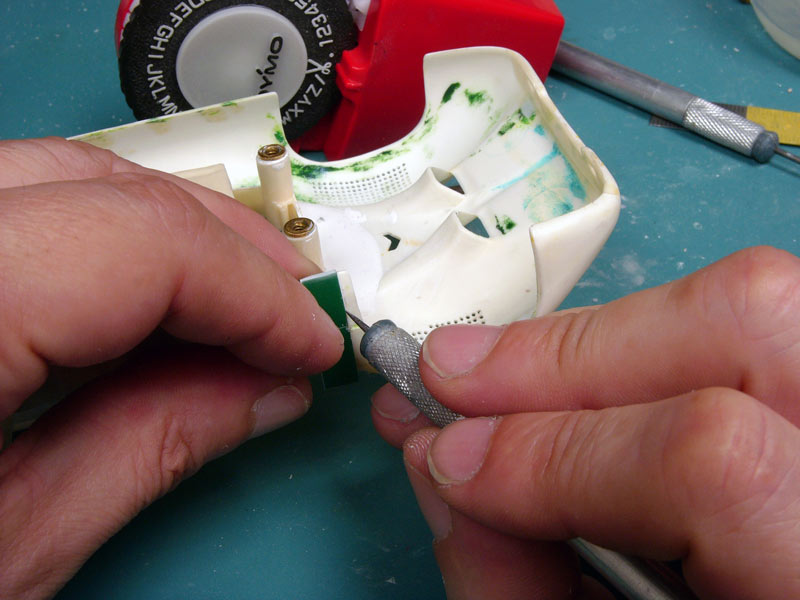
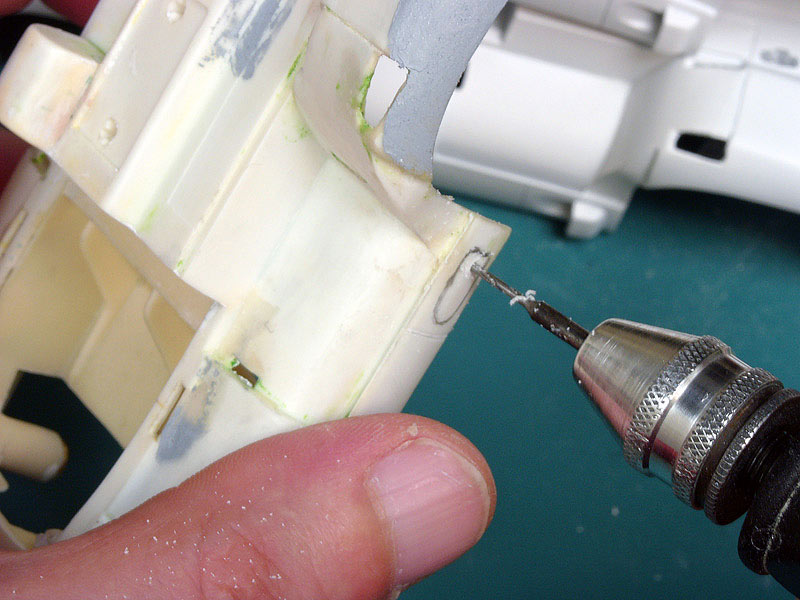
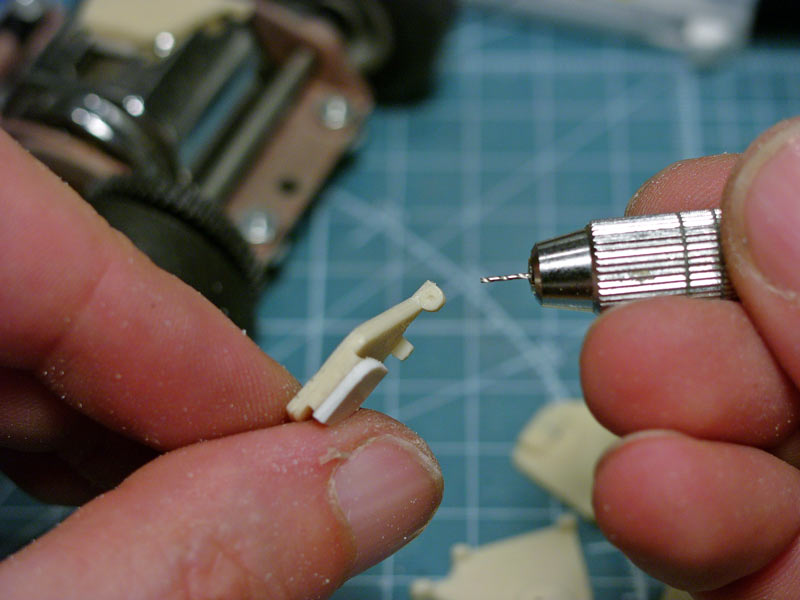
I also had to cut the nylon/plastic poor axles and had to drill a hole for a threaded axle (I used the part that maintains the drop arm in the standard chassis).
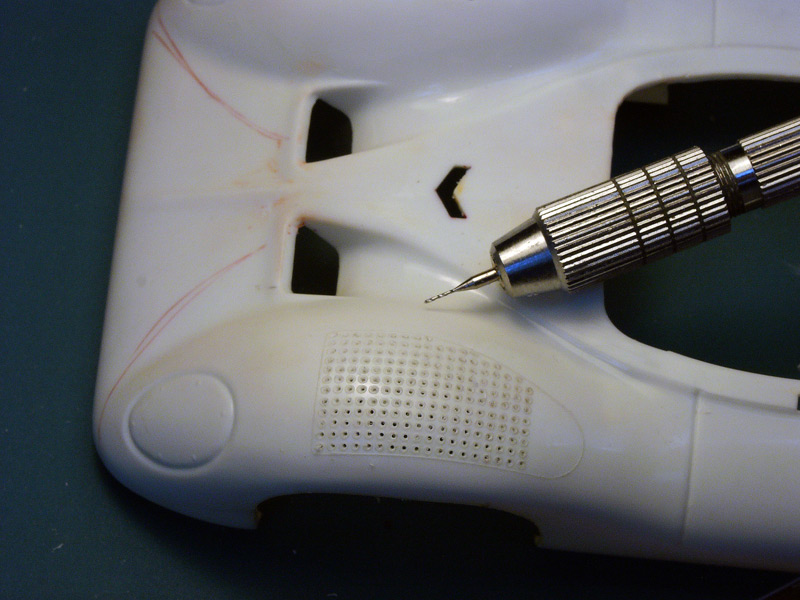
Here you see the first drilled hole, a small one to be sure the definitive one will be right in the center.
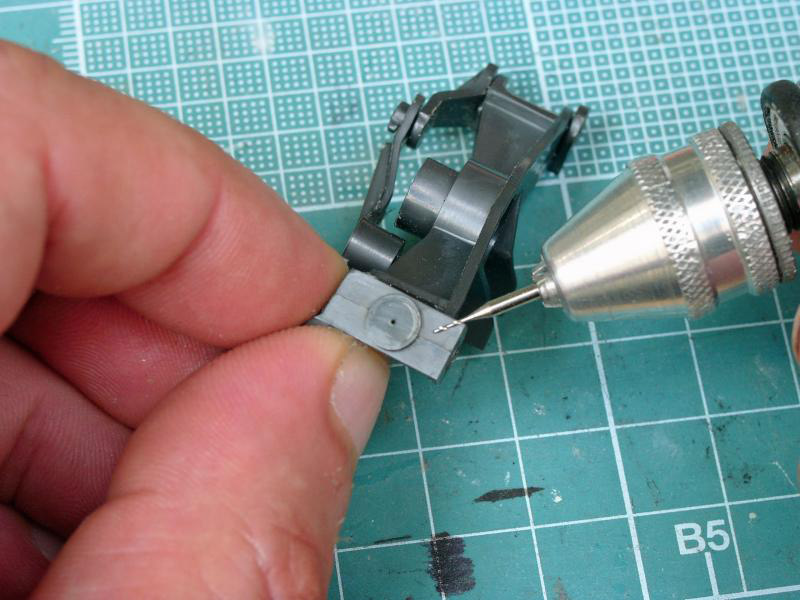
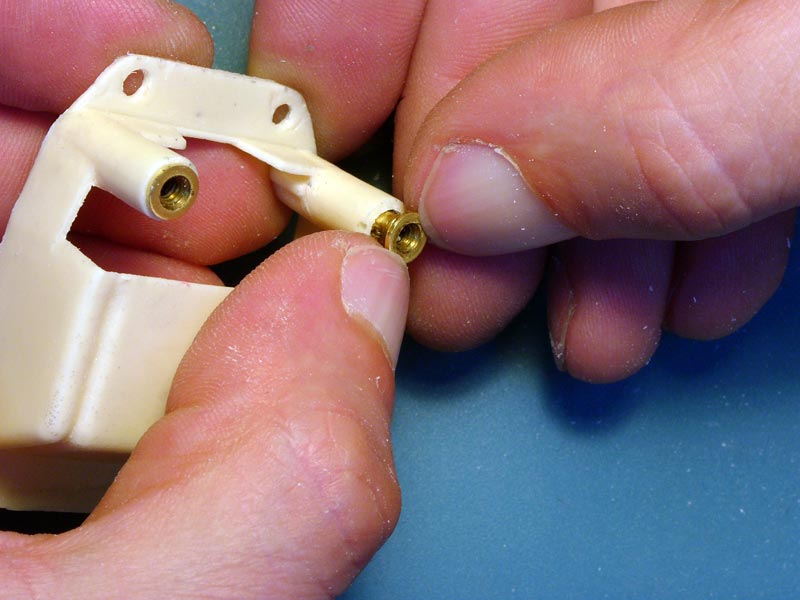
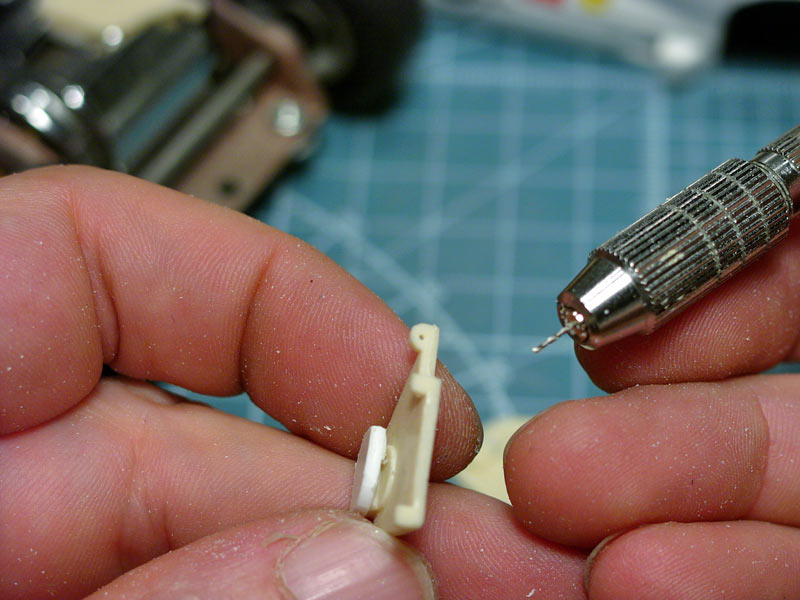
Then you can place the threaded axles.
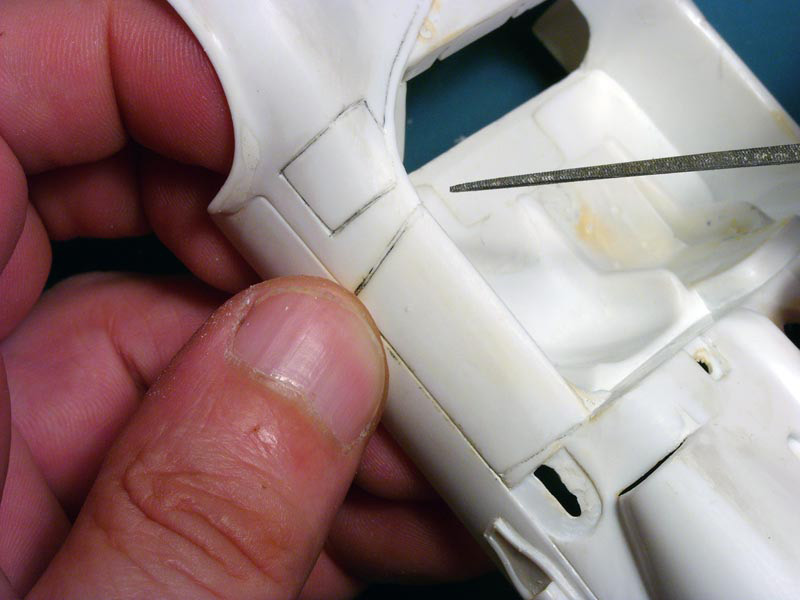
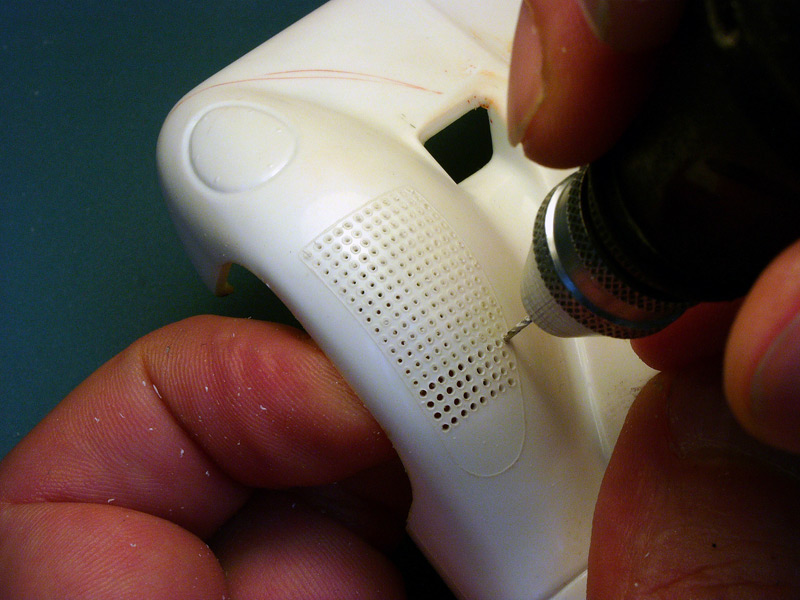
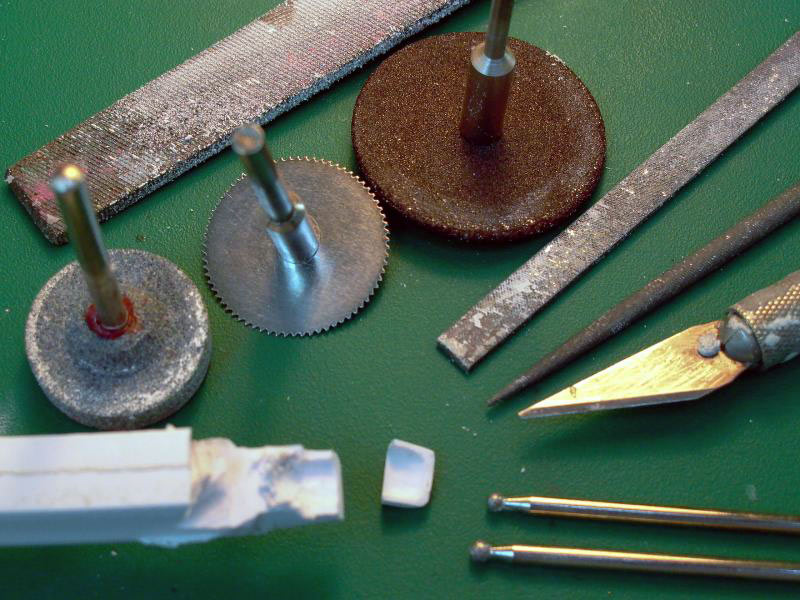
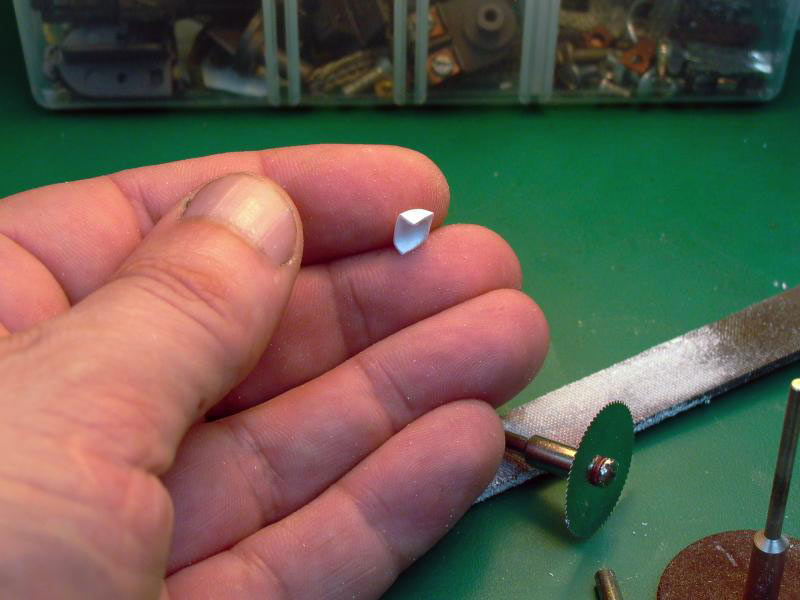
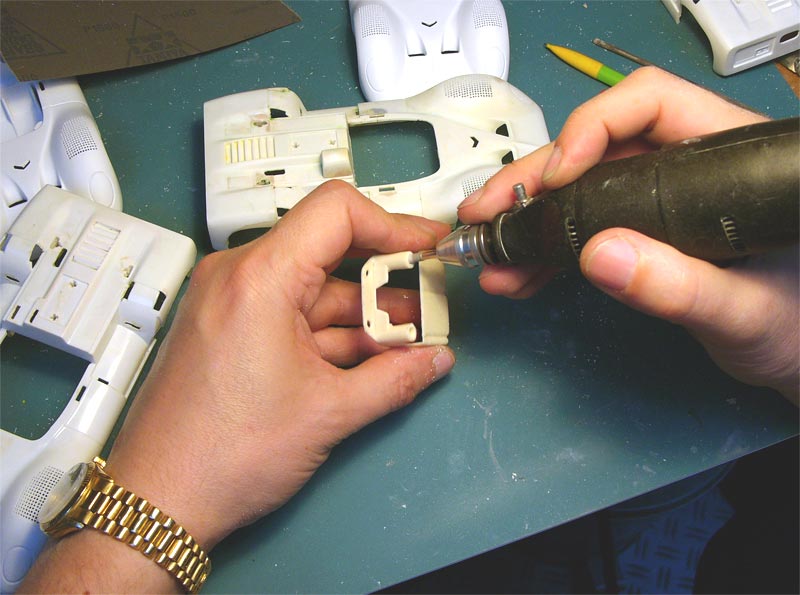
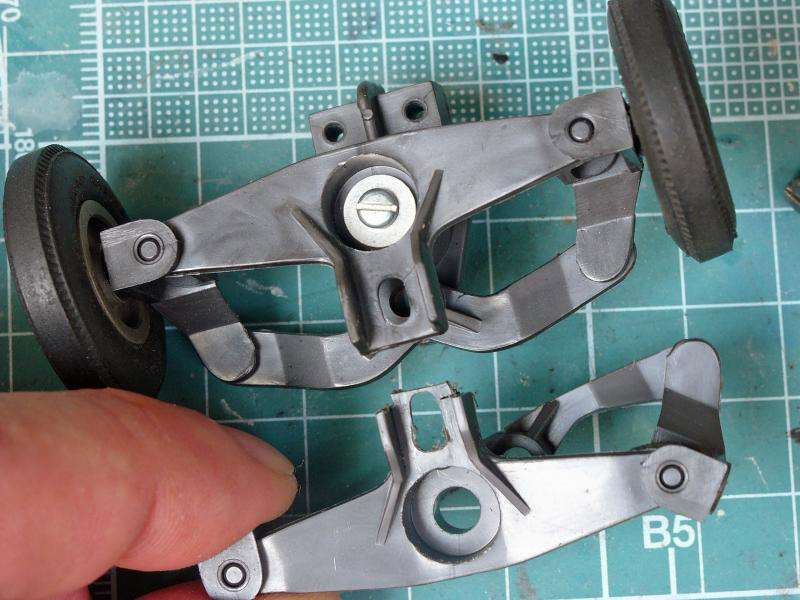
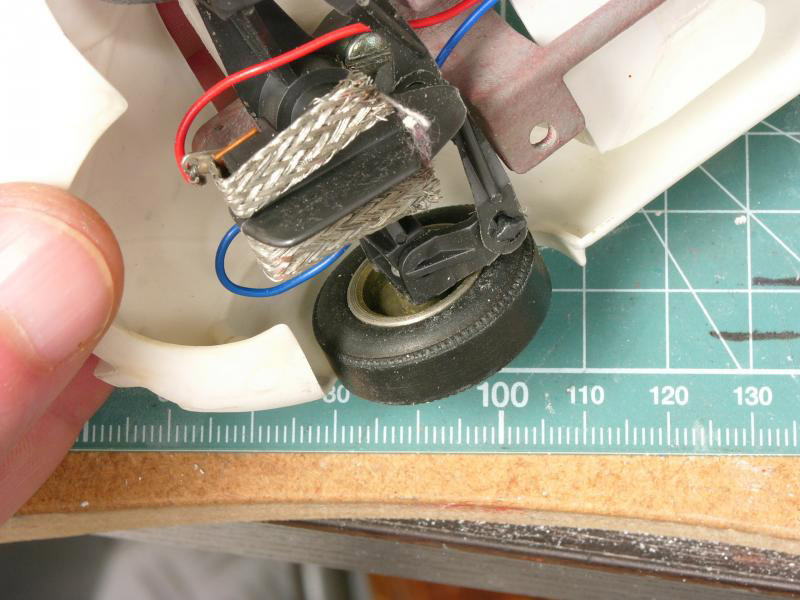
Next step was to use the brass tube also used for the drop arm (two of them, of course, but in the next picture there is only one) because its internal and external diameters are perfect for that application.
One can then simply cut at the right dimension the “axle” and the tube, always using an electric drill, so the tube has the size of the wheel in its transverse size and the axle is long enough for the nut to be put on.
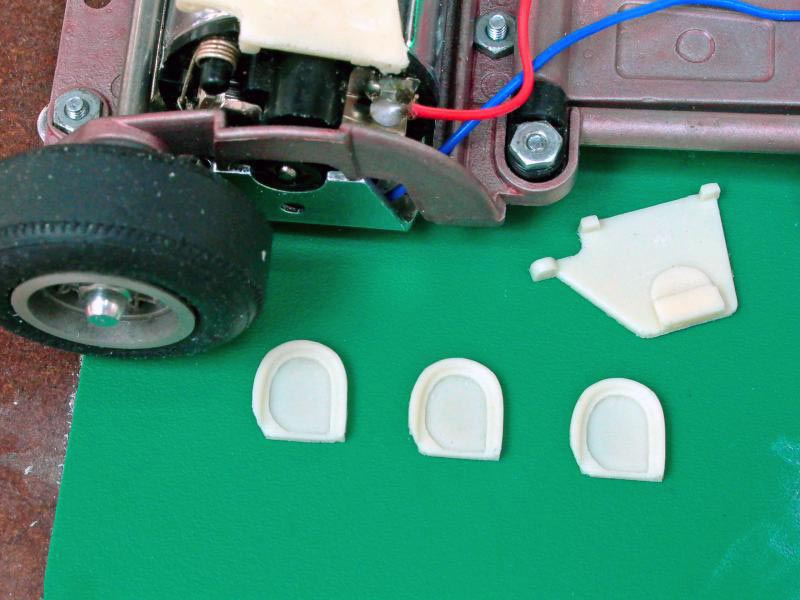
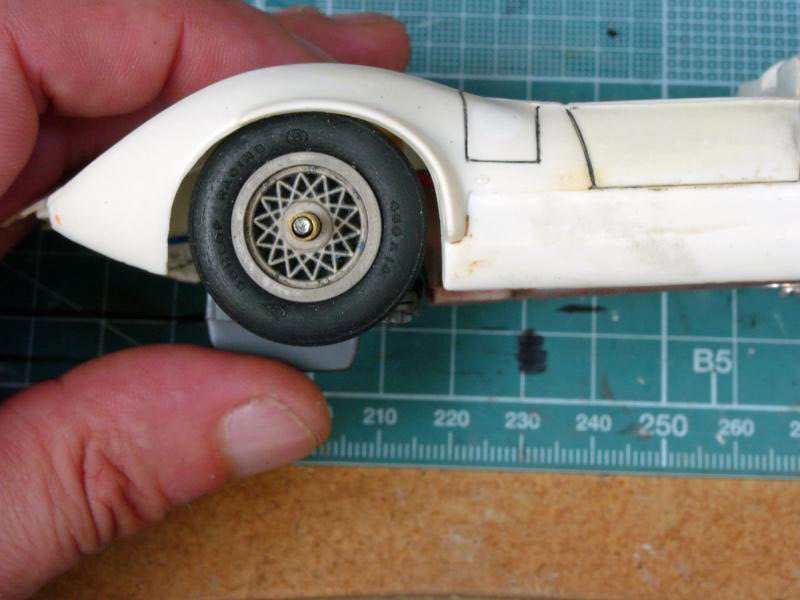
Then I found out that the standard front wheels would perfectly suit the modified Ackermann steering !
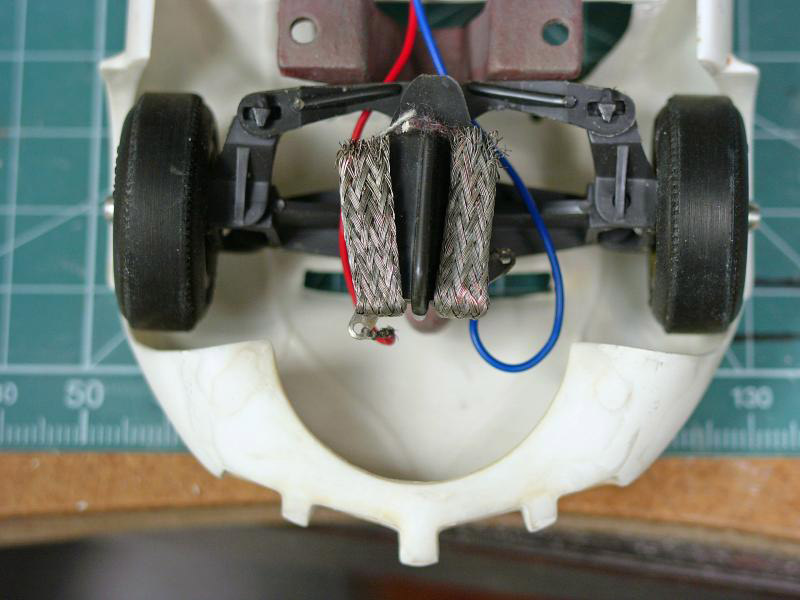
Nice indeed. And it runs great too !
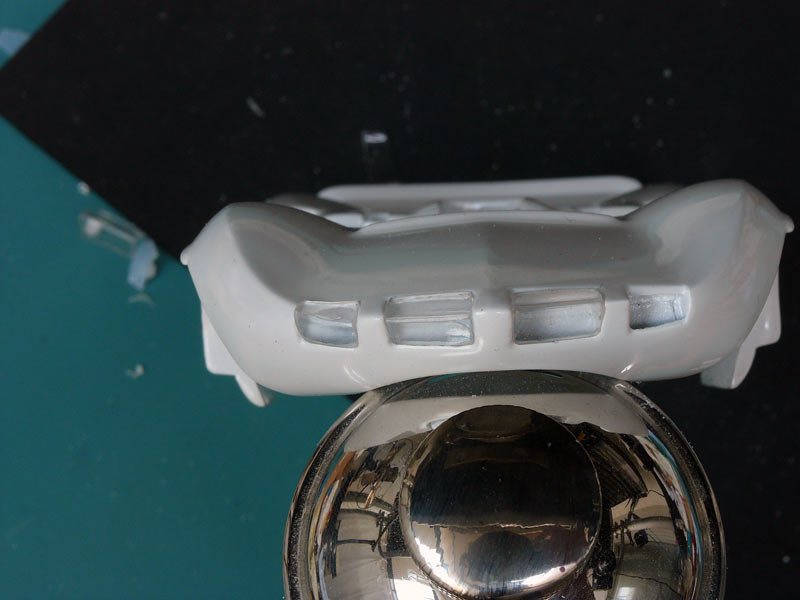
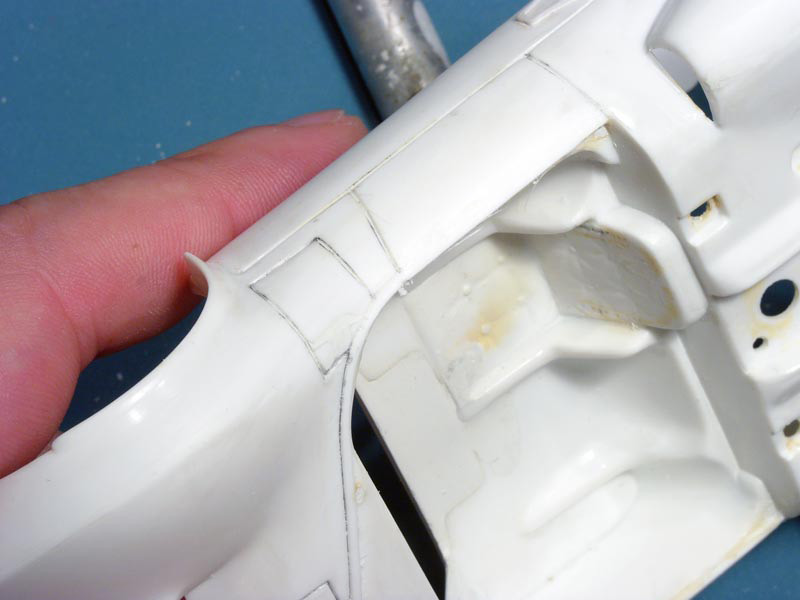
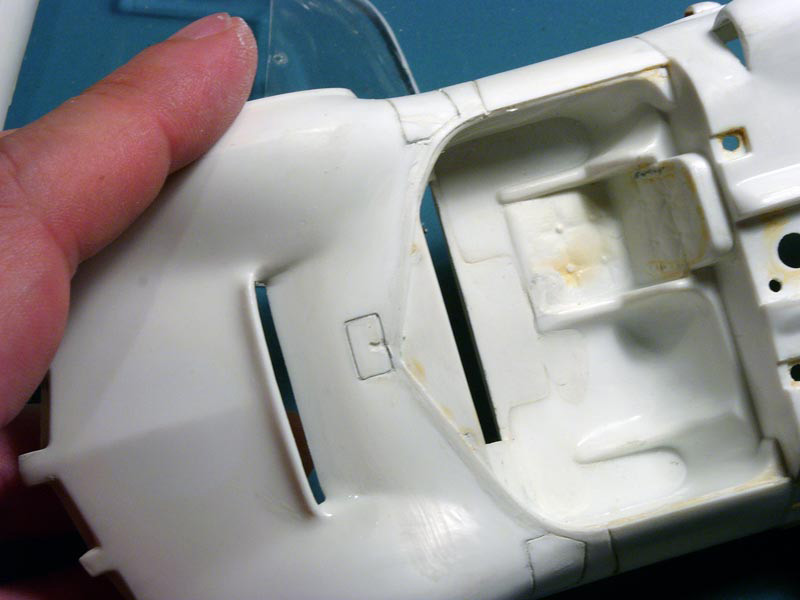
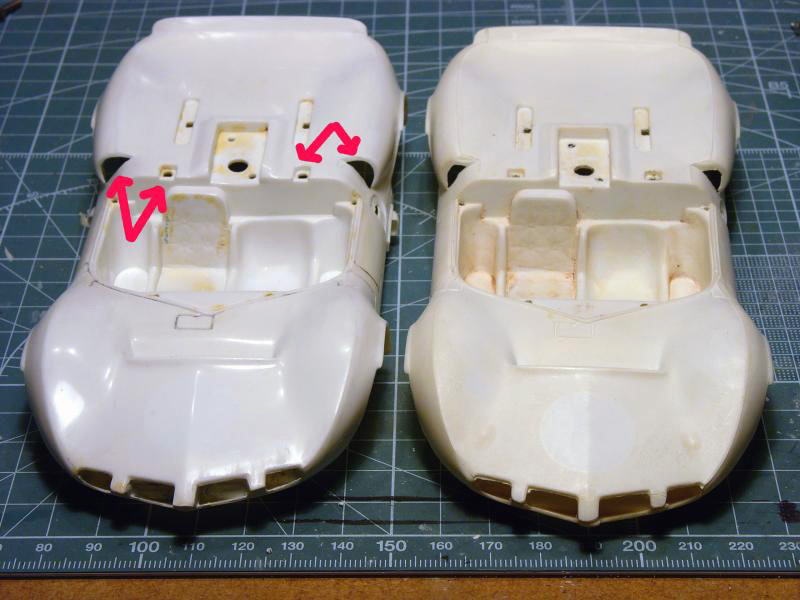
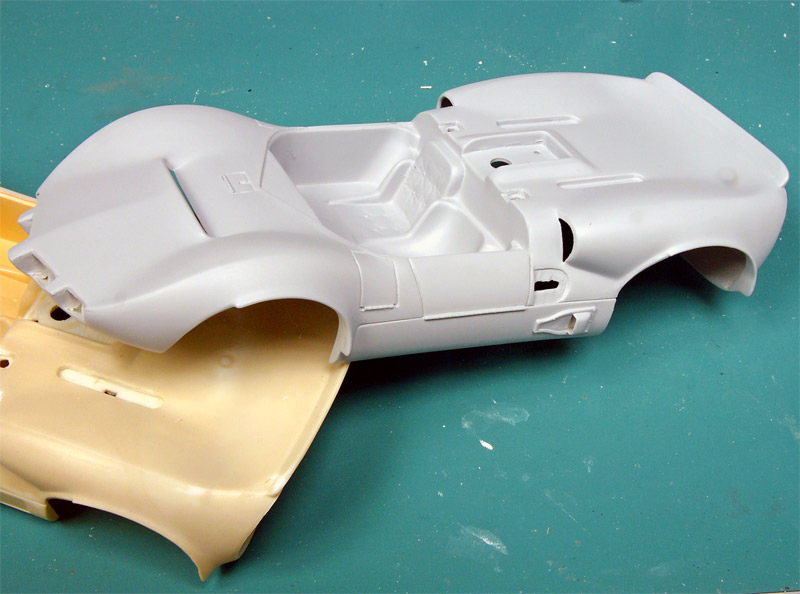
Now the incidence on the body: Using an Ackerman steering imposed to slightly enlarge the wheel arches and the front valence, this only in front of the wheels.
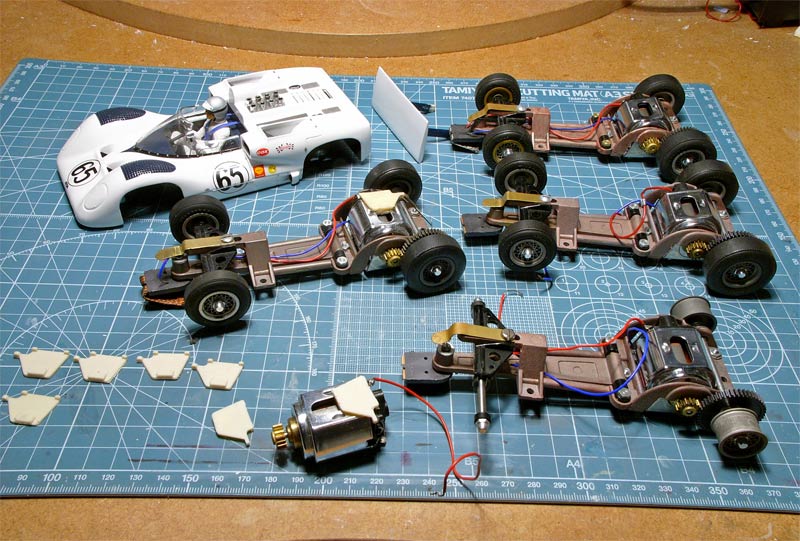
About the choice of the Team-Modified chassis and its possible consequences on the body:
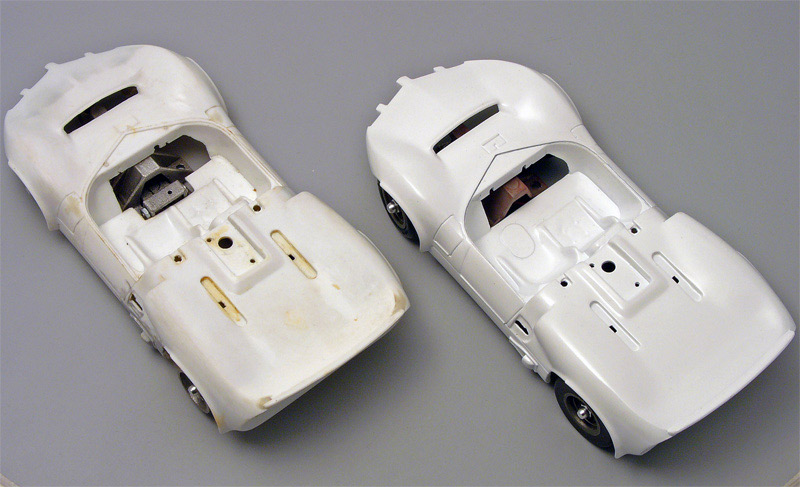
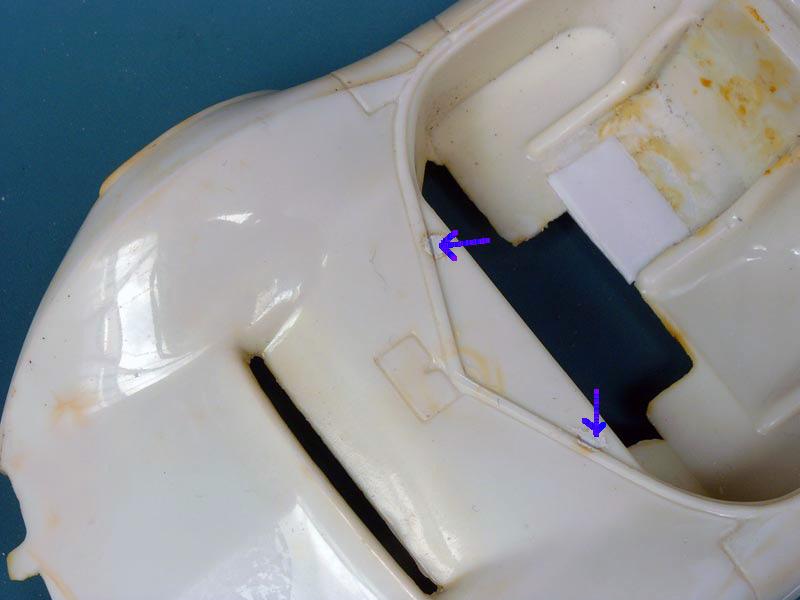
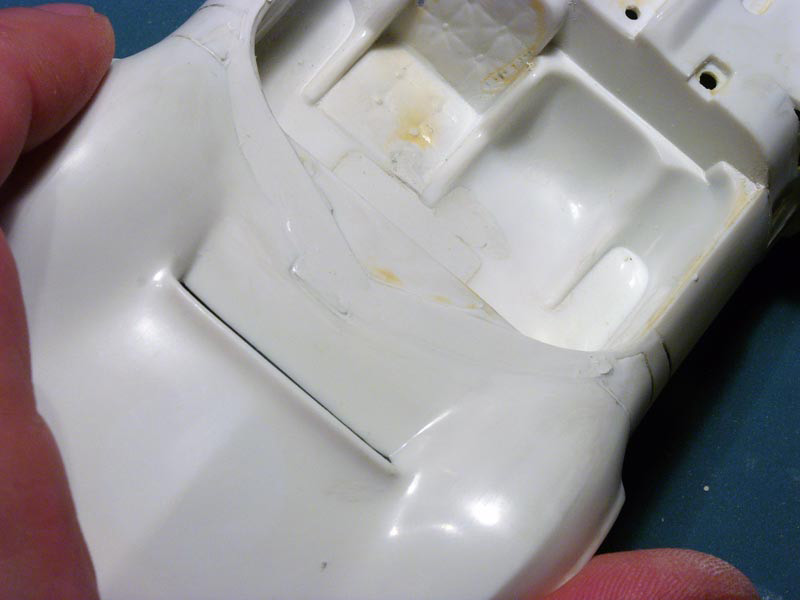
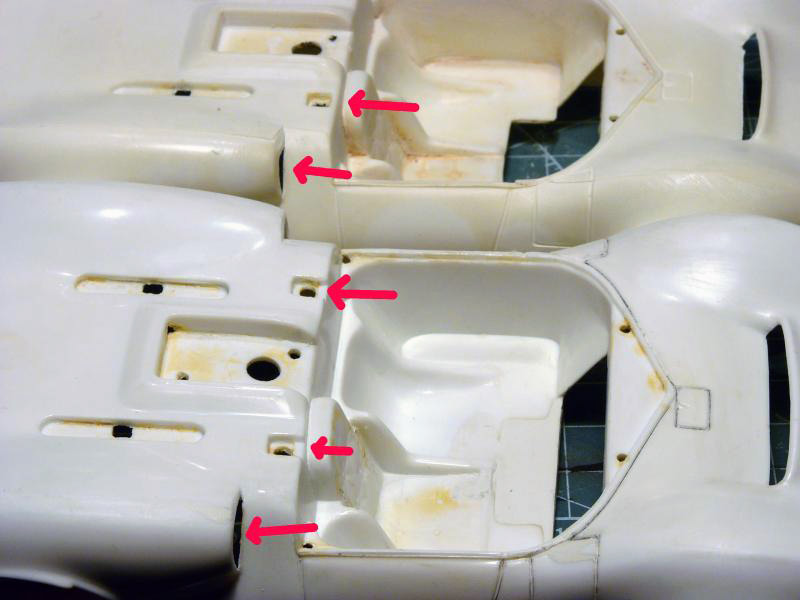
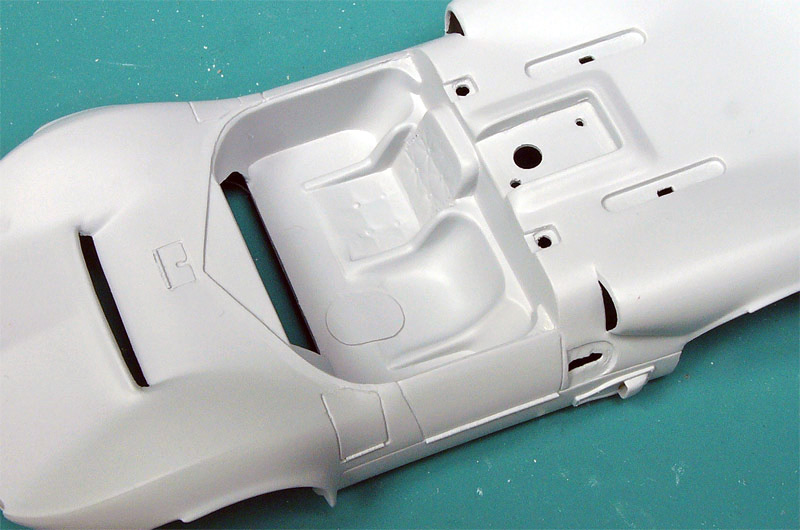
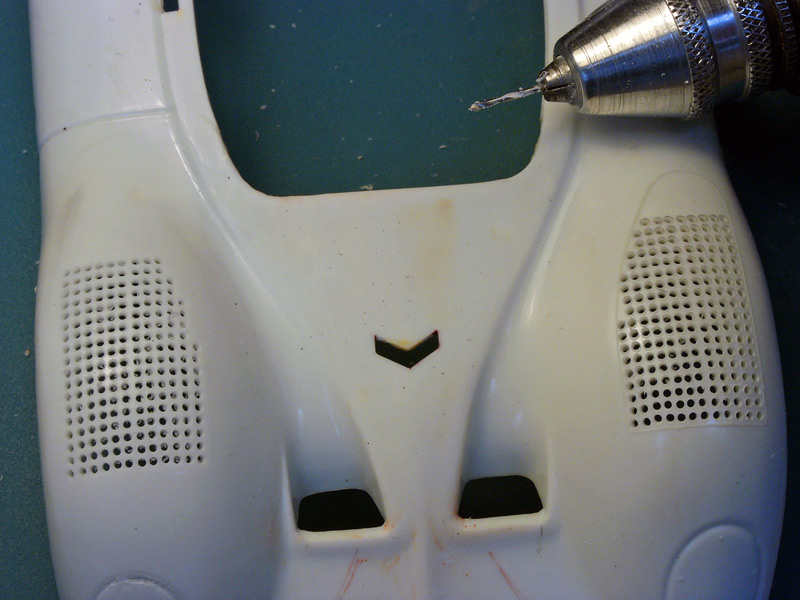
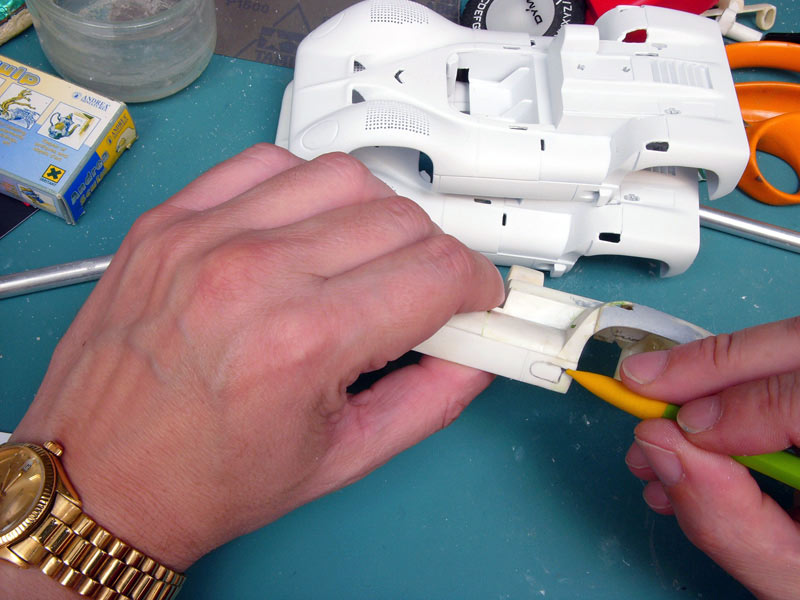
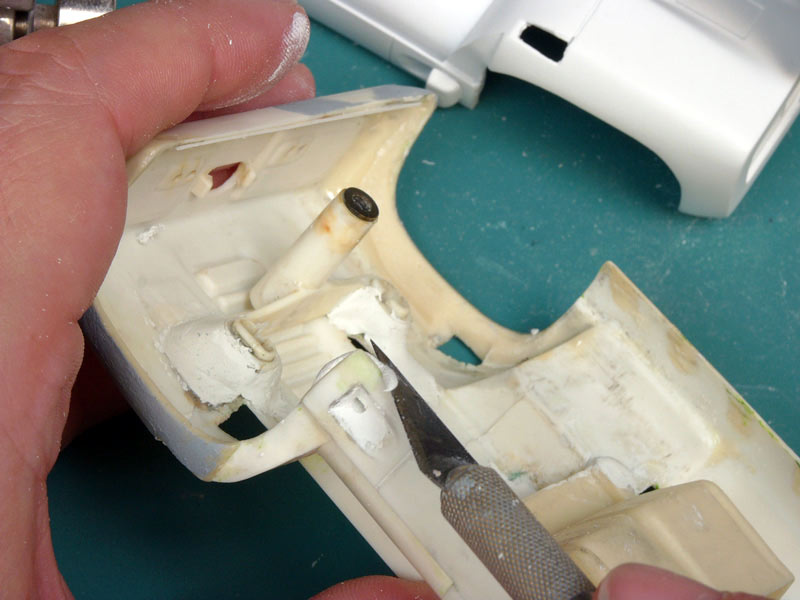
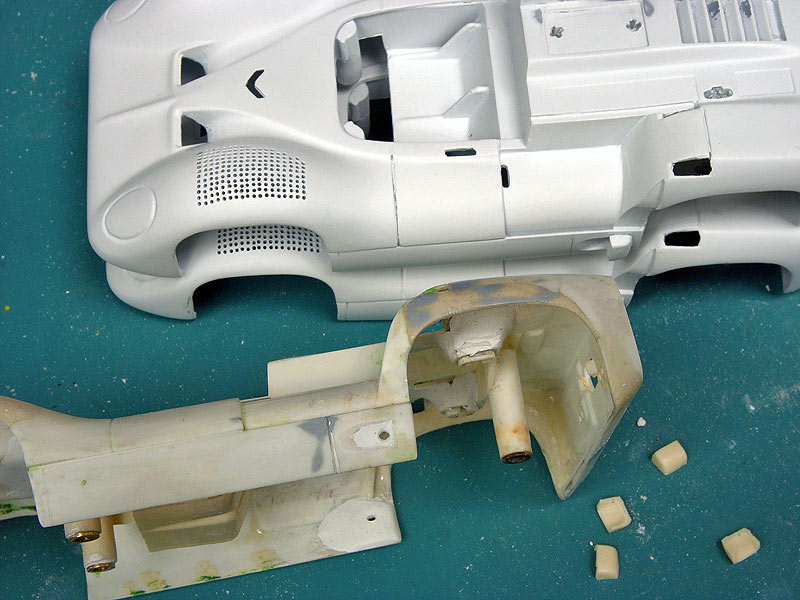
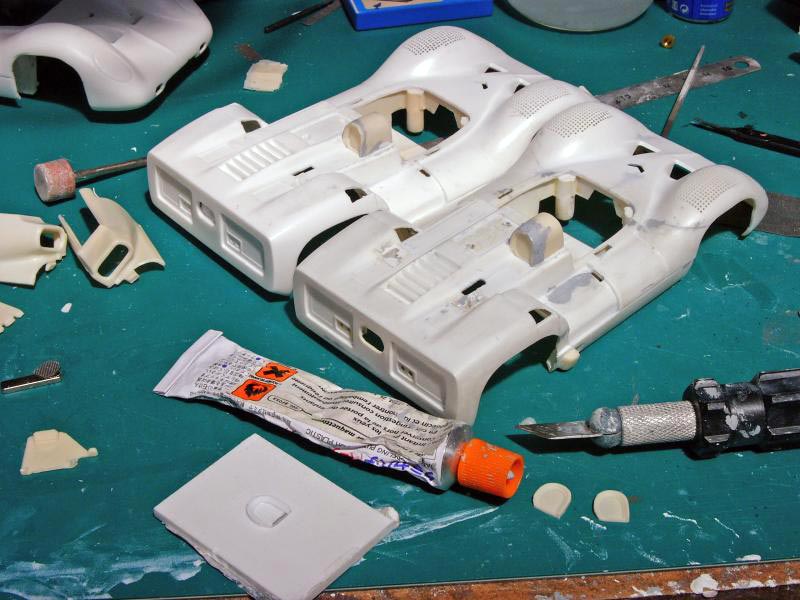
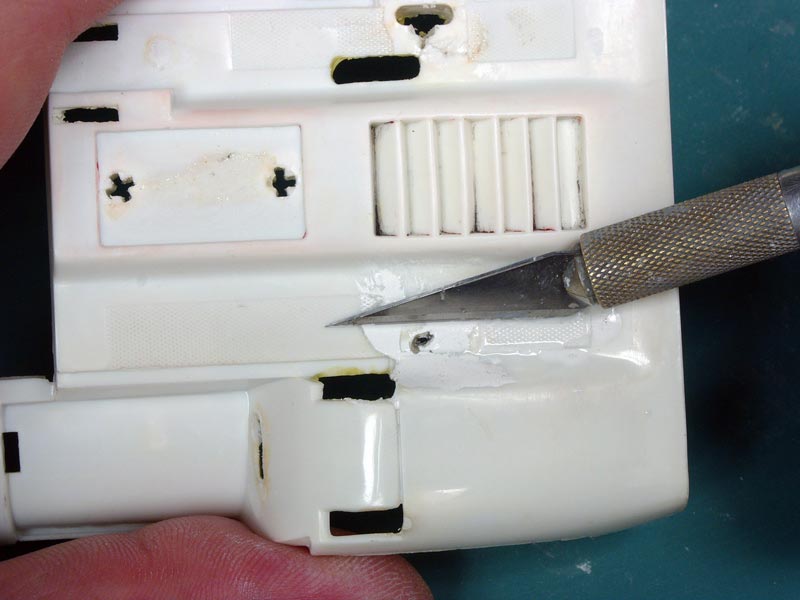
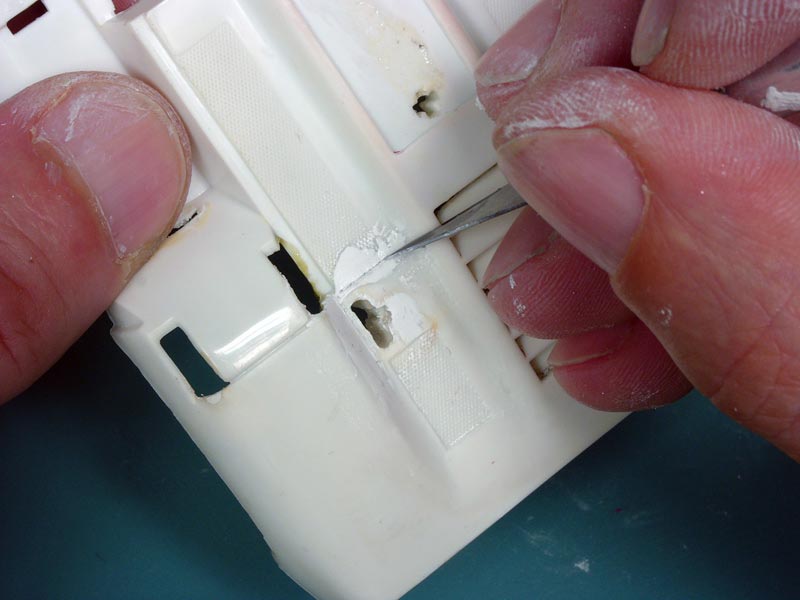
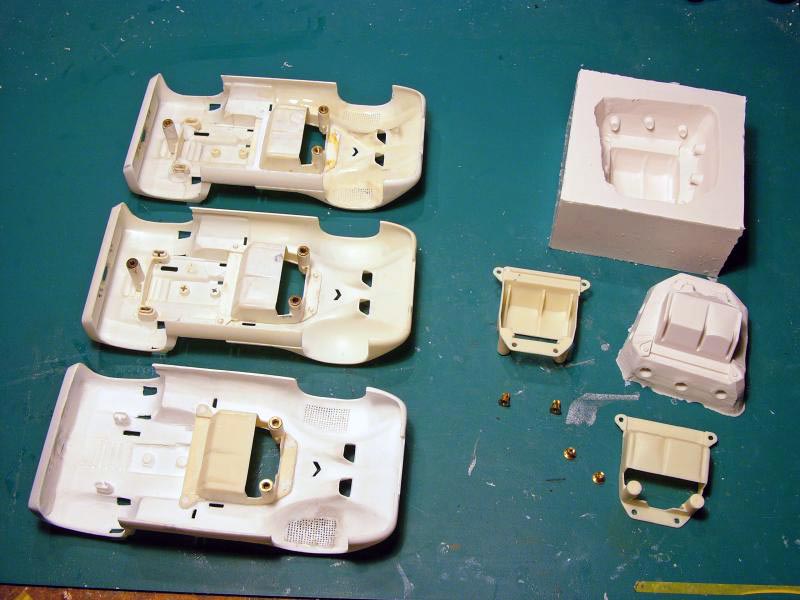
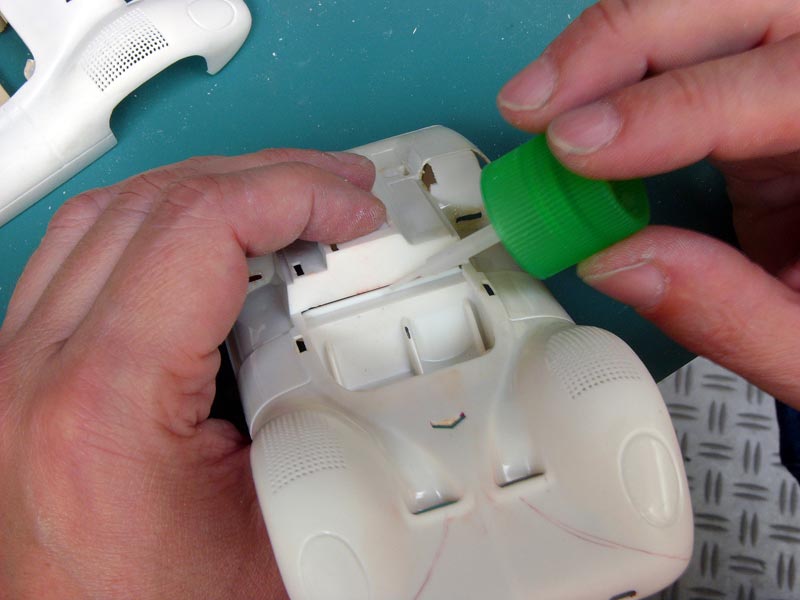
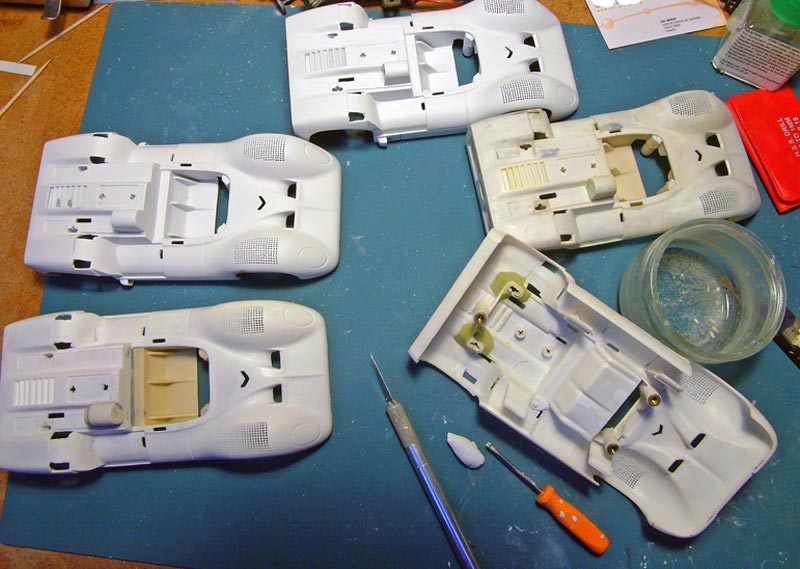
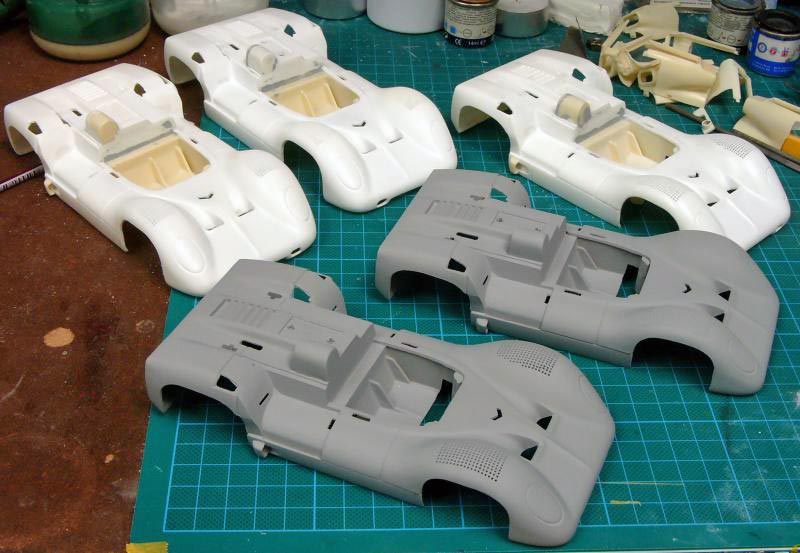
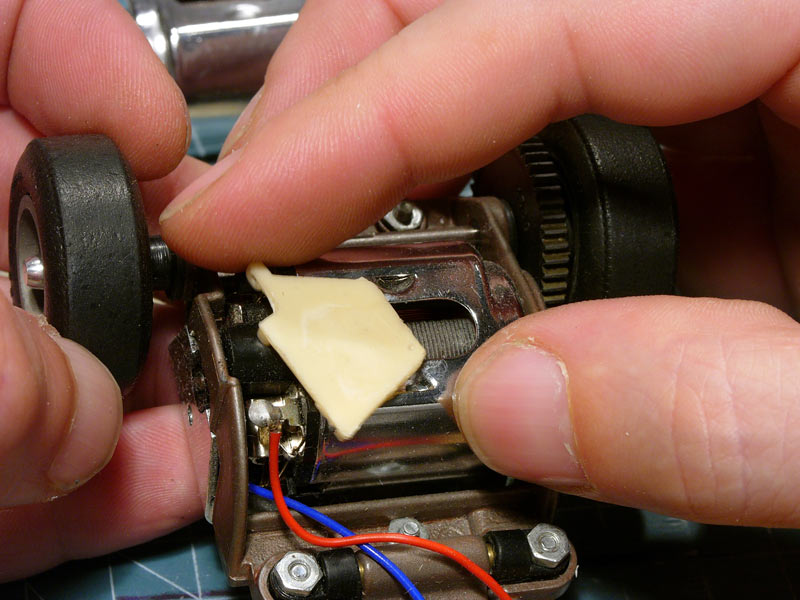
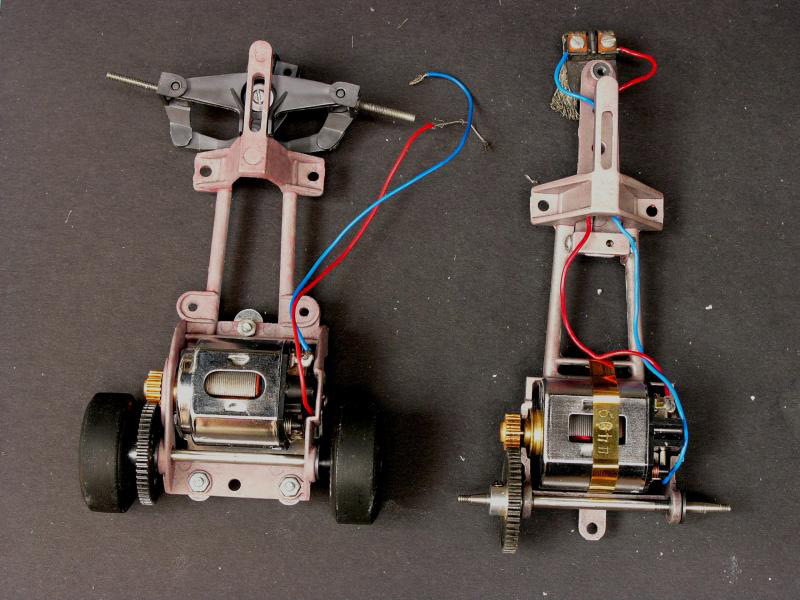
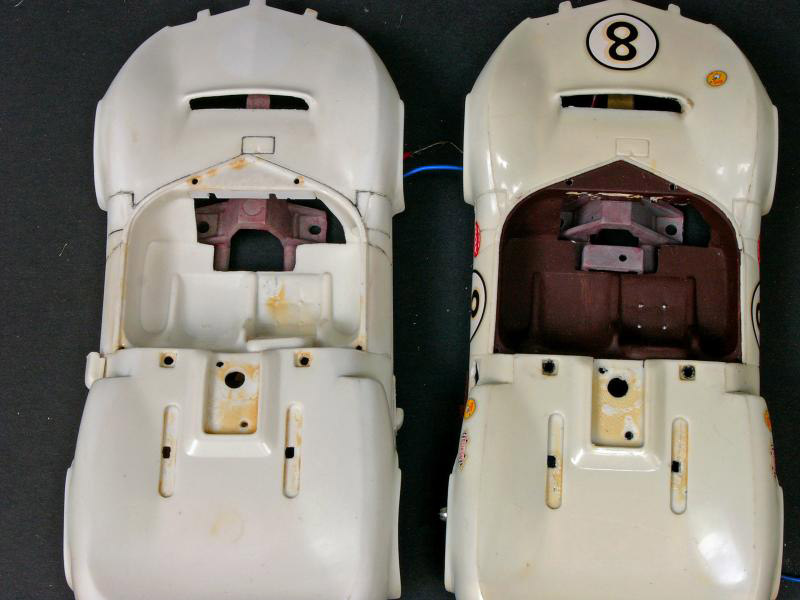
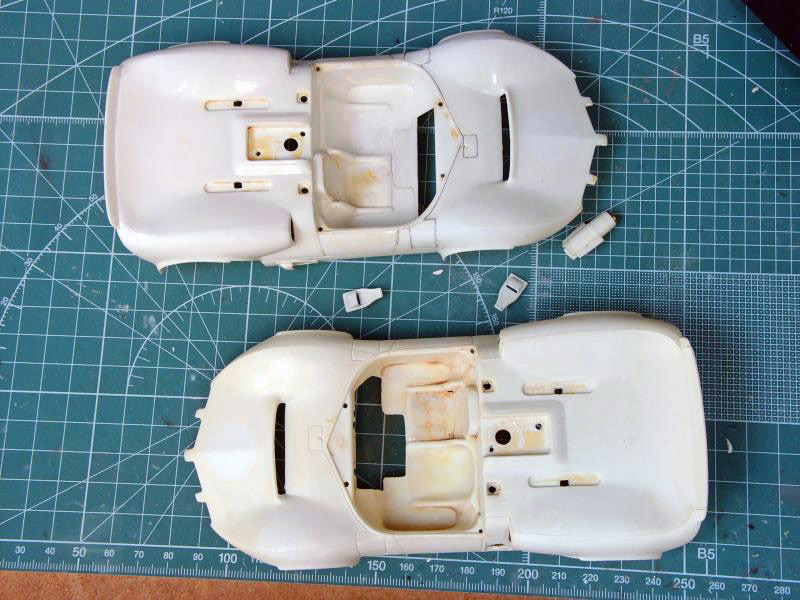
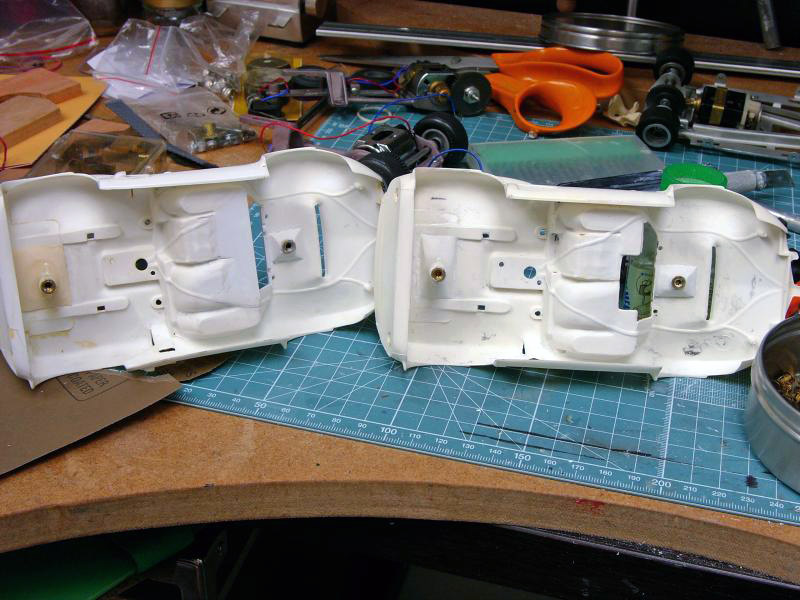
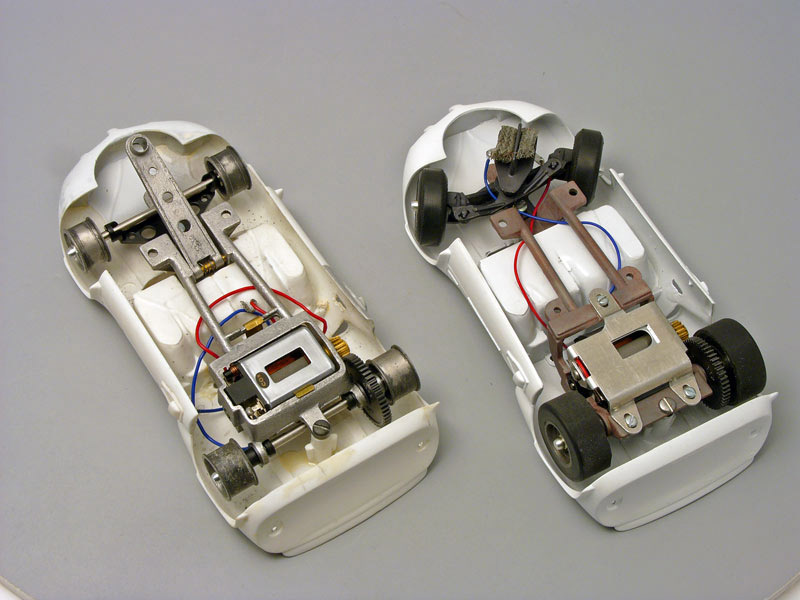
All 2As see their interior cut at the front end of the floor, this to give room to a transverse element and the mounting of the drop arm in the case of the standard chassis. This gap has no use in the case of the Team Modified version, though the body remained unchanged in 1967 when Cox issued a new version of the 2A kit with the said chassis.
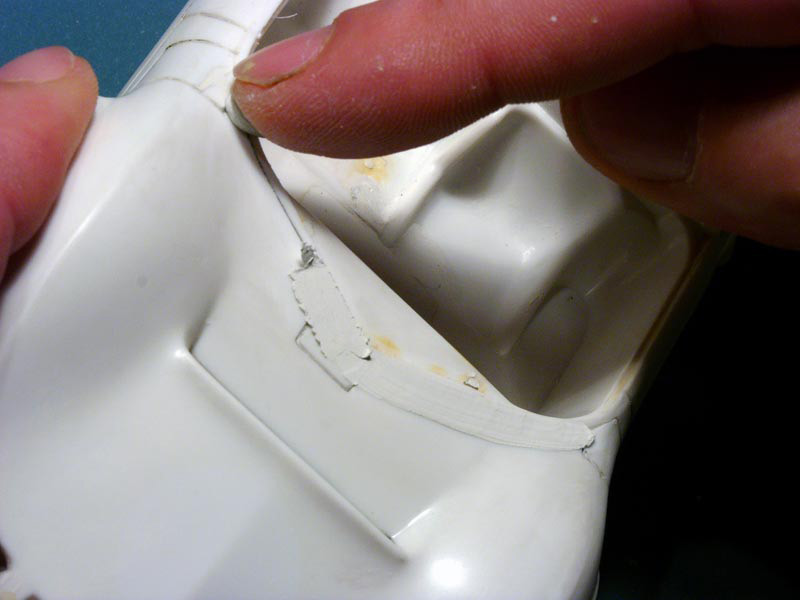
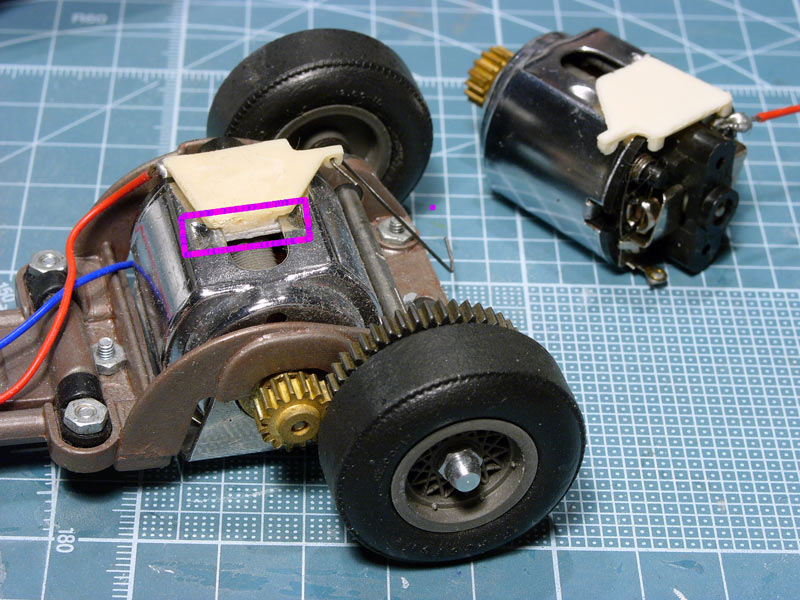
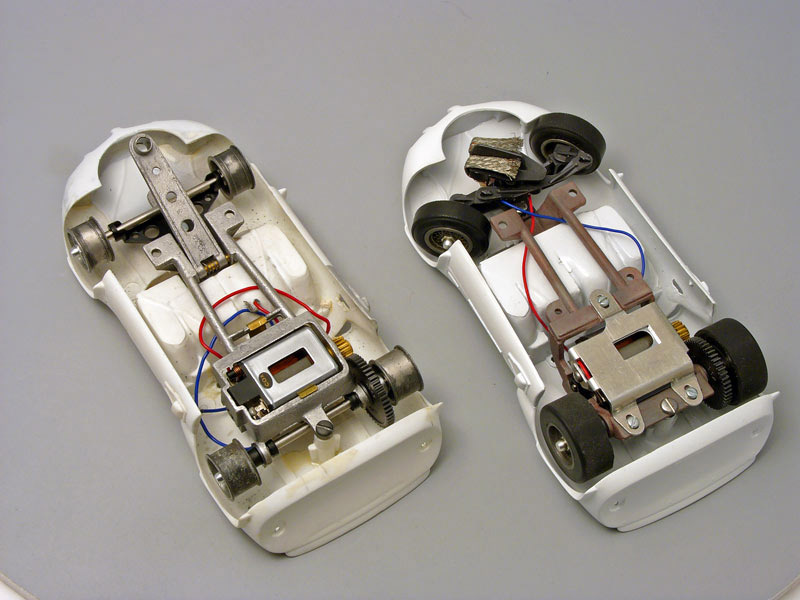
On the right of the next picture, we see that the floor is cut for the standard chassis. On the left, with the Team Modified chassis, the gap has no further use.
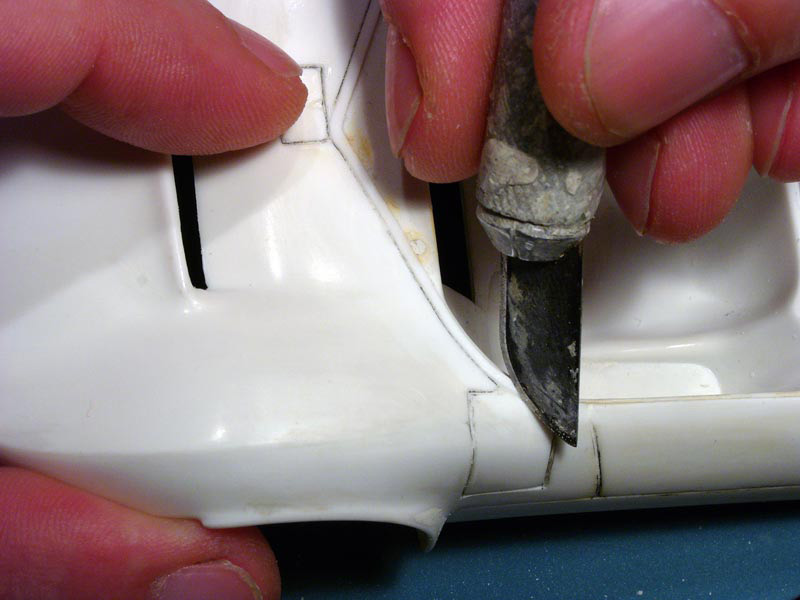
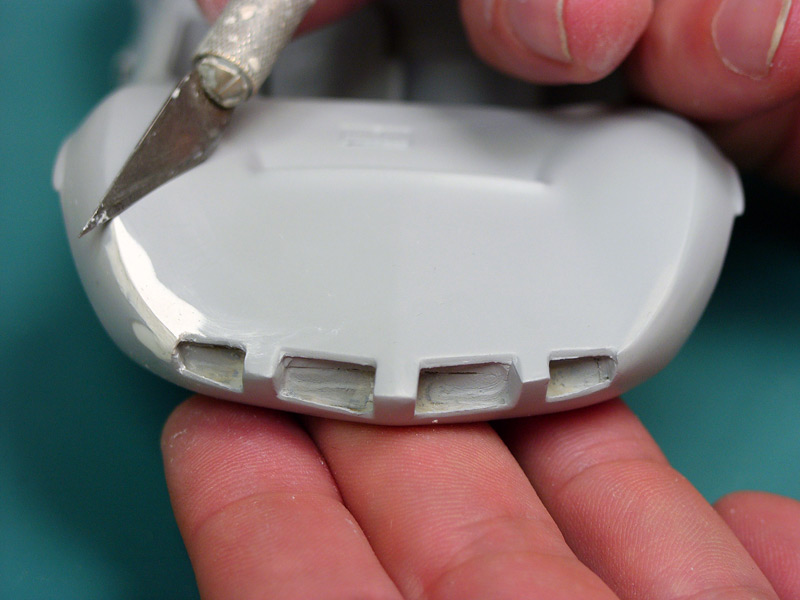
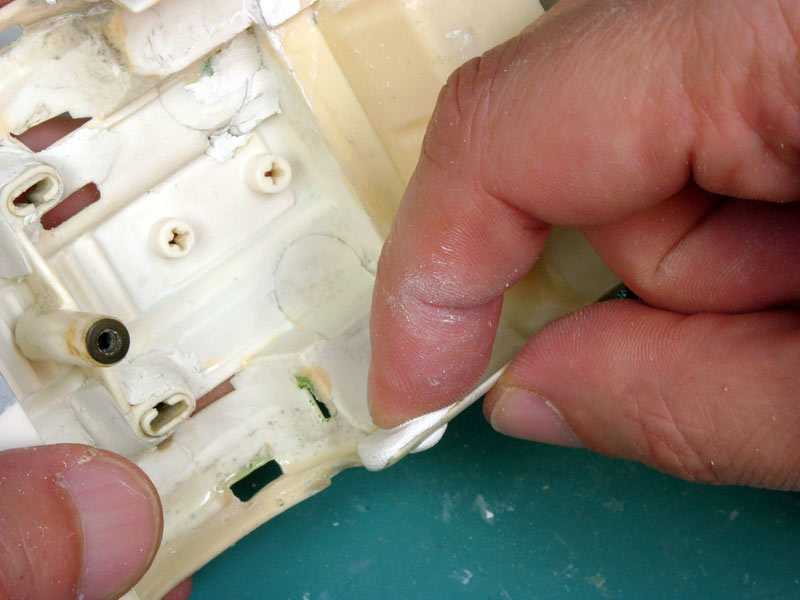
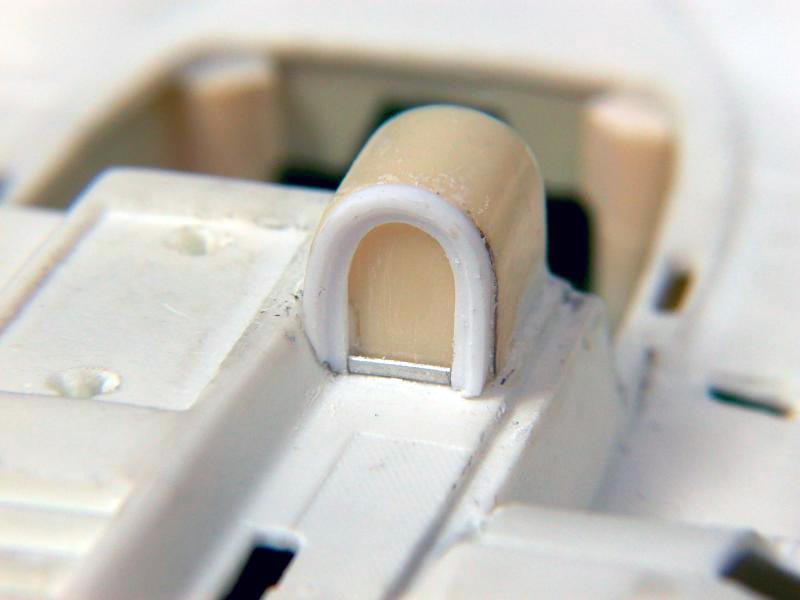
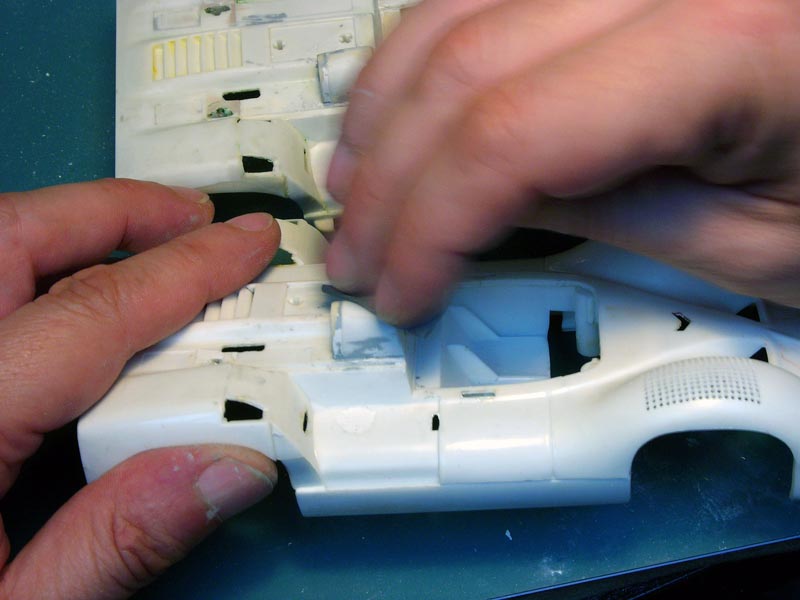
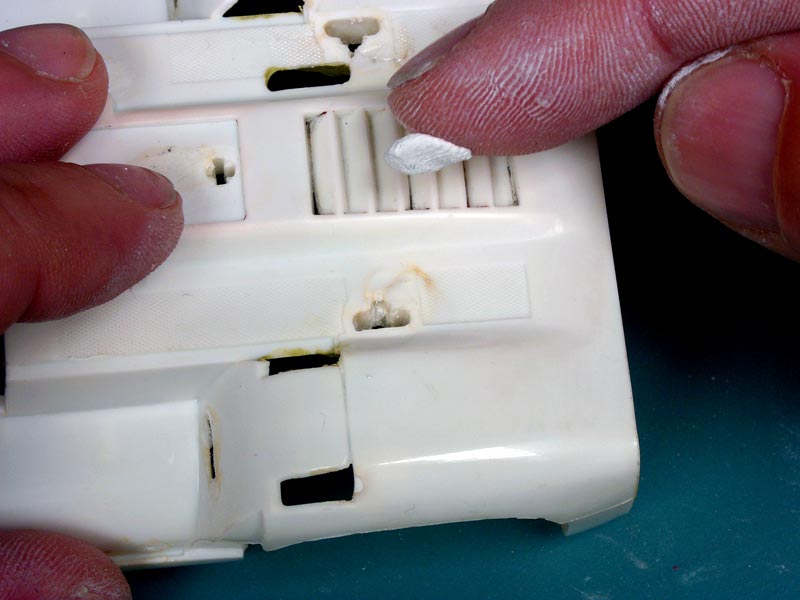
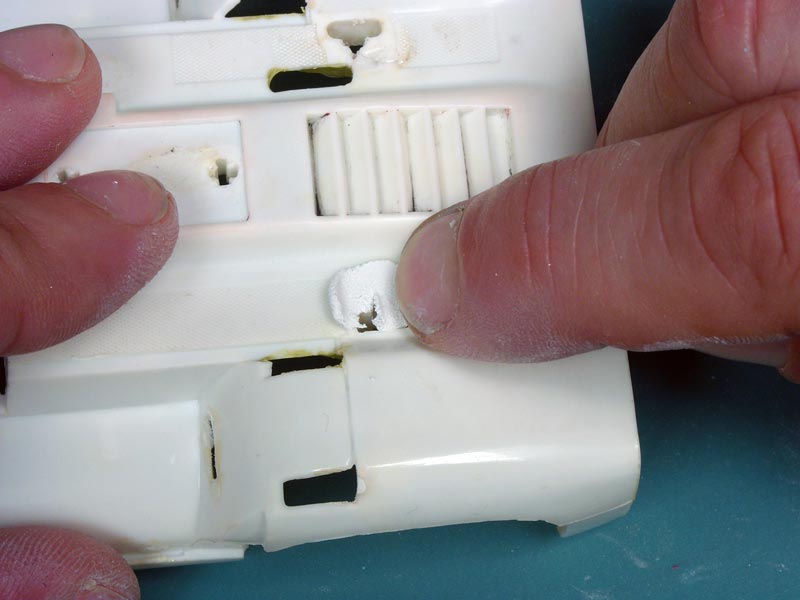
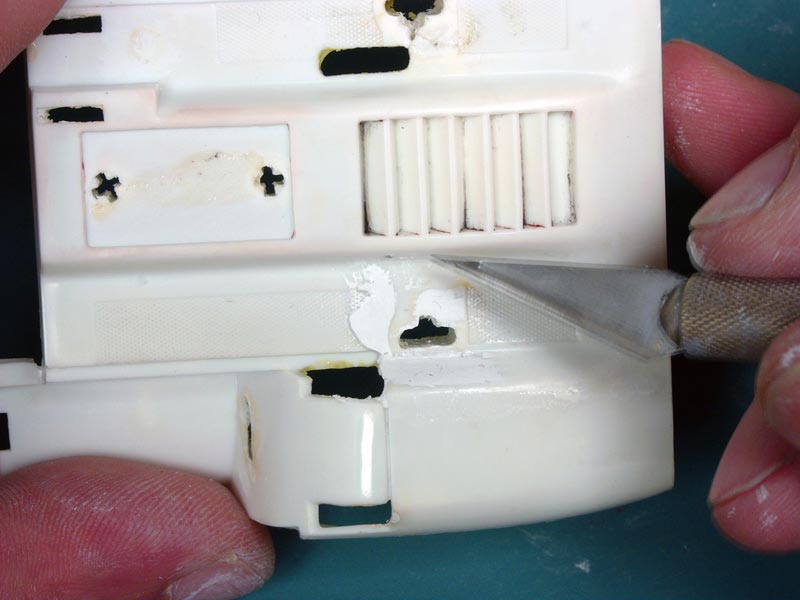
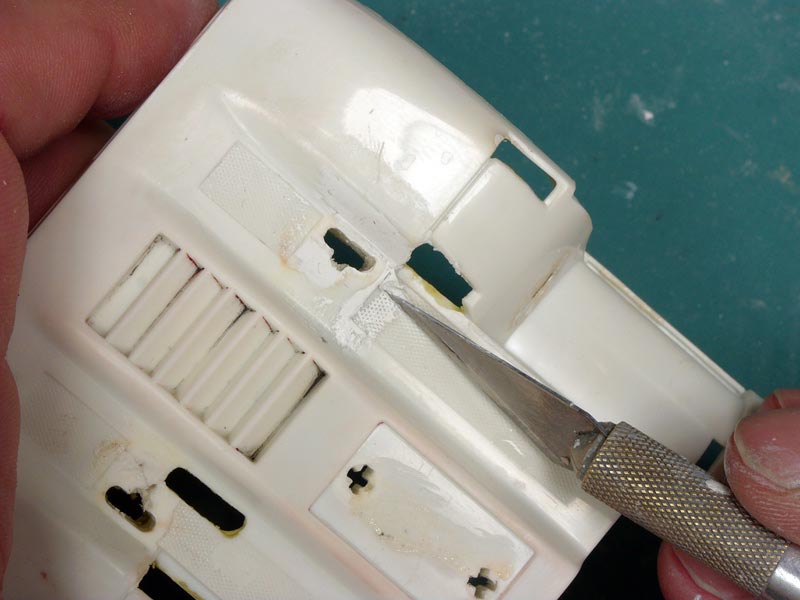
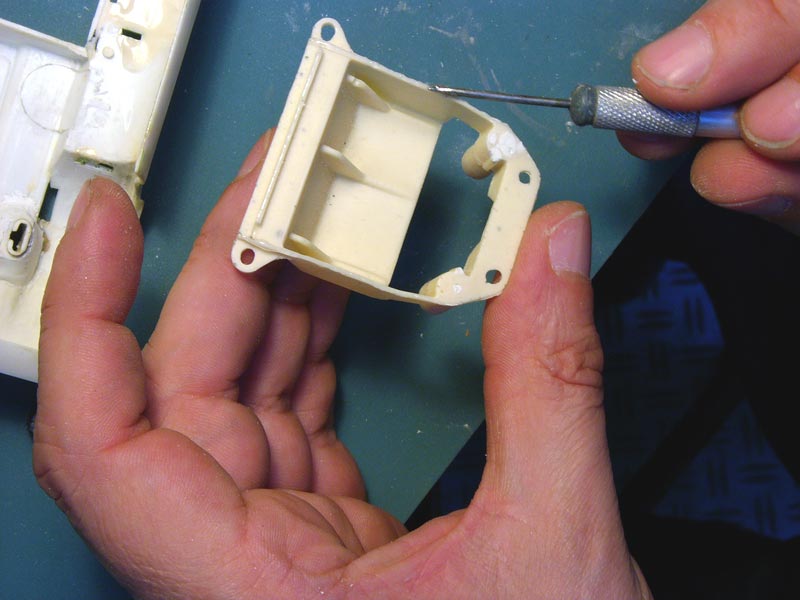
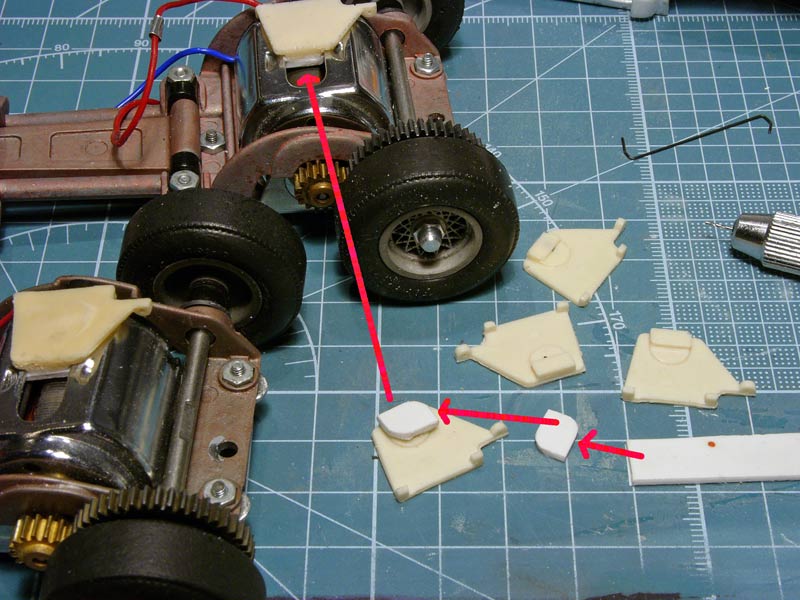
Now, I’ve always considered that the cut of the floor for the chassis was not esthetic.
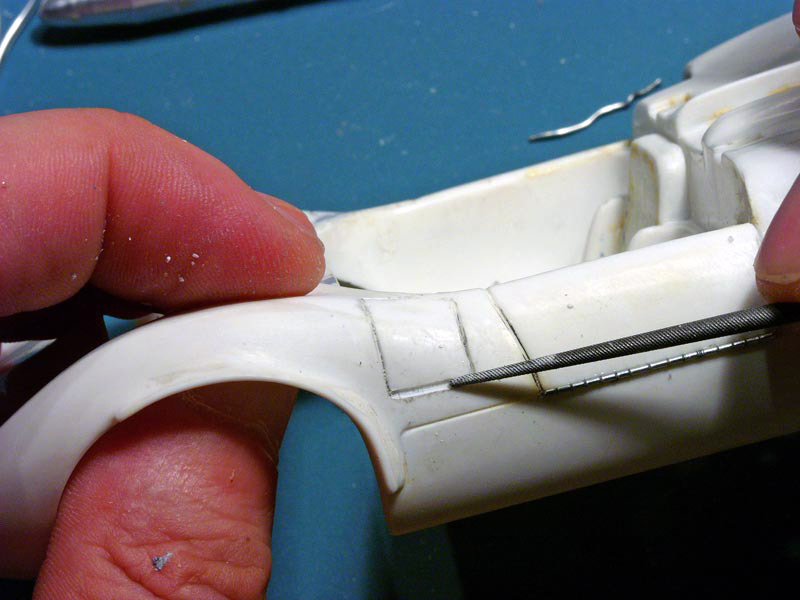
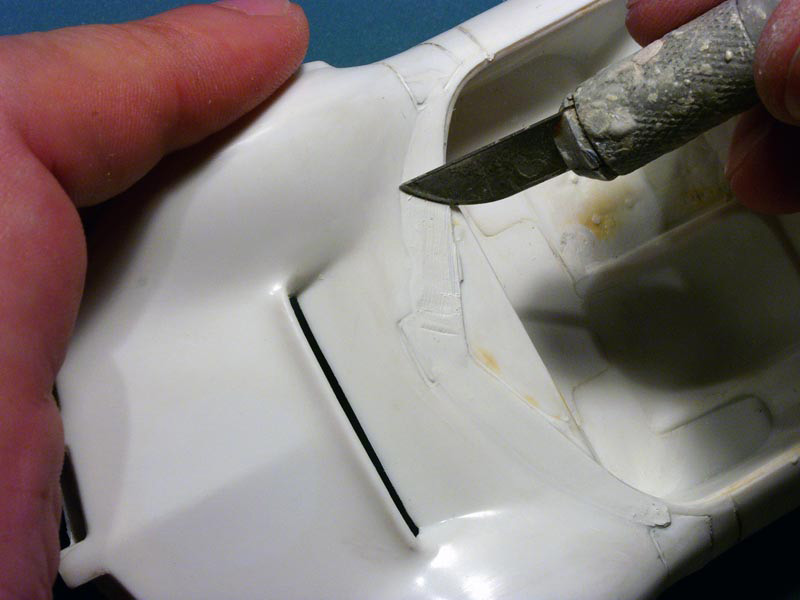
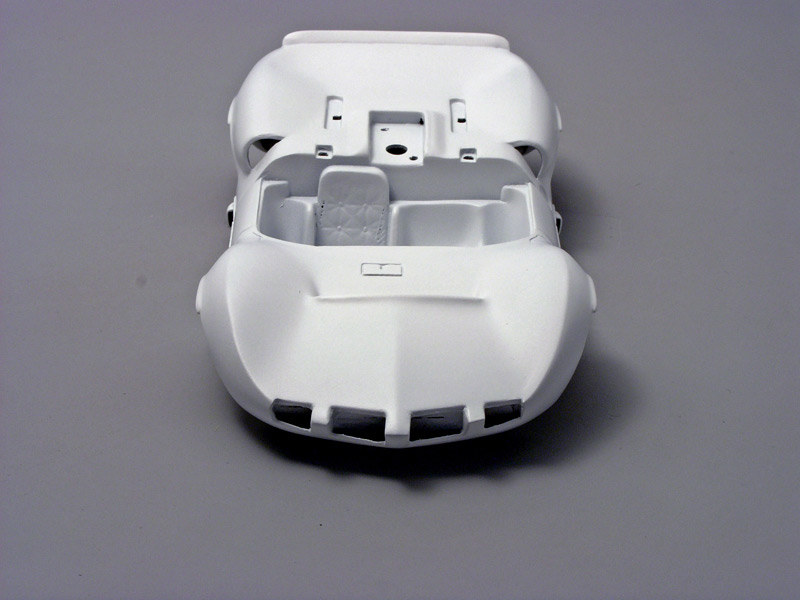
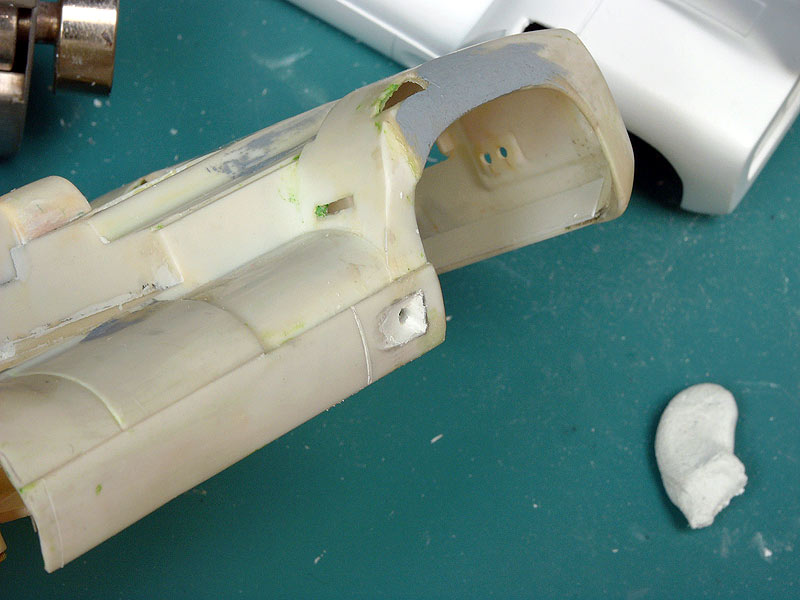
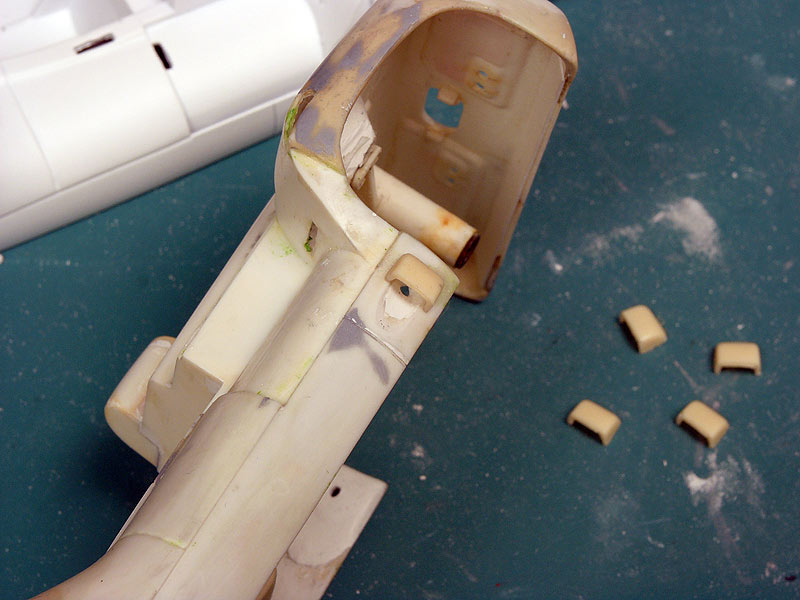
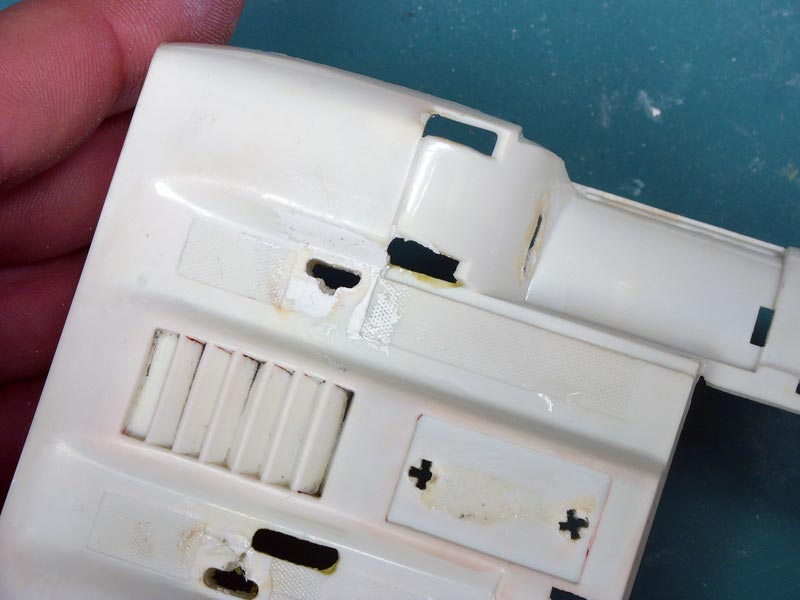
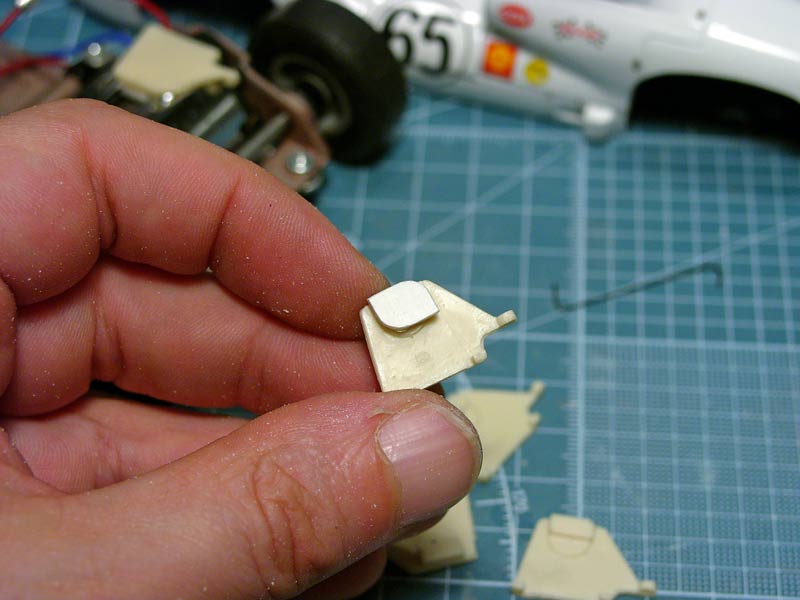
I then decided to cement a styrene element to complete the floor and use some epoxy mastic to integrate it the best I could.
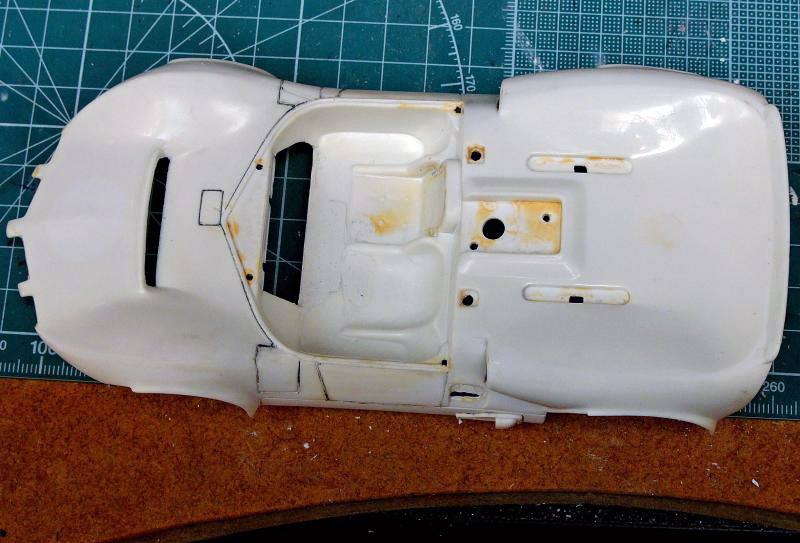
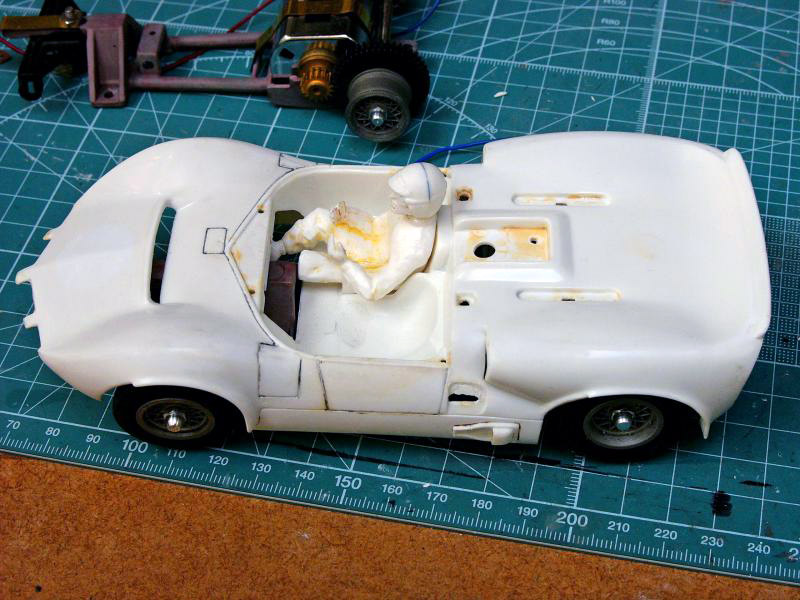
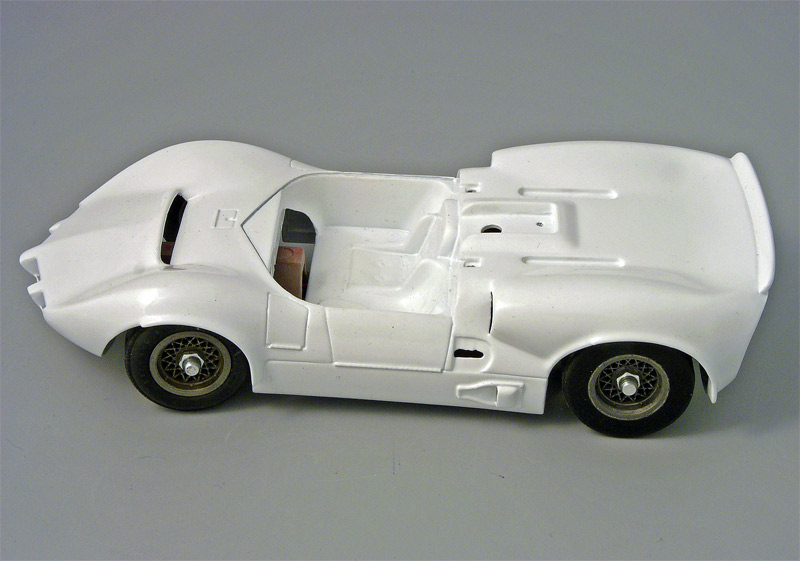
Here is the result with the painted body where you can also see other modifications that will be detailed soon.
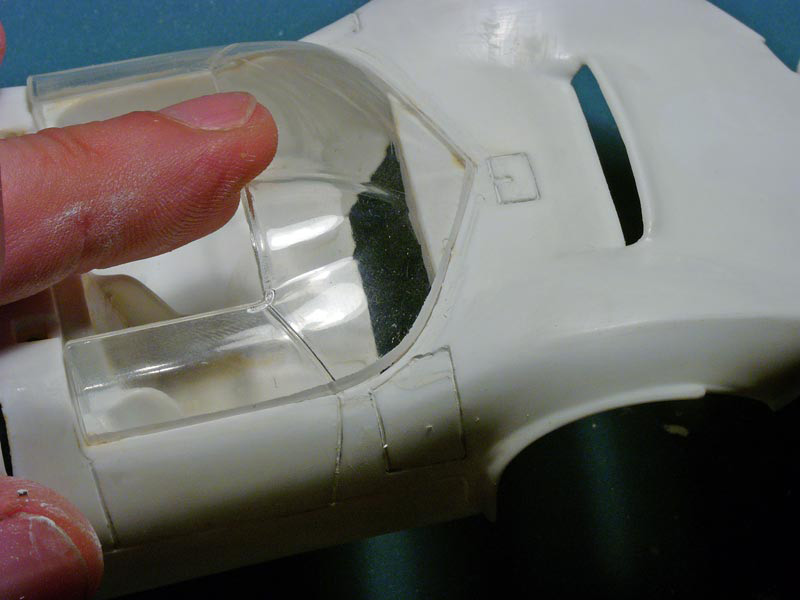
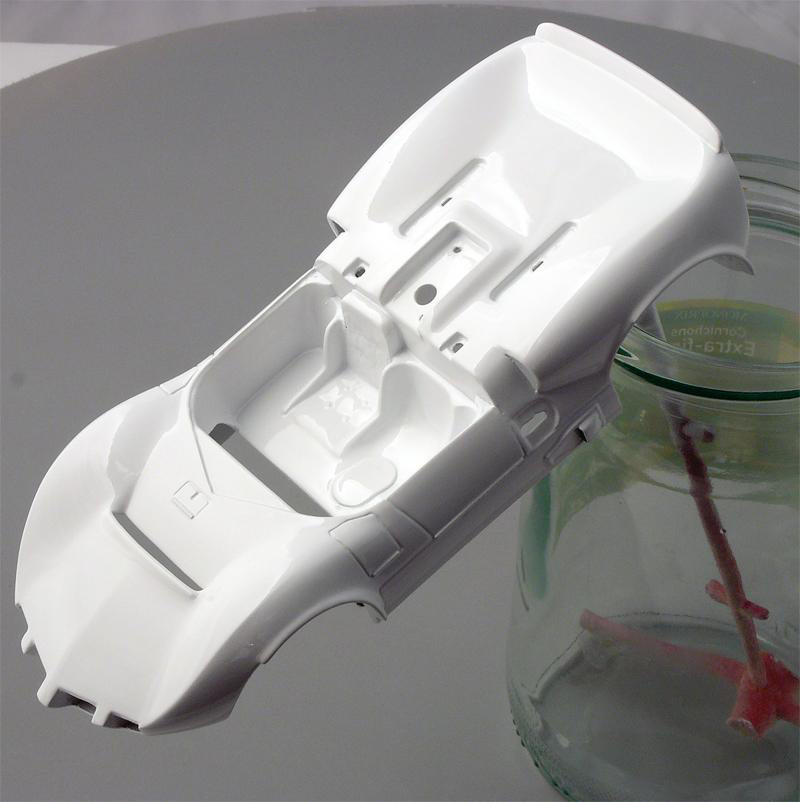
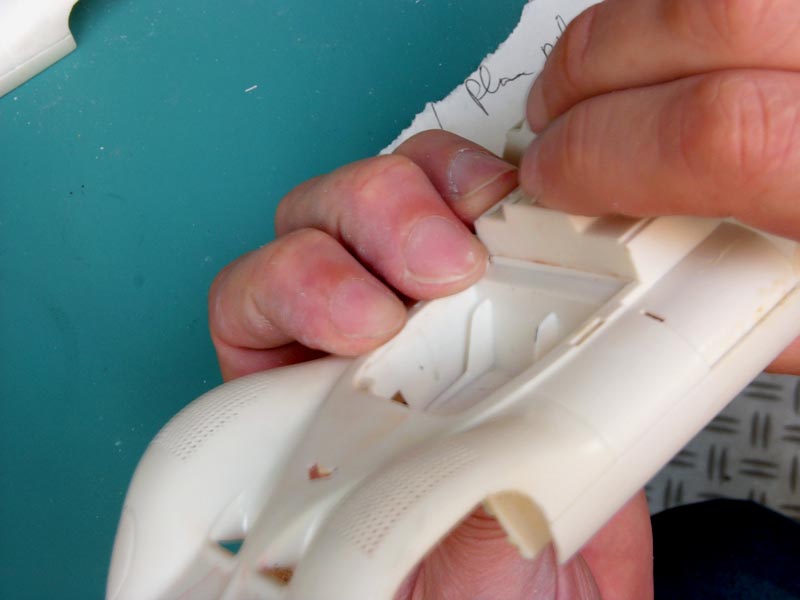
On the next two pictures, with some attention, you can see that there is little more room for the tires in front of the wheels.
But with a more classic view, you won’t guess it…