Jump to content


Photo

Restoration of Cox Chaparral


  • Please log in to reply
159 replies to this topic

#101 tlbrace

tlbrace

    On The Lead Lap

  • Full Member
  • PipPipPipPip
  • 218 posts
  • Joined: 11-August 11
  • Gender:Male
  • Location:USA

Posted 24 August 2011 - 06:36 PM

Indeed, Philippe! I certainly didn't steal it, but considering it finishes off the car properly, worth it I think. I believe I can roll enough quarters to keep the wife from getting angry!
Todd Brace


#102 TSR

TSR

    The Dokktor is IN

  • Full Member
  • PipPipPipPipPipPipPipPip
  • 42,299 posts
  • Joined: 02-February 06
  • Gender:Male
  • Location:Marxifornia

Posted 24 August 2011 - 07:28 PM

Aaah, got a slot machine at home, hey? :)

Philippe de Lespinay


#103 tlbrace

tlbrace

    On The Lead Lap

  • Full Member
  • PipPipPipPip
  • 218 posts
  • Joined: 11-August 11
  • Gender:Male
  • Location:USA

Posted 24 August 2011 - 09:18 PM

Aaah, got a slot machine at home, hey? :)


No, just a big sofa...


Sorry to hijack, Jean-Michel!
Todd Brace

#104 Jean-Michel Piot

Jean-Michel Piot

    Plastic surgeon

  • Full Member
  • PipPipPipPipPip
  • 654 posts
  • Joined: 16-March 08
  • Gender:Male
  • Location:Paris (France)

Posted 26 August 2011 - 03:10 AM

Not a problem, Todd. So fine that you found a motor bracket for your 2E ... Posted Image

About 2Es...

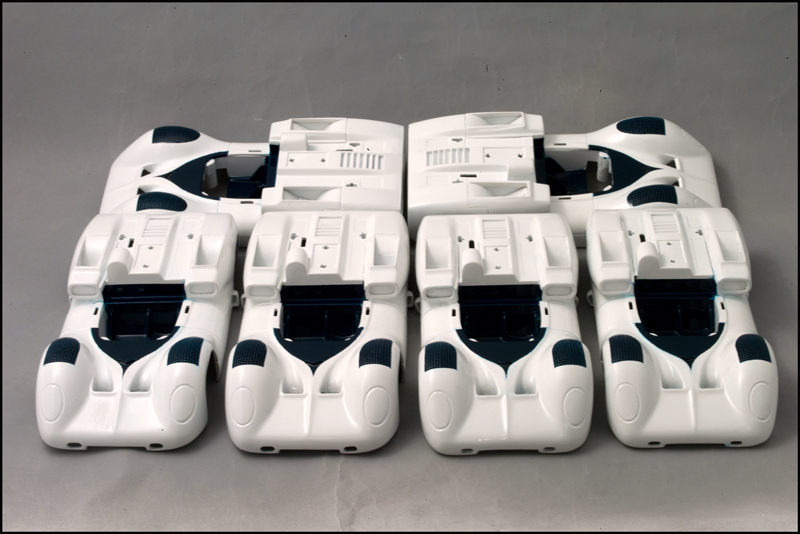
We were at a point where the 5 bodies (2 genuine ones, 3 copies) had been painted with 2 coats of Tamiya pure white.

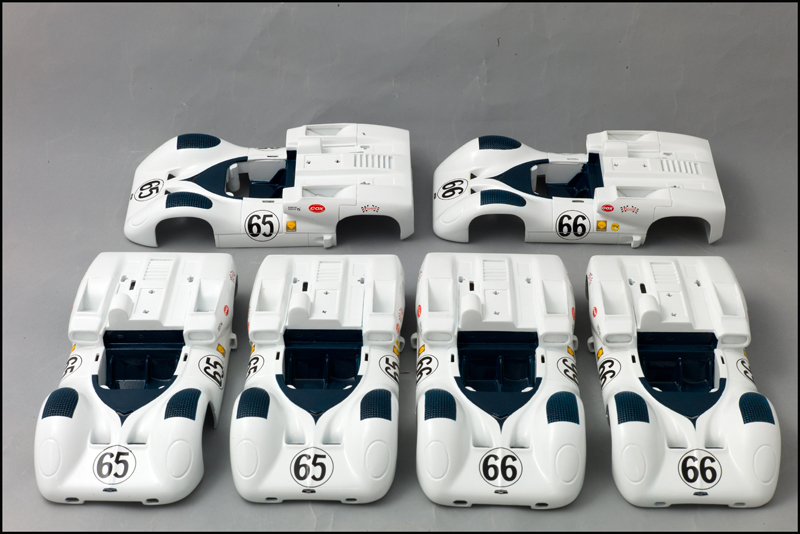
Now there are 6 of them! (recently bought another one from another Slotblog member through ebay... could not resist... Posted Image)
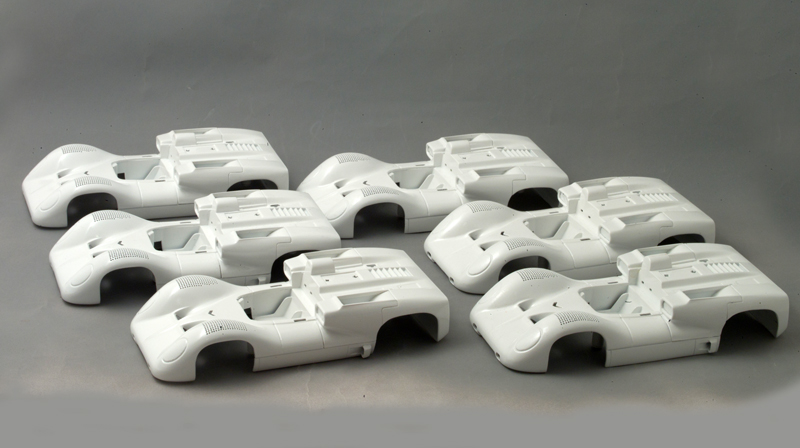
6-2E-reunies.jpg


Now it is time to use some masking tape, for the navy blue color.

In a book I recently found that this should be metallic navy blue. The metalic is not easy to see on old photographs...

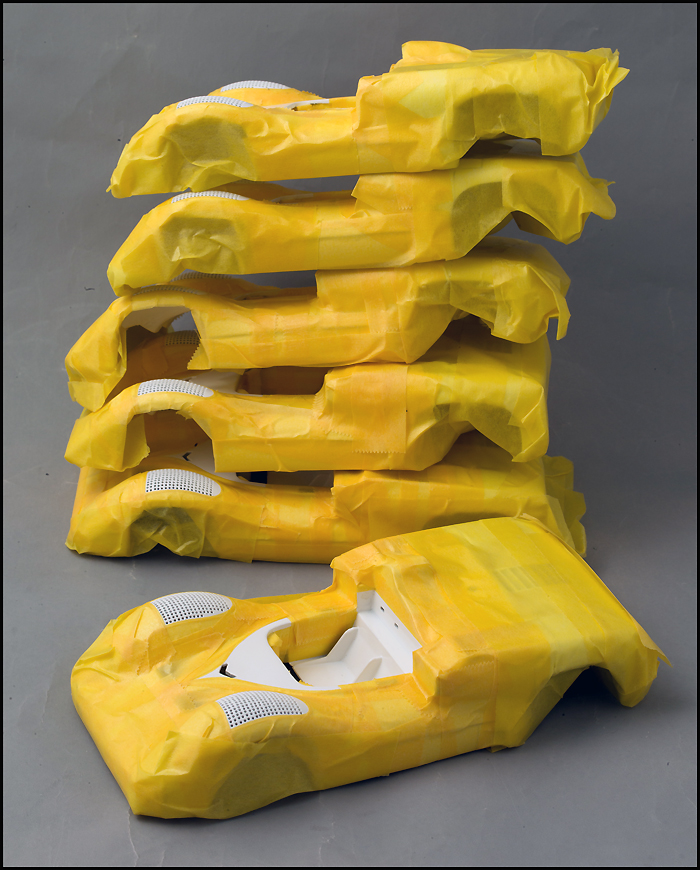
But well, about the masking tape, you have to start with very narrow bands (about 1mm width). This is the only way to draw curving lines.

For the wind screen area, it is easier to first draw aline around it with a dry point or an X Acto (just a vry light and thin one that will slightly engrave the paint.

You have to complete with larger tapes and at last, with paper.

Here are the 6 bodies at 3 different steps of the masking process.
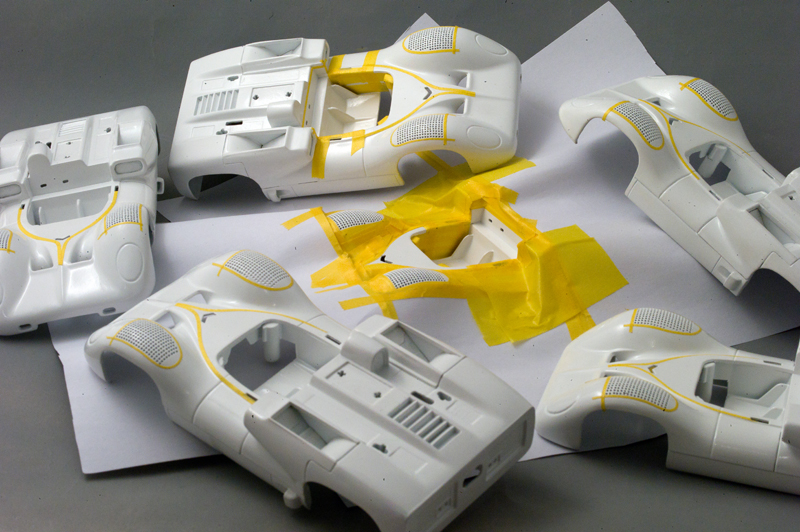
Masking-tape-2E.jpg
  • strummer likes this
(Bud)light is right!

#105 Jean-Michel Piot

Jean-Michel Piot

    Plastic surgeon

  • Full Member
  • PipPipPipPipPip
  • 654 posts
  • Joined: 16-March 08
  • Gender:Male
  • Location:Paris (France)

Posted 11 March 2012 - 06:16 AM

After months of inactivity (for reasons beyond my control)...


Masquage-6-2E-2.jpg

I still have the front wheels arches to mask on 2 cars and thereafter I will spray a mix of black and dark blue enamel paint (Humbrol) with an airbrush.

I really prefer to spray humbrol paint on the white acrylic coats because in case of problem the blue coat can be wiped out (for instance, should the masking not be totally fluid-proof).

I said "blue" but the same principle shall apply for the brown paint to spray on the 2As.
  • strummer likes this
(Bud)light is right!

#106 Jean-Michel Piot

Jean-Michel Piot

    Plastic surgeon

  • Full Member
  • PipPipPipPipPip
  • 654 posts
  • Joined: 16-March 08
  • Gender:Male
  • Location:Paris (France)

Posted 11 March 2012 - 01:32 PM

After 2 coats of paint, you have to patiently remove the masking tape with tweezers before the paint is totally dry.

If a line is not "clean", you may use pencils or wooden tooth picks or cloth damped in white spirit. And of course with no fear as for the white acrylic paint! (this is the advantage of first using acrylic and thereafter Humbrol).
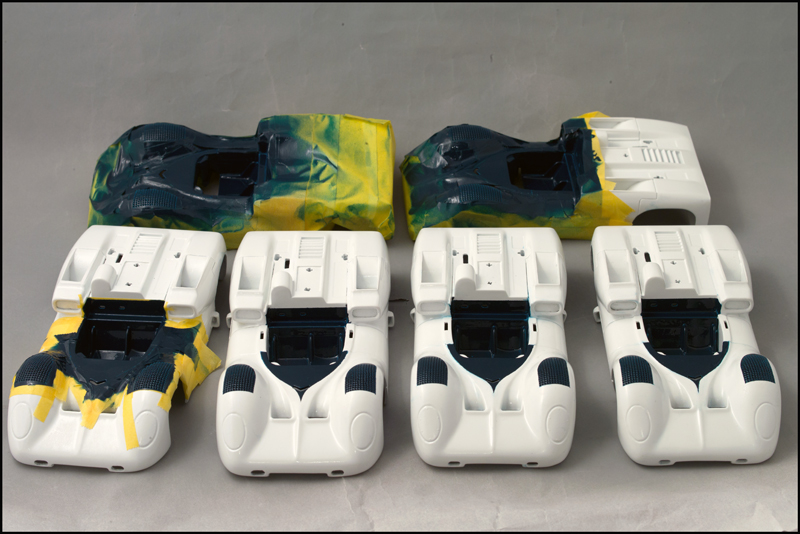
Demasquage-2E.jpg

Now, although is has advantages, spraying Humbrol with an airbrush is rather painful. Consequently, those rear wings aimed to be in same blue color will rather receive a mix of acrylic paint.
  • strummer likes this
(Bud)light is right!

#107 Jean-Michel Piot

Jean-Michel Piot

    Plastic surgeon

  • Full Member
  • PipPipPipPipPip
  • 654 posts
  • Joined: 16-March 08
  • Gender:Male
  • Location:Paris (France)

Posted 11 March 2012 - 04:56 PM

Demasquage-2E-2.jpg
  • strummer likes this
(Bud)light is right!

#108 Jean-Michel Piot

Jean-Michel Piot

    Plastic surgeon

  • Full Member
  • PipPipPipPipPip
  • 654 posts
  • Joined: 16-March 08
  • Gender:Male
  • Location:Paris (France)

Posted 17 March 2012 - 09:09 AM

At this very step, it is now time to apply the decals on the 2Es. The masking tape still have to remain in place, as it shall only be removed after the varnish coats.

About the decals, I was lucky to find on ebay some 3 or 4 years ago severals sets of Fischer decals (made for their 1/25 2E).
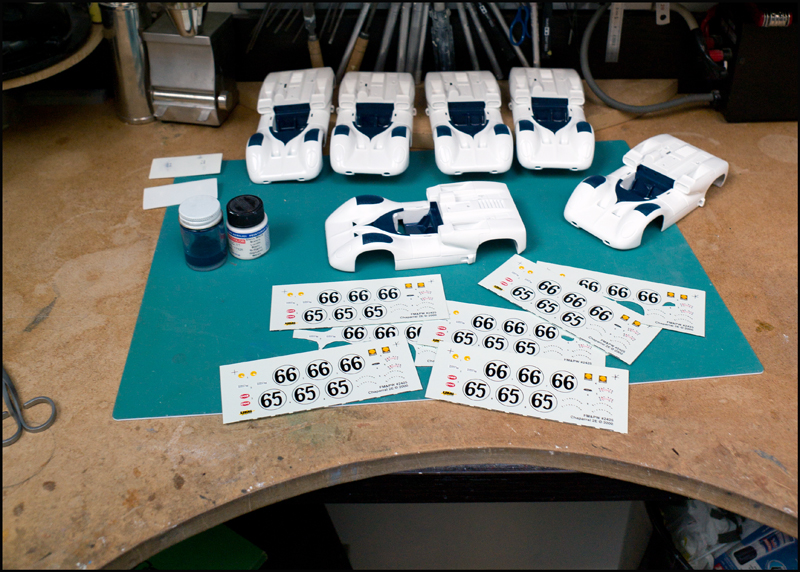
Decal-2E.jpg

They are perfect for the Cox 2E. I already used them for my first 2E and for the one of Don Siegel.

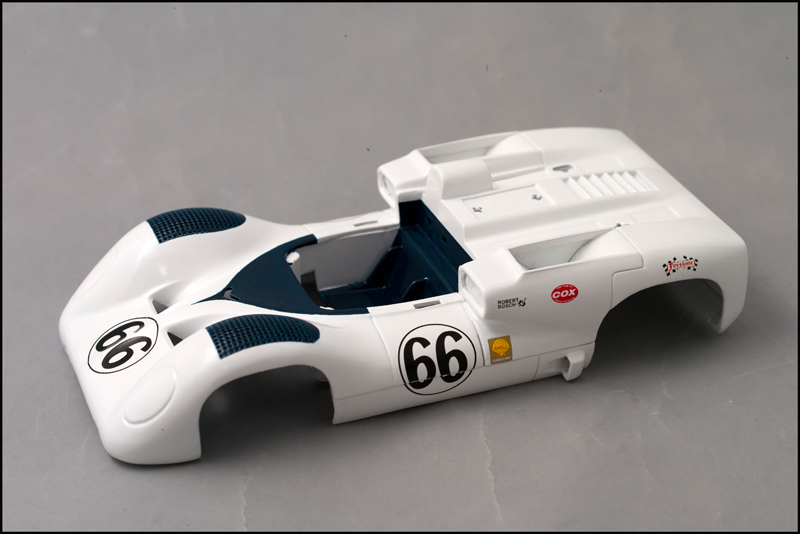
Here I chose to reproduce 2 different liveries.

The numbers have to be cut at the place where there shall be door hinges.
Decal-2E-GB.jpg

Decal-2E-Nicolaslot-+-GB.jpg

Decal-2E-final.jpg
  • strummer likes this
(Bud)light is right!

#109 Jean-Michel Piot

Jean-Michel Piot

    Plastic surgeon

  • Full Member
  • PipPipPipPipPip
  • 654 posts
  • Joined: 16-March 08
  • Gender:Male
  • Location:Paris (France)

Posted 19 March 2012 - 01:21 PM

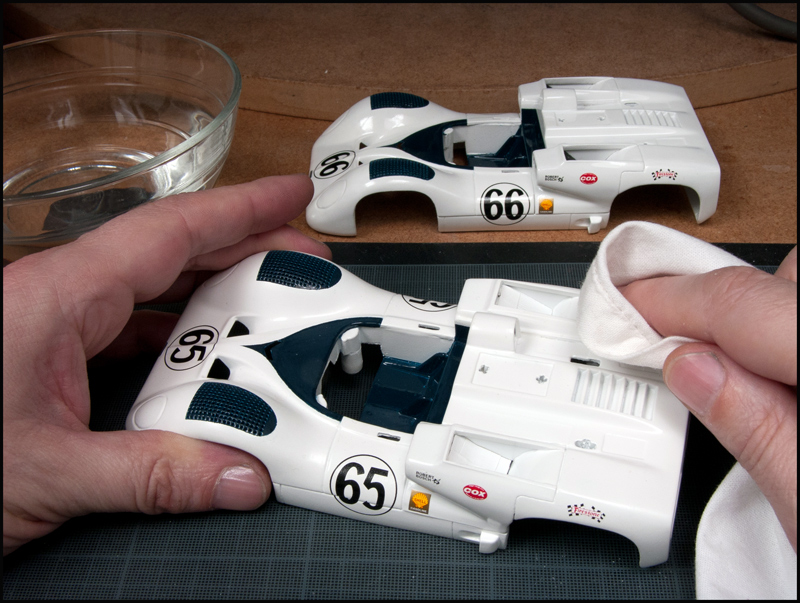
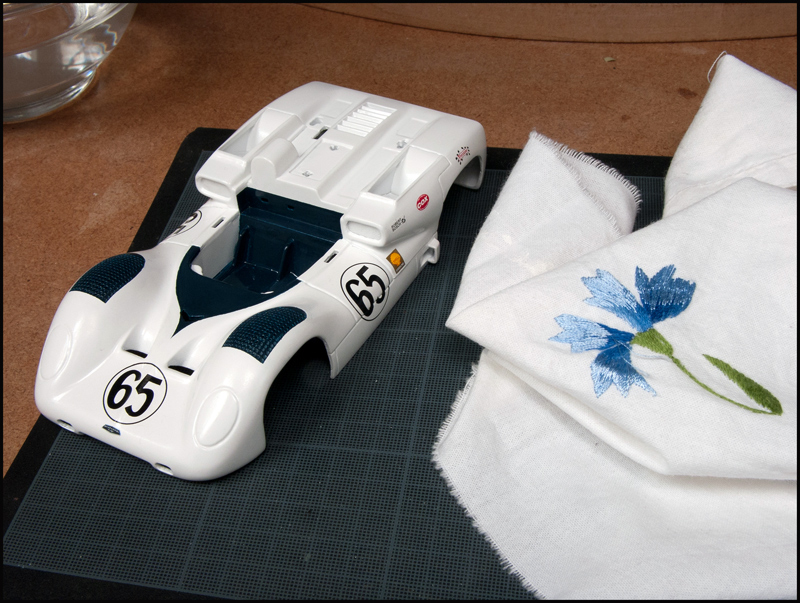
It is now time to clean the bodies of those 2Es, with a cloth damped in very slightly soaped water.

Nettoyage-2E-avant-vernis.jpg

Nettoyage-2E-avant-vernis-2.jpg

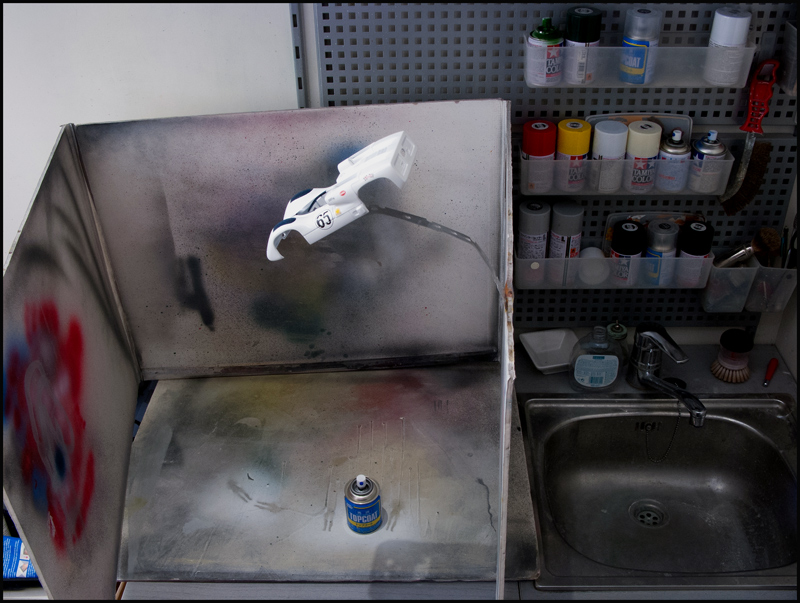
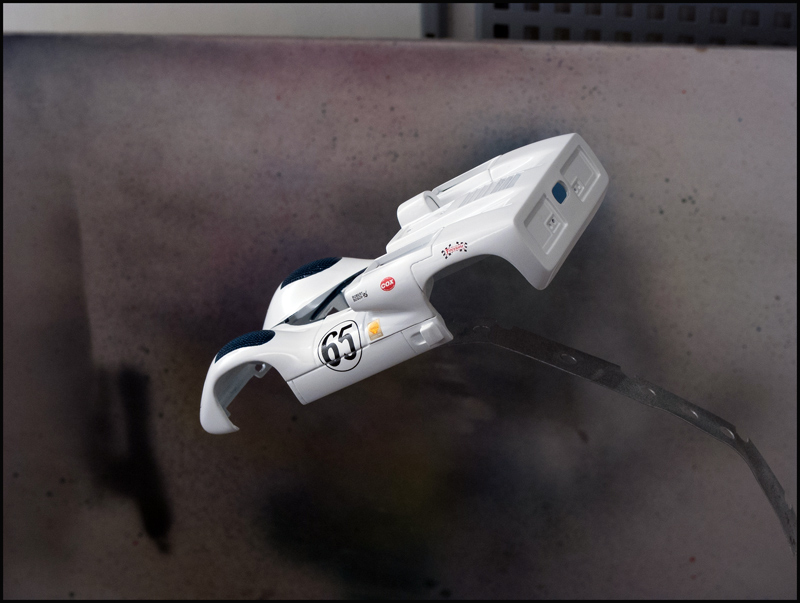
After a final check-up, chasing the dust, I apply 2 coats of Gunze gloss varnish. I allow the first coat to dry half a day before I spray the second one.
Vernis-2E-JC-1.jpg

Vernis-2E-JC-2.jpg

I know that the surface of this "paint box" looks dirty. It is not! I always clean the surface with a wet sponge before any painting or varnishing.
  • strummer likes this
(Bud)light is right!

#110 Jean-Michel Piot

Jean-Michel Piot

    Plastic surgeon

  • Full Member
  • PipPipPipPipPip
  • 654 posts
  • Joined: 16-March 08
  • Gender:Male
  • Location:Paris (France)

Posted 19 March 2012 - 01:23 PM

Once the varnish is dry, it is finally time to remove the masking tape that was left on the radiators and in the big scoop apertures.

This step is very rewarding, I think!

Demasquage-1.jpg

Demasquage-2.jpg

Demasquage-3.jpg

Demasquage-4.jpg

Demasquage-5.jpg

Demasquage-6.jpg

Demasquage-7.jpg
  • strummer likes this
(Bud)light is right!

#111 Jean-Michel Piot

Jean-Michel Piot

    Plastic surgeon

  • Full Member
  • PipPipPipPipPip
  • 654 posts
  • Joined: 16-March 08
  • Gender:Male
  • Location:Paris (France)

Posted 19 March 2012 - 01:54 PM

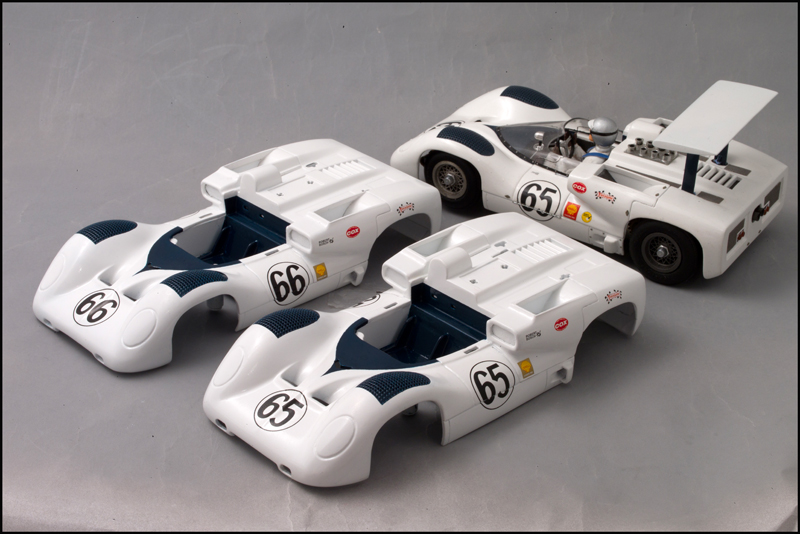
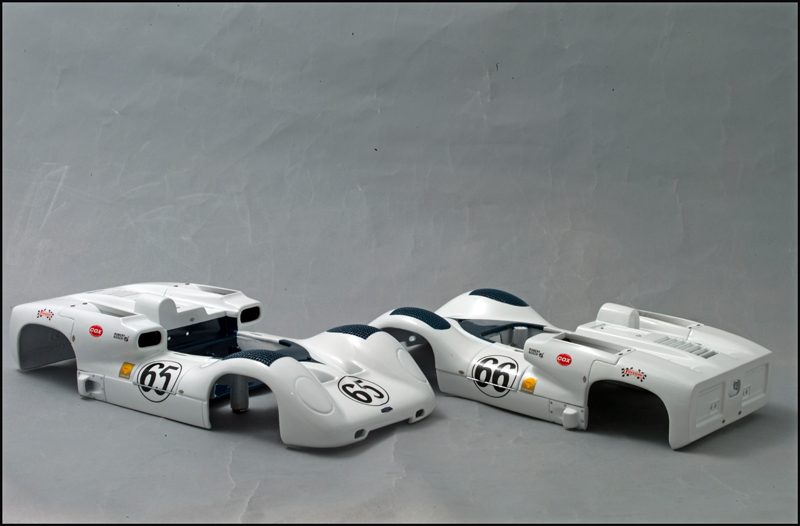
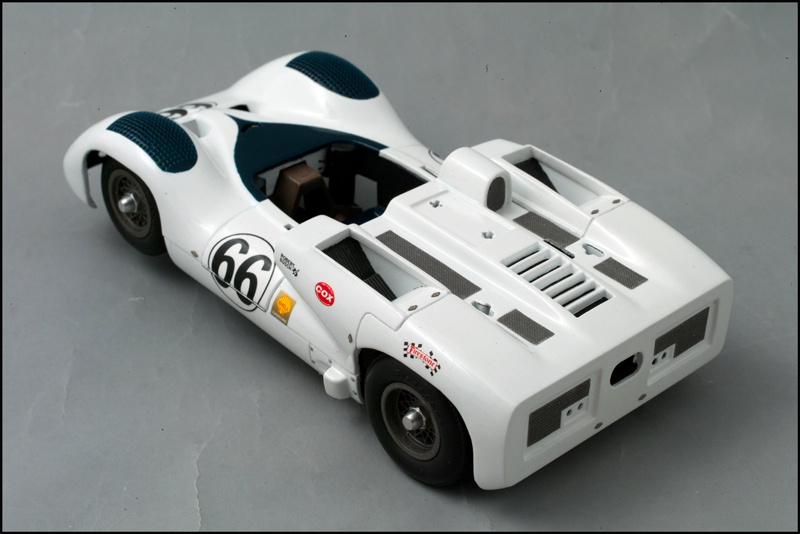
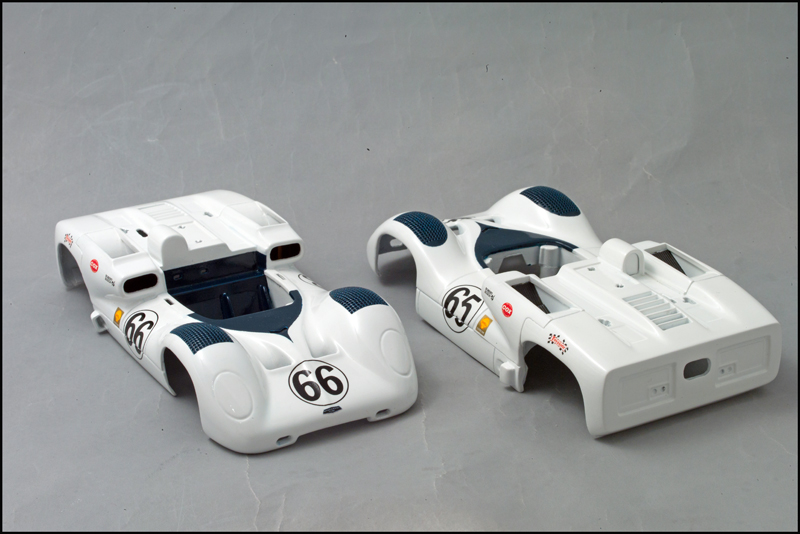
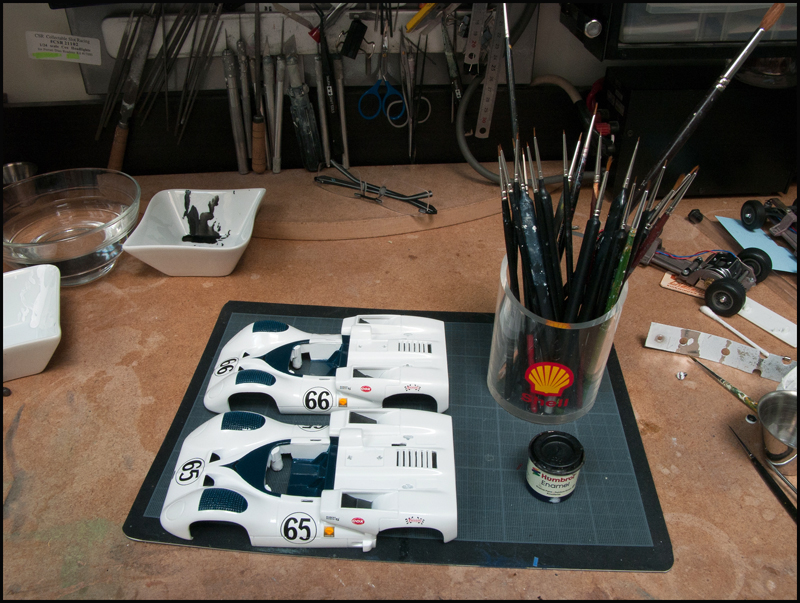
Here is the result on 2 cars (the first 2 among 6 to build) of this step of removing the masking tape:

Demasquage-resultat.jpg
  • strummer likes this
(Bud)light is right!

#112 Jean-Michel Piot

Jean-Michel Piot

    Plastic surgeon

  • Full Member
  • PipPipPipPipPip
  • 654 posts
  • Joined: 16-March 08
  • Gender:Male
  • Location:Paris (France)

Posted 20 March 2012 - 12:38 PM

You can now start detailing...

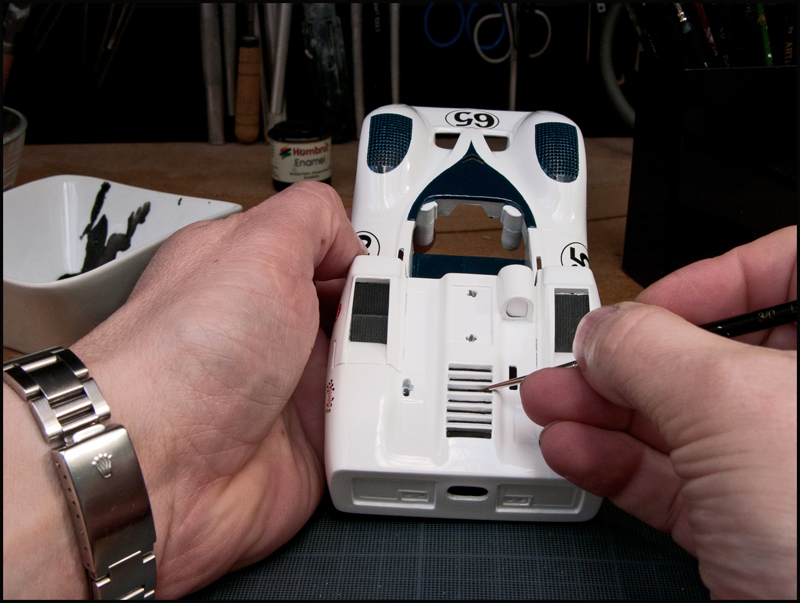
Here some matt black painted with humbrol. Once again, painting with humbrol on the acrylic (this time, the varnish) will allow you to wipe out if the pencil goes too far...

Peinture-louvres-capot-2E.jpg

Peinture-louvres-capot-2E-2.jpg
  • strummer likes this
(Bud)light is right!

#113 RichKraft

RichKraft

    Vintage Buff

  • Full Member
  • PipPipPipPipPipPip
  • 1,461 posts
  • Joined: 05-October 11
  • Gender:Male
  • Location:NH, USA

Posted 20 March 2012 - 12:56 PM

Drool is dripping out of the corner of my mouth.

What a talented work of art project. Plastic Surgeon is right.
Rich Austin:
"it's just Rich$Kraft"
*choppers and hotrods*

#114 Jean-Michel Piot

Jean-Michel Piot

    Plastic surgeon

  • Full Member
  • PipPipPipPipPip
  • 654 posts
  • Joined: 16-March 08
  • Gender:Male
  • Location:Paris (France)

Posted 23 March 2012 - 06:29 AM

Many thanks for the compliment, Rich. The title "Plastic Surgeon" was suggested by a Slotblog member ... this made me smile... :)

OK, we go-on with the detailing.

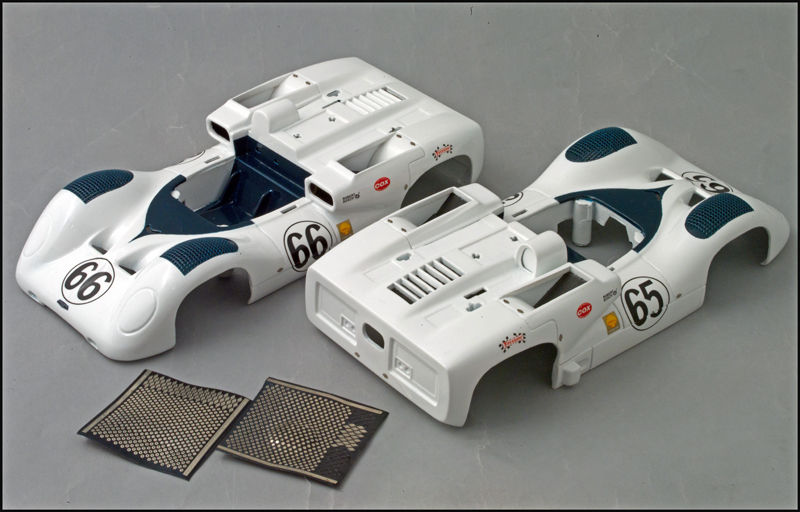
Here I glued photo-etched Dzus fasteners:
collage-dzus-fasteners.jpg

10 Dzus are needed per car, for a 2E.

The way to proceed is not the one suggested by the photo-etched parts provider. Those parts are said to be "auto-adhesive" but they are not! (Or only on their own support).

So I put a very tiny drop of araldite glue with a wooden pick on the body and apply the part with thin Tamiya straith tweezers.


I will do more during the next wee-end (the next 2 days).
  • strummer likes this
(Bud)light is right!

#115 Jean-Michel Piot

Jean-Michel Piot

    Plastic surgeon

  • Full Member
  • PipPipPipPipPip
  • 654 posts
  • Joined: 16-March 08
  • Gender:Male
  • Location:Paris (France)

Posted 23 March 2012 - 06:43 AM

Oops, sorry, not 10 are needed but 11!

I forgot one in the middle of the panel behind the seats...

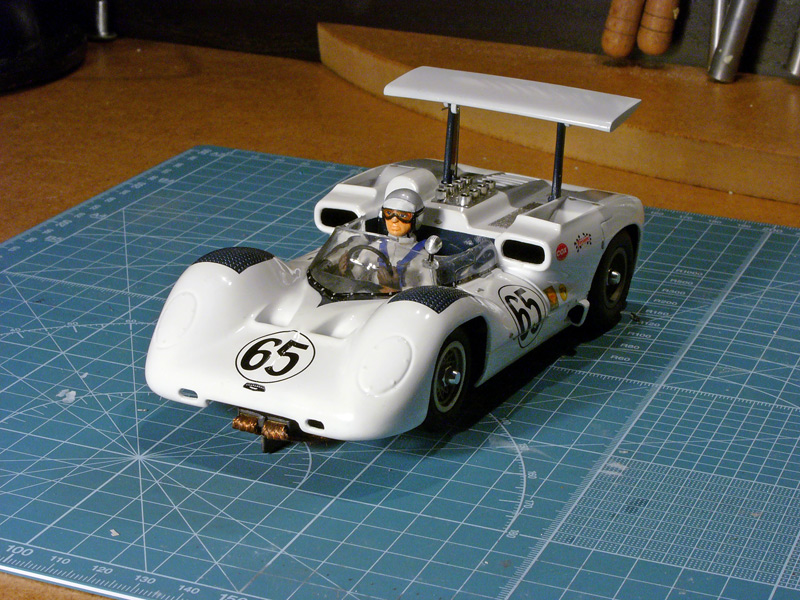
Just as on the first car that I completed in 2008 (in the shadow of the helmet):

Completed-1.jpg
  • strummer likes this
(Bud)light is right!

#116 Jean-Michel Piot

Jean-Michel Piot

    Plastic surgeon

  • Full Member
  • PipPipPipPipPip
  • 654 posts
  • Joined: 16-March 08
  • Gender:Male
  • Location:Paris (France)

Posted 24 March 2012 - 09:04 AM

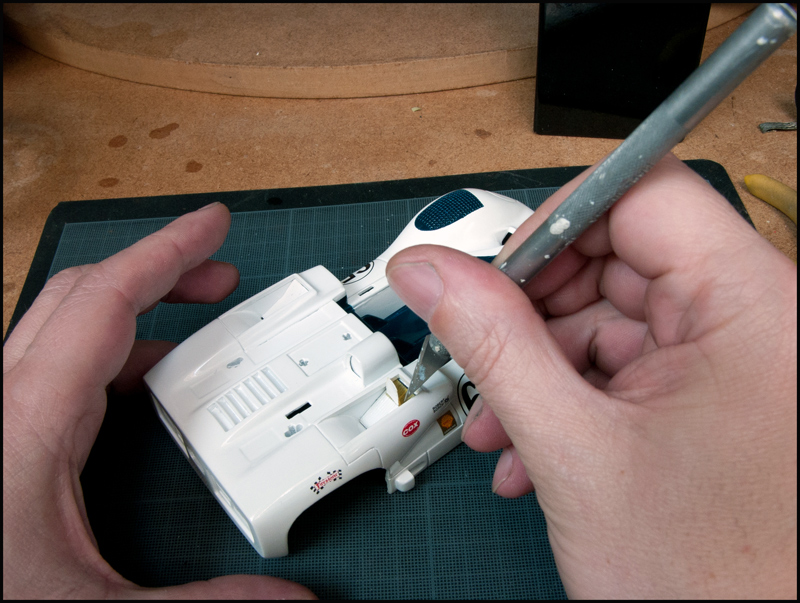
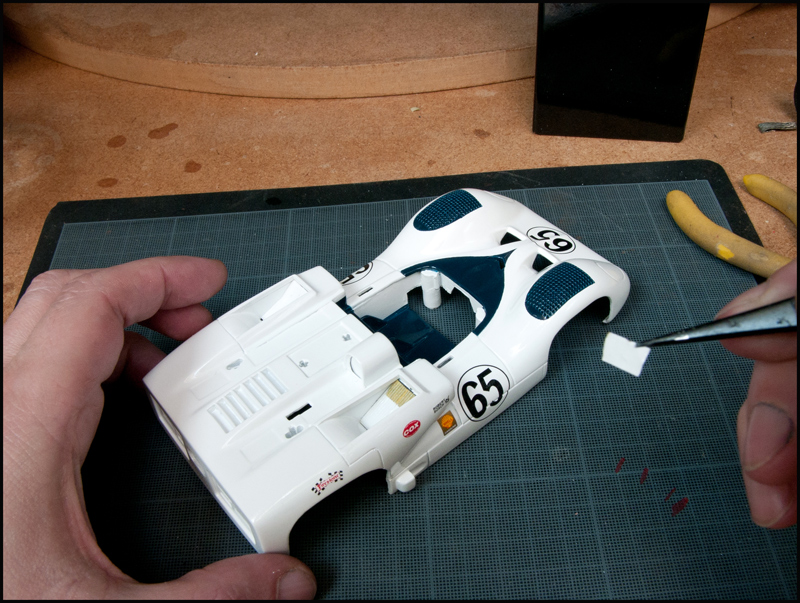
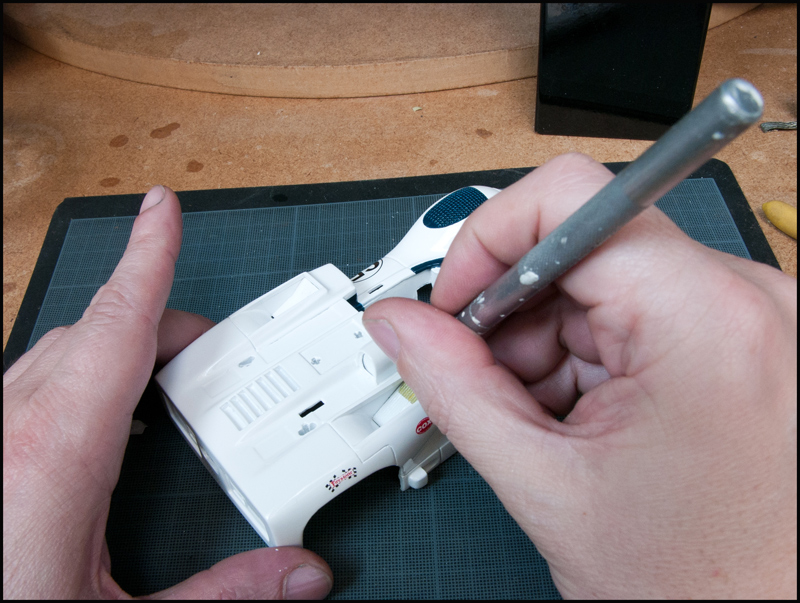
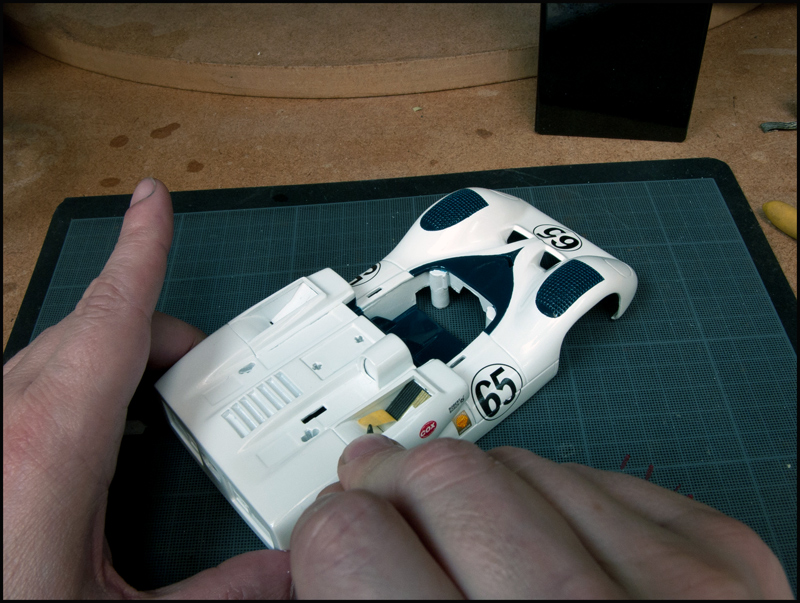
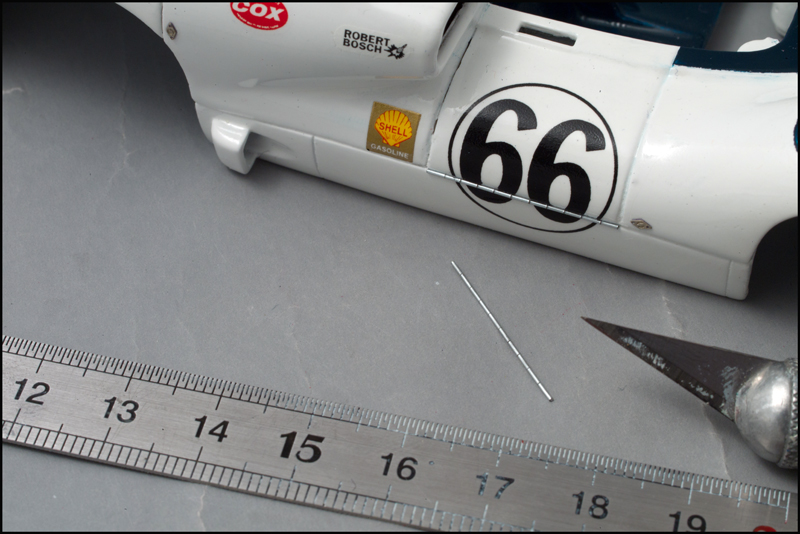
The door hinges are made with thin metal threads, regularly marked with an X-Acto.

They are glued in place with araldite.

Charniere-2E-1.jpg

Charniere-2E-2.jpg

The ruler is for centimeters and millimeters, not inches... (I live in the "stylish Third World"...)
  • strummer likes this
(Bud)light is right!

#117 Jairus

Jairus

    Body Painter Extraordinaire

  • Subscriber
  • PipPipPipPipPipPipPipPip
  • 10,174 posts
  • Joined: 16-February 06
  • Gender:Male
  • Location:Salem, OR

Posted 24 March 2012 - 09:10 AM

Looking very nice J-M! :)

Jairus H Watson - Artist
Need something painted, soldered, carved, or killed? - jairuswtsn@aol.com

www.slotcarsmag.com

www.jairuswatson.net
http://www.ratholecustoms.com
Check out some of the cool stuff on my Fotki!


#118 bosmeck

bosmeck

    Race Leader

  • Moderator
  • PipPipPipPipPip
  • 647 posts
  • Joined: 06-April 07
  • Gender:Male
  • Location:TX

Posted 24 March 2012 - 10:27 AM

master.... lovely
Chris Clark

#119 bajaboy5b

bajaboy5b

    Rookie Keyboard Racer

  • Full Member
  • Pip
  • 38 posts
  • Joined: 13-January 12
  • Gender:Male
  • Location:Melbourne, Australia

Posted 24 March 2012 - 01:01 PM

You're a artist.

Jeremy Inns


#120 Jean-Michel Piot

Jean-Michel Piot

    Plastic surgeon

  • Full Member
  • PipPipPipPipPip
  • 654 posts
  • Joined: 16-March 08
  • Gender:Male
  • Location:Paris (France)

Posted 01 April 2012 - 01:56 AM

Thank you again for the compliments.

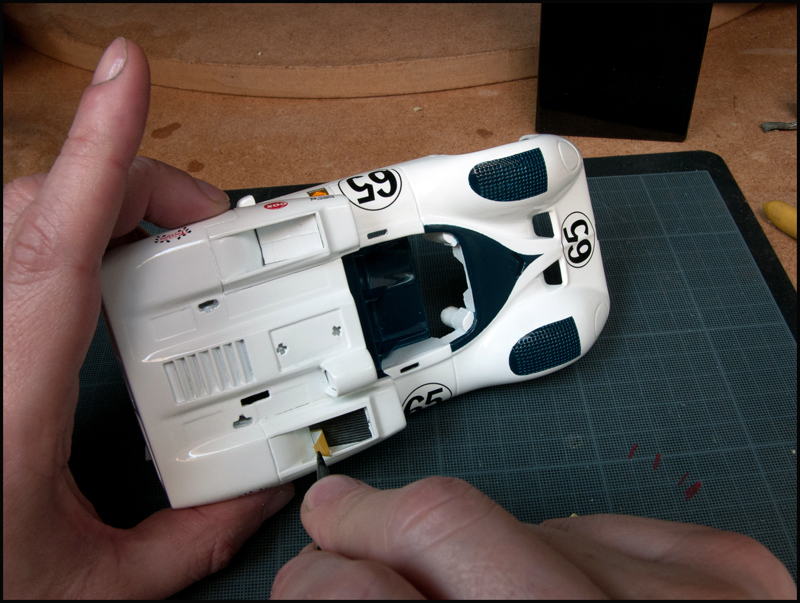
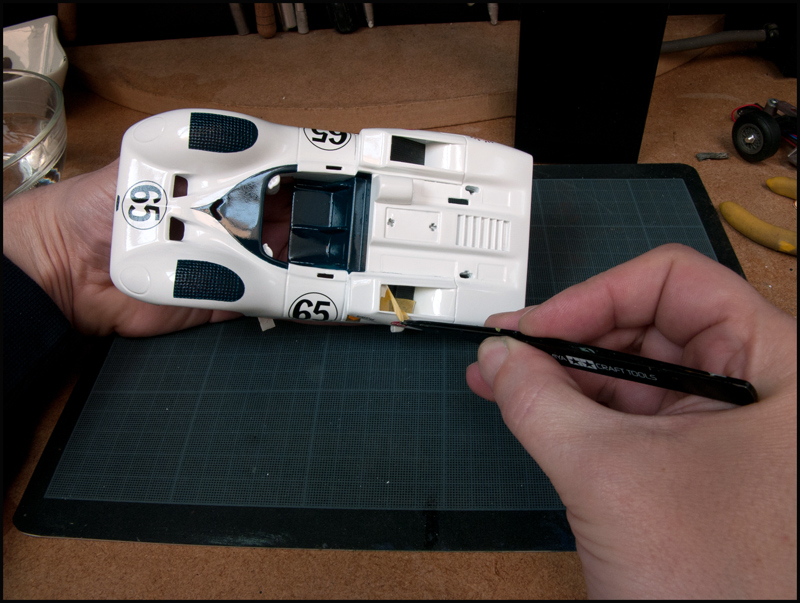
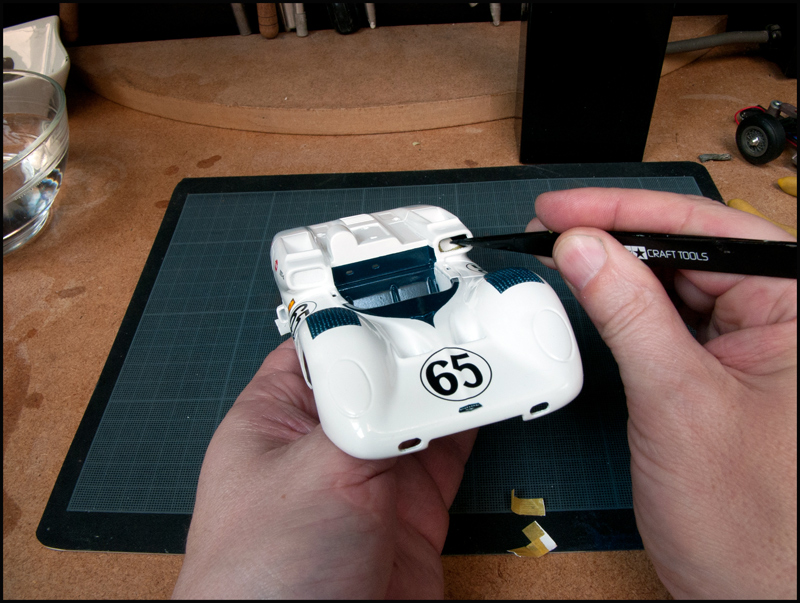
About those 2E, it's now time to simulate the rivets around the lateral air entries, to paint the inside in very dark grey (where there was some white left) and glue the meshing:

The rivets are made with a mix of araldite and aluminium powder. For each rivet, a little drop is applied with a dry point.

One may ask why I do not use real tiny rivets, the answer is that the wind screen aso needs rivets and placing real ones there would not have been possible. I then use this option to have the same look, no matter where the rivets are.
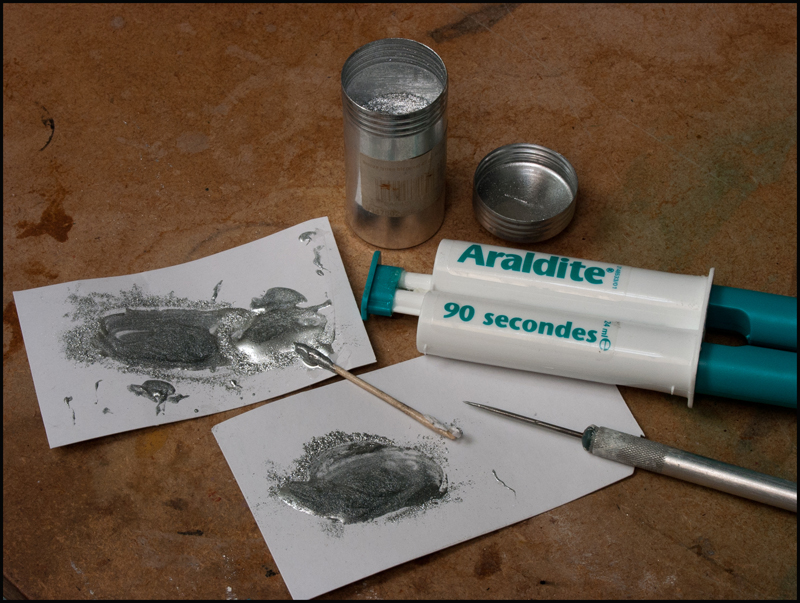
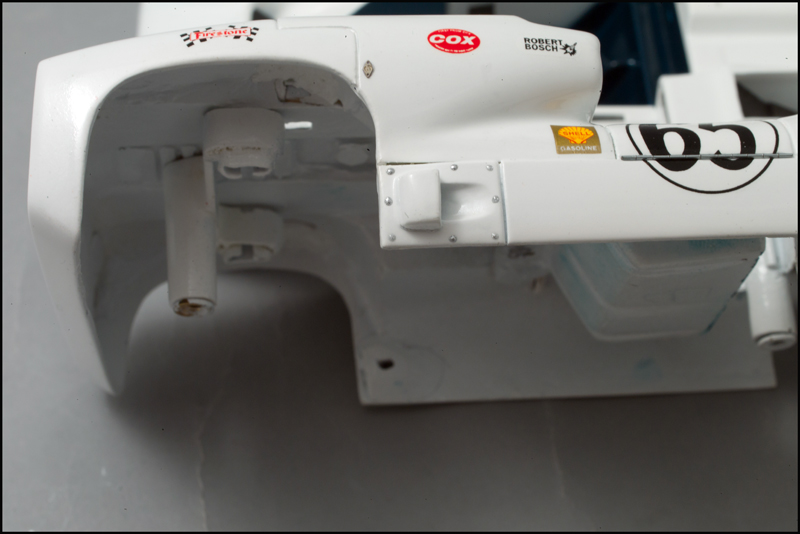
Melange-rivets.jpg

rivets-1.jpg

rivets-2.jpg

Now the painting with mat humbrol paint:
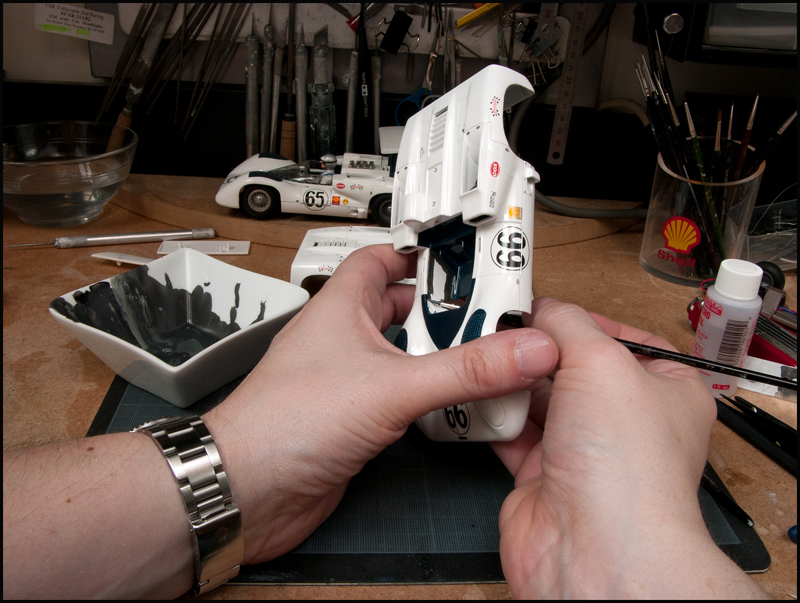
Peinture-cockpit-1.jpg

peinture-cockpit-2.jpg

The thin meshing is cut at the right size and glued with vinyl glue, made for wood.
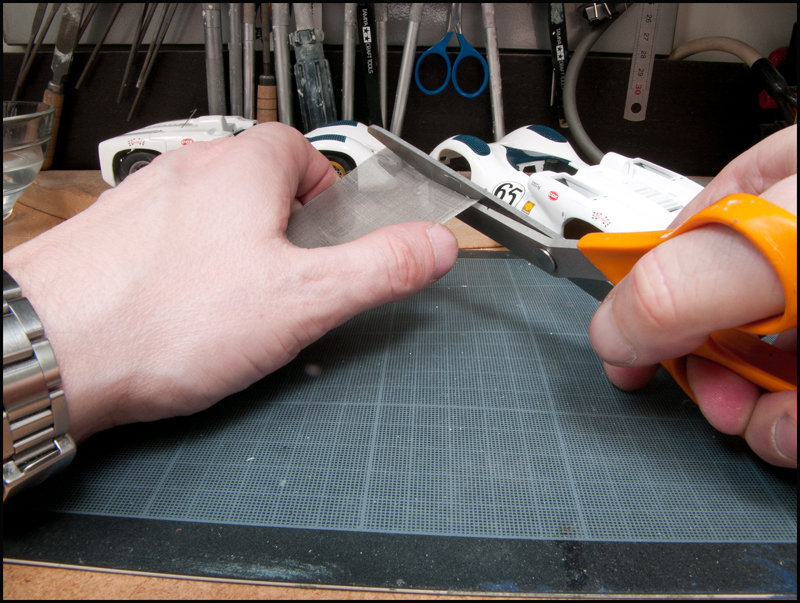
Grilles-1.jpg

grilles-3.jpg
  • strummer likes this
(Bud)light is right!

#121 Jean-Michel Piot

Jean-Michel Piot

    Plastic surgeon

  • Full Member
  • PipPipPipPipPip
  • 654 posts
  • Joined: 16-March 08
  • Gender:Male
  • Location:Paris (France)

Posted 01 April 2012 - 02:15 AM

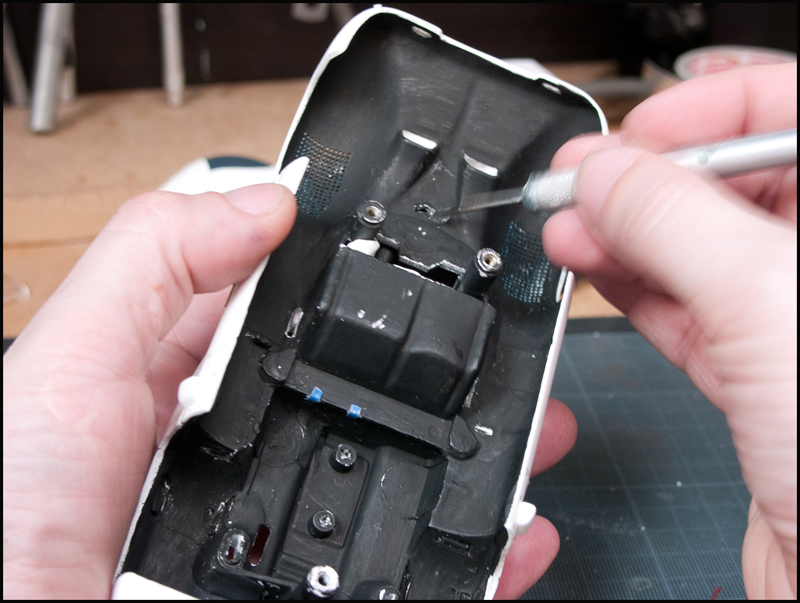
At this step I painted the inside of the body flat black with Humbrol paint, just like my friend Chris Clark does.

Dessous-noir.jpg

This way, you do not see the color of the body through the wheel arches (just as we do in static kits) and it sublimates the chassis.

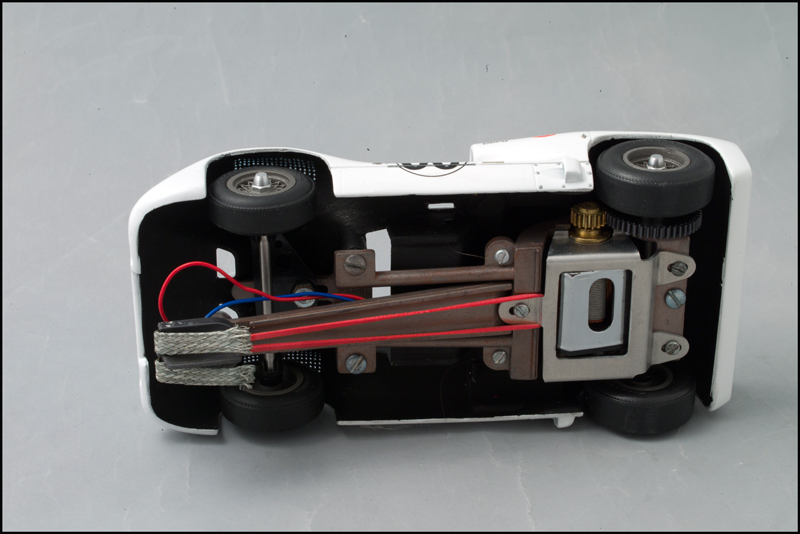
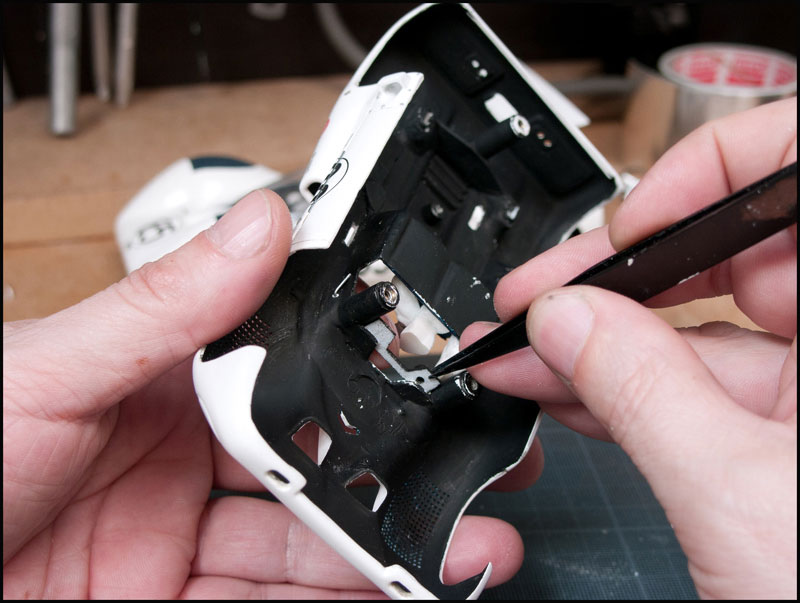
About the chassis: we now have to put the body on it in order to patiently adjust the pilot that simply does not fit in this model. Legs have to be cut and filled...

See the difference?
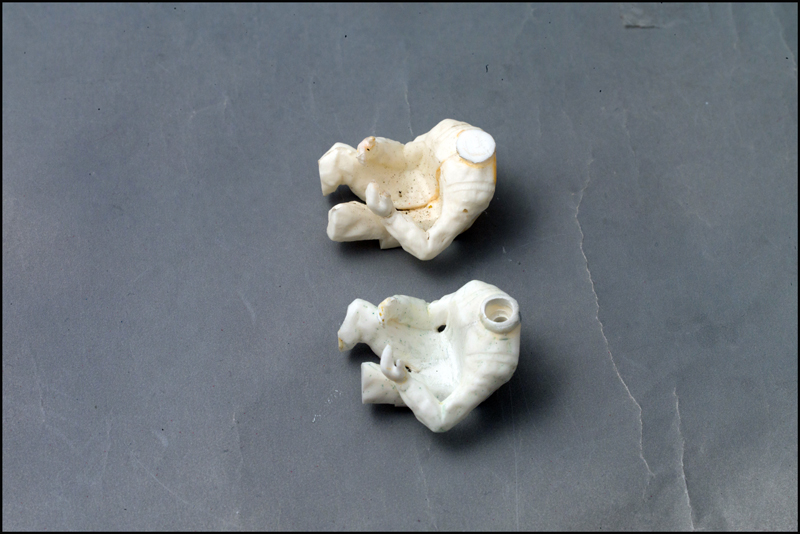
Ajustage-pilote-3.jpg

If so, you have also notice the hole I made between the body and the elbow. This will allow the harness to be slided inside.

Once the pilot just put in place (not glued at this step), the "rest" of the legs are in contact with the right screw pit and the chassis:
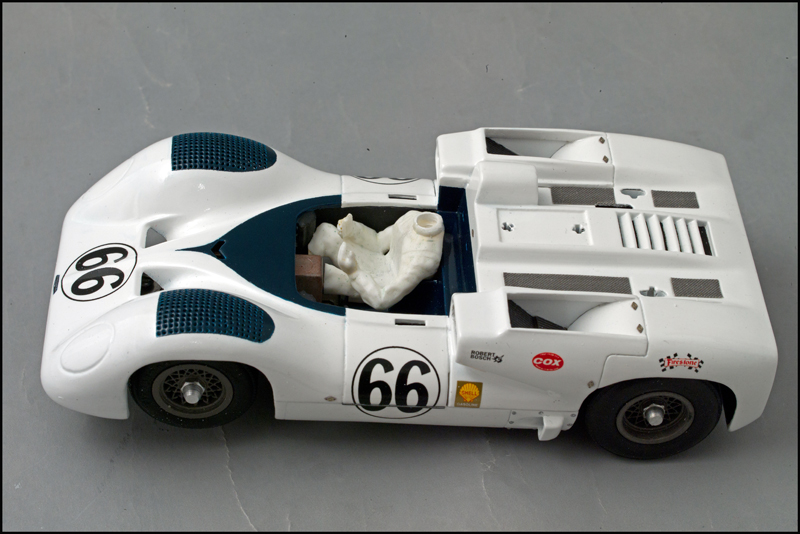
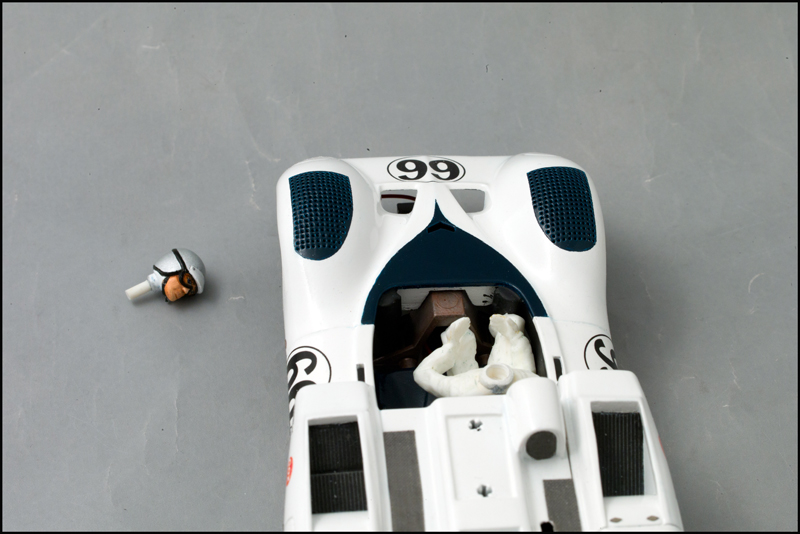
Ajustage-pilote-1.jpg

Ajustage-pilote-2.jpg

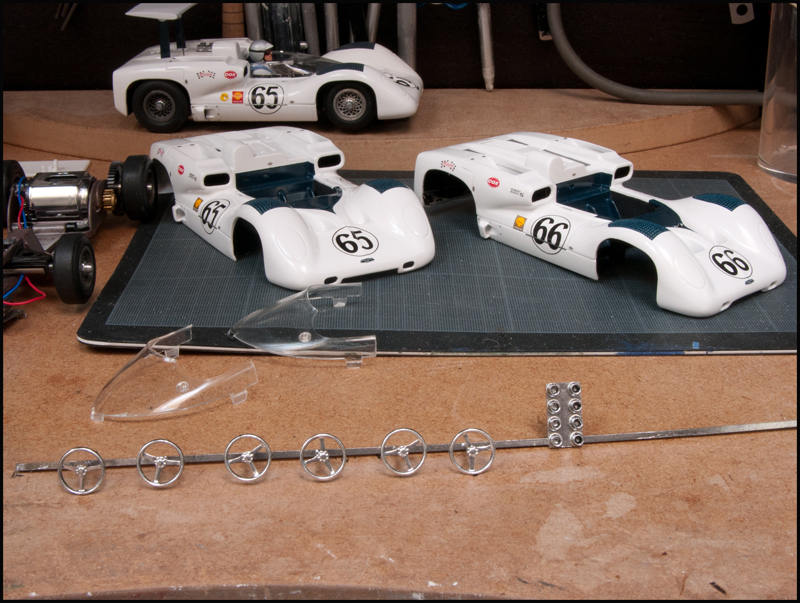
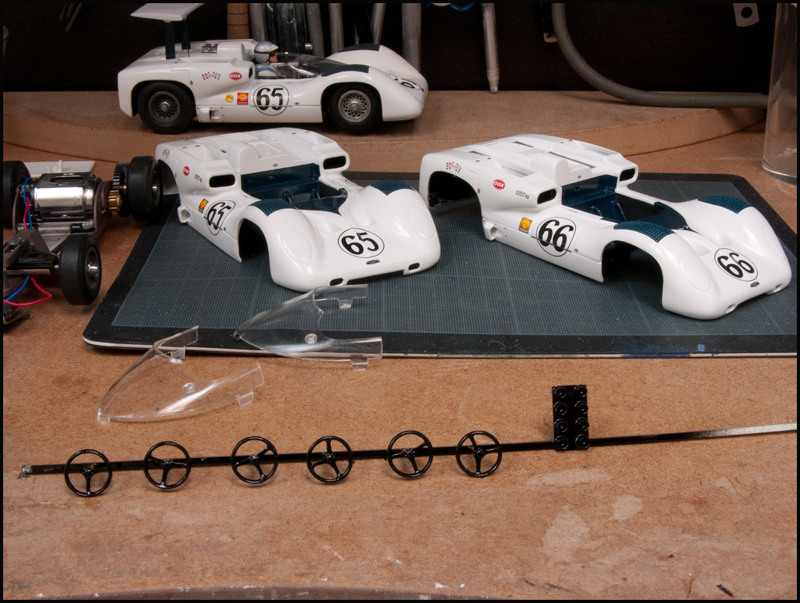
We will soon need the steering wheel and the motor stacks. Let's paint those with gloss black Tamiya spray paint and thereafter with alclad, using an airbrush ...
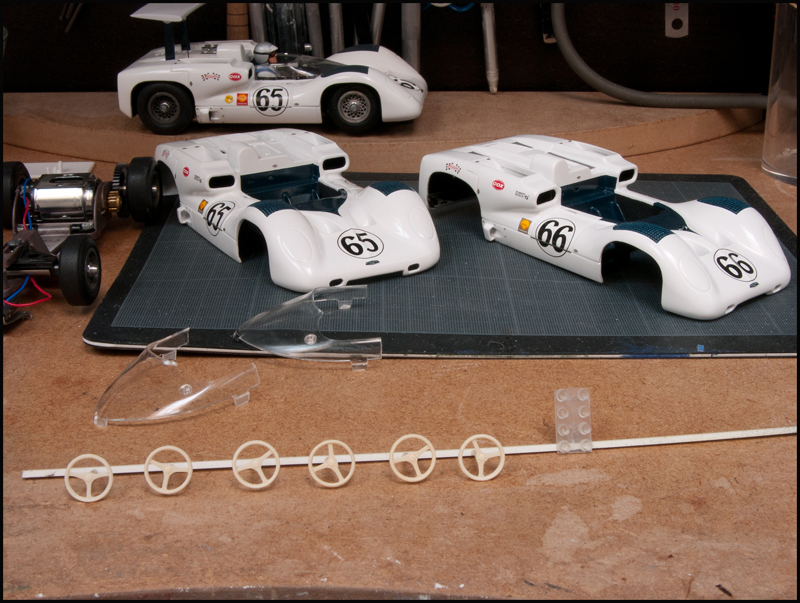
Peinture-Alclad-1.jpg

Peinture-Alclad-2.jpg

Peinture-Alclad-3.jpg
  • strummer likes this
(Bud)light is right!

#122 Jean-Michel Piot

Jean-Michel Piot

    Plastic surgeon

  • Full Member
  • PipPipPipPipPip
  • 654 posts
  • Joined: 16-March 08
  • Gender:Male
  • Location:Paris (France)

Posted 01 April 2012 - 02:35 AM

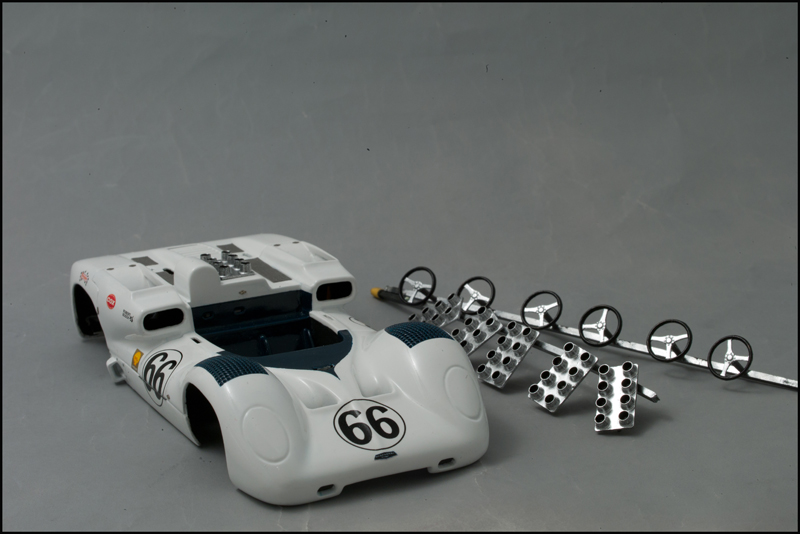
Once the elements painted with alclad, you can now varnish them. I use Mr Hobby (Gunze) gloss varnish.

And once the varnish dry, detail with humbrol or acrylic paint. I used acrylic for the sem-gloss black of the wheel of the steering wheel and mat humbrol for the stacks (mat black) and a mix of mat black and silver for the steering column.
Peinture-Alclad-6.jpg

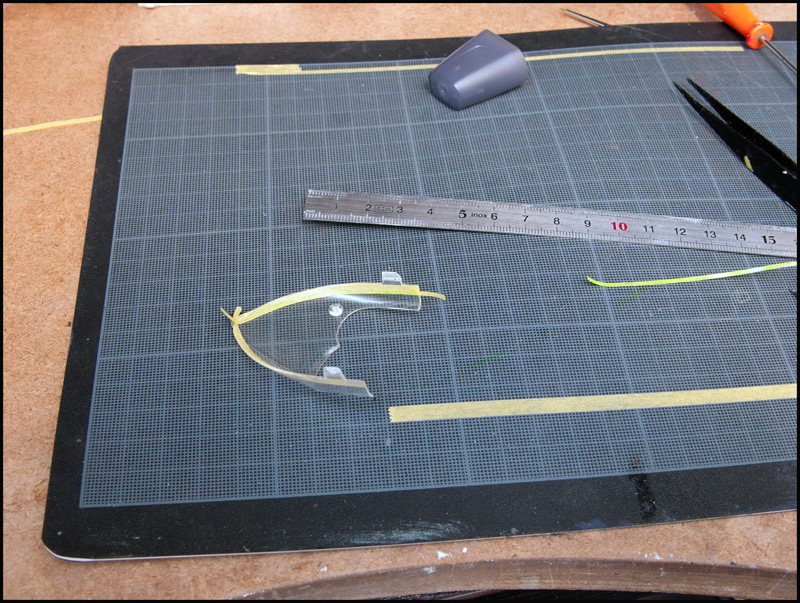
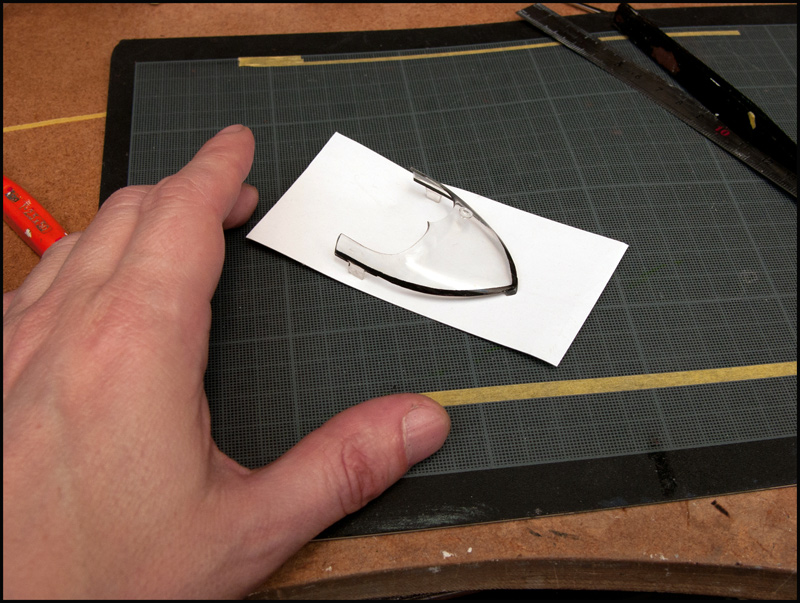
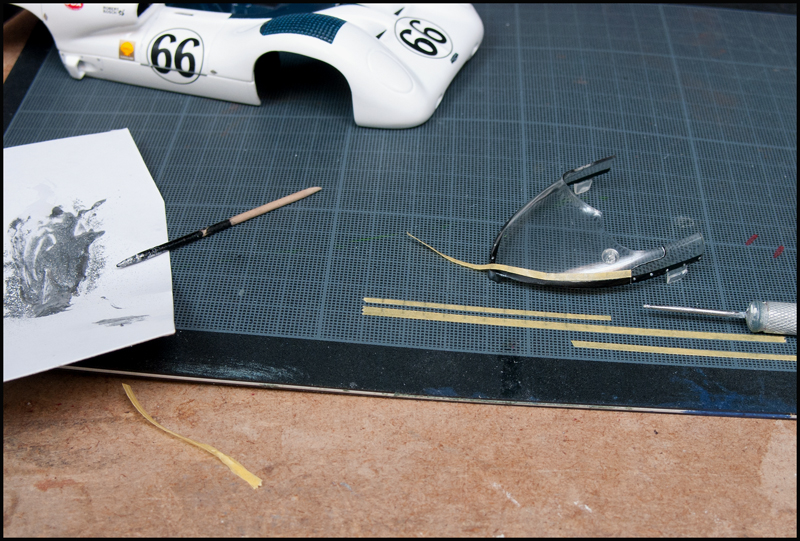
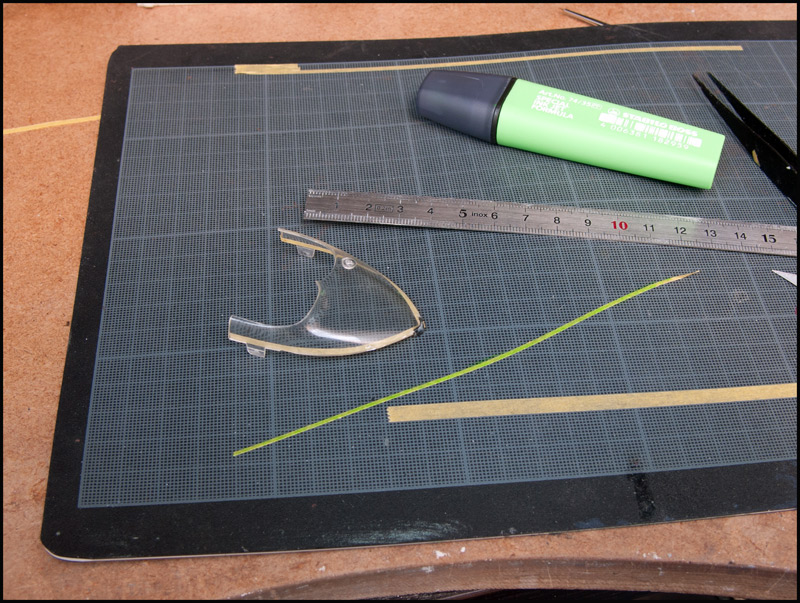
It's now time to treat the wind-screen...

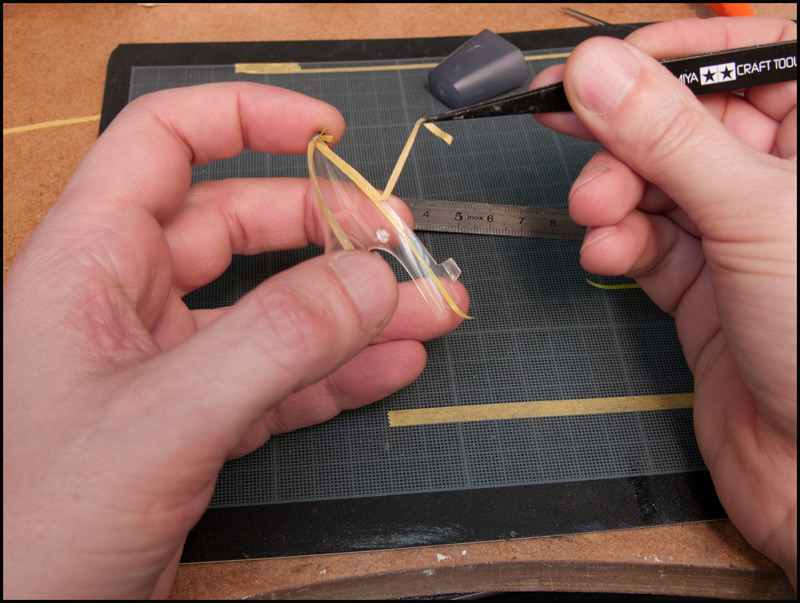
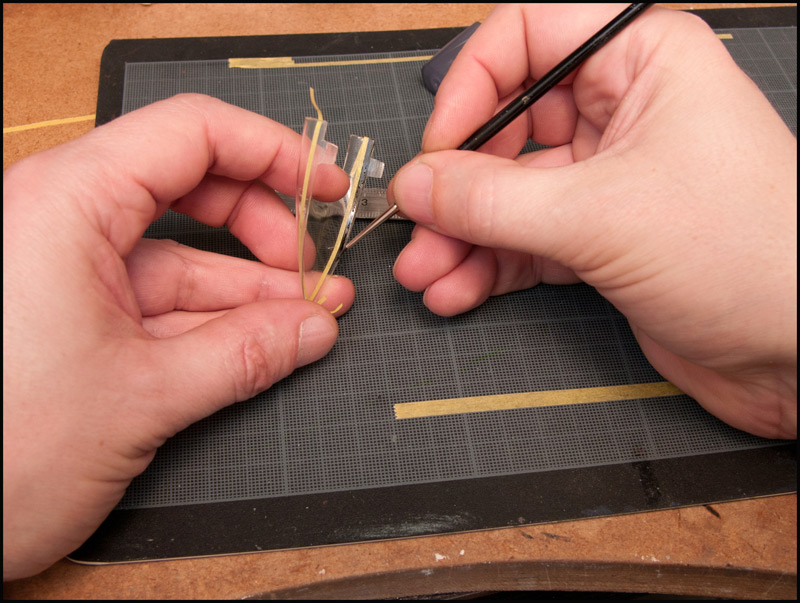
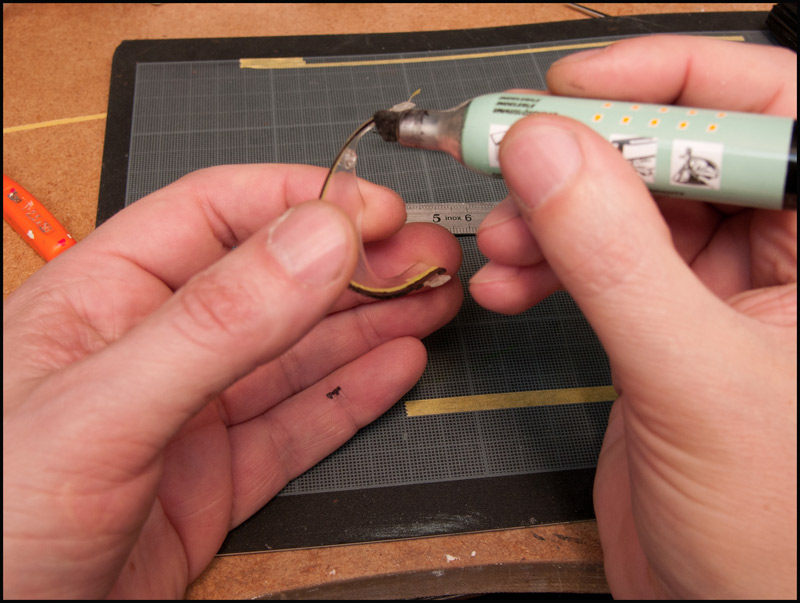
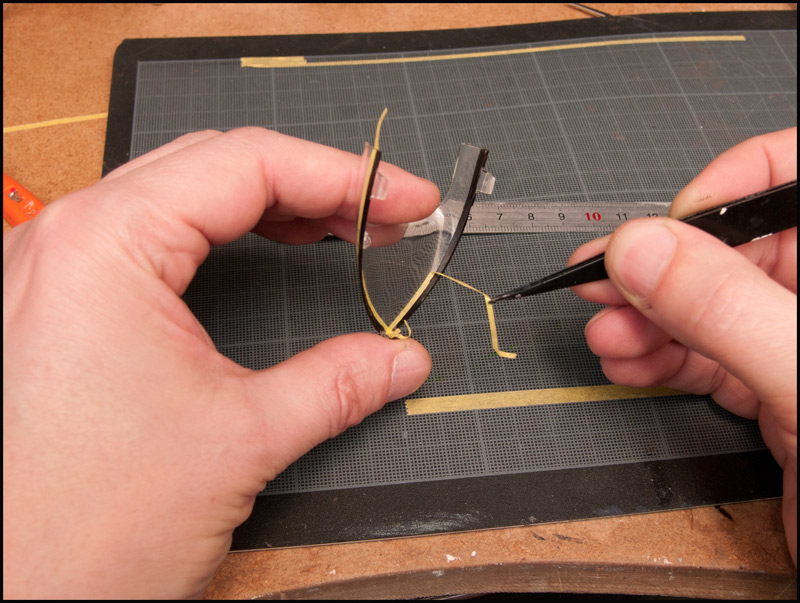
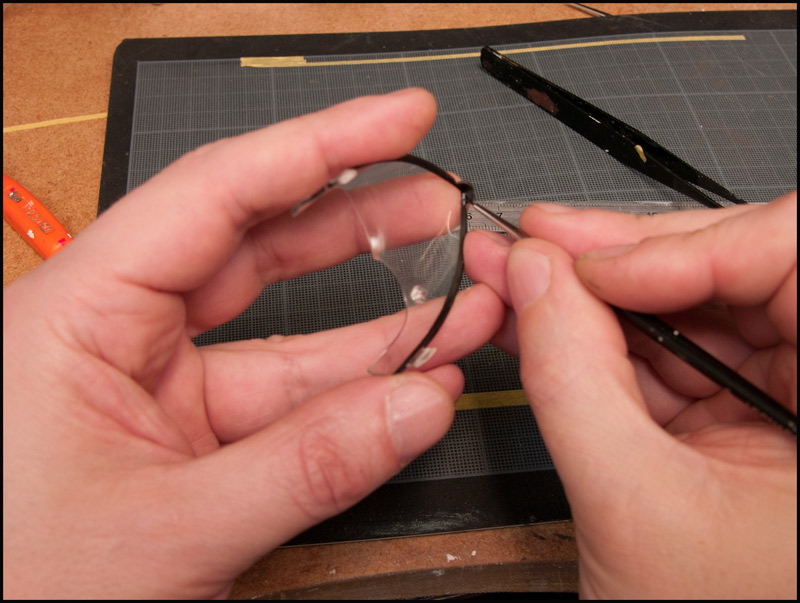
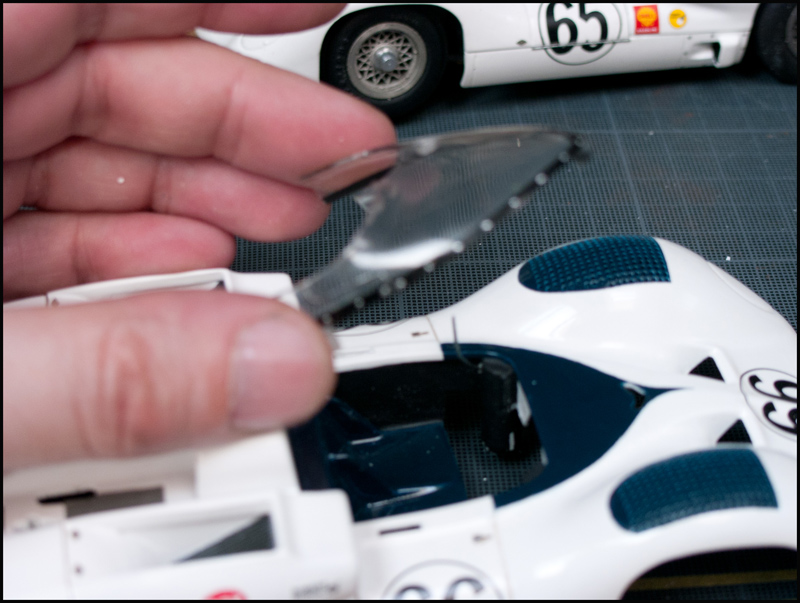
First of all, you have to paint the seal from the inside.

For this, use thin bands of masking tape as guides.
joint-PB-1.jpg

joint-PB-2.jpg

joint-PB-3.jpg

joint-PB-4.jpg

joint-PB-5.jpg

joint-PB-6.jpg

joint-PB-7.jpg

joint-PB-8.jpg
(Bud)light is right!

#123 Jean-Michel Piot

Jean-Michel Piot

    Plastic surgeon

  • Full Member
  • PipPipPipPipPip
  • 654 posts
  • Joined: 16-March 08
  • Gender:Male
  • Location:Paris (France)

Posted 01 April 2012 - 02:49 AM

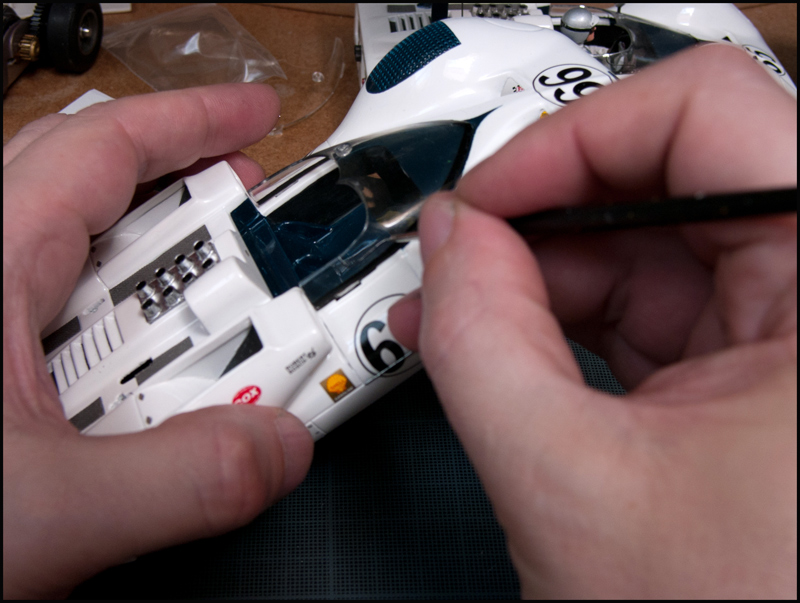
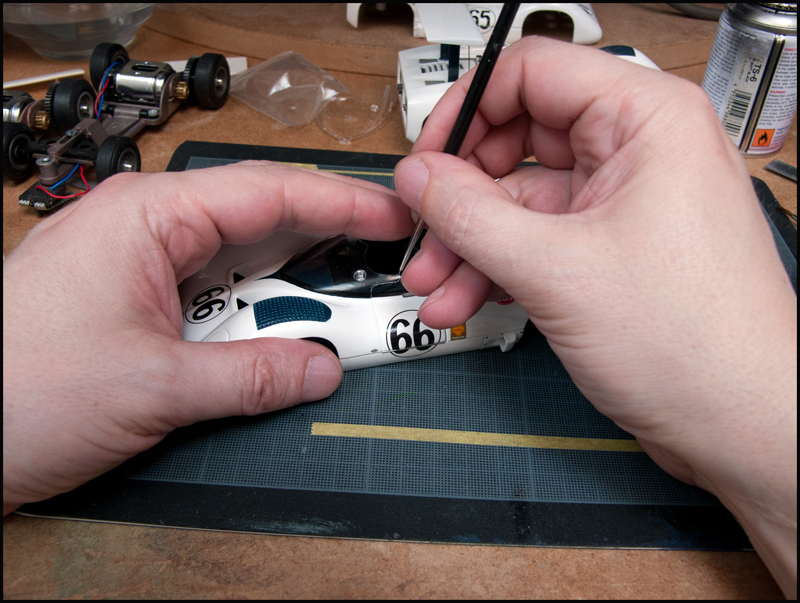
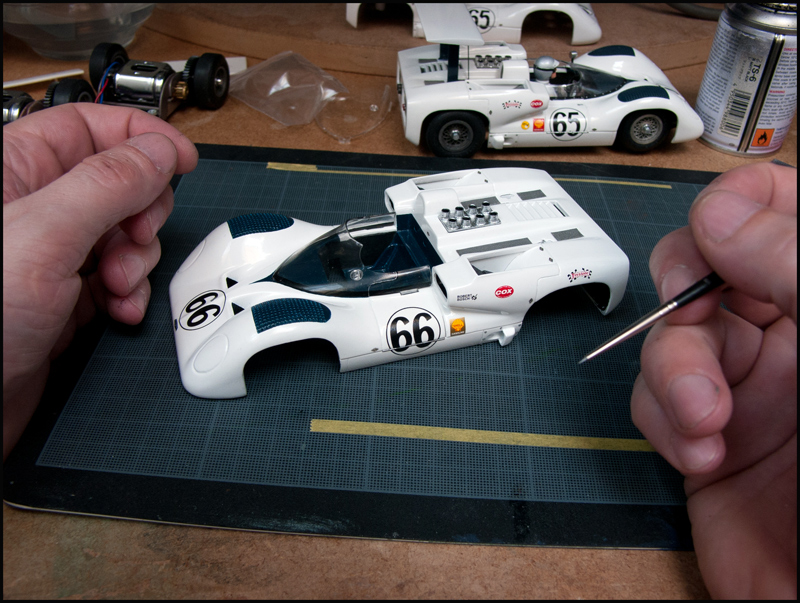
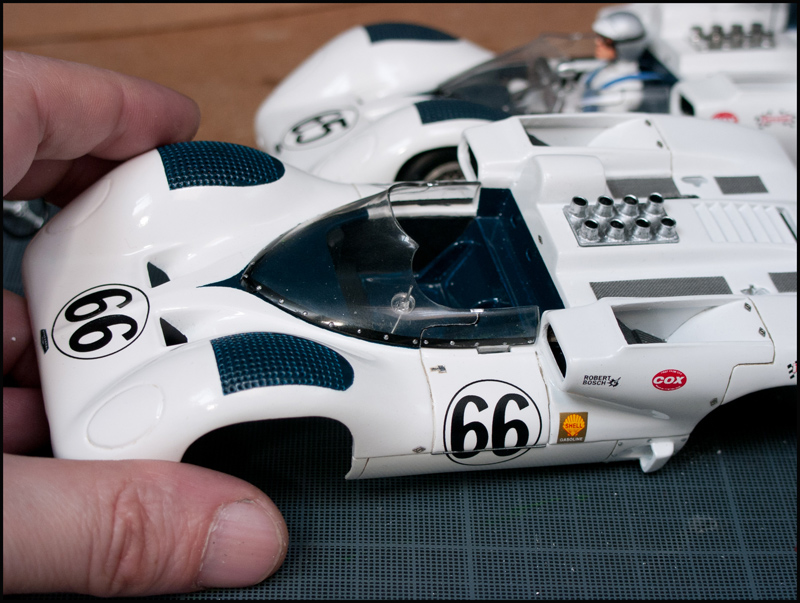
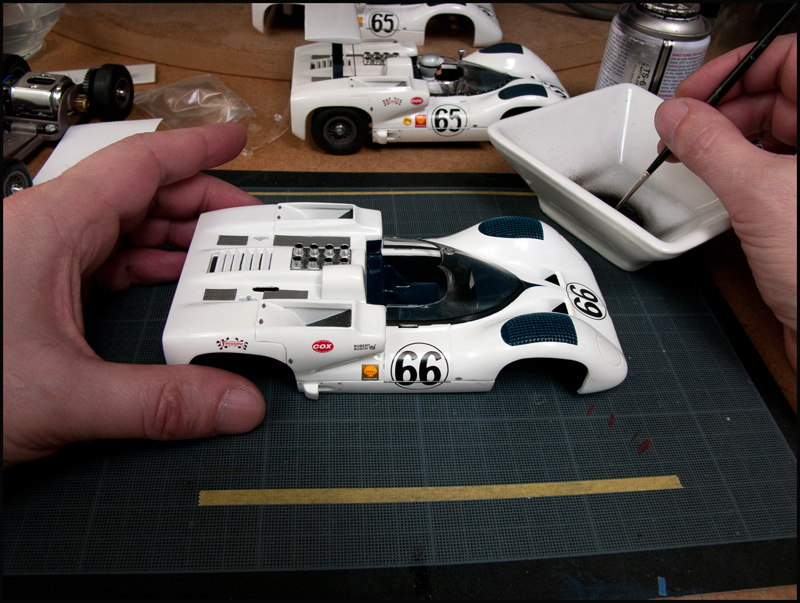
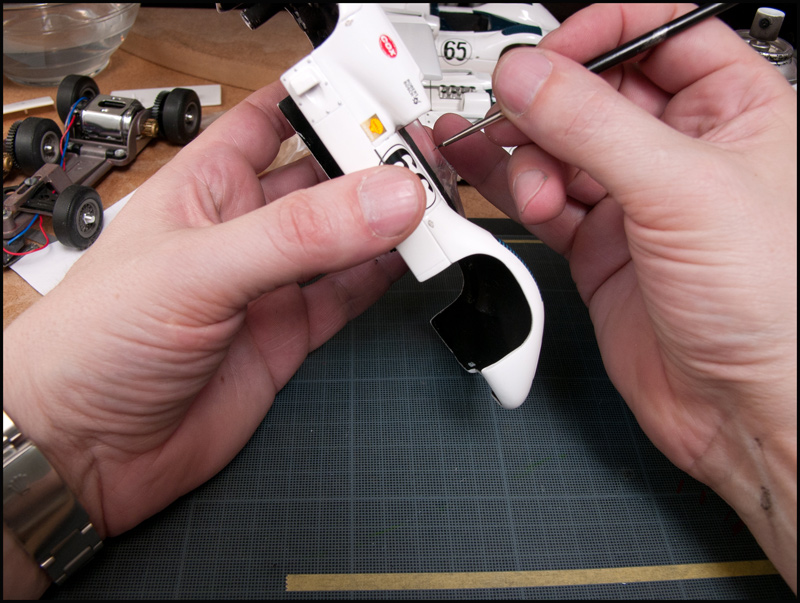
Now, just put the wind-screen in place, this will allow you to know where to paint the "S" separation line between the door windows and the front screen.

Putting the wind-screen in place will help you to paint the line just at the level of the door gap.

Yes, we paint it, with a very thin line of black and a thin line of silver, the simulate the gap and the reflection of light... I found it was the easiest and best way to do it.
separation-pb-1.jpg

separation-pb-2.jpg

separation-pb-3.jpg

separation-pb-4.jpg

separation-pb-5.jpg

separation-pb-6.jpg
  • strummer likes this
(Bud)light is right!

#124 Jean-Michel Piot

Jean-Michel Piot

    Plastic surgeon

  • Full Member
  • PipPipPipPipPip
  • 654 posts
  • Joined: 16-March 08
  • Gender:Male
  • Location:Paris (France)

Posted 01 April 2012 - 02:58 AM

The rivets of the screen are placed this way: one on each side of the separation line, five on the seal of the door window, the rivets on the front screen are put with the help of a masking tape that is marked-up with pencil every 5mm.

Rivets-pare-brise.jpg

Now, why not a little weathering for the gaps between the body elements?
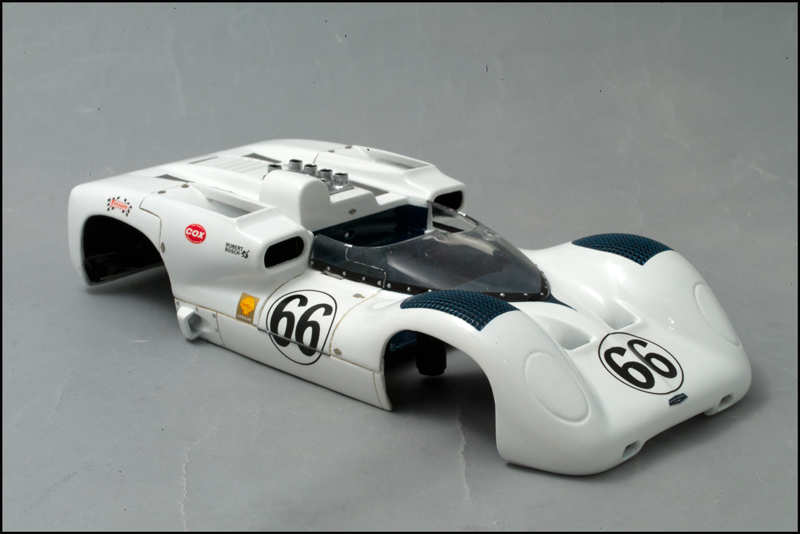
Patine-1.jpg

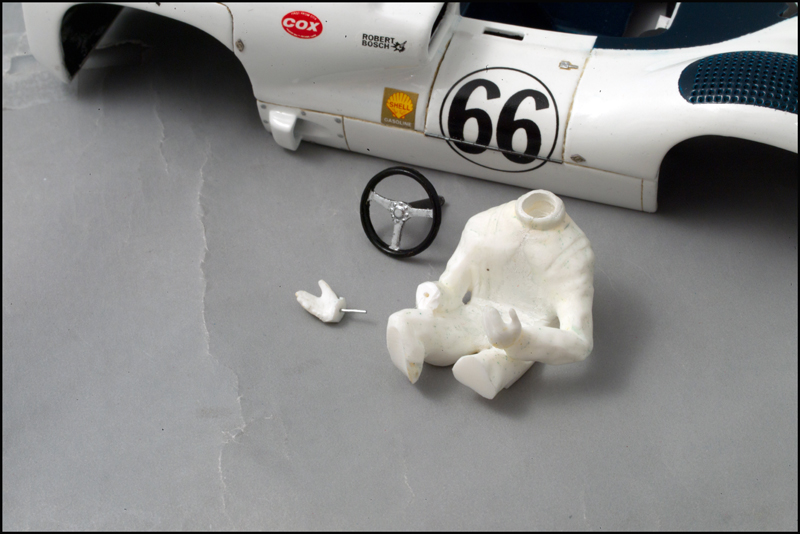
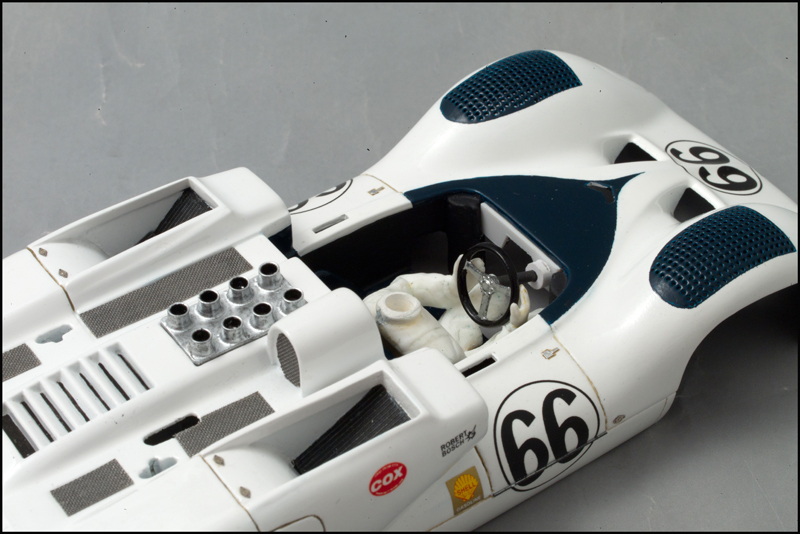
Let's revert to the pilot ...

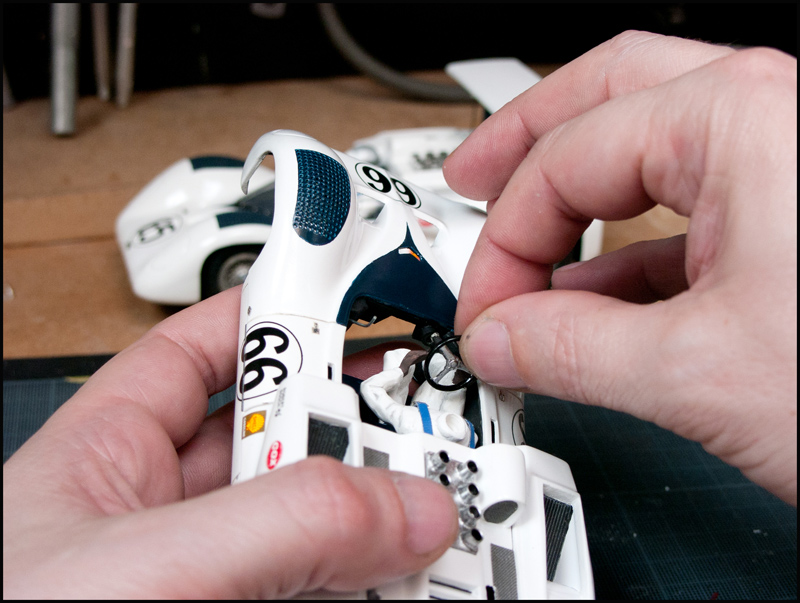
The right hand has to be cut, the arm shortened a little (very little) to allow the hand to be put in a different position. Otherwise the steering wheel wont fit.
position-main-1.jpg

position-main-2.jpg

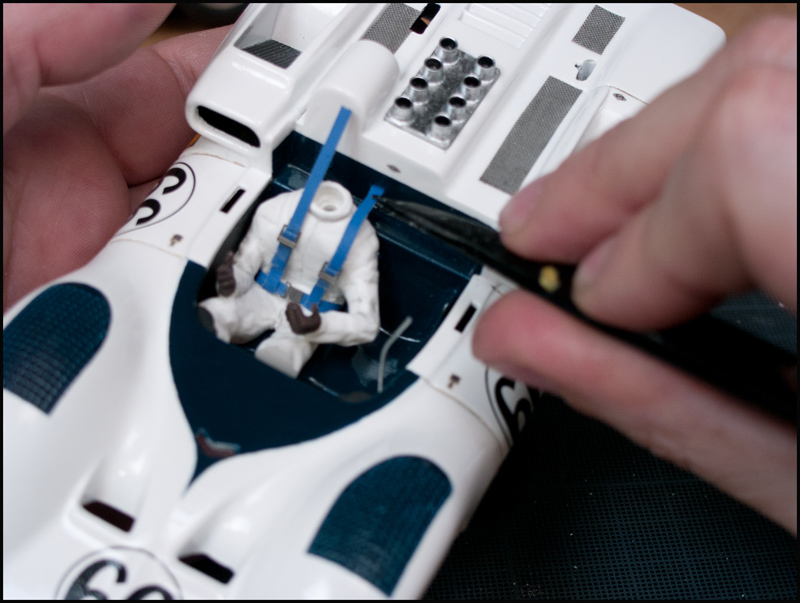
The safety harness can now be made. I use kits I found on ebay but that you may also find in modellers shops.
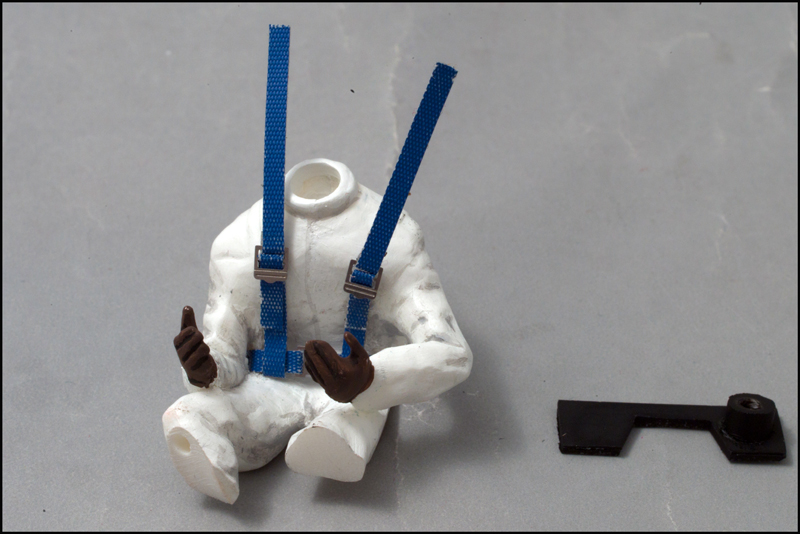
Pilote-et-arnais.jpg
  • strummer likes this
(Bud)light is right!

#125 Jean-Michel Piot

Jean-Michel Piot

    Plastic surgeon

  • Full Member
  • PipPipPipPipPip
  • 654 posts
  • Joined: 16-March 08
  • Gender:Male
  • Location:Paris (France)

Posted 01 April 2012 - 03:29 AM

One may now think that the pilot can be glued in place, same for the dashboard and streering wheel...

No, it cannot!

You first have to drill a hole in the cockpit for a little metal thread that will go inside the hole of the windscreen. This will make a rear-view mirror support, just like on the genuine car.
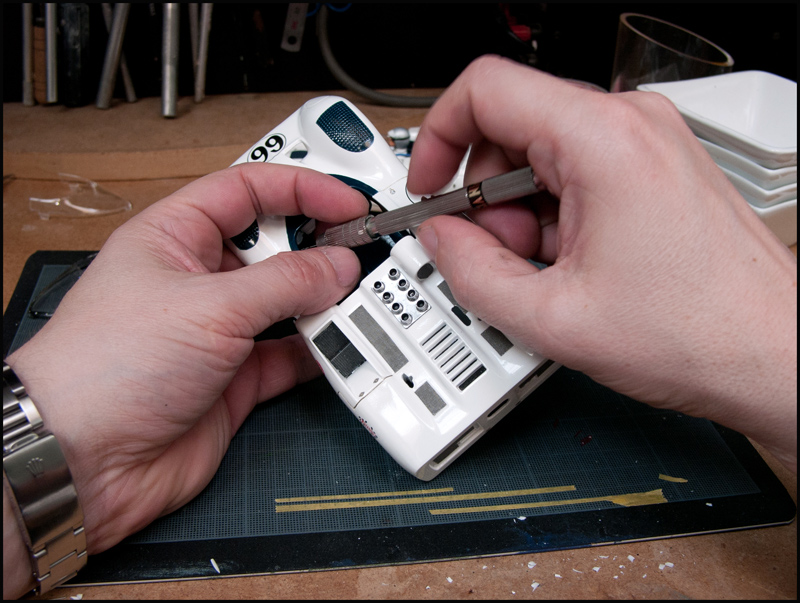
Trou-mat-retro-1.jpg

Trou-mat-retro-2.jpg

Trou-mat-retro-3.jpg

Trou-mat-retro-4.jpg

Now, you can glue the pilot, etc.

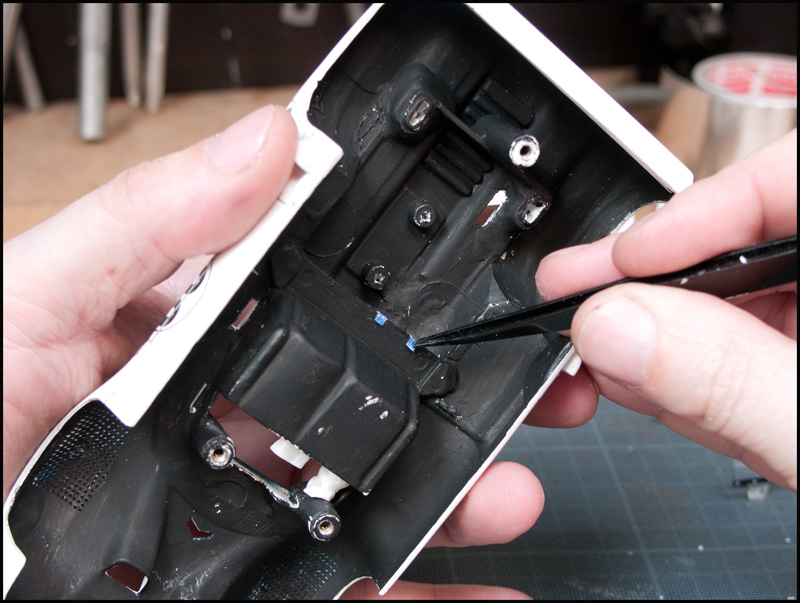
Do not forget to slide the dashboard from below.
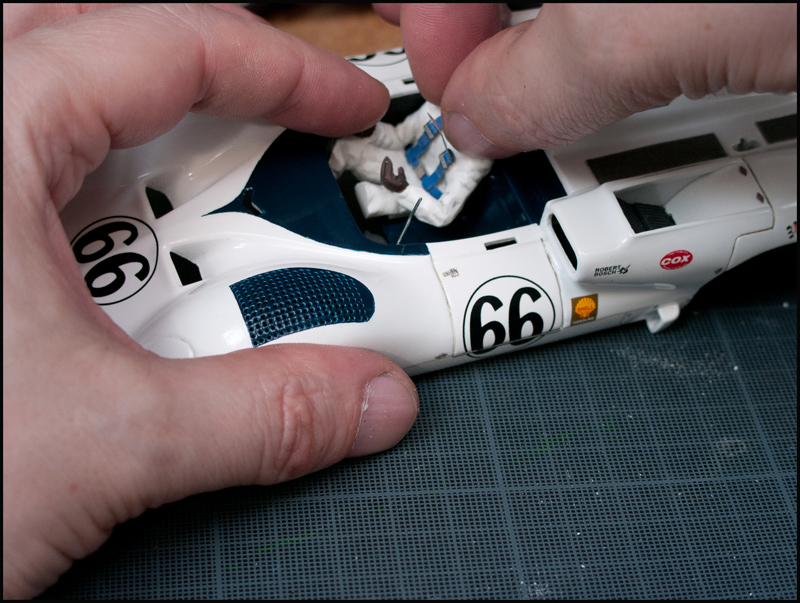
Collage-pilote.jpg

Enfillage-harnais.jpg

Collage-Harnais.jpg

Placement-Tableau-de-bord-2.jpg

CollageVolant-2.jpg

Collage-Pare-Brise.jpg
  • strummer likes this
(Bud)light is right!


Electric Dreams Online Shop