I'll try that!

Team Pittman R&C car
#51

Posted 02 October 2013 - 07:29 PM
11/6/54-2/13/18
Requiescat in Pace
#52

Posted 02 October 2013 - 07:34 PM
A thorough epoxy job on the windings will hold the lamimations together for drill balancing.
I destroyed a Pittman DC-65-6V arm by attempting to drill balance it without epoxying the windings.....once. After that I always heavily epoxy coat all the windings and go over it with a heat gun, CAREFULLY! The heated epoxy really soaks into the windings. Any extra epoxy is simply wiped off. All of this must be done pretty quickly as heating the epoxy does cause it to thin out and flow for a minute or two but then that heat accelerates the curing process and it sets up fast.
Sounds like a soild way to prevent the lams from moving, thanks for all the advice Don & Rick ![]()
The dremel idea sounds ok Steve if it was done in '66... would of thought it would come out just like Champions grind balancing.
#53

Posted 02 October 2013 - 10:56 PM
Seems like one of the old Champion gang retained their grinder but not sure. I would guess the Champion grinder was something like a valve seat grinder with a swivel fixture to hold the arm. They did a masterful job of cutting very close to the wires sometimes.
I'm guessing whatever they used the armature was fixed and the grinding wheel moved toward the stack.
11/6/54-2/13/18
Requiescat in Pace
#54

Posted 03 October 2013 - 07:06 AM
I sent my arms to Alpha. Paul varnished the windings and drill balanced it. He could not cut the com tho,due to the plastic edging on both sides of the com.
#55

Posted 03 October 2013 - 07:31 AM
John, try polishing the comm with 2000 grit wet or dry paper. That might be the best you can do.
I intend to live forever! So far, so good.
#56

Posted 03 October 2013 - 07:44 PM
Update ![]()
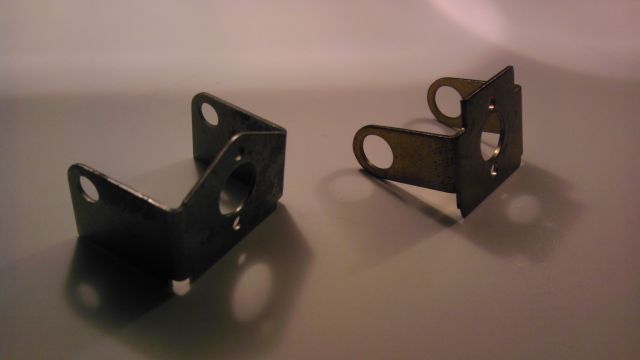
The 2 motor brackets that Pablo very kindly donated arrived ![]() Thank you Pablo
Thank you Pablo ![]()
![]()
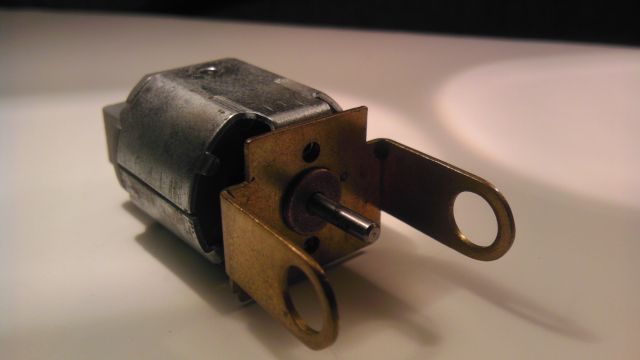
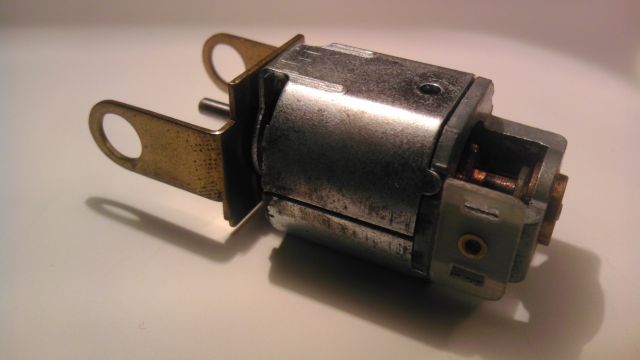
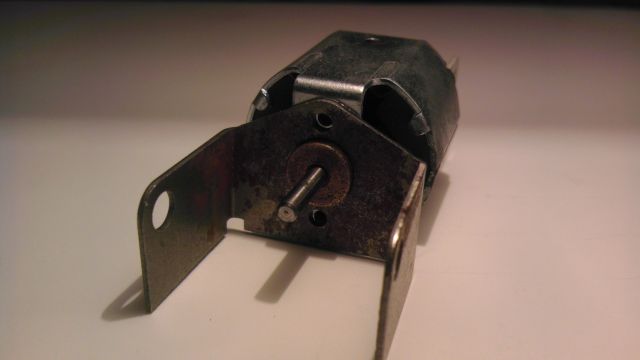
one Brass one
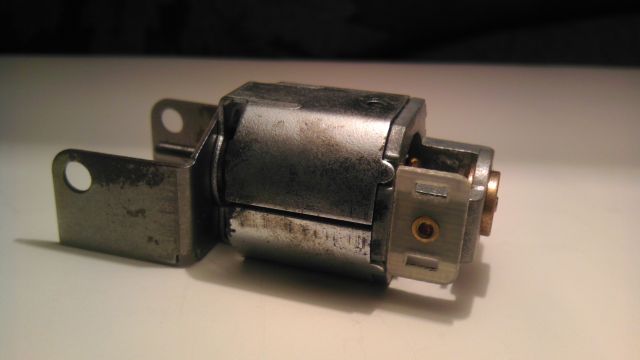
and a steel one
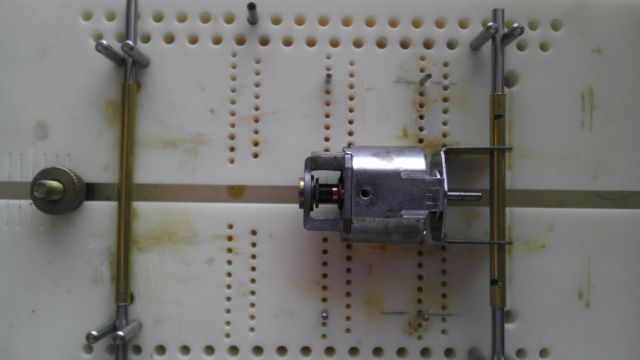
Both fit the 6001 very well with the bearing hole perfect with just a very small clearancing with the brass one as the motor is a fairly tight fit.
Steel one is pretty much level with the bottom of the motor , plus got smaller axle holes so will need just a little opening up for axle tubing.
Now I have the all important motor bracket it's decision time as to which one to use ![]()
![]()
![]() Both fit, both will do the job, brass one may accept bearing cups... Hmmmmm
Both fit, both will do the job, brass one may accept bearing cups... Hmmmmm
Any suggestions?
*To be continued !
#57

Posted 03 October 2013 - 08:22 PM
Looks like the brass bracket will accept bushings or bearings in the holes the way it sits. Of course there is no way to know the hole size from the picture!!
Mike Katz
Scratchbuilts forever!!
#58

Posted 03 October 2013 - 08:33 PM
Forgot to put that Mike , good guess on the hole size , 1/4" so regular bearings/bushings will fit.
#59

Posted 05 October 2013 - 05:52 PM
The steel bracket is being brought into service on this car ![]()
Just a quick opening up of the axle holes & they were perfect for 5/32 tubing, got both front & rear tubing cut ,although widths will change as I've ordered some Russkit repops to fit some BWA Russkit Porsche 906 inserts in , make the Porsche really stand out ![]()
No working out of main rail lengths yet as I don't have the body yet ![]() unless someone knows the wheelbase of the Russkit Porsche 906 bodyshell ?
unless someone knows the wheelbase of the Russkit Porsche 906 bodyshell ?
brass tubing or rod chassis? Hmmmmm to the design bench !
#60

Posted 05 October 2013 - 05:59 PM
Not really a lot you can do without the body, eh ?
What is the body plan ?
Paul Wolcott
#61

Posted 05 October 2013 - 06:11 PM
Was going to get an original Lancer 906 shell but Rick said that it was narrower in width than the Russkit one. So looking on Tom Andersen's site he pulls both Lancer and Russkit versions ![]()
gonna order some shells from him.
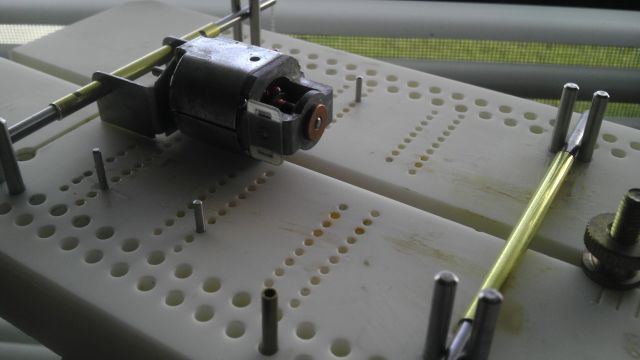
Can sort out the endbell screws on the 6001 to countersink the bottom one to get the motor flat & at least solder in the rear tube . It's a start ![]() Make some Loooong main rails and attach them at the rear leave em long at the front !
Make some Loooong main rails and attach them at the rear leave em long at the front !
#62

Posted 05 October 2013 - 06:12 PM
You'll need to set not only the wheelbase but the guide lead, chassis width and pin tube body mount locations.
"Patience my son" ![]()
![]()
- SlotStox#53 likes this
Rick Thigpen
Check out Steve Okeefe's great web site at its new home here at Slotblog:
The Independent Scratchbuilder
There's much more to come...
#63

Posted 05 October 2013 - 06:19 PM
You'll need to set not only the wheelbase but the guide lead, chassis width and pin tube body mount locations.
"Patience my son"

Much patience i have hmmmmmmmmm *best Yoda voice* ![]()
Yep all of those dimensions too Rick ![]()
![]()
#64

Posted 06 October 2013 - 11:37 PM
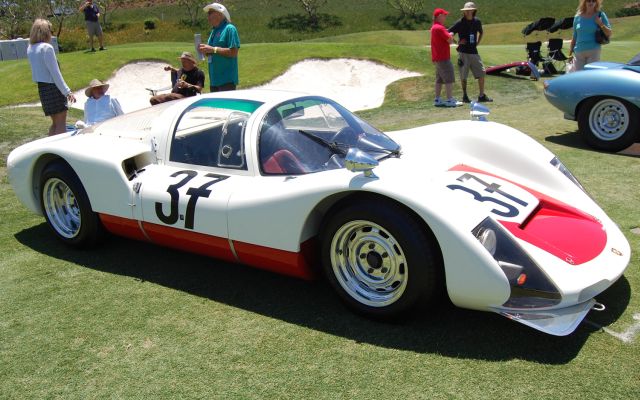
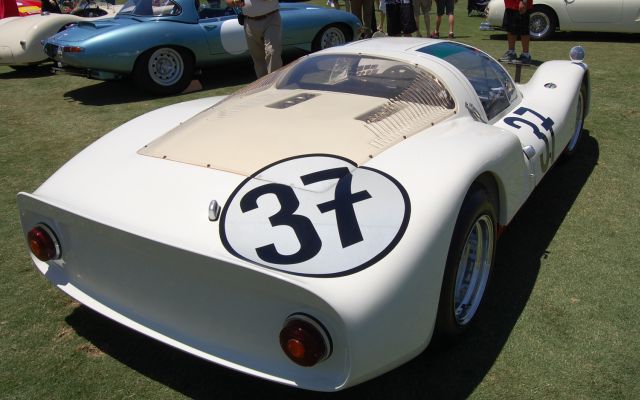
Some progress but all behind the scenes ![]() In the meantime here's what Team Pittman intends to wheel off the trailer /extract from the slotbox!
In the meantime here's what Team Pittman intends to wheel off the trailer /extract from the slotbox!
#65

Posted 07 October 2013 - 07:34 AM
Tom Andersen has not yet responded, Paul.
Maybe today ? I hope.
Paul Wolcott
#66

Posted 07 October 2013 - 09:28 AM
#67

Posted 07 October 2013 - 10:29 AM
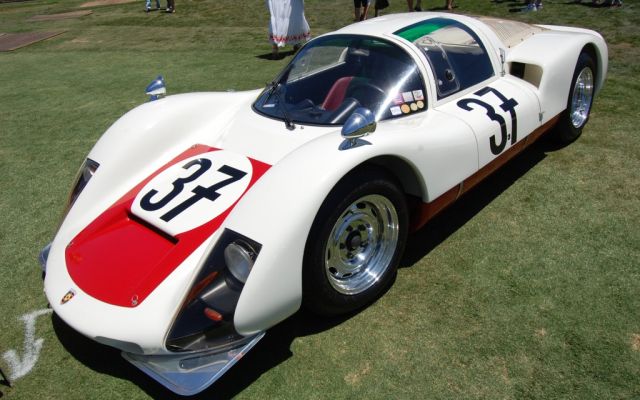
I just LOVE "Talbot" mirrors!
Have a pair on my '58 wagon by the way.
Nice choice of body there Paul. Truescale has the best 906 in my opinion. Plus interior....
Jairus H Watson - Artist
Need something painted, soldered, carved, or killed? - jairuswtsn@aol.com
www.slotcarsmag.com
www.jairuswatson.net
http://www.ratholecustoms.com
Check out some of the cool stuff on my Fotki!
#68

Posted 07 October 2013 - 10:44 AM
Remember seeing your cool '58 in an older post,nothing like the older cars
#69

Posted 07 October 2013 - 07:36 PM
Paul,
If Tom Andersen doesn't respond, try TrueScale Products - they have wonderful repop Russkit bodies - Lotus 40, Chap 2D, McLaren and Chap 2. They come with Vinyl Mask, and beautiful interiors! Just need a Head (can use one off a champion bust).
I have one of the chap 2Ds that I'm going to put over an AMT repop frame by Professor Motor, with Professor Motor Chap setscrew wheels (have any of you played with these? Any suggestion of tires? http://www.professor...-p/pmtr1112.htm)
Mikey
Mike DiVuolo
C.A.R.S. Vintage Slot Car Club
"Prosecutors will be violated"
#70

Posted 07 October 2013 - 08:10 PM
Good luck with the Chap project Mikey ![]()
have looked at those very wheels to go with a Monogram Chap 2D kit I have ,(was also looking some original Cox Chappy wheels too) not taken the plunge though yet so have no clue over tires! Although checking the noted Dia. seems they are roughly the same size as the Russkit repop rear wheels .if that's any help? Never used wheels this size before so apart from slapping a sponge donut on em I dont know on available urethane tires.
#71

Posted 08 October 2013 - 02:33 PM
If you want to verify that the arm is indeed a X arm it will read about .3 ohms pole to pole , the standard arms are much higher reading .
#72

Posted 09 October 2013 - 05:31 PM
Progress! Well ........... sort ..... of ![]()
![]()
![]()
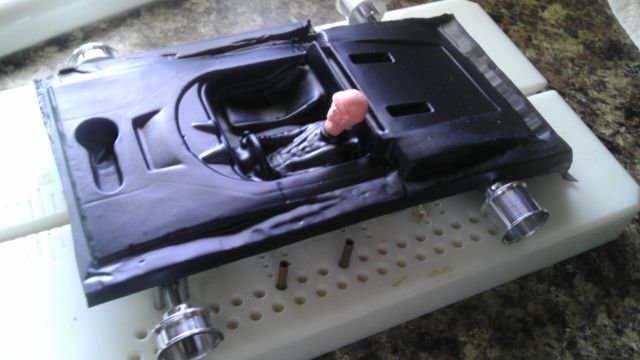
Russkit repop wheels , Porsche 906 interior with Russkit drivers head... all ready to go ![]() body,wheel inserts & inlet stacks to come!
body,wheel inserts & inlet stacks to come!
Kind of like the F1 teams where they ship off their latest aero package & it arrives late "ish" to the track ![]()
![]()
*chassis design geeks are feverishly burning the midnight oil to thrash out a design*
#73

Posted 10 October 2013 - 07:00 PM
Another piece of the puzzle arrived today ! ![]()
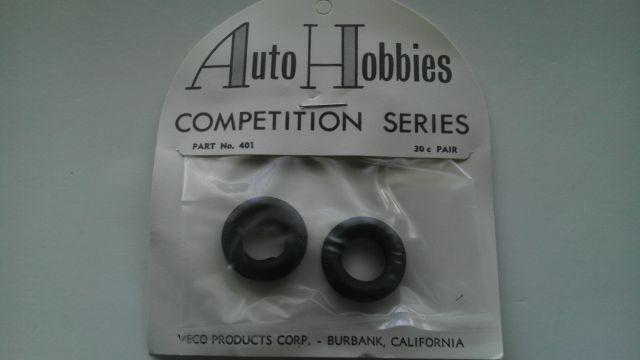
NOS Auto Hobbies front tires ![]() Don't know if they're the "Exact" ones used in the series but at 1/4" wide, 7/8" dia & .500 internal fit like a glove on the Russkit repop. Plus the right size for the rules and are Auto Hobbies tires as named in the tech sheets. So when I saw them it was an instant "yes"
Don't know if they're the "Exact" ones used in the series but at 1/4" wide, 7/8" dia & .500 internal fit like a glove on the Russkit repop. Plus the right size for the rules and are Auto Hobbies tires as named in the tech sheets. So when I saw them it was an instant "yes" ![]()
more to come !
#74

Posted 10 October 2013 - 07:17 PM
They look perfect. ![]()
Paul Wolcott
#75

Posted 11 October 2013 - 08:52 AM
Paul E.,
Yes they are just fine! ![]()
I fact I'd like to ask... are they an ebay purchase or is somebody selling these retail?
Steve Okeefe
I build what I likes, and I likes what I build


