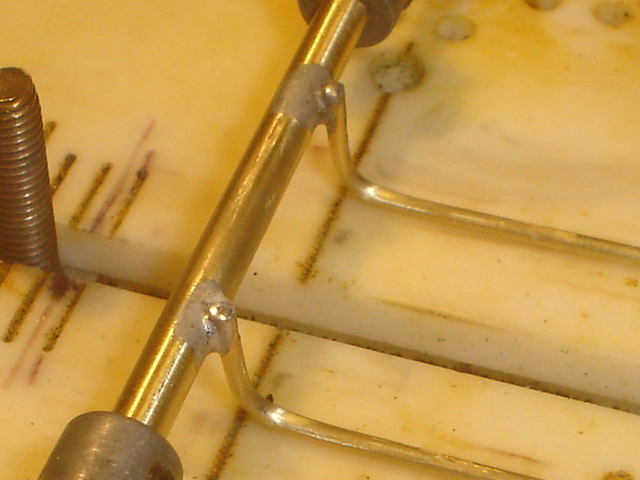
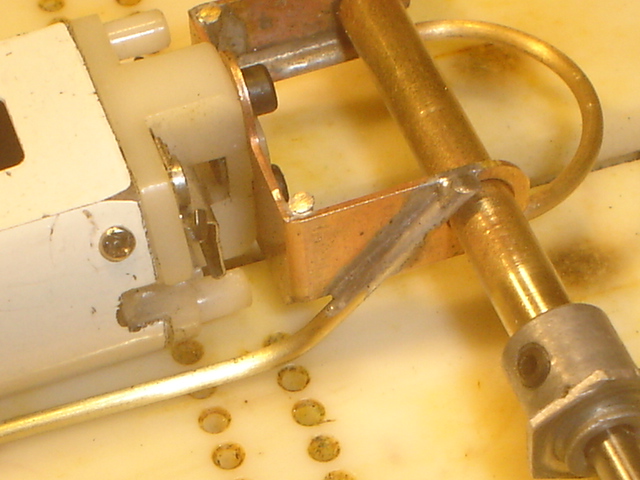
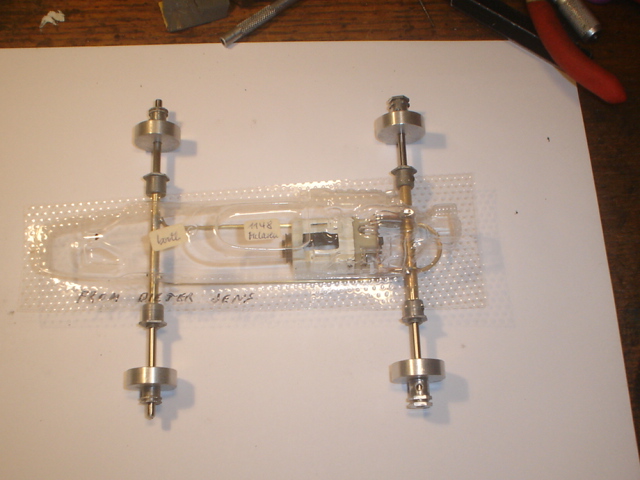
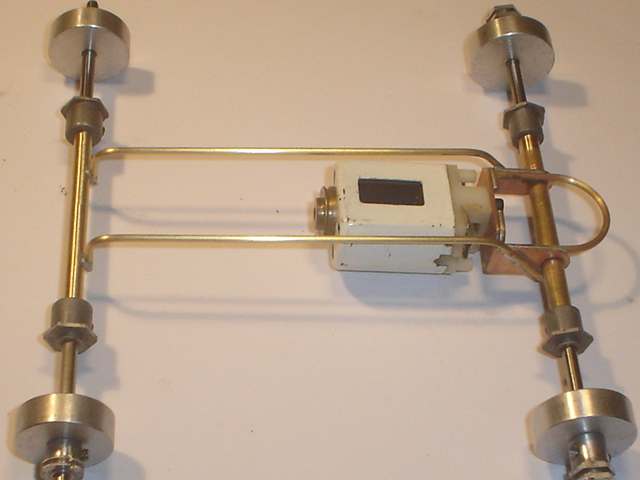
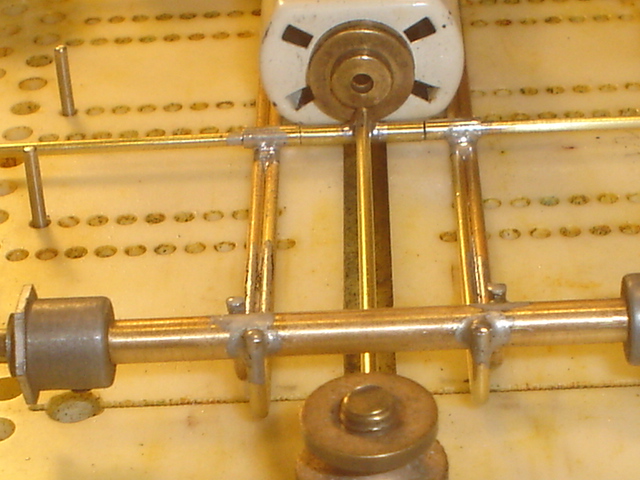
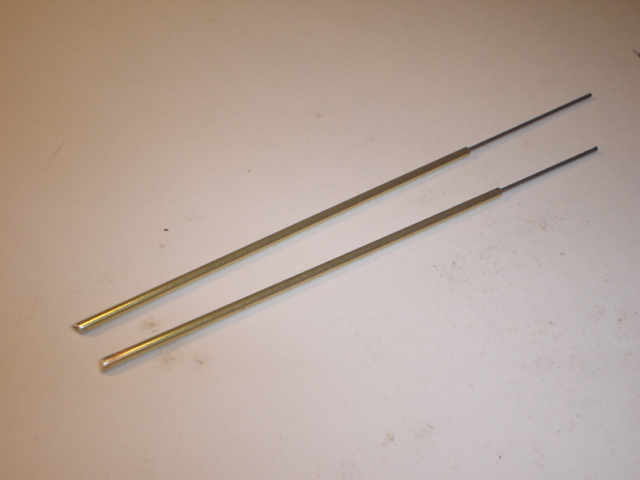
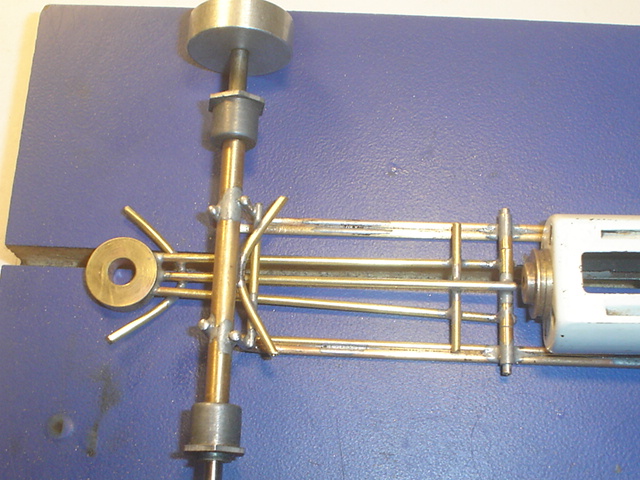
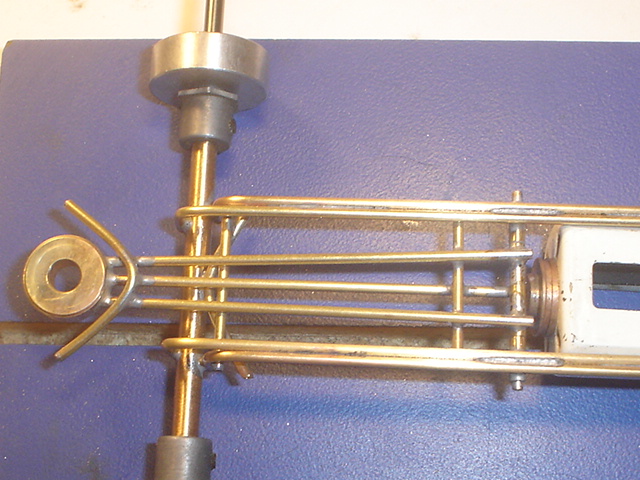
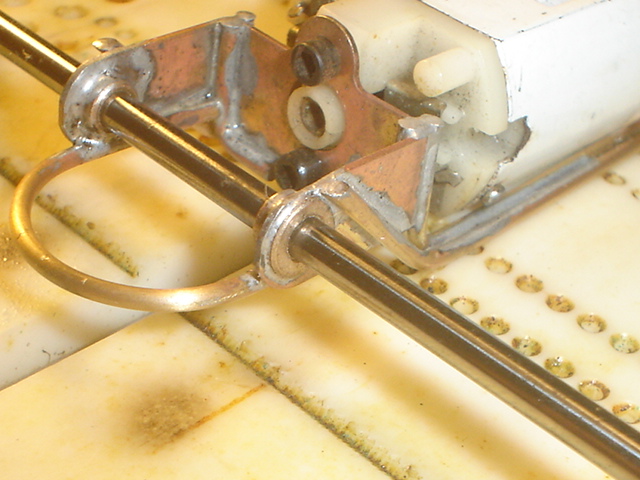
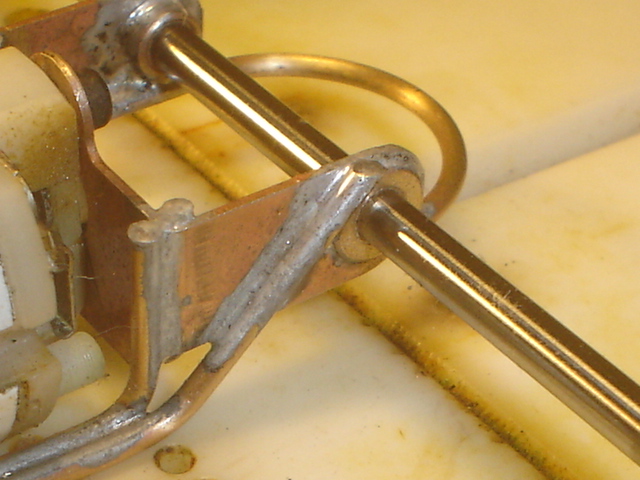
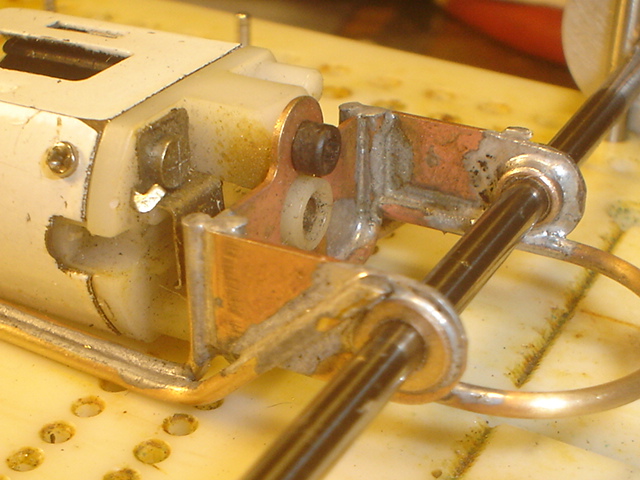
Another way to solder the wire inside the tube is use your new drill press & drill a small hole, or series of small holes, into the side of the .062" tube. With the .032" wire inside, fill the drilled hole(s) with flux & solder the pieces up.

R&C Pablo Grand Prix entry
#126

Posted 30 October 2013 - 06:45 PM
I intend to live forever! So far, so good.
#127

Posted 30 October 2013 - 06:54 PM
Boy, that would be painful, Sir. ![]()
I appreciate the technique, but I like the idea that the wire can move freely, a little bit.
Paul Wolcott
#128

Posted 30 October 2013 - 07:02 PM
Just tried the ss tube with the .039 wire inside, much better bend results ![]() although still very slight notice of not a "perfect bend" for a tight radius.
although still very slight notice of not a "perfect bend" for a tight radius.
Like your thinking behind the wire inside the tubing, will either use the technique for the next ss chassis or leave some sled like big curves in the main rails ![]()
![]()
#130

Posted 30 October 2013 - 07:57 PM
Looking good.
![]()
Curiosity question Pablo.
Apart from stopping distortion of the tube when bending, is there a reason for using tube with wire inside?
As opposed to using brass rod?
I went back through the posts, but must have missed it if you have already mentioned it
Is it a strenght/weight thing with the wire?
![]()
Steve King
#131

Posted 30 October 2013 - 08:19 PM
Hi slotbaker,
It is only an experiment, and by no means do I mean to imply it outperforms existing methods.
There is no "strength/weight" issue here. The weight and placement of the motor and parts far exceed any influence the rails could have.
This car may have slightly different handling characteristics than a standard brass rod car or a brass tube car. It may be better, or it may be worse.
All I can tell you is, based on my experience with wire inside tube, it is worth trying. But it is a very tricky business. If the wire is soldered solid inside the tube, you may have well just used brass rod.
Does all that answer your question ? ![]()
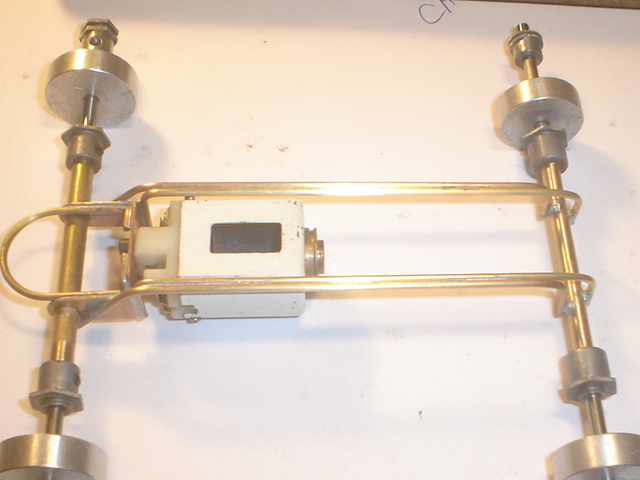
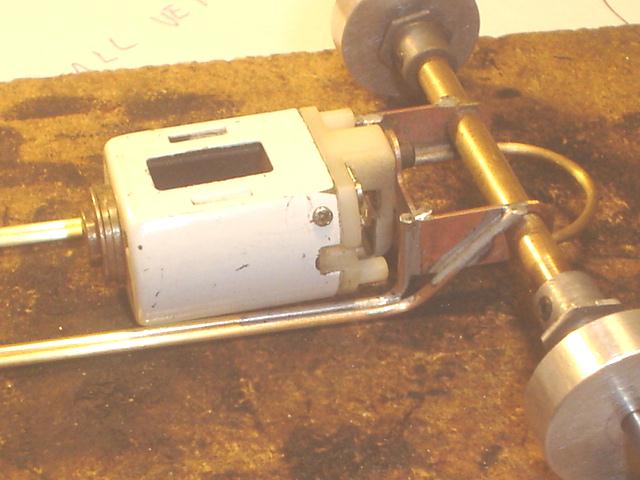
2 more pics before I sign off:
Paul Wolcott
#132

Posted 30 October 2013 - 08:40 PM
I would think the wire inside the brass tubing would be lighter, but stiffer than brass rod. Now how will either effect the chassis's handling? Who knows? Chassis made using silver solder will be stiffer for 2 or 3 races also. For the drop arm, are you also planning to use wire inside brass also or will it be solid rod?
I intend to live forever! So far, so good.
#133

Posted 30 October 2013 - 09:23 PM
![]()
Steve King
#134

Posted 30 October 2013 - 10:33 PM
The French motors were painted white and the rear bearing housings were taped off.
11/6/54-2/13/18
Requiescat in Pace
#135

Posted 31 October 2013 - 04:29 AM
The can is a not so common Mabuchi FT-16D marketed by MDC (Model Die Casting - a long time model train manufacturer) as their "Panther". It was a can drive power plant.
If you EVER need Jap can ID info, simply go to the motor section of Steve Okeefe's Independent Scratchbuilder section located elsewhere in Slotblog. He spent TONS of time researching and compiling accurate data to help individuals needing to identify a particular motor.
"We offer prompt service... no matter how long it takes!"
"We're not happy unless you're not happy"
"You want it when?"
#136

Posted 31 October 2013 - 08:39 AM
Once all the paint melts off the jig can, I'll rinse off the acid and make a new motor out of it LOL
Paul Wolcott
#137

Posted 31 October 2013 - 10:59 PM
I used to tack solder a 1/2" chunk of .032" wire in the end of the tube and crank it with the pliers to form the upright bend. Heat from the iron during assembly would set it in place. A 1.25" chunk at the bracket end might have cut down on chatter in retrospect.
8/19/54-8/?/21
Requiescat in Pace
#138

Posted 01 November 2013 - 07:40 AM
:Update: Just tried the trick of bending the SS tube with the other larger pieces of tube over the top , very easy to bend actually ending up looking exactly as Pablo's first attempt at the brass tubing. Still looks pretty neat in the shiny SS and would probably make a nice looking "strong" chassis .
Paul, good to hear this. I'll have to pick up some SS tubing to play with. ![]()
I intend to live forever! So far, so good.
#140

Posted 07 November 2013 - 08:41 AM
#141

Posted 07 November 2013 - 11:34 AM
Very nice looking frame Pablo.
Clean, simple and efficient comes to mind ![]()
Rick Thigpen
Check out Steve Okeefe's great web site at its new home here at Slotblog:
The Independent Scratchbuilder
There's much more to come...
#142

Posted 07 November 2013 - 11:56 AM
Nice looking chassis Pablo. Except for the 16D jig motor, it reminds me of some of Neckcheese's builds for the Danish F1 class. Next, you ought build an identical chassis, but using brass rods so you can determine which is the better handling car.
I intend to live forever! So far, so good.
#143

Posted 07 November 2013 - 03:15 PM
Bill, you are a slave driver ![]() I gotta get some IRRA cars and some flexi carz ready this month ya know
I gotta get some IRRA cars and some flexi carz ready this month ya know ![]()
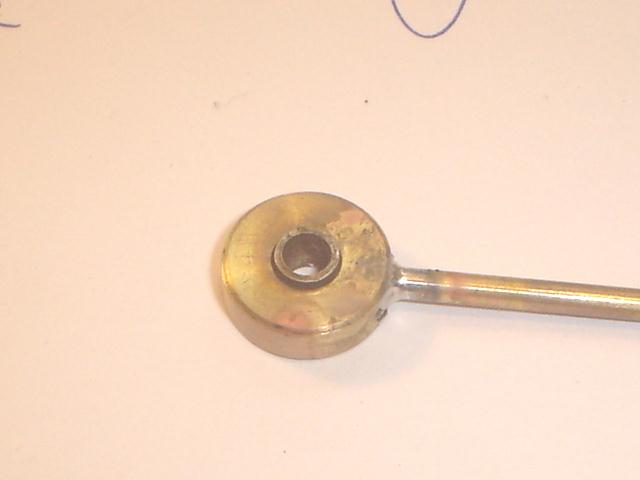
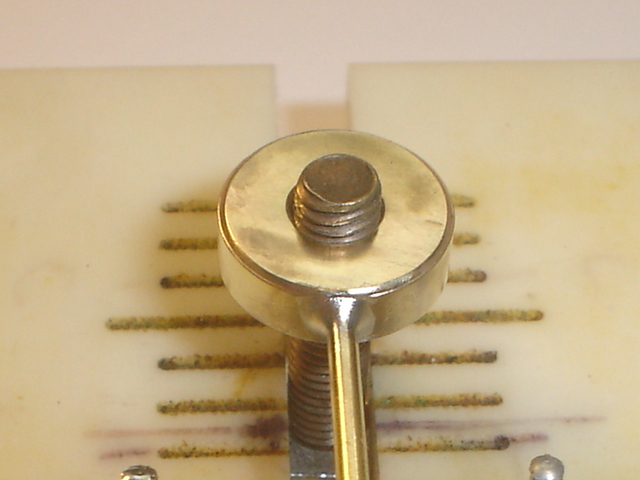
The use of a thin Classic weight for a flag guide was just too tempting, as it provides a nice place for it to rotate, and puts weight right where ya need it. So I'm going to utilize the grub screw hole for one of the drop arm rails. This time since the car is a light thin F1, I don't want big tubes and rods. The 3/32 tube will only be a short piece inside the hole. Then a 1/16 tube will run out of it.
First step was to ensure the 3/32 tube does not foul the flag post hole. A short piece of aluminum tube precludes this.
Paul Wolcott
#145

Posted 07 November 2013 - 04:40 PM
Mmmm... shiny brass goodness! And the silver of the solder REALLY makes for a good contrast!
Remember, two wrongs don't make a right... but three lefts do! Only you're a block over and a block behind.
#149

Posted 08 November 2013 - 08:06 AM
Very nice GP chassis!
#150

Posted 08 November 2013 - 08:34 AM
Pablo,
With a straight drop arm will that give a steep angle to the guide flag when on the track?
Don Weaver
Don Weaver
A slot car racer who never grew up!
The supply of government exceeds demand.
L.H. Lapham
If the brain-eating amoeba invades Washington
it will starve to death...


