Jump to content


Photo

How to build slot car tracks


  • Please log in to reply
405 replies to this topic

#101 Steve Ogilvie

Steve Ogilvie

    Race Leader

  • Subscriber
  • PipPipPipPipPip
  • 630 posts
  • Joined: 17-November 14
  • Gender:Male
  • Location:Kincardine, Ontario, Canada

Posted 10 April 2020 - 12:12 PM

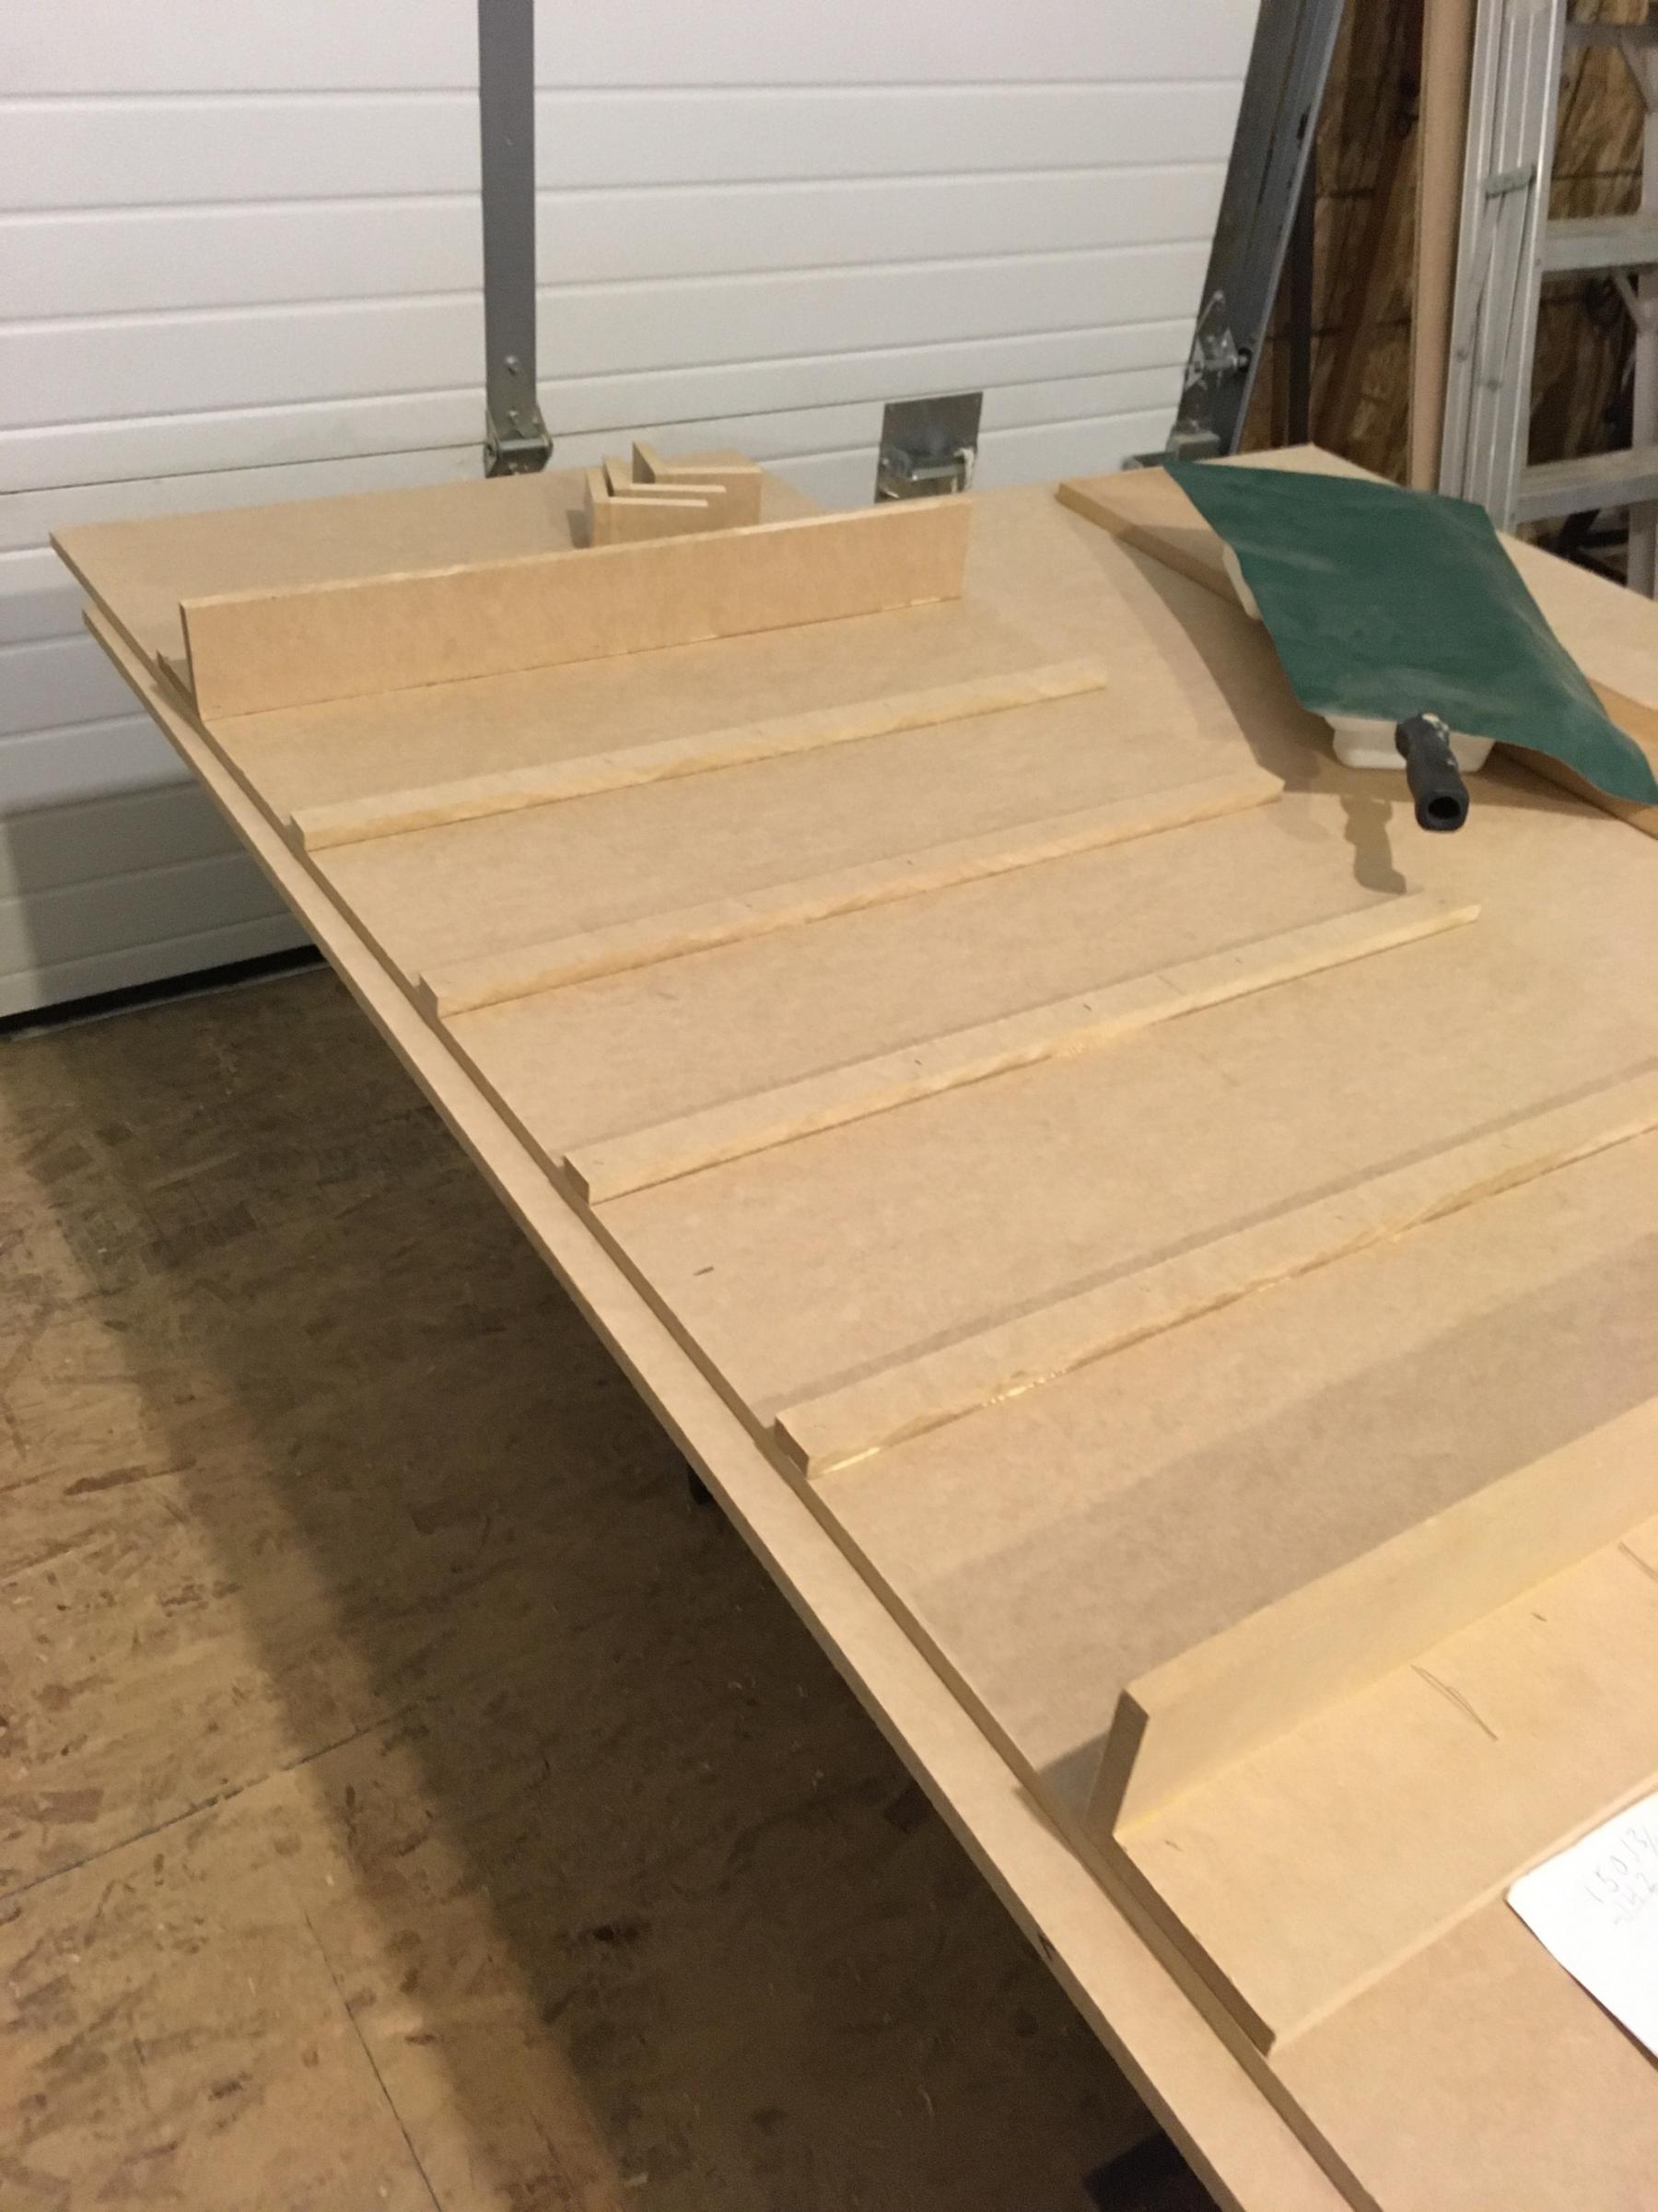
Prepping the floor for cutting                                                                                                                                                                                                                                                    IMG_2749.jpg

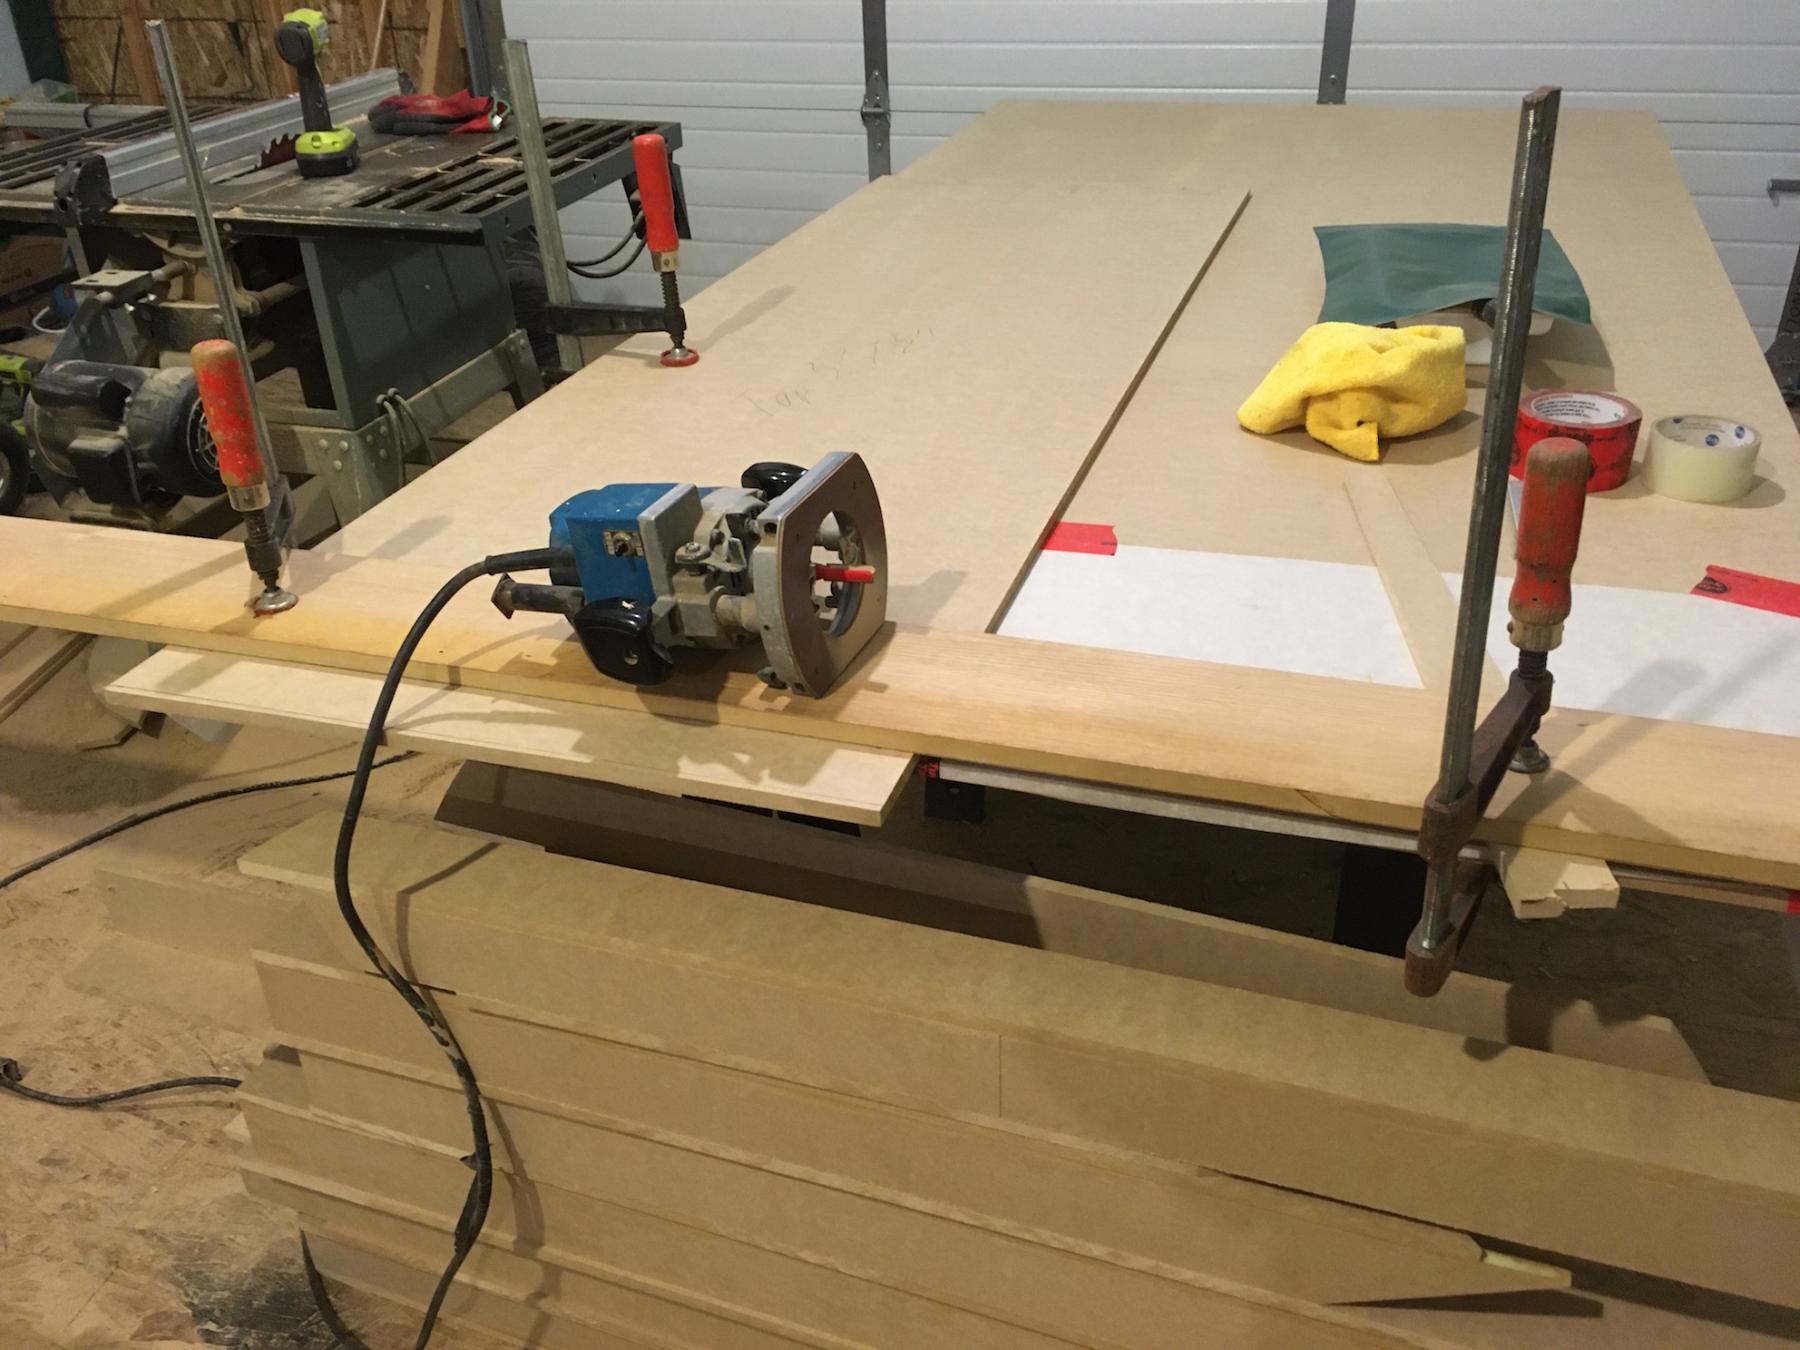
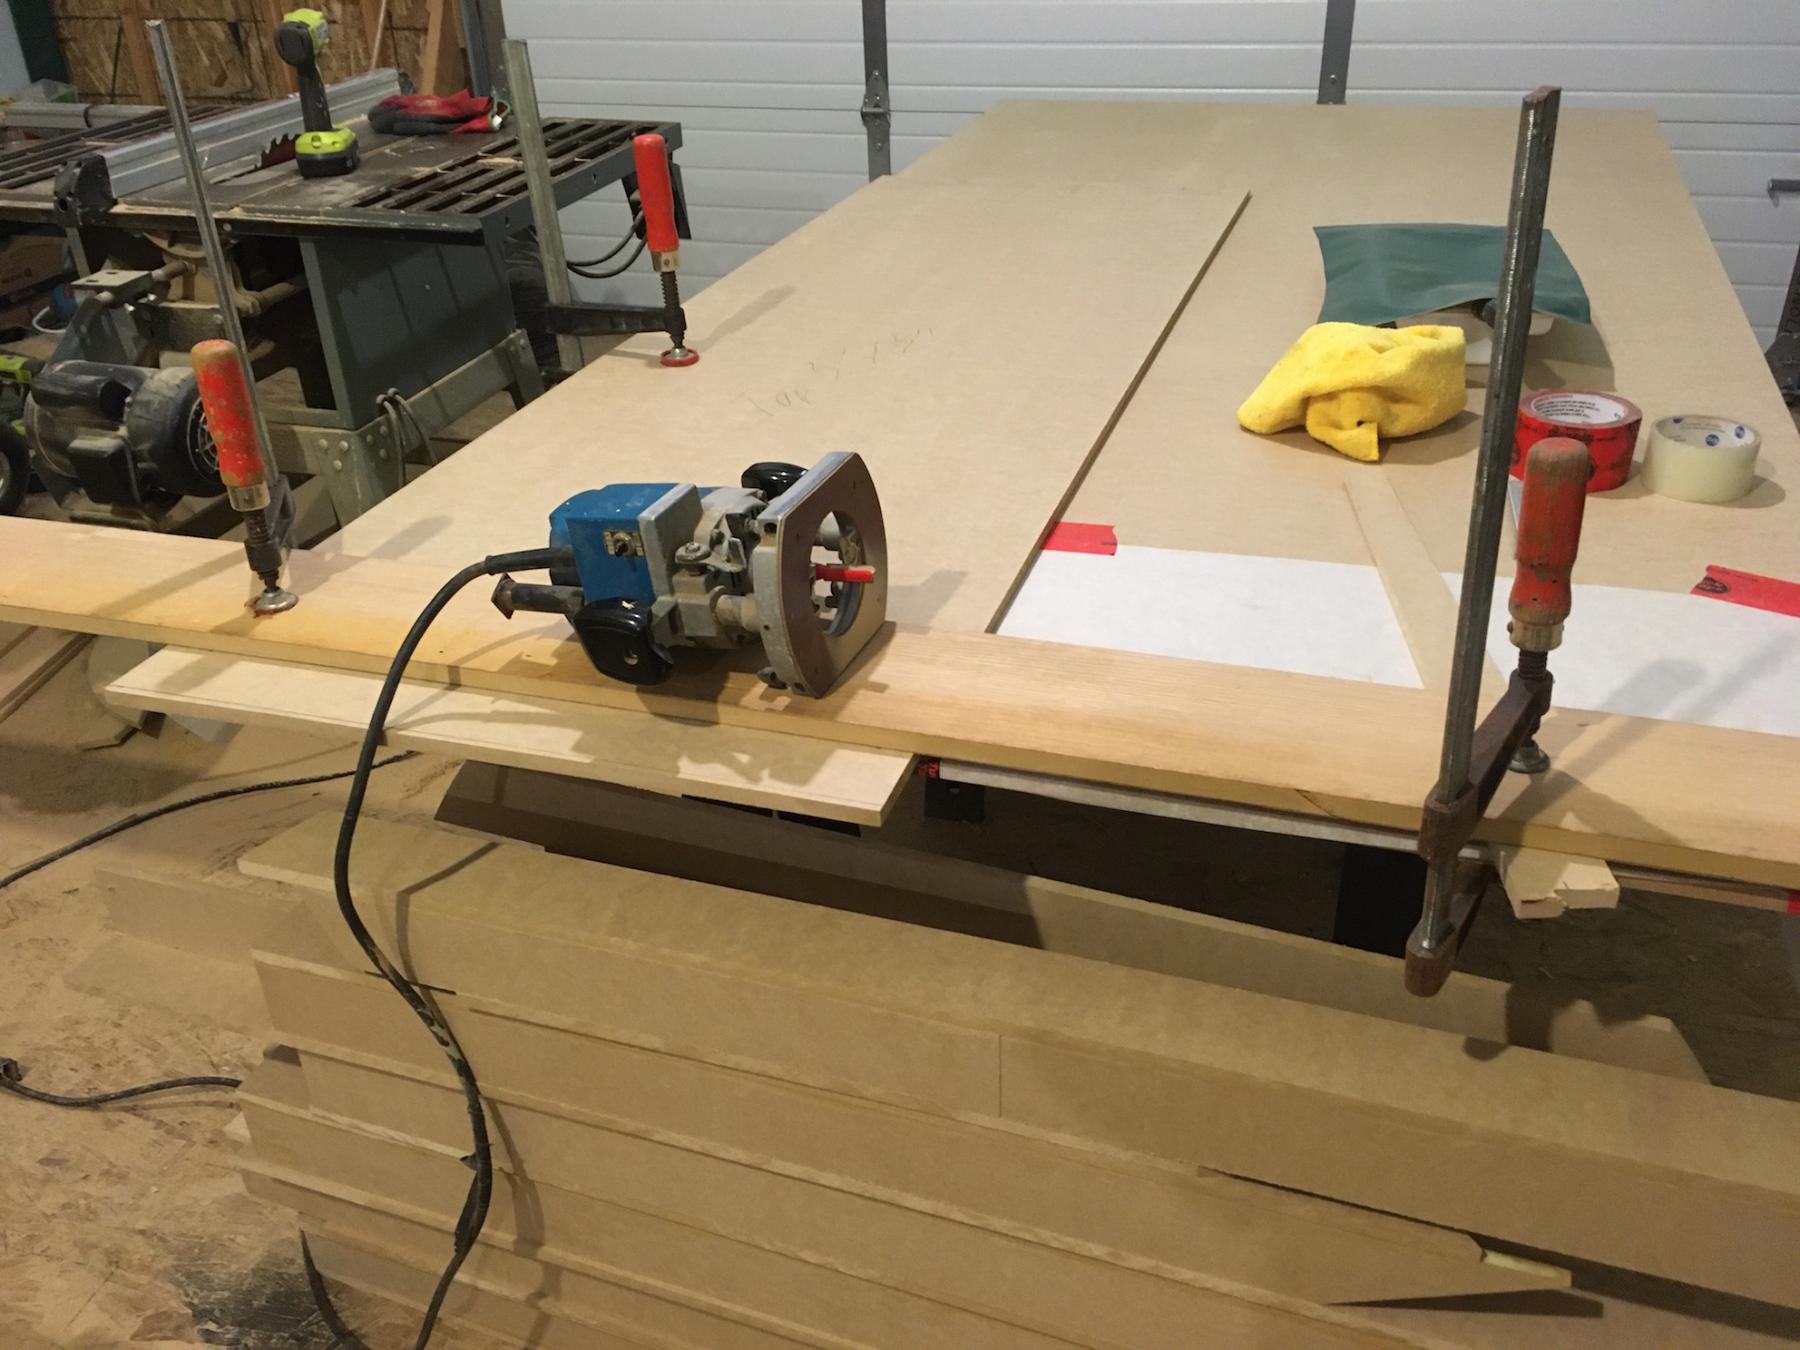
Setting the cutter up. The aluminum rails I am using now are stiffer than the old rails so I use a sliding bar clamp to hold it in position while I drill pilot holes and screw the head in position. This is a really old router and the switch is broken so it turns on as soon as you plug it in. Too cheap to buy a new one.

IMG_2752.jpg


  • William Bowden likes this


#102 Steve Ogilvie

Steve Ogilvie

    Race Leader

  • Subscriber
  • PipPipPipPipPip
  • 630 posts
  • Joined: 17-November 14
  • Gender:Male
  • Location:Kincardine, Ontario, Canada

Posted 10 April 2020 - 12:36 PM

Shape cut inside and outside. This cutter is very accurate. It may look crude but it works and is not hard to make. A easier to make version is one without the embedded steel down the centre, just drill holes in the MDF. But with the metal strip the holes can be threaded for quick changing of the guide pin.

IMG_2756.jpg

With the shape up on saw horses, you can see that the sheet of mdf is still intact. This allows for accurate marking of the corner edges and easy marking of where the leg supports will go, because your radius hole is still in place. Corner is measured by taping a narrow tape measure to the outside of the piece and running it around the corner to the circumferance according to the plan. Or in this case to get an accurate measurement of the piece I just cut because I know a portion of this corner is going to have be added to the straights it will connect too.


  • Lou E, MattD and William Bowden like this

#103 Marcus P1 Raceway

Marcus P1 Raceway

    On The Lead Lap

  • Full Member
  • PipPipPipPip
  • 334 posts
  • Joined: 24-June 15
  • Gender:Male
  • Location:Winter Garden, FL

Posted 10 April 2020 - 10:09 PM

I'm looking for someone to replace the braids on my track.
I am located in Winter Garden- FL.
Any recommendations? Thanks Marcus
  • tonyp likes this
Marcus Ramos
 
P1 Slot Car Raceway
120 West Crown Pointe Rd, Suite 114
Winter Garden, FL 34787

#104 Steve Ogilvie

Steve Ogilvie

    Race Leader

  • Subscriber
  • PipPipPipPipPip
  • 630 posts
  • Joined: 17-November 14
  • Gender:Male
  • Location:Kincardine, Ontario, Canada

Posted 11 April 2020 - 08:45 AM

Donn Bryans 386 756 6564. We worked with Donn for a long time, his shop is near Daytona.


#105 Steve Ogilvie

Steve Ogilvie

    Race Leader

  • Subscriber
  • PipPipPipPipPip
  • 630 posts
  • Joined: 17-November 14
  • Gender:Male
  • Location:Kincardine, Ontario, Canada

Posted 11 April 2020 - 09:17 AM

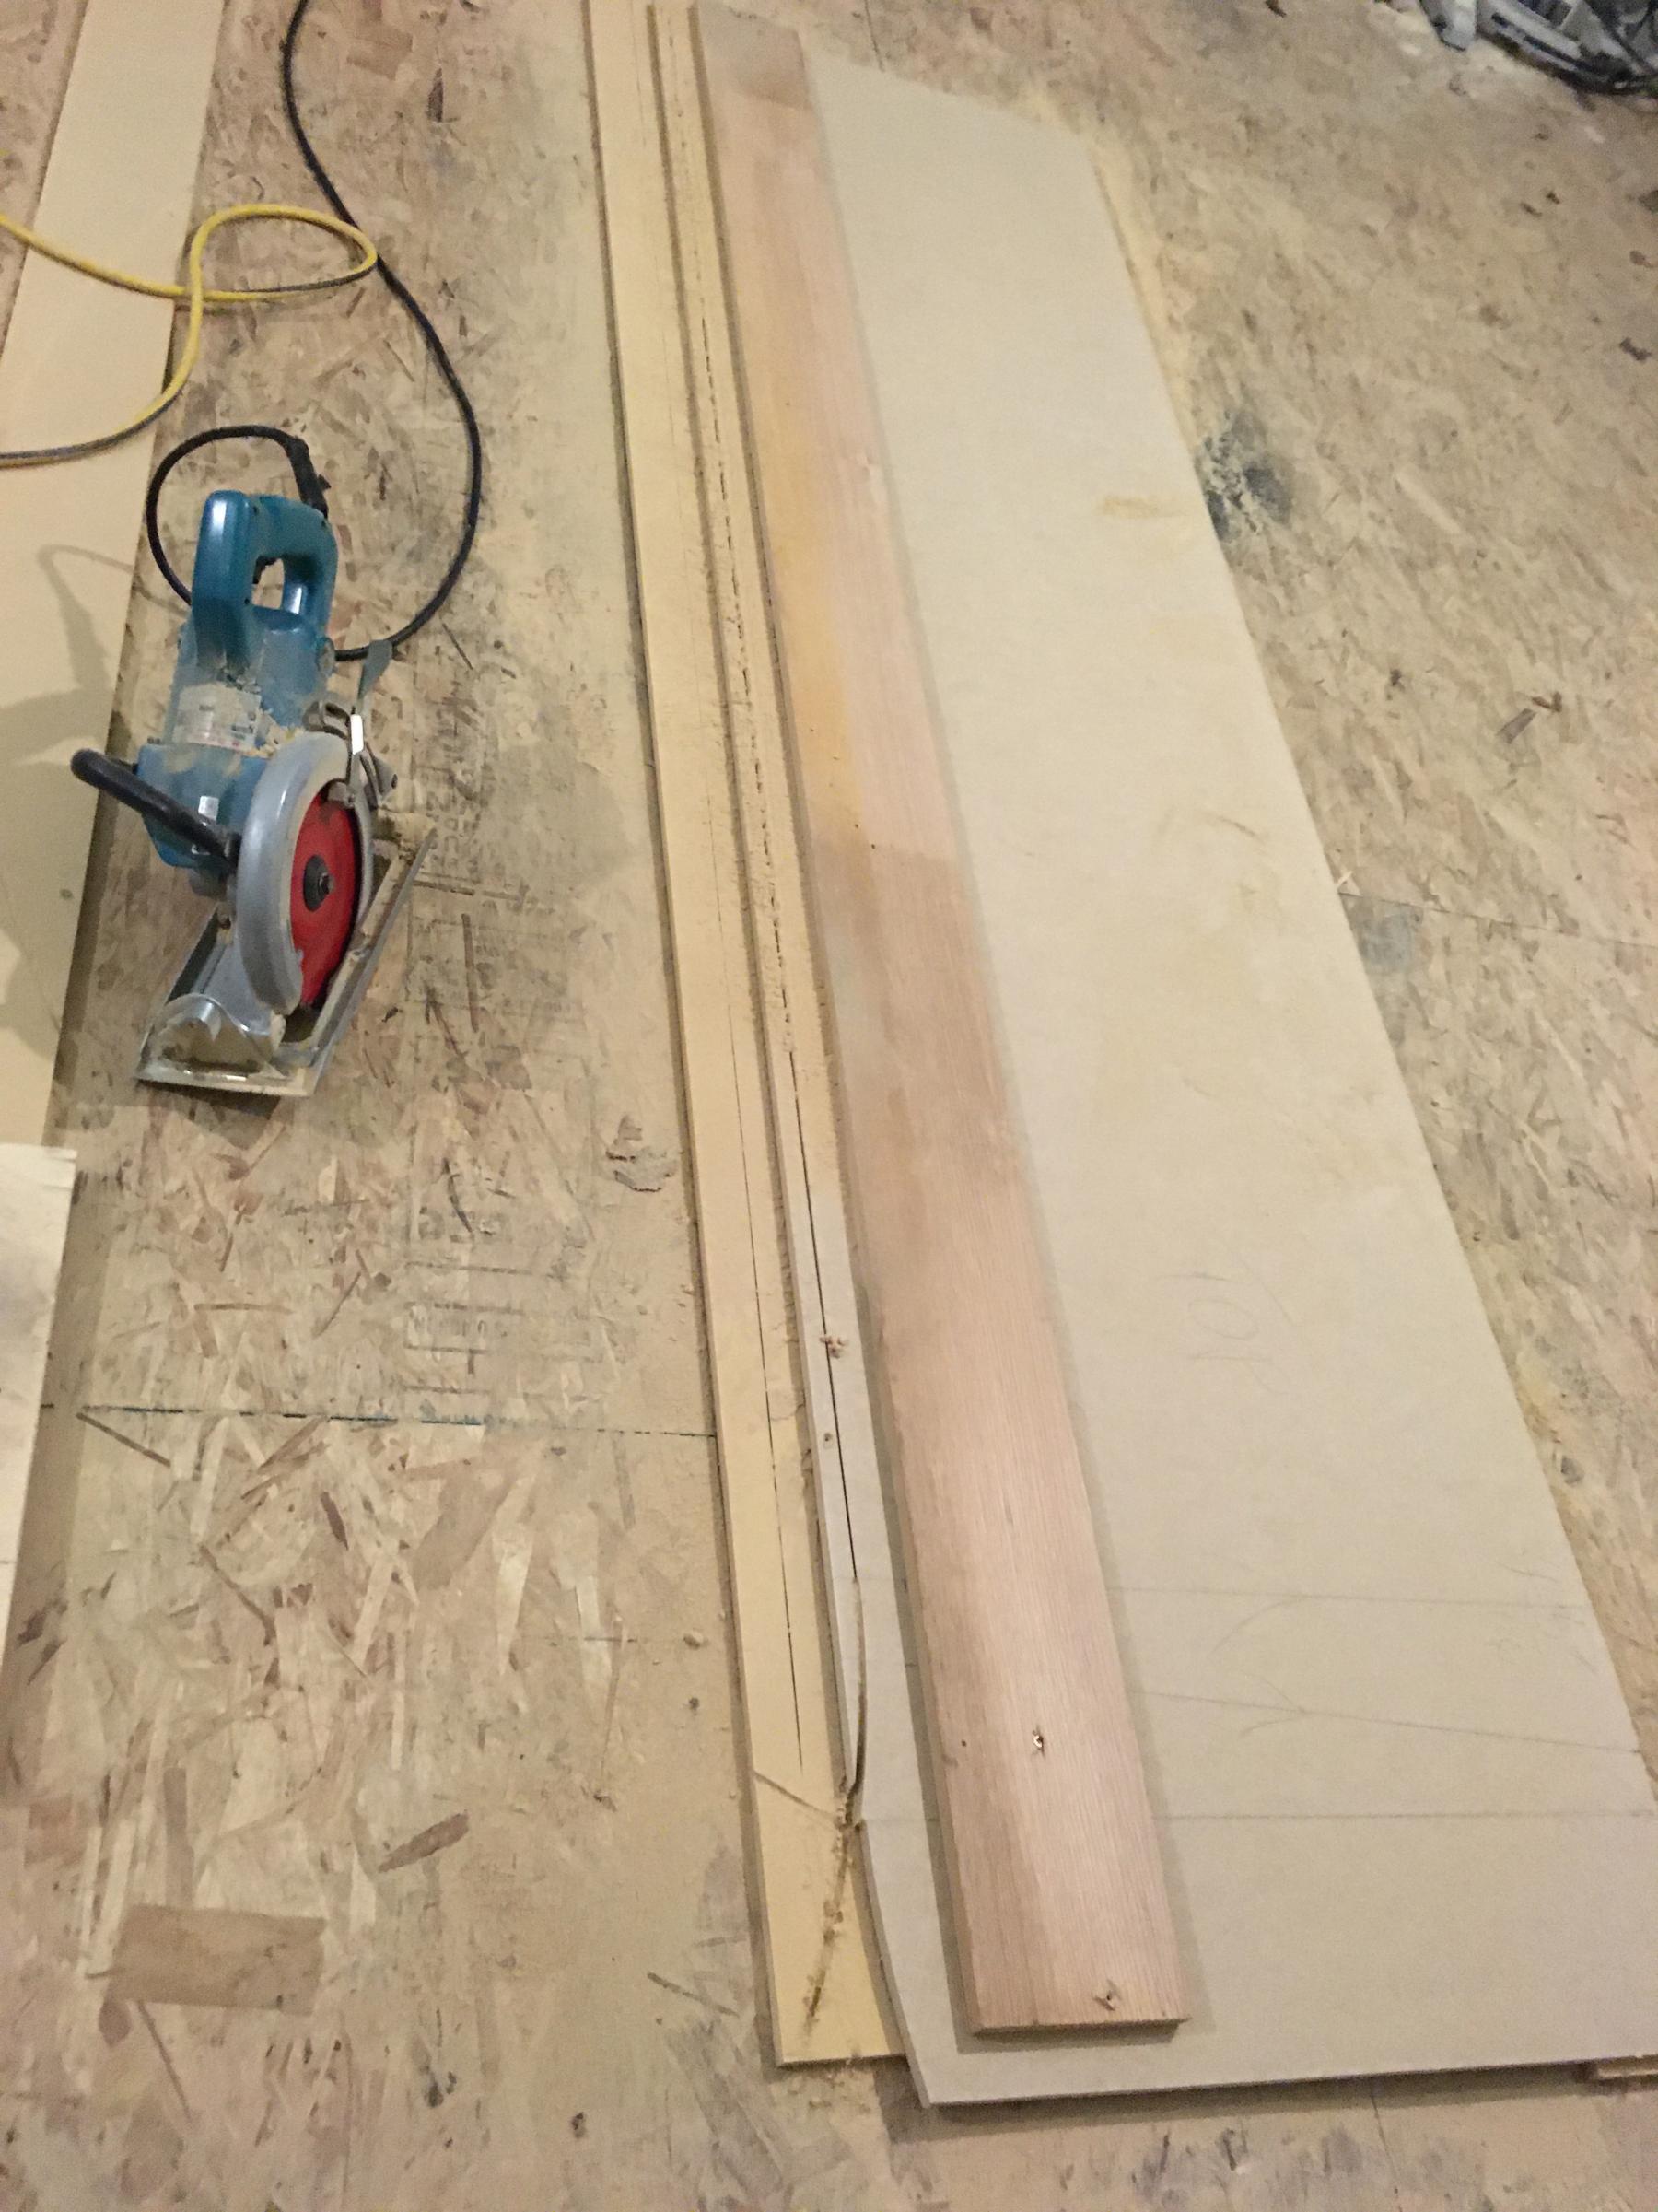
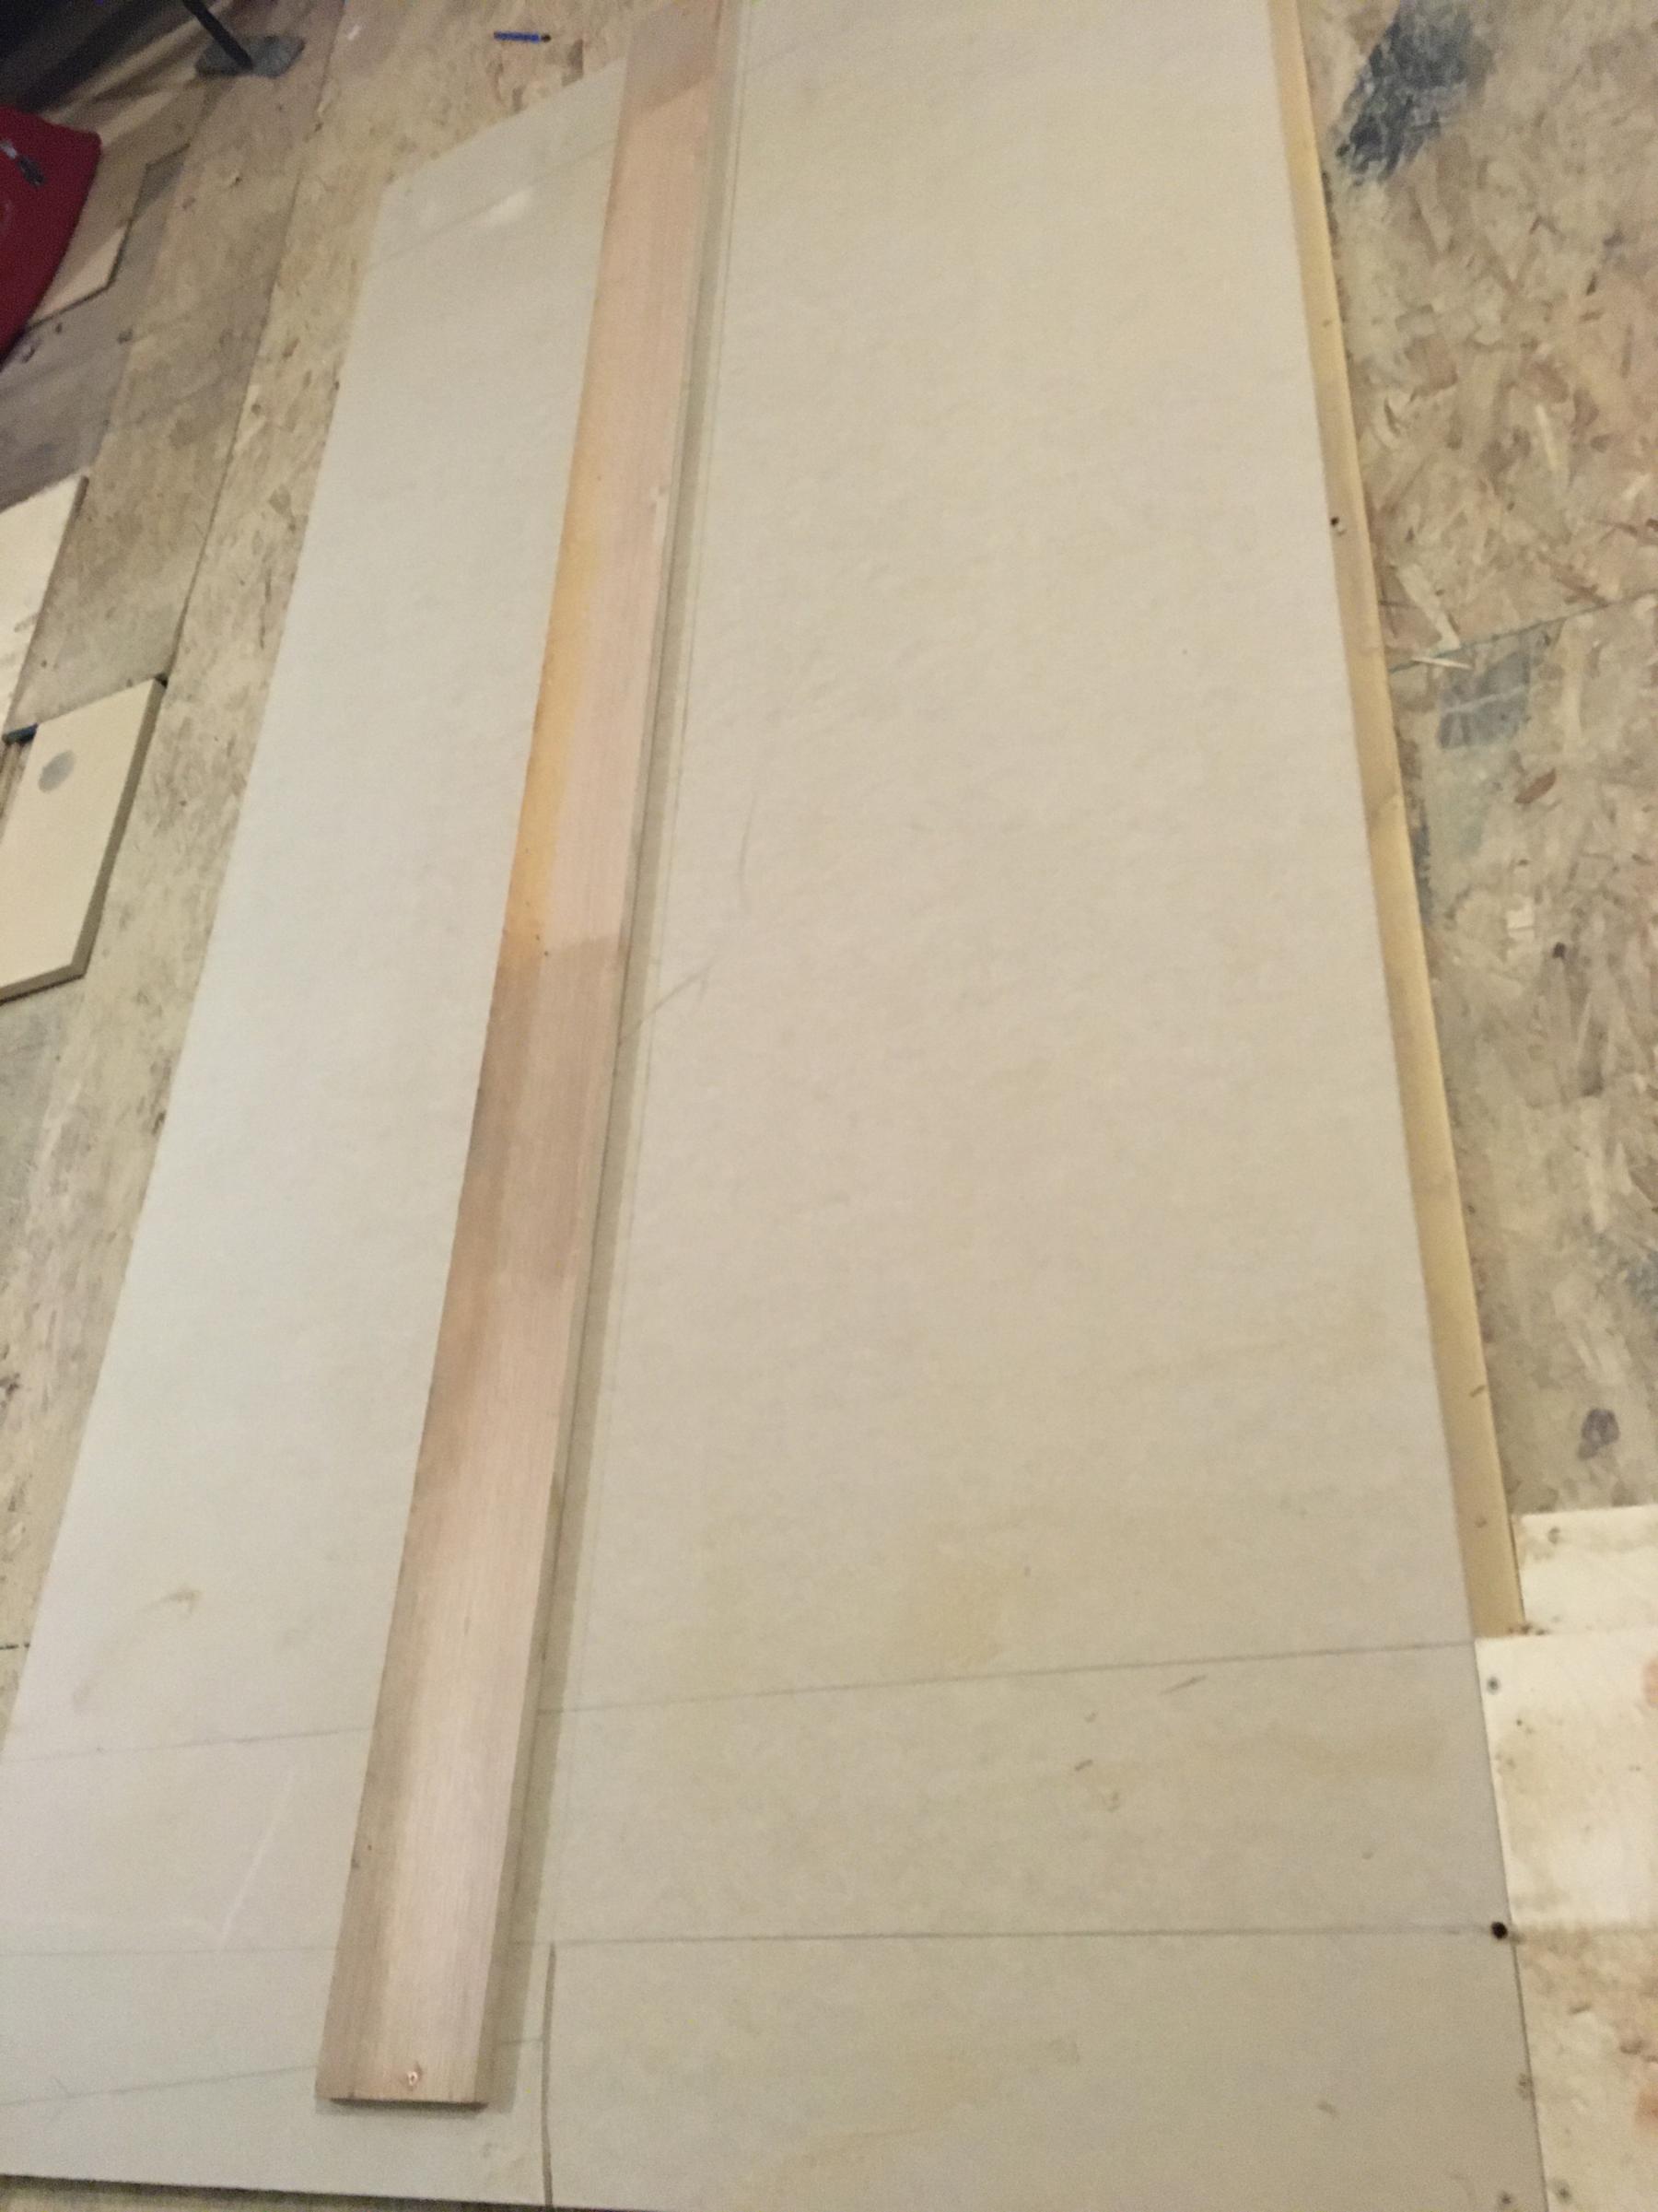
Getting a couple of hours a day in cutting the track sections. Yesterday I cut the 2 straights that lead in and out of the 8' bank turn. Took longer than normal because I decided to make both pieces out of 1 sheet of mdf. So quite a bit of time spent laying it all out. Each straight has a small curve at one end to complete the 8' bank turn.

IMG_2774.jpg

 The 8' turn ready for assembly:

IMG_2763.jpg  

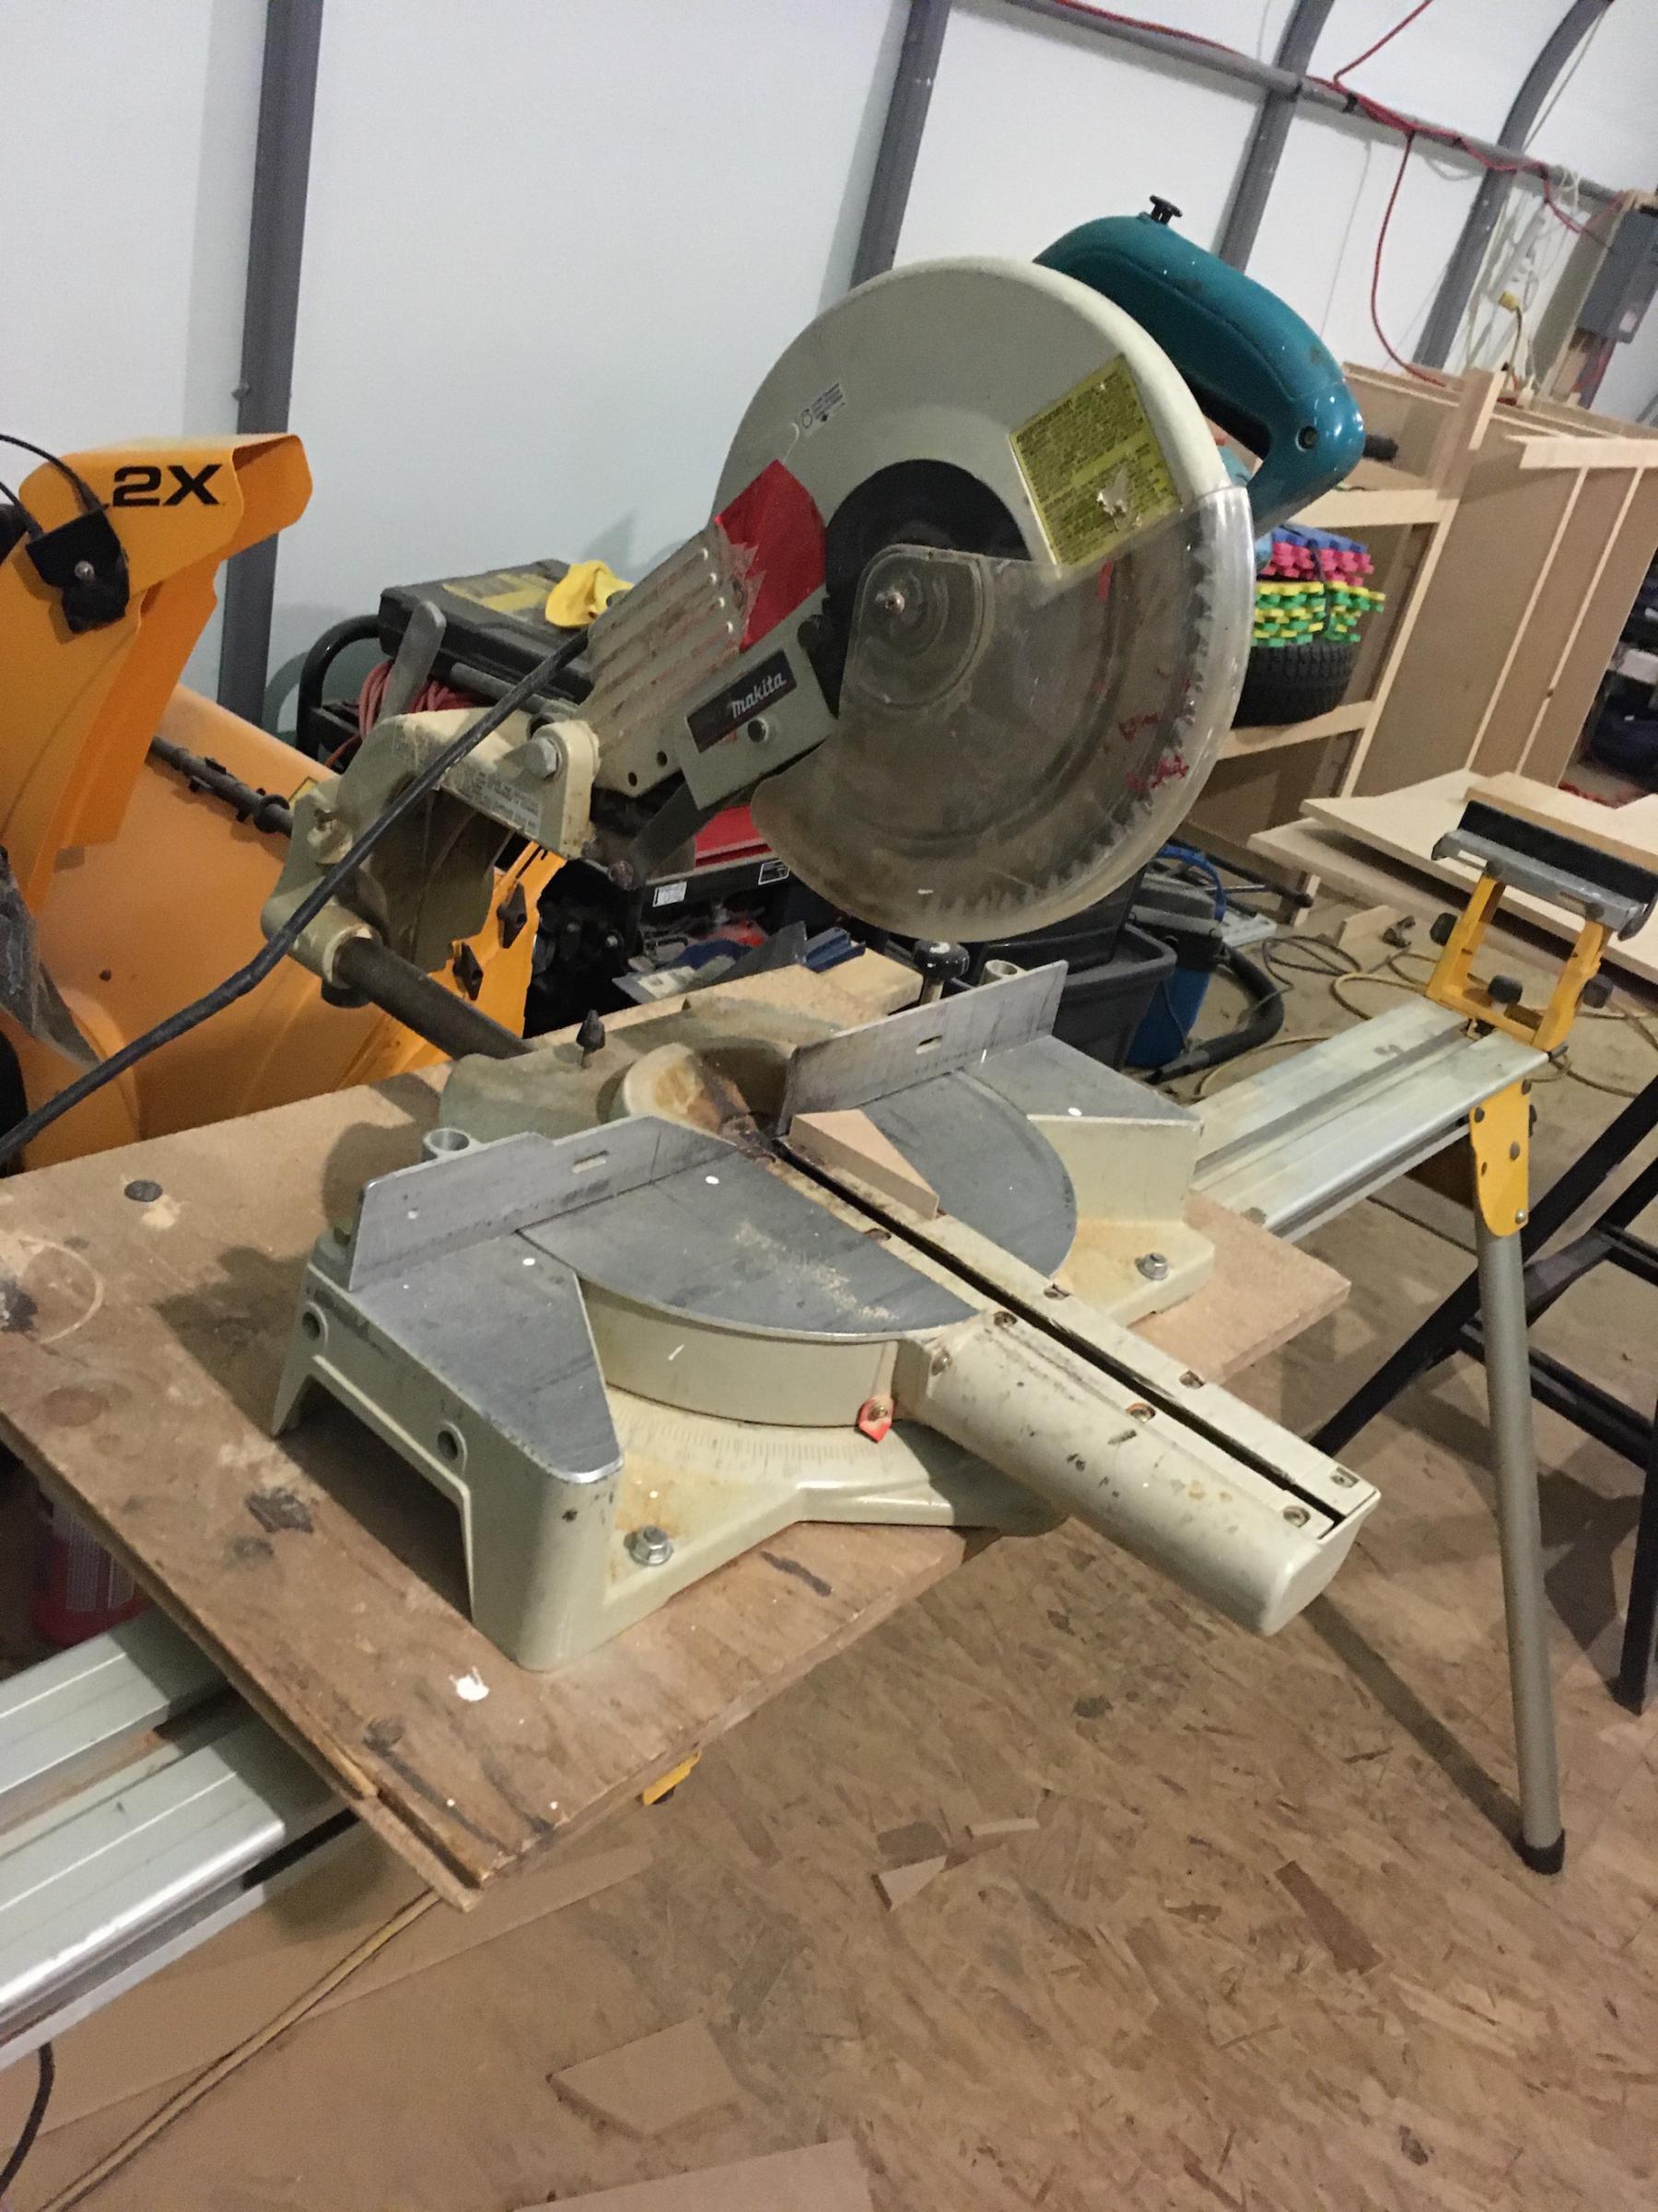
 Whenever I cut straights, I use a circular saw wth a long straight edge clamped or screwed to the work. Saw is a worm gear drive Makita, I can stack 4 sheets of mdf together and clamp a straight edge on and cut 4 pieces at once with it. As long as the blade is nice and sharp.

IMG_2768.jpg

I should have all the pieces cut out today. Then I can use the off cuts to make L brackets for supporting the legs and sidewalls.


  • Lou E, Rob Voska, Eddie Fleming and 2 others like this

#106 Revtor

Revtor

    Mid-Pack Racer

  • Full Member
  • PipPipPip
  • 191 posts
  • Joined: 09-August 19
  • Gender:Male
  • Location:Northern NJ

Posted 11 April 2020 - 10:35 AM

Thanks for the walk through,Steve! Keep it coming!
  • Rob Voska and William Bowden like this
~ Steve Maietta

#107 Steve Ogilvie

Steve Ogilvie

    Race Leader

  • Subscriber
  • PipPipPipPipPip
  • 630 posts
  • Joined: 17-November 14
  • Gender:Male
  • Location:Kincardine, Ontario, Canada

Posted 12 April 2020 - 12:18 PM

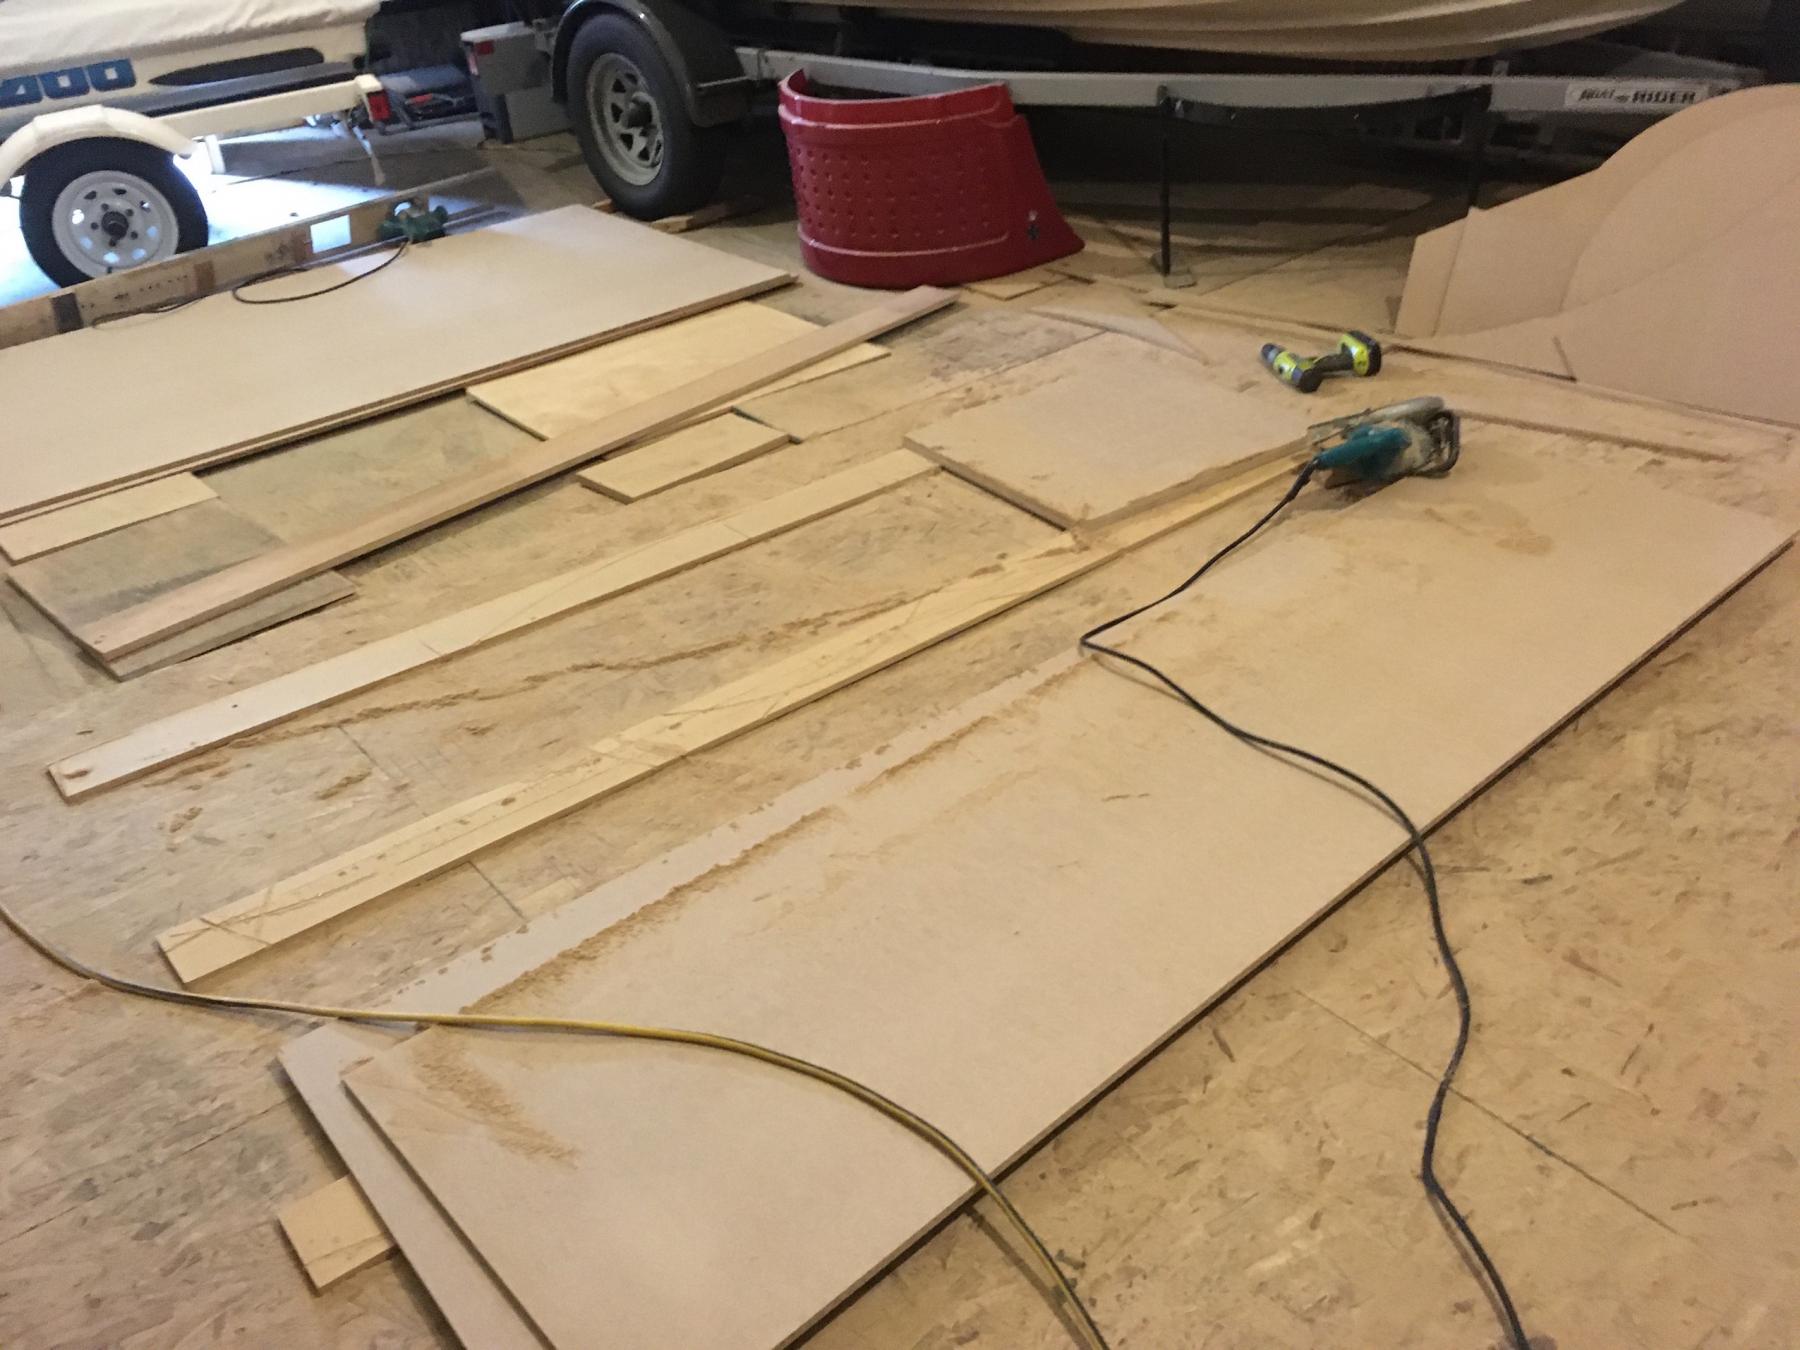
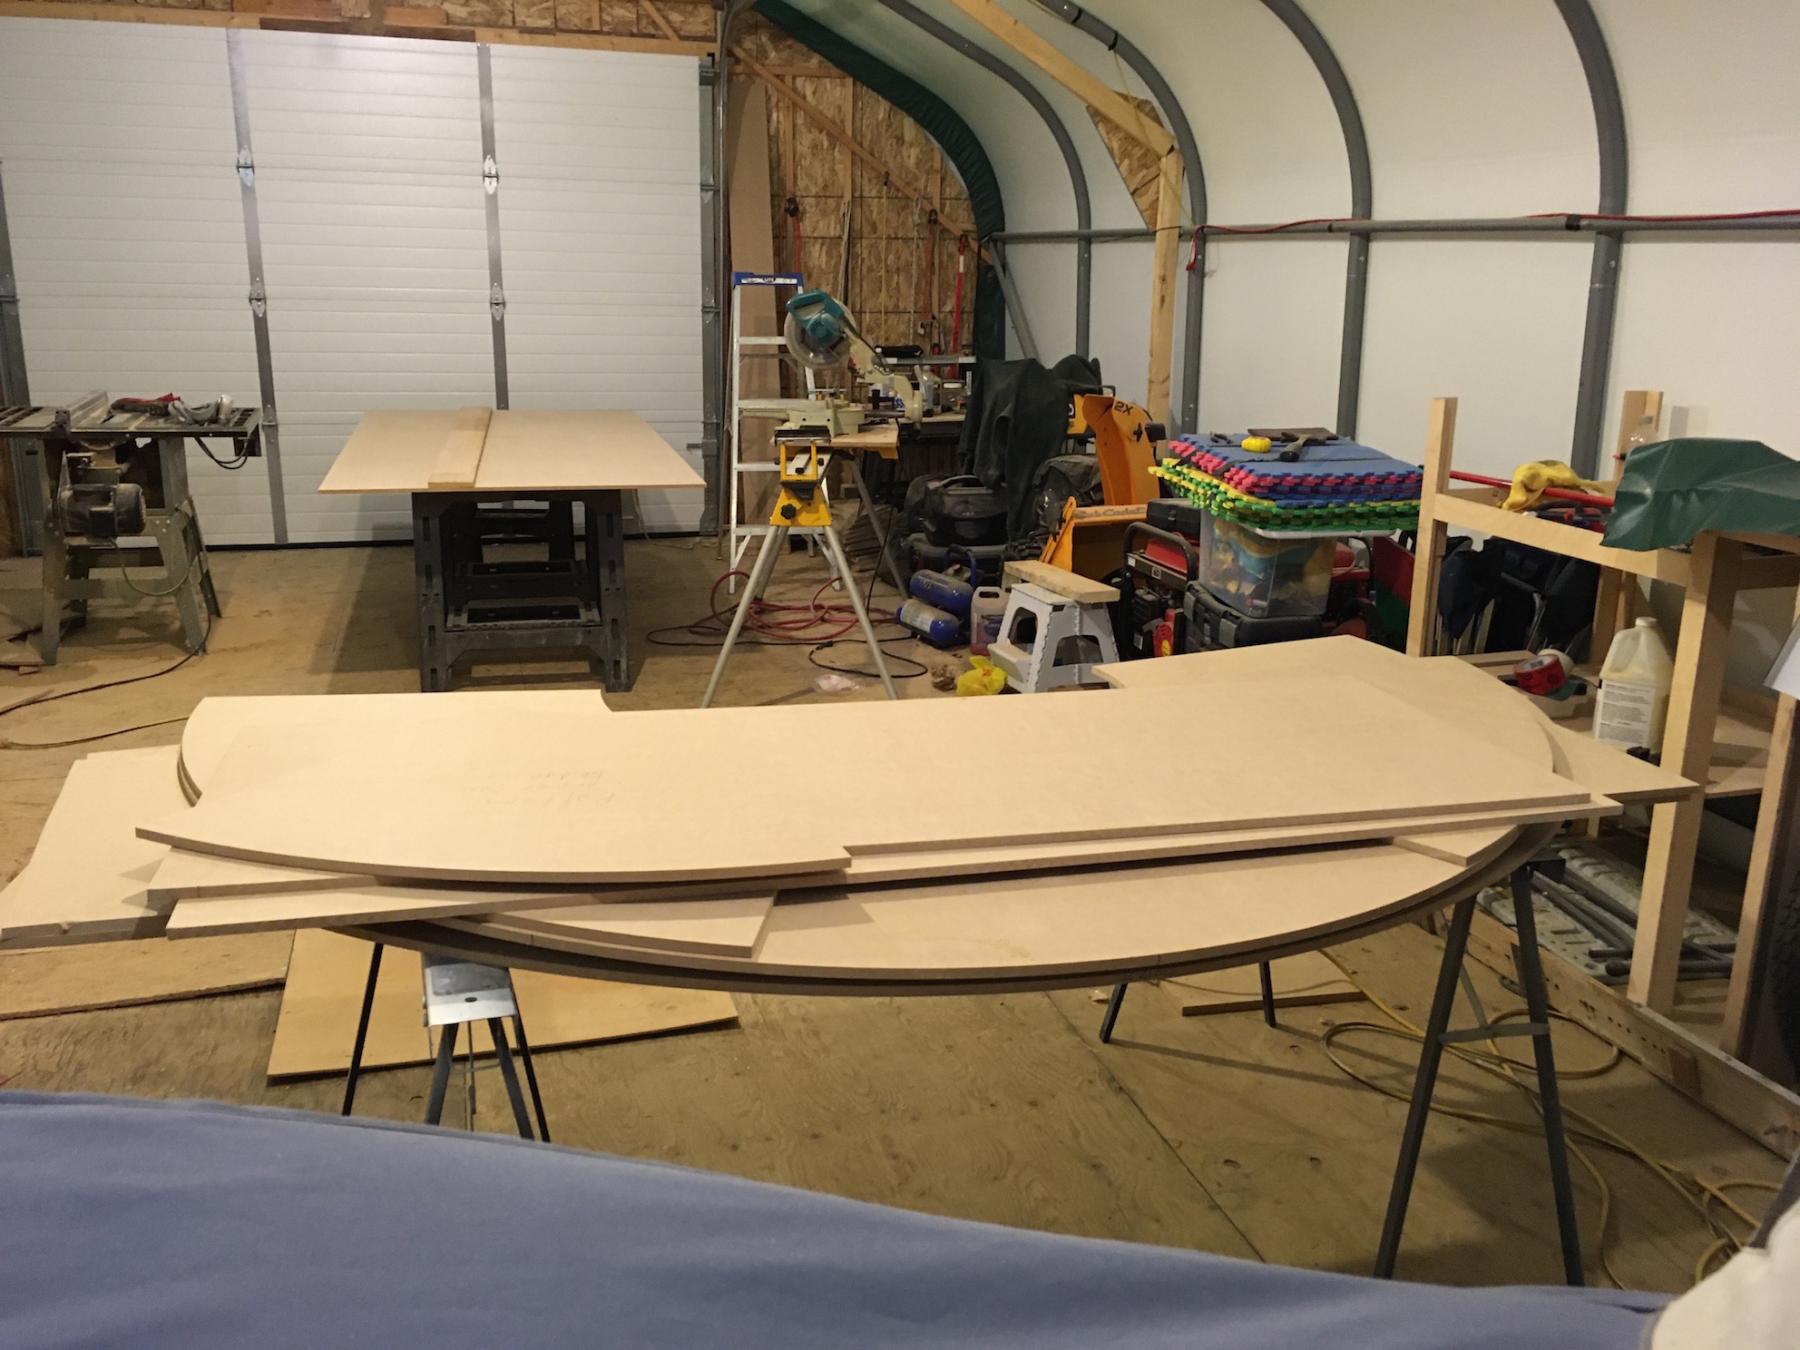
So I now have the whole track cut out.


IMG_2796.jpg


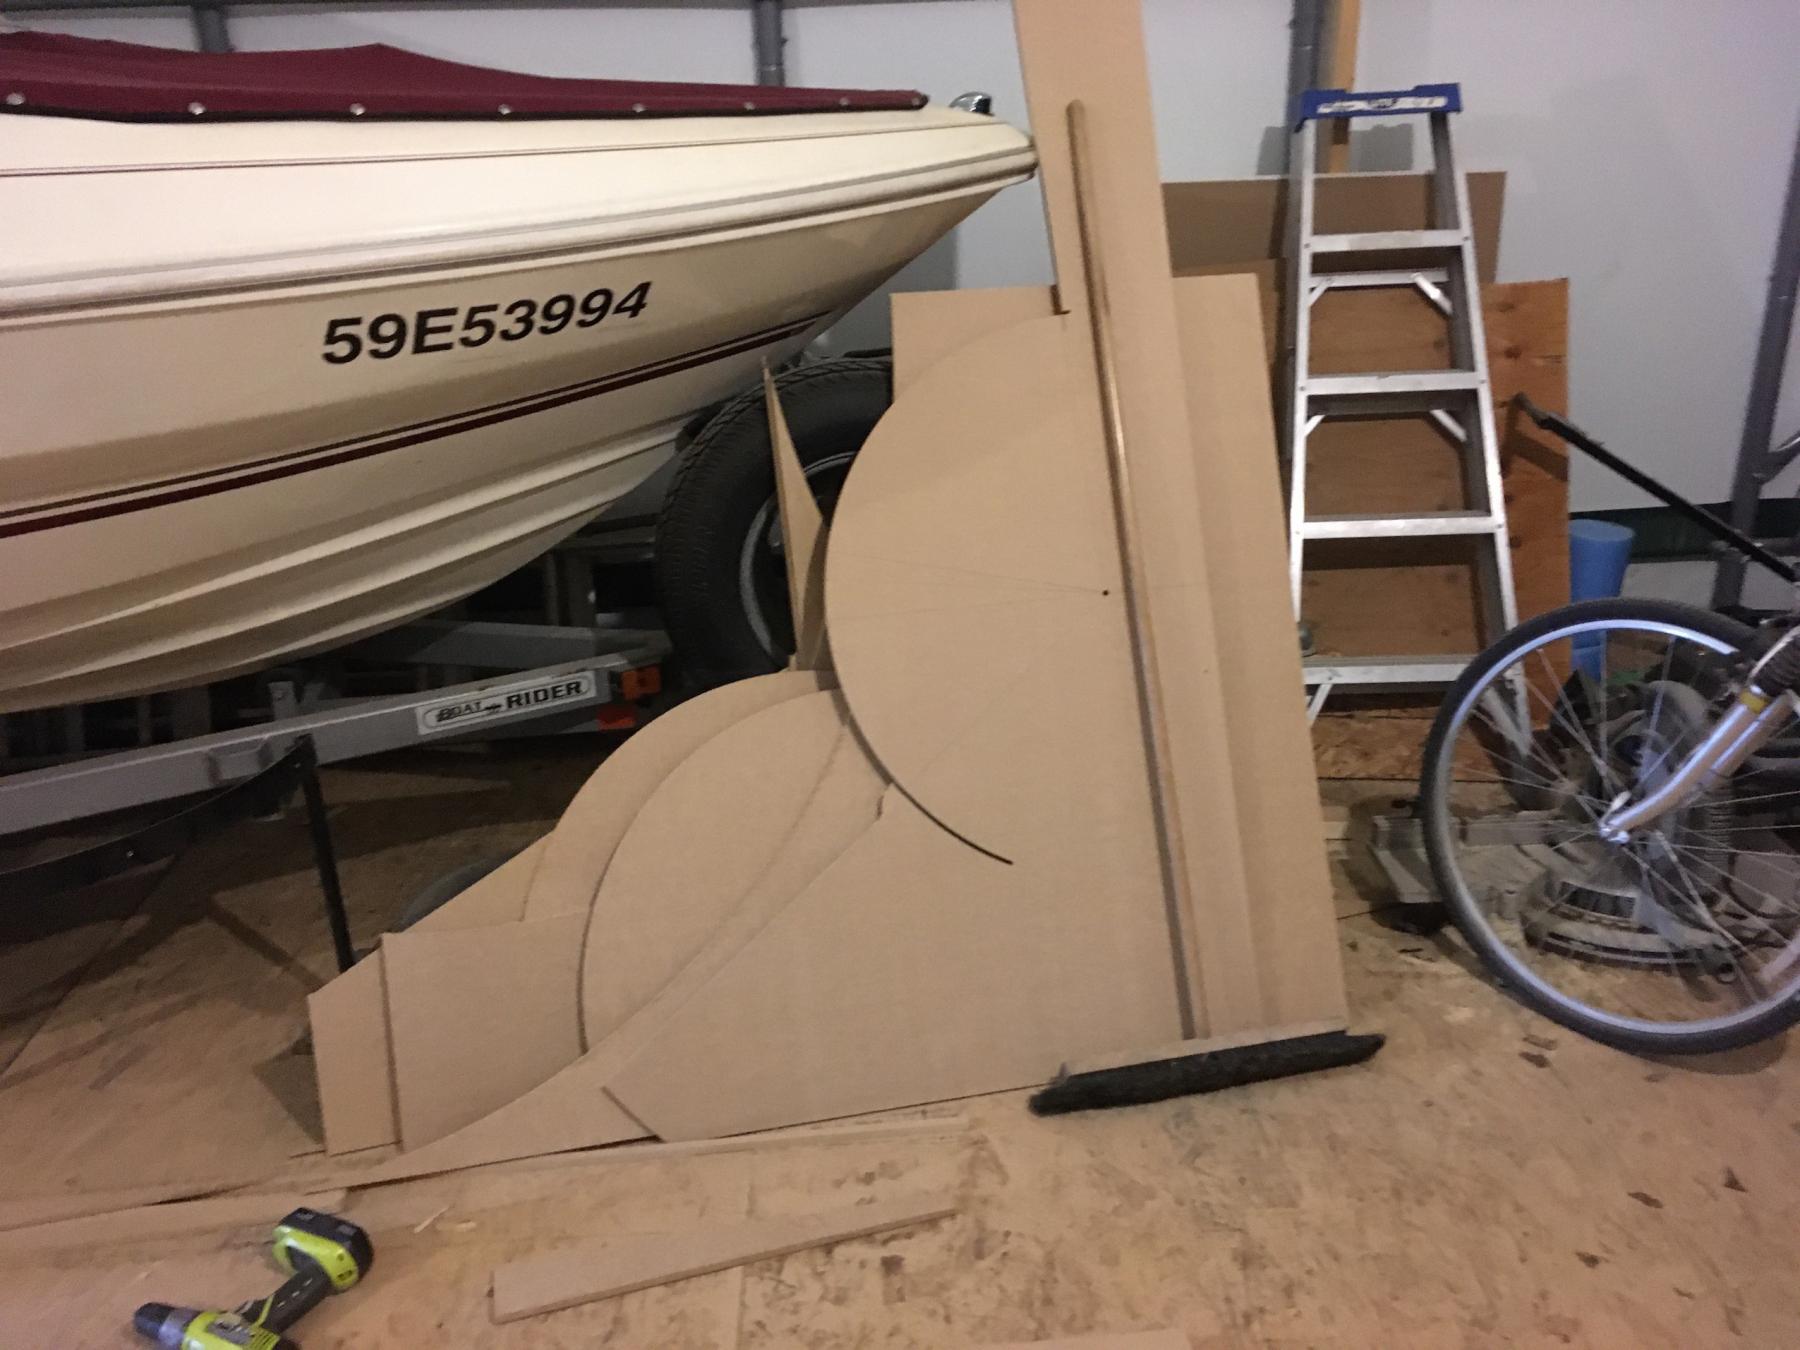
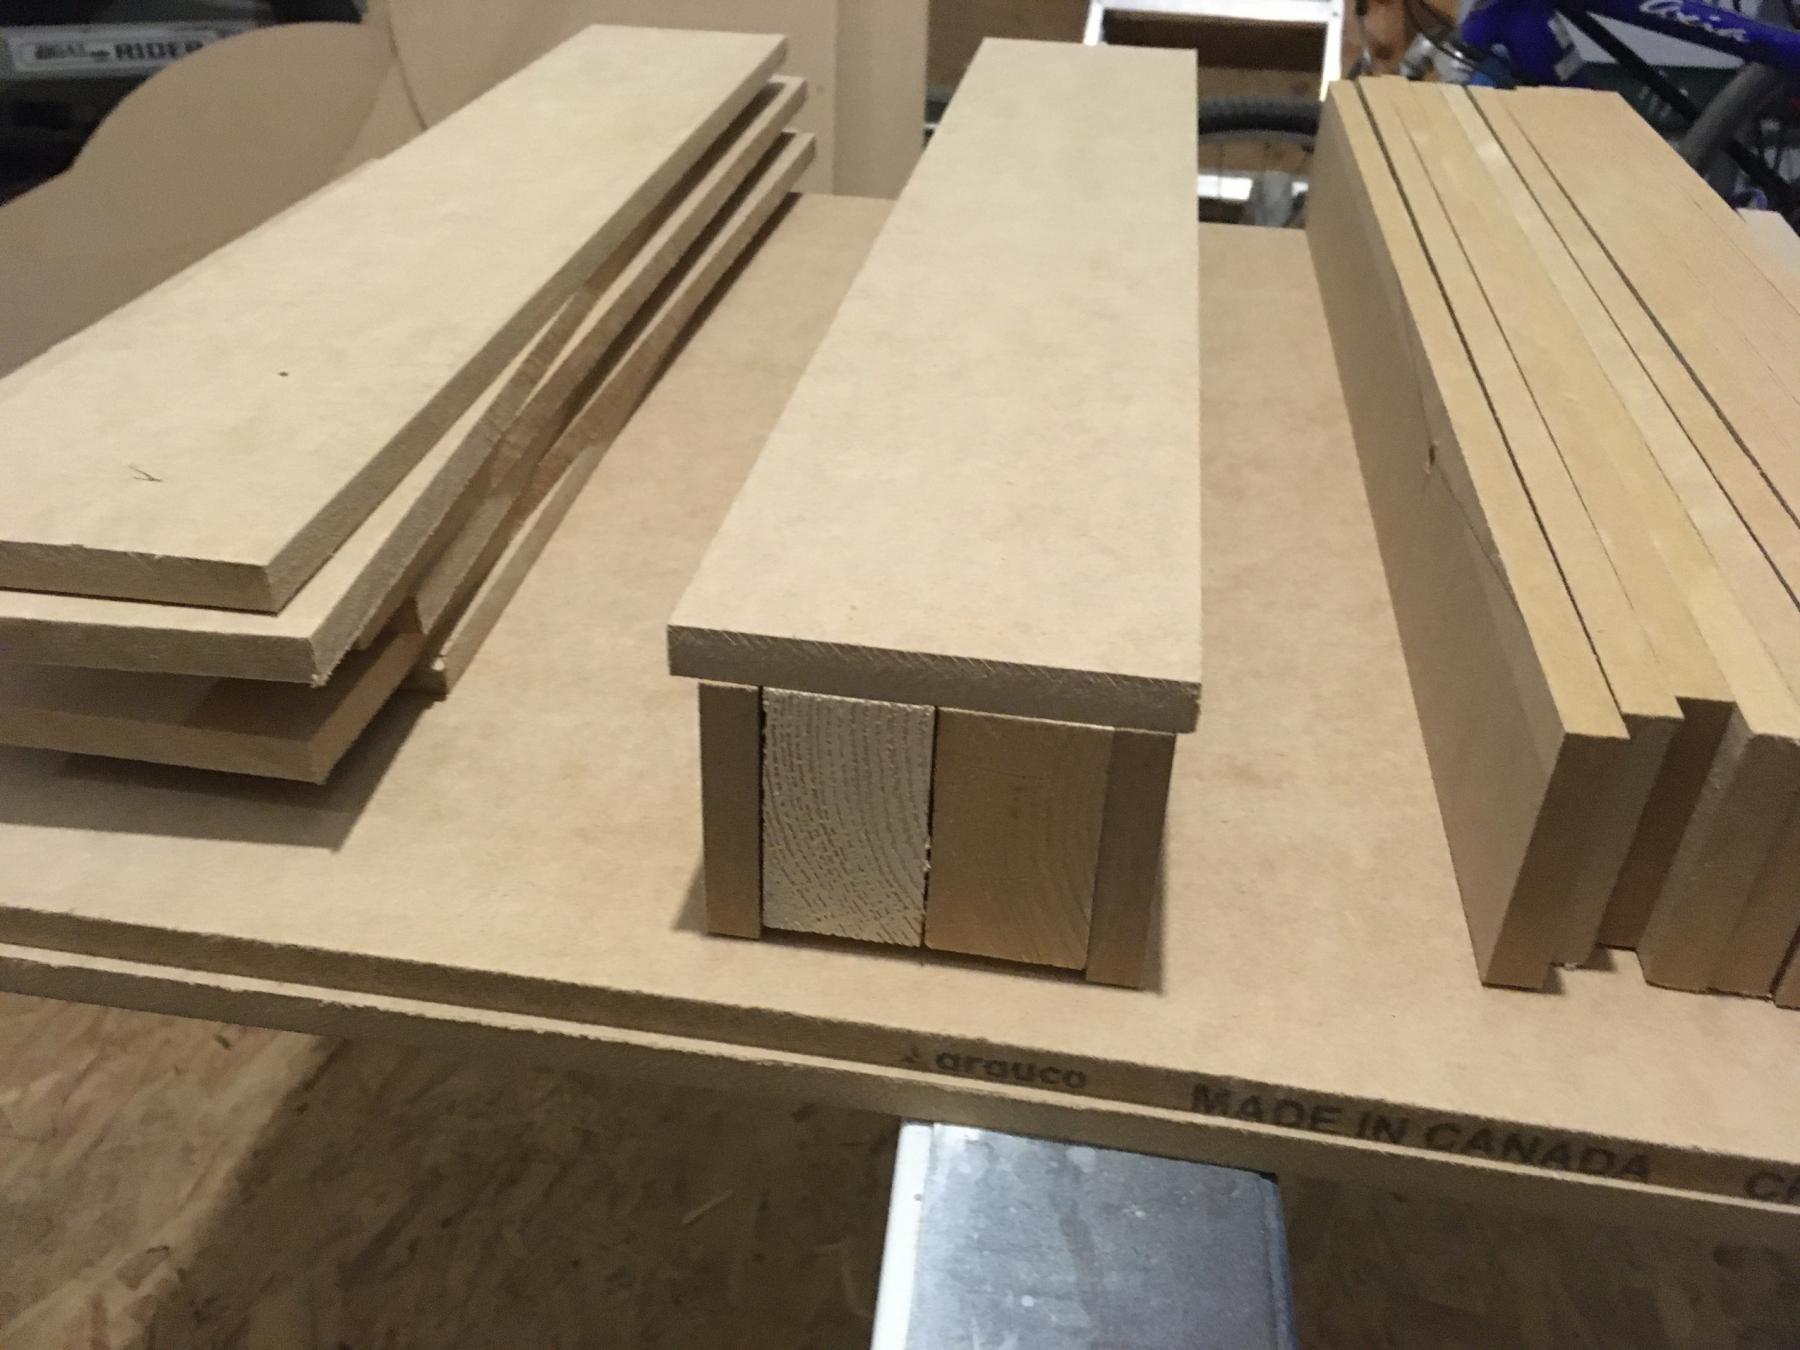
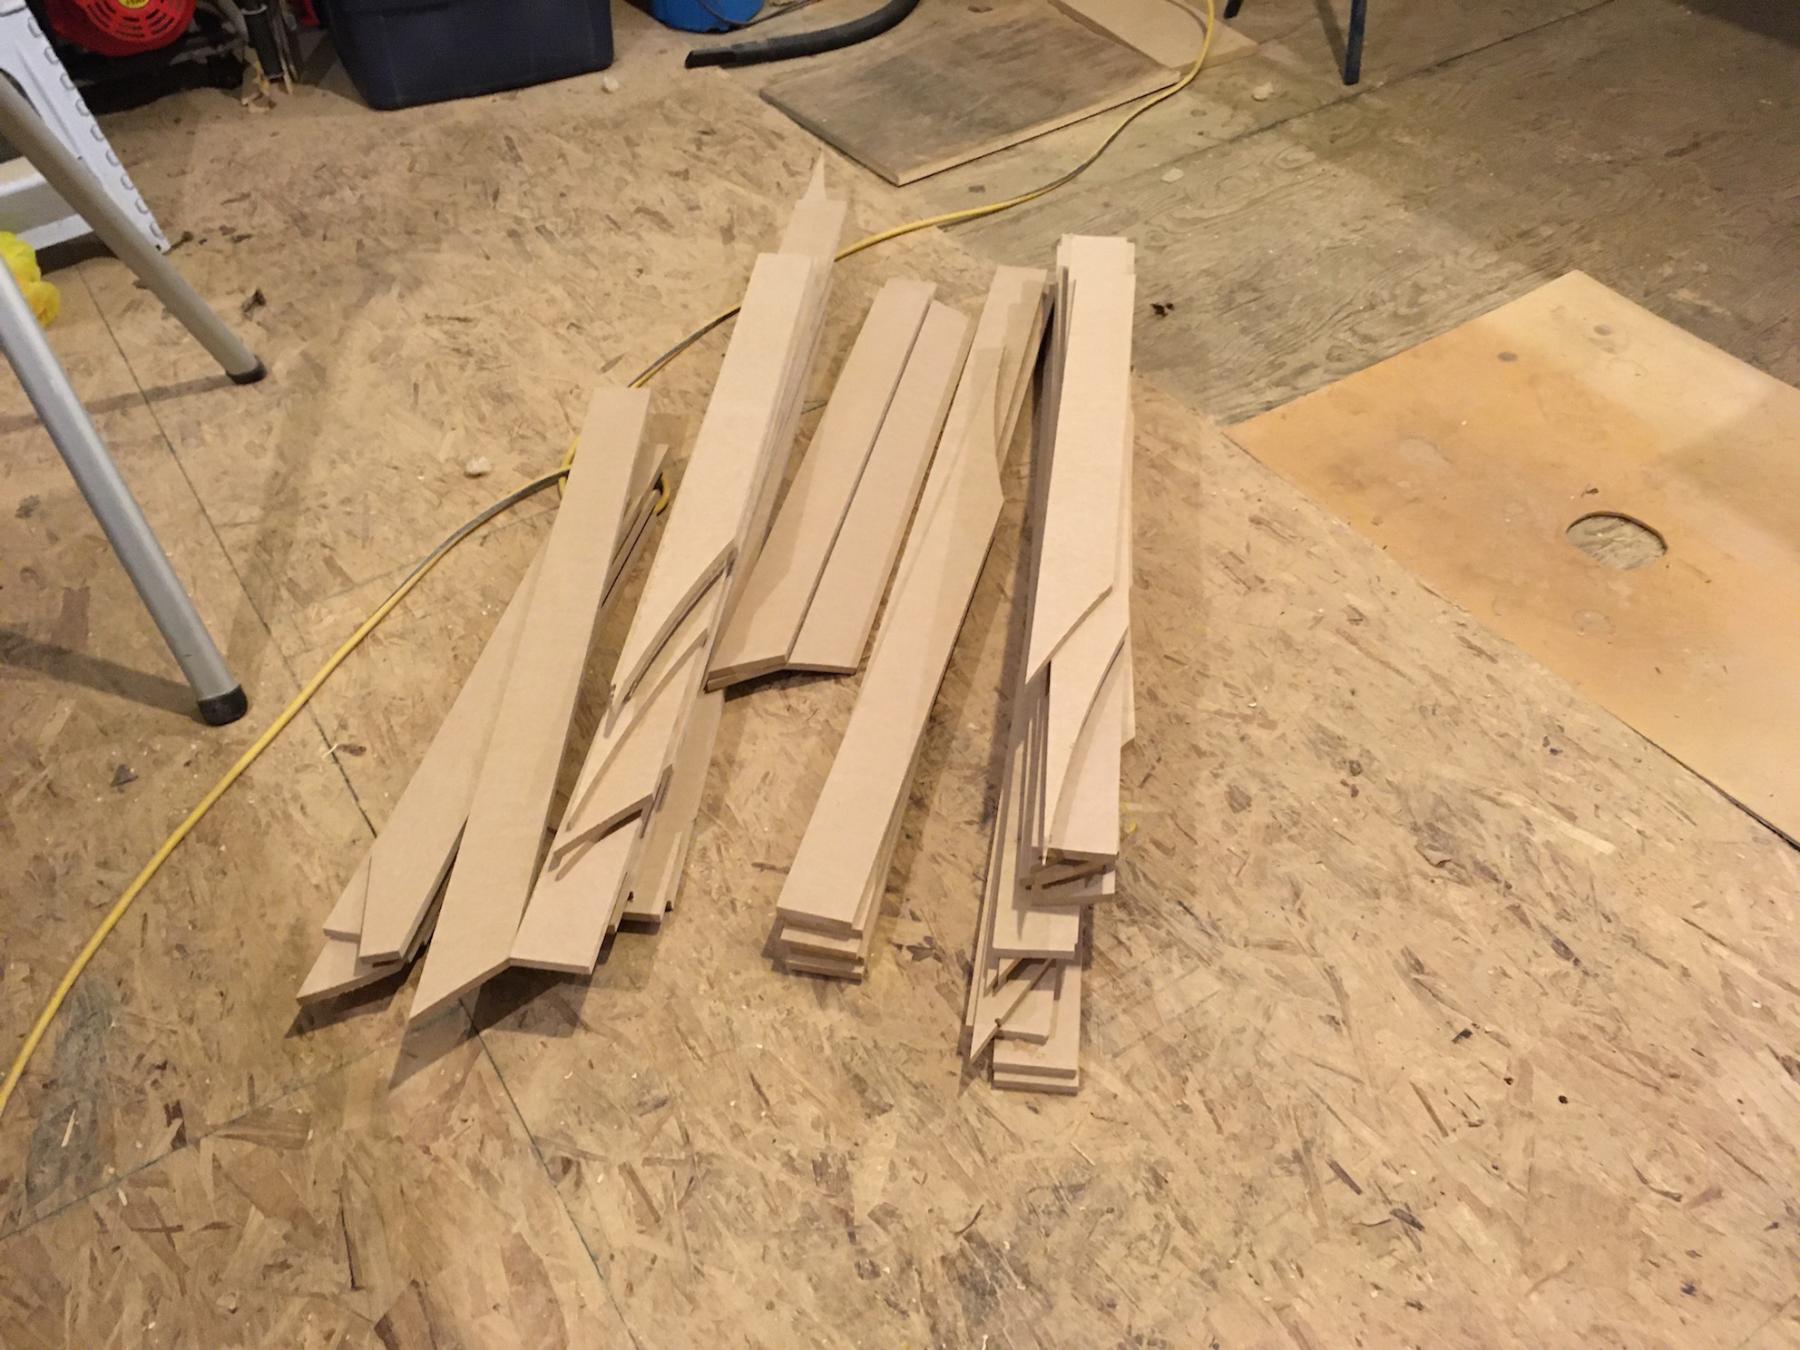
Out of the 10 sheets of mdf, I have 3 full sheets  left, one sheet cut roughly in half and a lot of off cuts. Hoping it will be enough to make all the legs and all the L brackets and some of the sidewalls.


IMG_2794.jpg                                                                                                                                                                                   IMG_2795.jpg


Next step is to clean up and organize the shop to make all the support pieces.


  • Lou E, Rob Voska, Chris Dadds and 2 others like this

#108 Steve Ogilvie

Steve Ogilvie

    Race Leader

  • Subscriber
  • PipPipPipPipPip
  • 630 posts
  • Joined: 17-November 14
  • Gender:Male
  • Location:Kincardine, Ontario, Canada

Posted 13 April 2020 - 07:53 AM

Because a lot of the tech details are buried in this rather lengthy thread, I thought I would put the math used to calculate corner circumference and radius here.


First thing is you need to make an accurate scale drawing of your track. Mark all the corner diameters and the degree of the corner on the drawing.


Figure out your circumference by multiplying pi times the diameter of curve in inches. This gives the circumference of a full 360 degree circle in inches. Divide the full circle in inches by 360=length of 1 degree in inches. Multiply that by the amount of degrees of the corner and that gives you the corner circumference. So pi times D is divided by 360 and then multiplied by corner degrees=corner circumference.


The cut circumference of a corner is the SAME whether the corner is flat or banked. A corner gets banked because it's radius has been increased, nothing else changes.


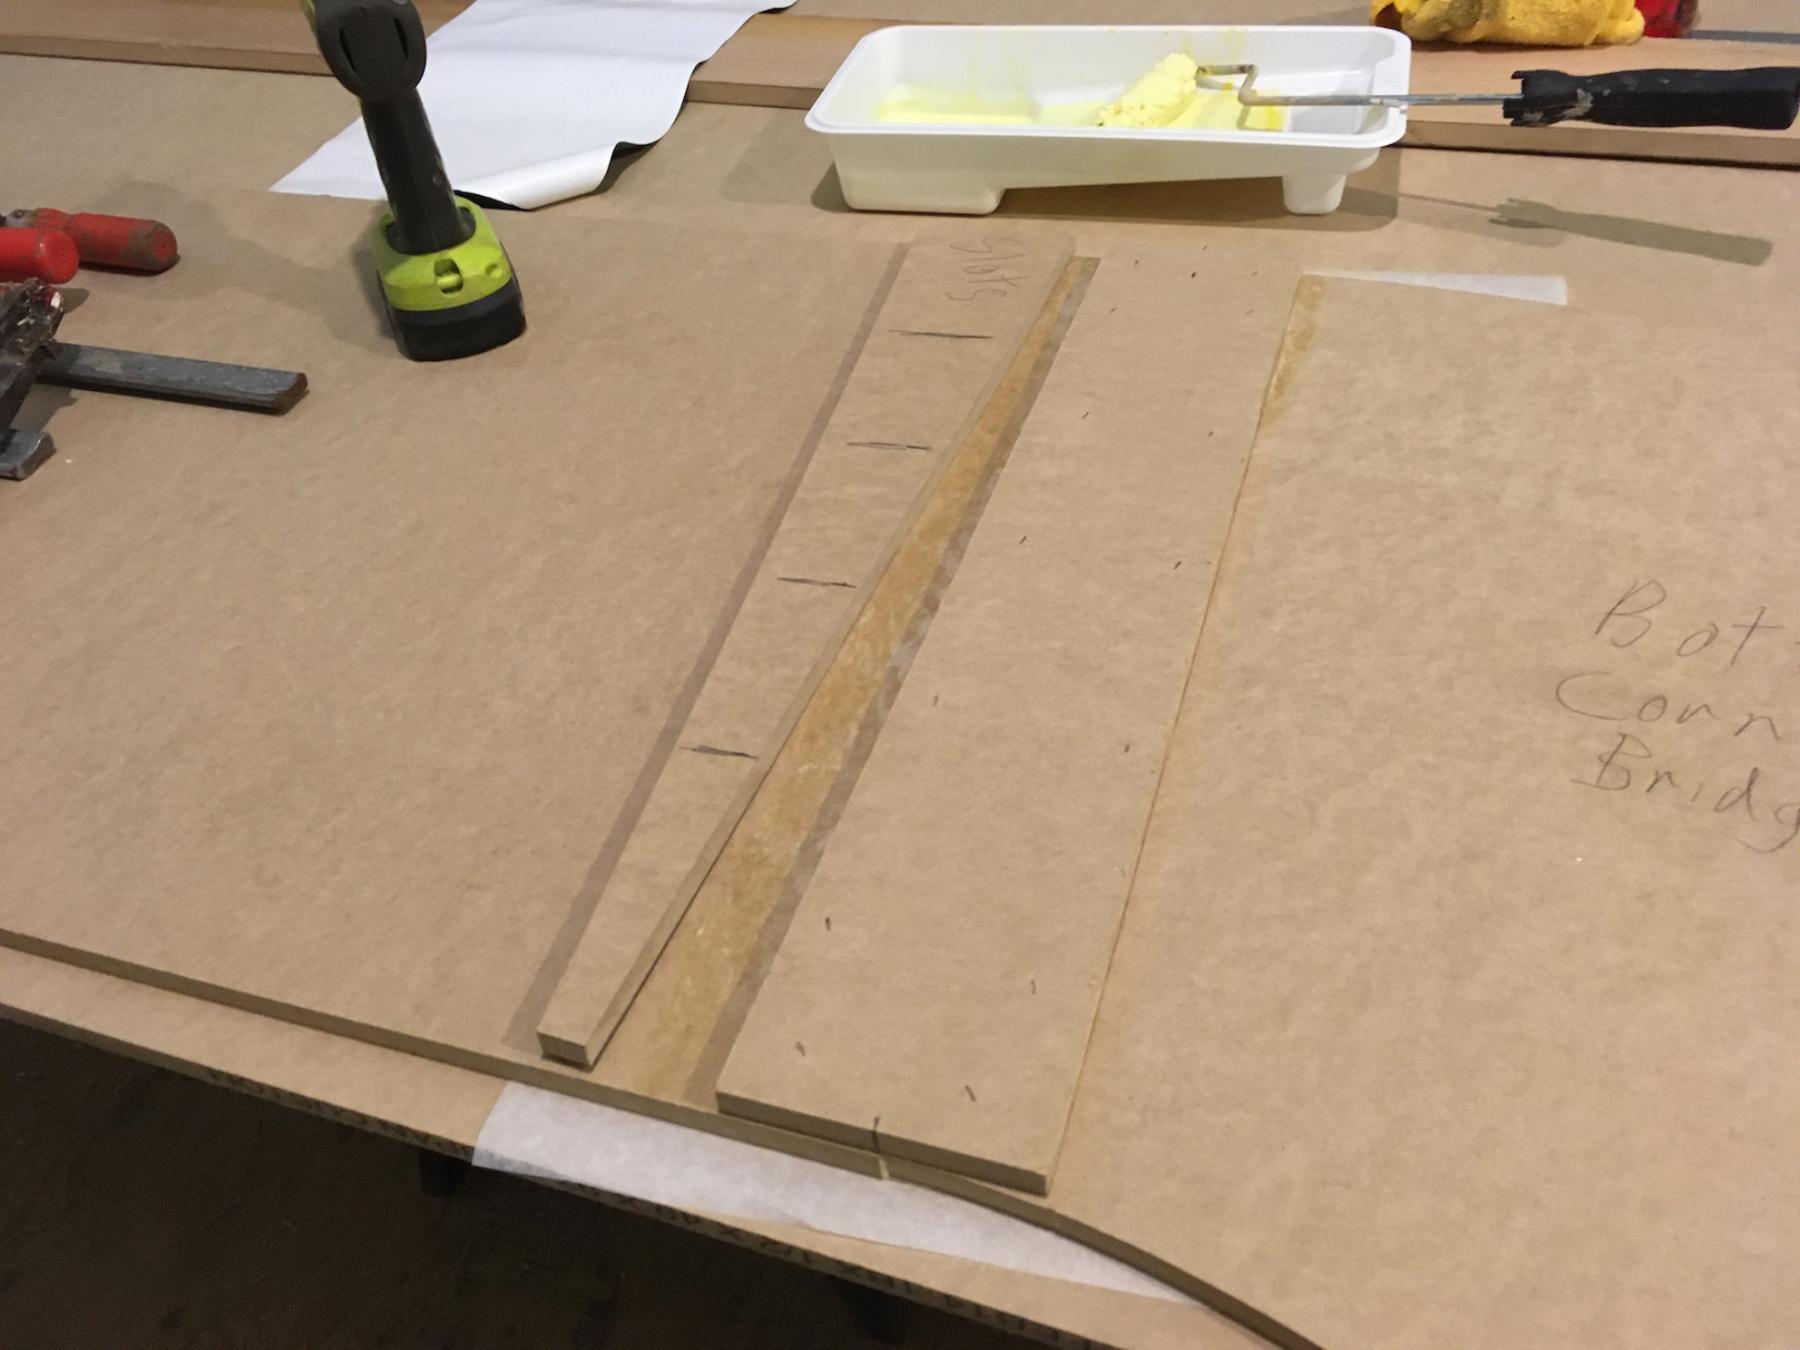
So radius of a bank turn is as drawn radius of turn divided by the cosine of the degrees of banking=radius the turn must be cut at. You have an 8 foot diameter turn you want to bank at 10 degrees the radius is cut at 48.74". Since it isnt that critical I would just call that 48 3/4".


The dimension that is critical is the circumference. Get a 1/2 or 5/8" wide tape in the longest you can find to measure circumference. I use red tuck tape to hold the tape in place because it is nice and sticky. After a while it will destroy the tape measure. This tape is on for reference only. A 1" tape will not go around an 8 foot diameter curve without buckling.


IMG_2779.jpg


An easy way to convert decimals to fractions without using a calculator:
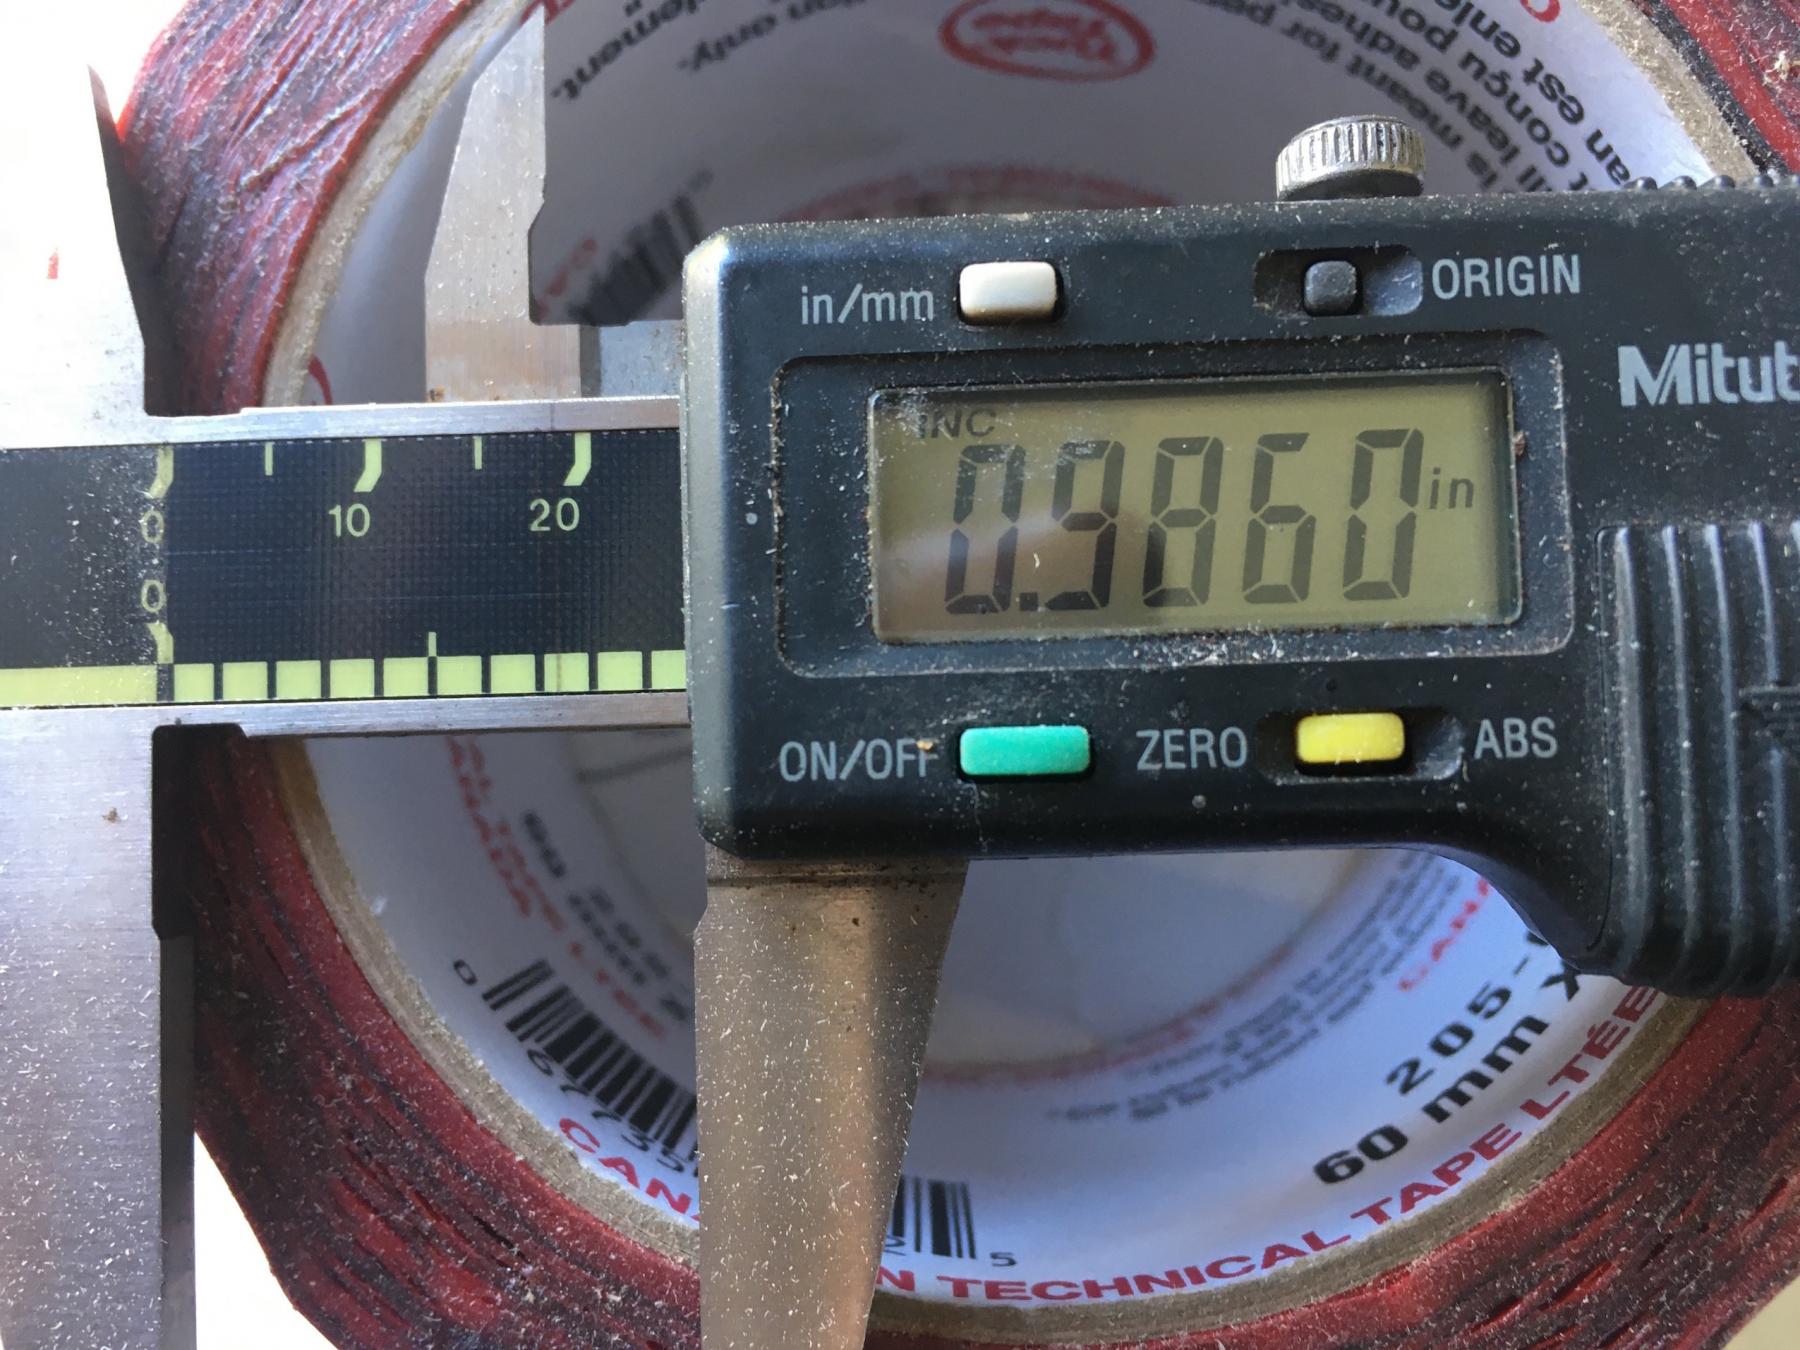
 

IMG_2777.jpg


Just open it till your decimal is up on the display and then measure it with a tape. Mostly I try to work to a 32nd but realistically it is wood marked with a pencil so if you are within a 1/16 you are doing pretty well.


  • MattD and William Bowden like this

#109 Steve Ogilvie

Steve Ogilvie

    Race Leader

  • Subscriber
  • PipPipPipPipPip
  • 630 posts
  • Joined: 17-November 14
  • Gender:Male
  • Location:Kincardine, Ontario, Canada

Posted 13 April 2020 - 06:52 PM

Today I set up an ancient Makita Warrior:


60849550245__DBDBA548-B3E3-4B2D-9B18-CD4D2D234255 (1).jpg


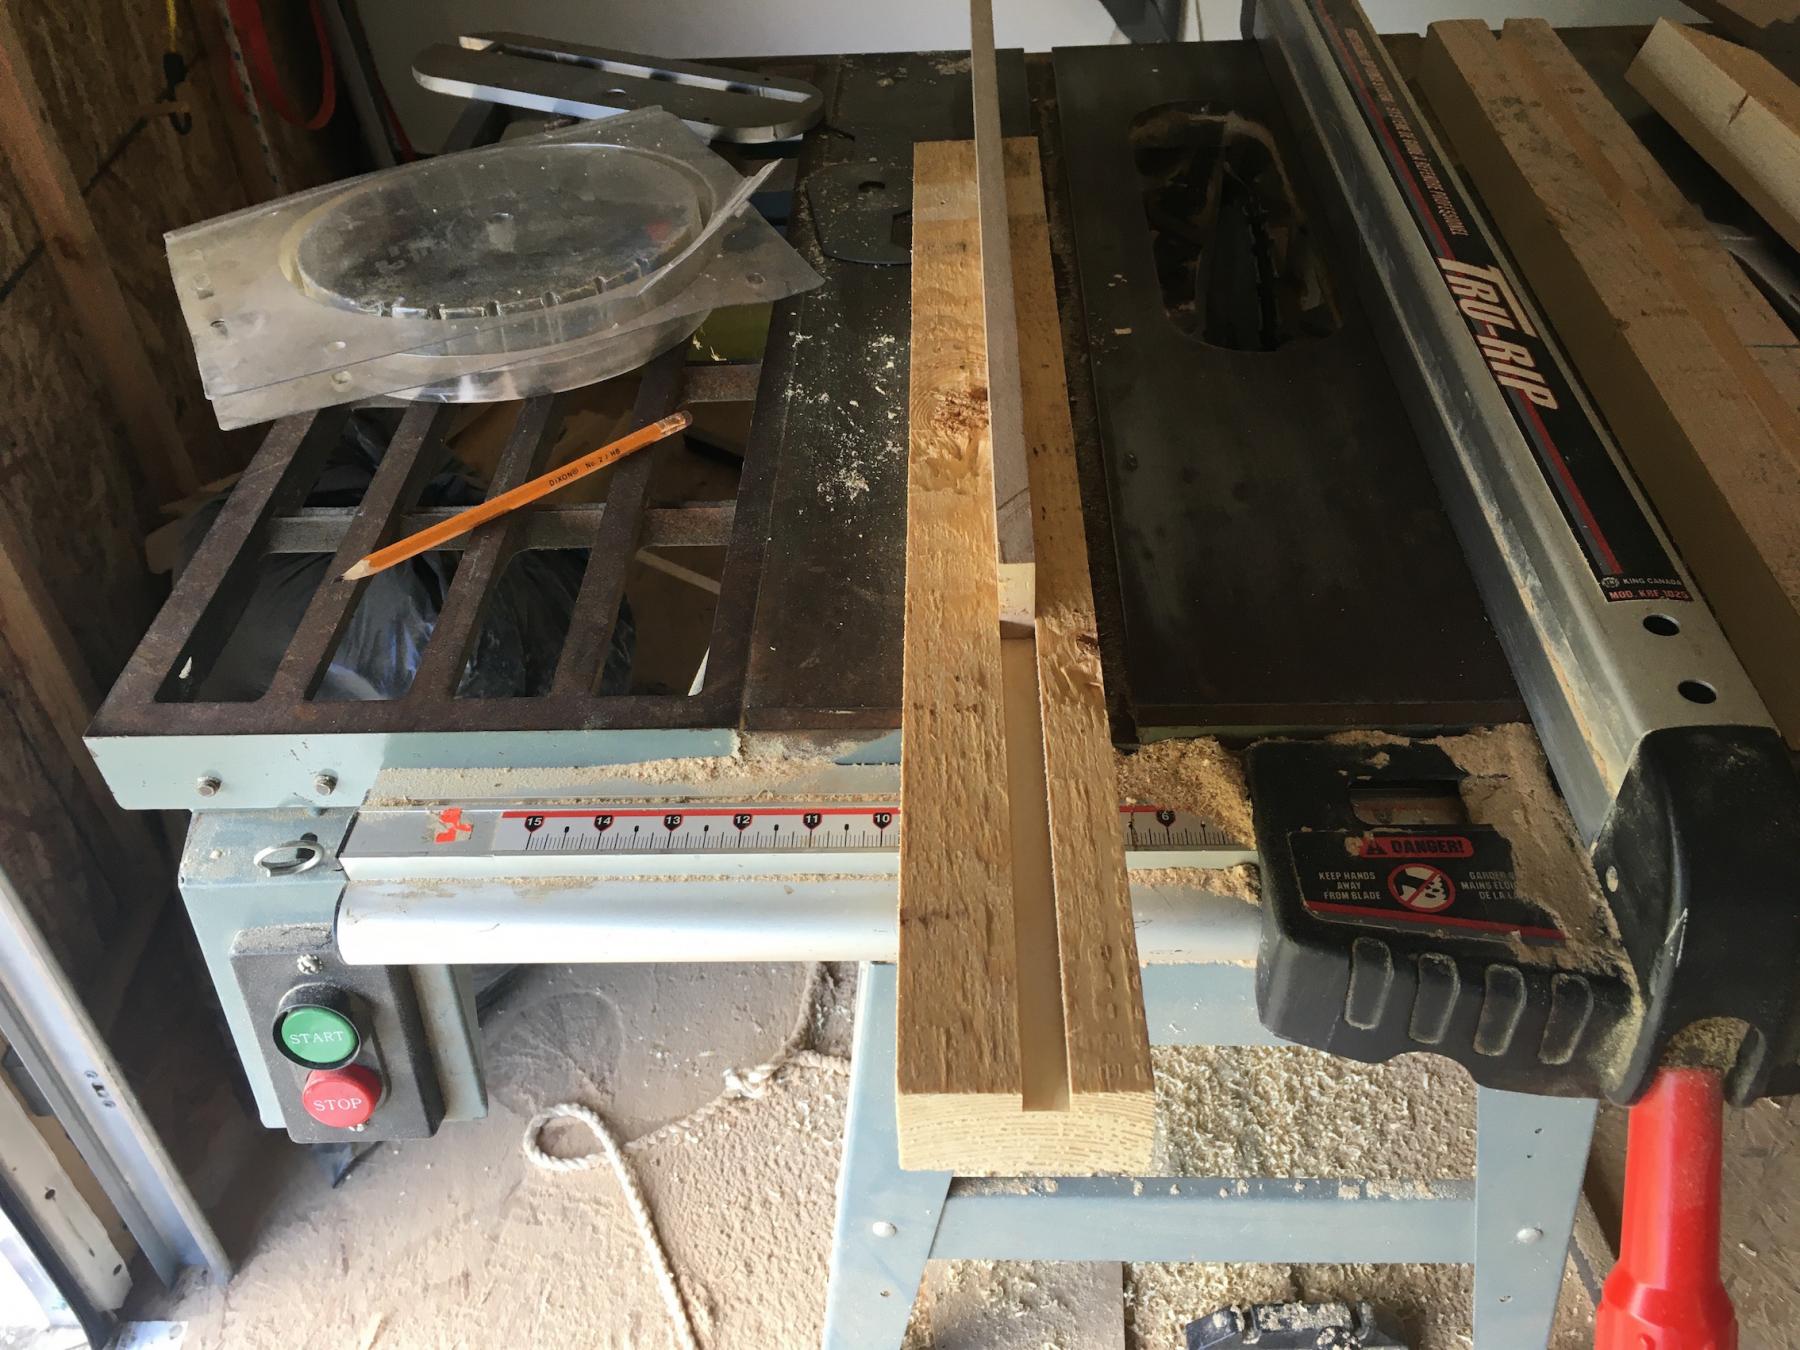
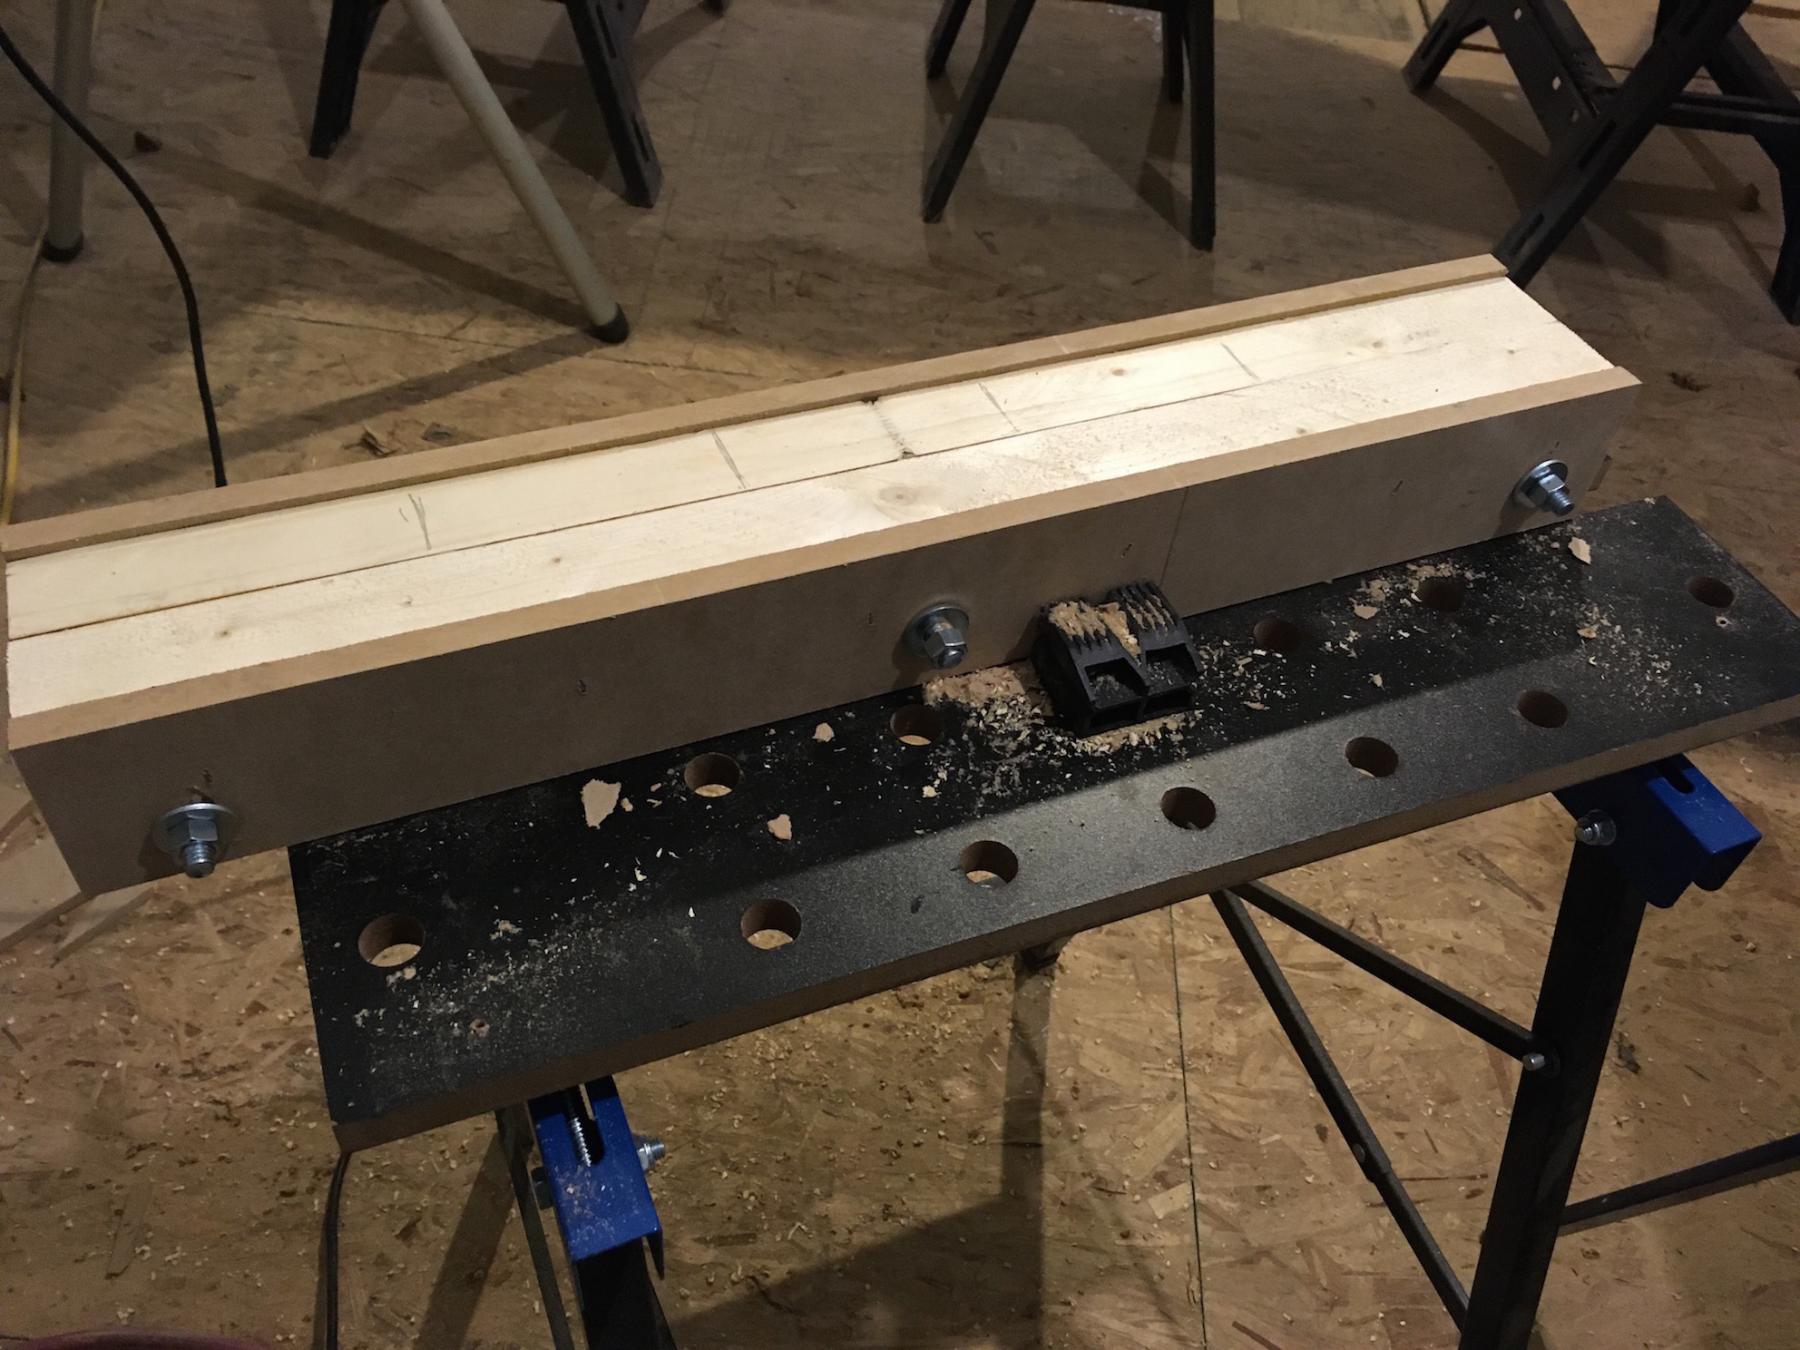
Bought in 1988. Did a lot of cutting on the table saw, making all the pieces that go in to the joints. Got my dado blade set installed in the saw and made the channels for the locator tongues in the squared up 2X4's I cut a couple of weeks ago. This is just a cheap set I picked up on sale, I saved the extra shims from the Freud set that belonged to the business. Without the shims, I would not have been able to cut a slot the perfect size for the tongue. I think Freud sells packets of these shims if you need that extra accuracy.


IMG_2803.jpg


IMG_2801.jpg


I never used dimensional construction lumber to build tracks. I invented a variety of T&G joints, originally using #1 pine and then using all mdf joints. I did not like how the pine was just not dry enough to have complete faith in its stability. And 2X4's twist and shrink and warp so for a commercial track an mdf joint is best. For this track I am making do with 2X4's because that is what most hobby builders will end up using. This joint when it is done will be a double tongue and groove joint and should work well on a small track like this. Tomorrow I will bolt together the basic joint, plane the tops flat and put the top plates on.  


  • Lou E, Rob Voska and William Bowden like this

#110 Zippity

Zippity

    Grand Champion Poster

  • Banned
  • PipPipPipPipPipPipPipPip
  • 5,278 posts
  • Joined: 05-March 06
  • Gender:Male
  • Location:Wellington, New Zealand

Posted 13 April 2020 - 07:21 PM

Do you glue the tongue into either piece of 2x4 or is it just a tight fit into both?


  • Lou E, William Bowden and mickey thumbs like this
Ron Thornton

#111 Steve Ogilvie

Steve Ogilvie

    Race Leader

  • Subscriber
  • PipPipPipPipPip
  • 630 posts
  • Joined: 17-November 14
  • Gender:Male
  • Location:Kincardine, Ontario, Canada

Posted 13 April 2020 - 08:13 PM

The tongue is glued in to one of the 2x4''s. I try to put a bead of glue on each side of the slot and tap the tongue in with a rubber mallet. I did that today. I will put them together tomorrow with the support pieces.


IMG_2799.jpg


These pieces have not been slotted yet but the joint will look roughly like this  The top plate will be put on solid, then split to form another tongue with the track surface attached.


  • Zippity, Lou E, Rob Voska and 2 others like this

#112 Steve Ogilvie

Steve Ogilvie

    Race Leader

  • Subscriber
  • PipPipPipPipPip
  • 630 posts
  • Joined: 17-November 14
  • Gender:Male
  • Location:Kincardine, Ontario, Canada

Posted 14 April 2020 - 07:53 AM

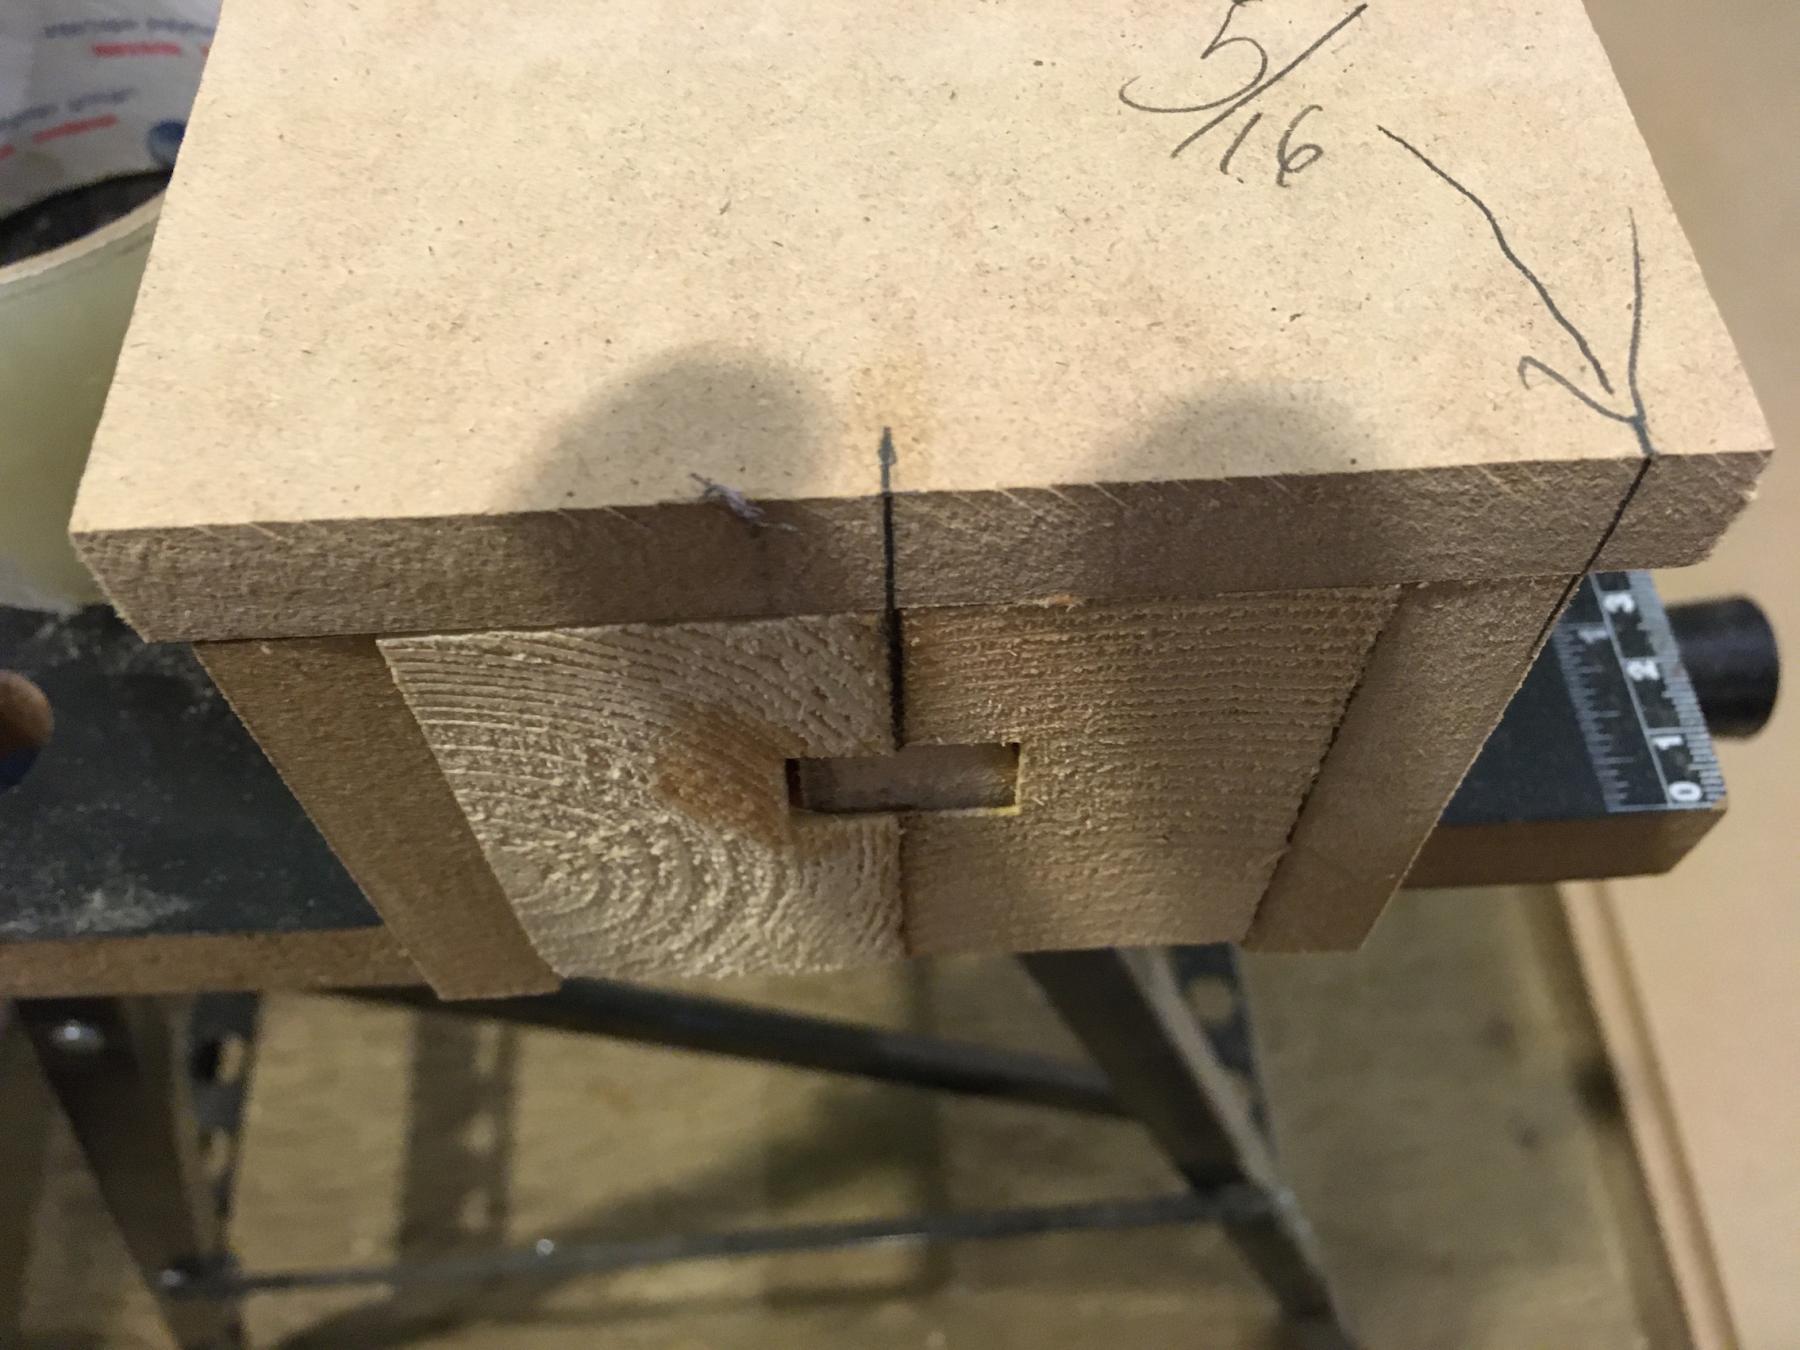
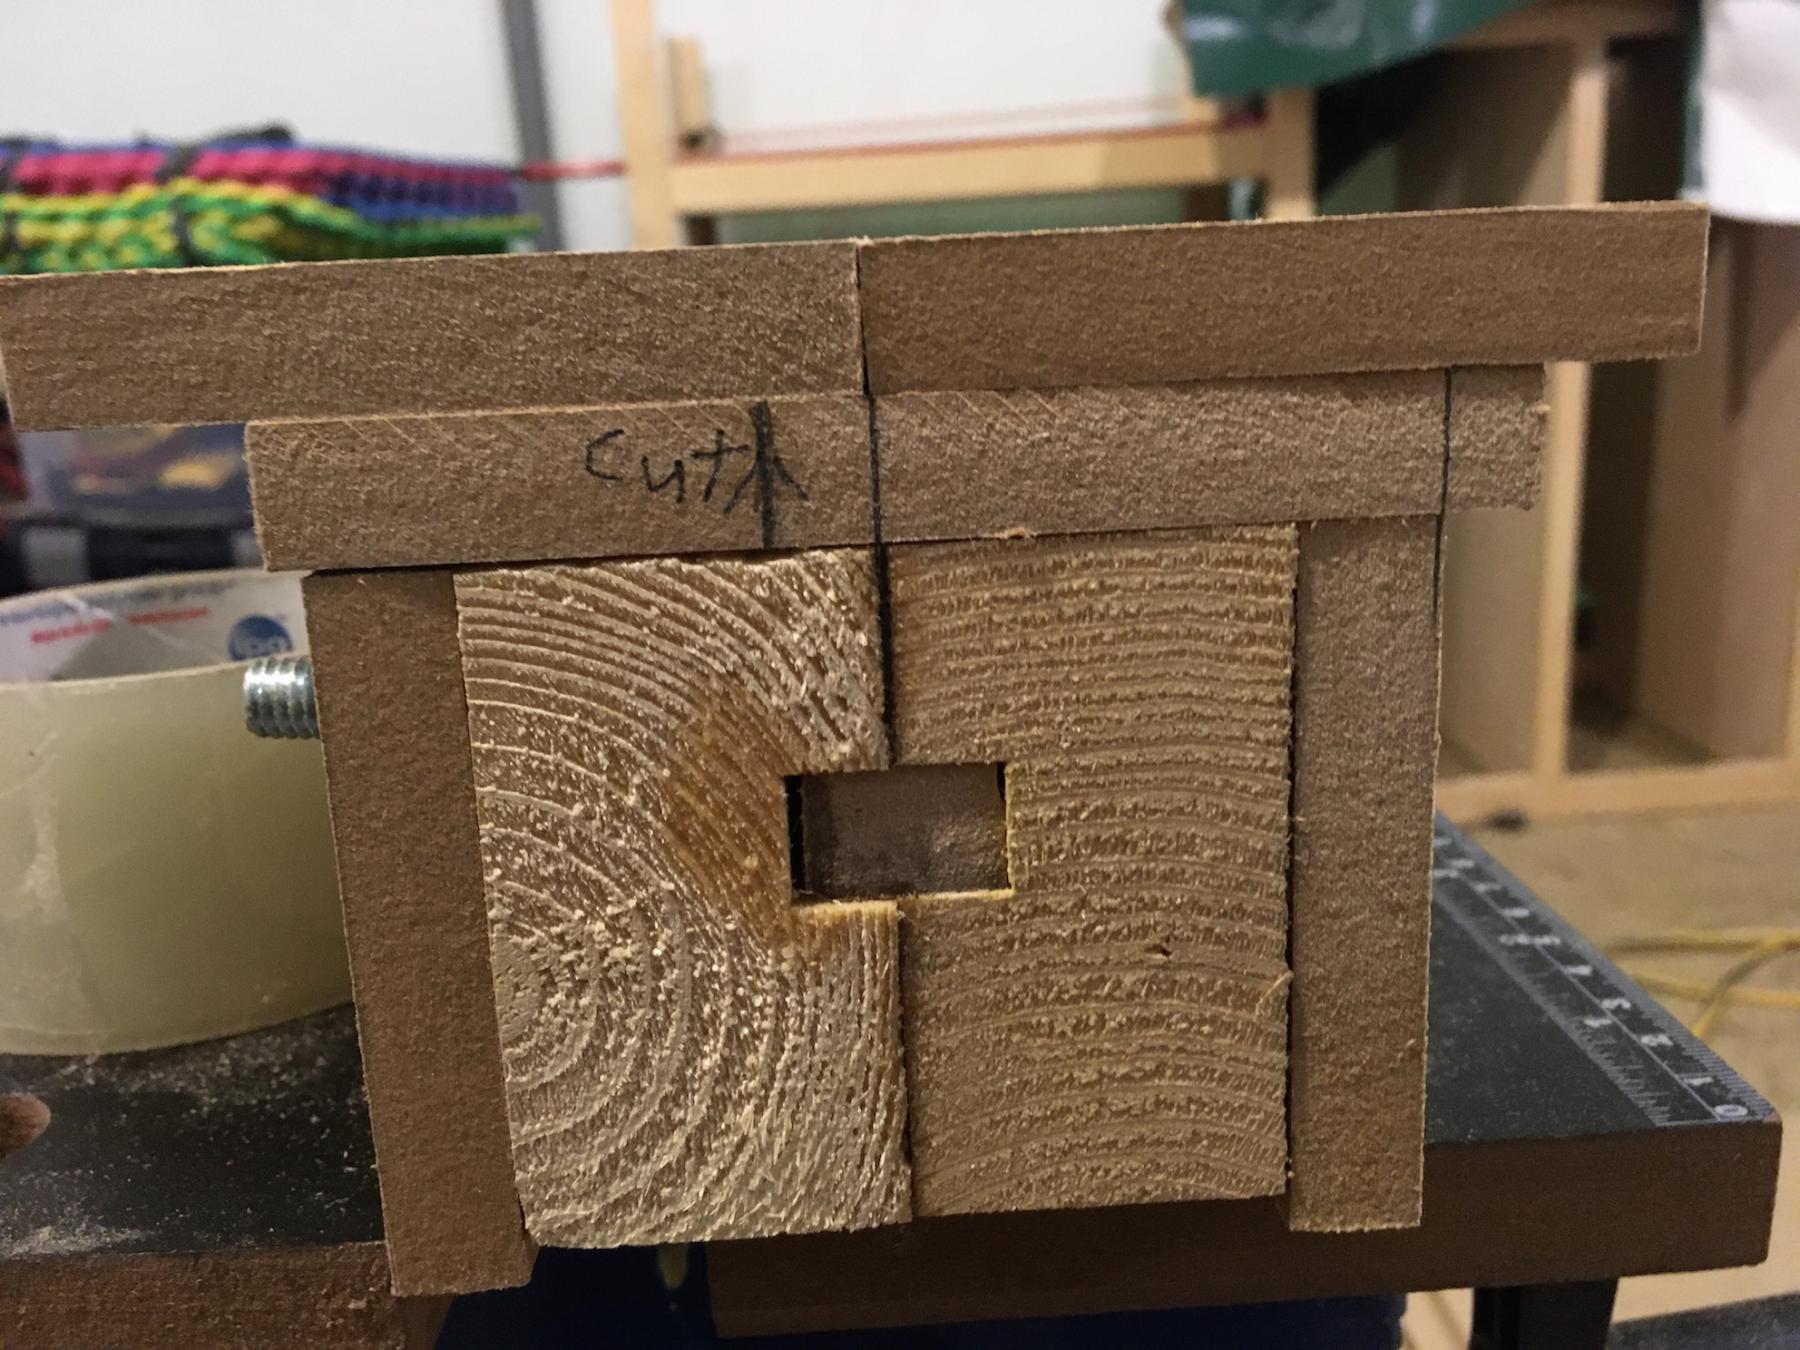
This is one of the MDF joints that I invented and was the one we used the most.


IMG_2811.jpg


The top and bottom pieces were cut after gluing and stapling them on to the centre piece. To make sure the joint would come apart after the glue hardened, pieces of thin clear packing tape covered the area under the tongues before the glue was applied. Also the inner faces of the centre block were oiled to prevent glue that has seeped down in to that area from sticking the block together. 


  • Pappy, Lou E, Rob Voska and 3 others like this

#113 Steve Ogilvie

Steve Ogilvie

    Race Leader

  • Subscriber
  • PipPipPipPipPip
  • 630 posts
  • Joined: 17-November 14
  • Gender:Male
  • Location:Kincardine, Ontario, Canada

Posted 14 April 2020 - 05:45 PM

Worked today mostly on joint blocks.They are now assembled and  planed, I will put the top layer of mdf on tomorrow. It was sunny out in the early afternoon so being a green fabric shed it was nice and warm for working. But by 3:30 it was snowing and too cold to do any gluing.


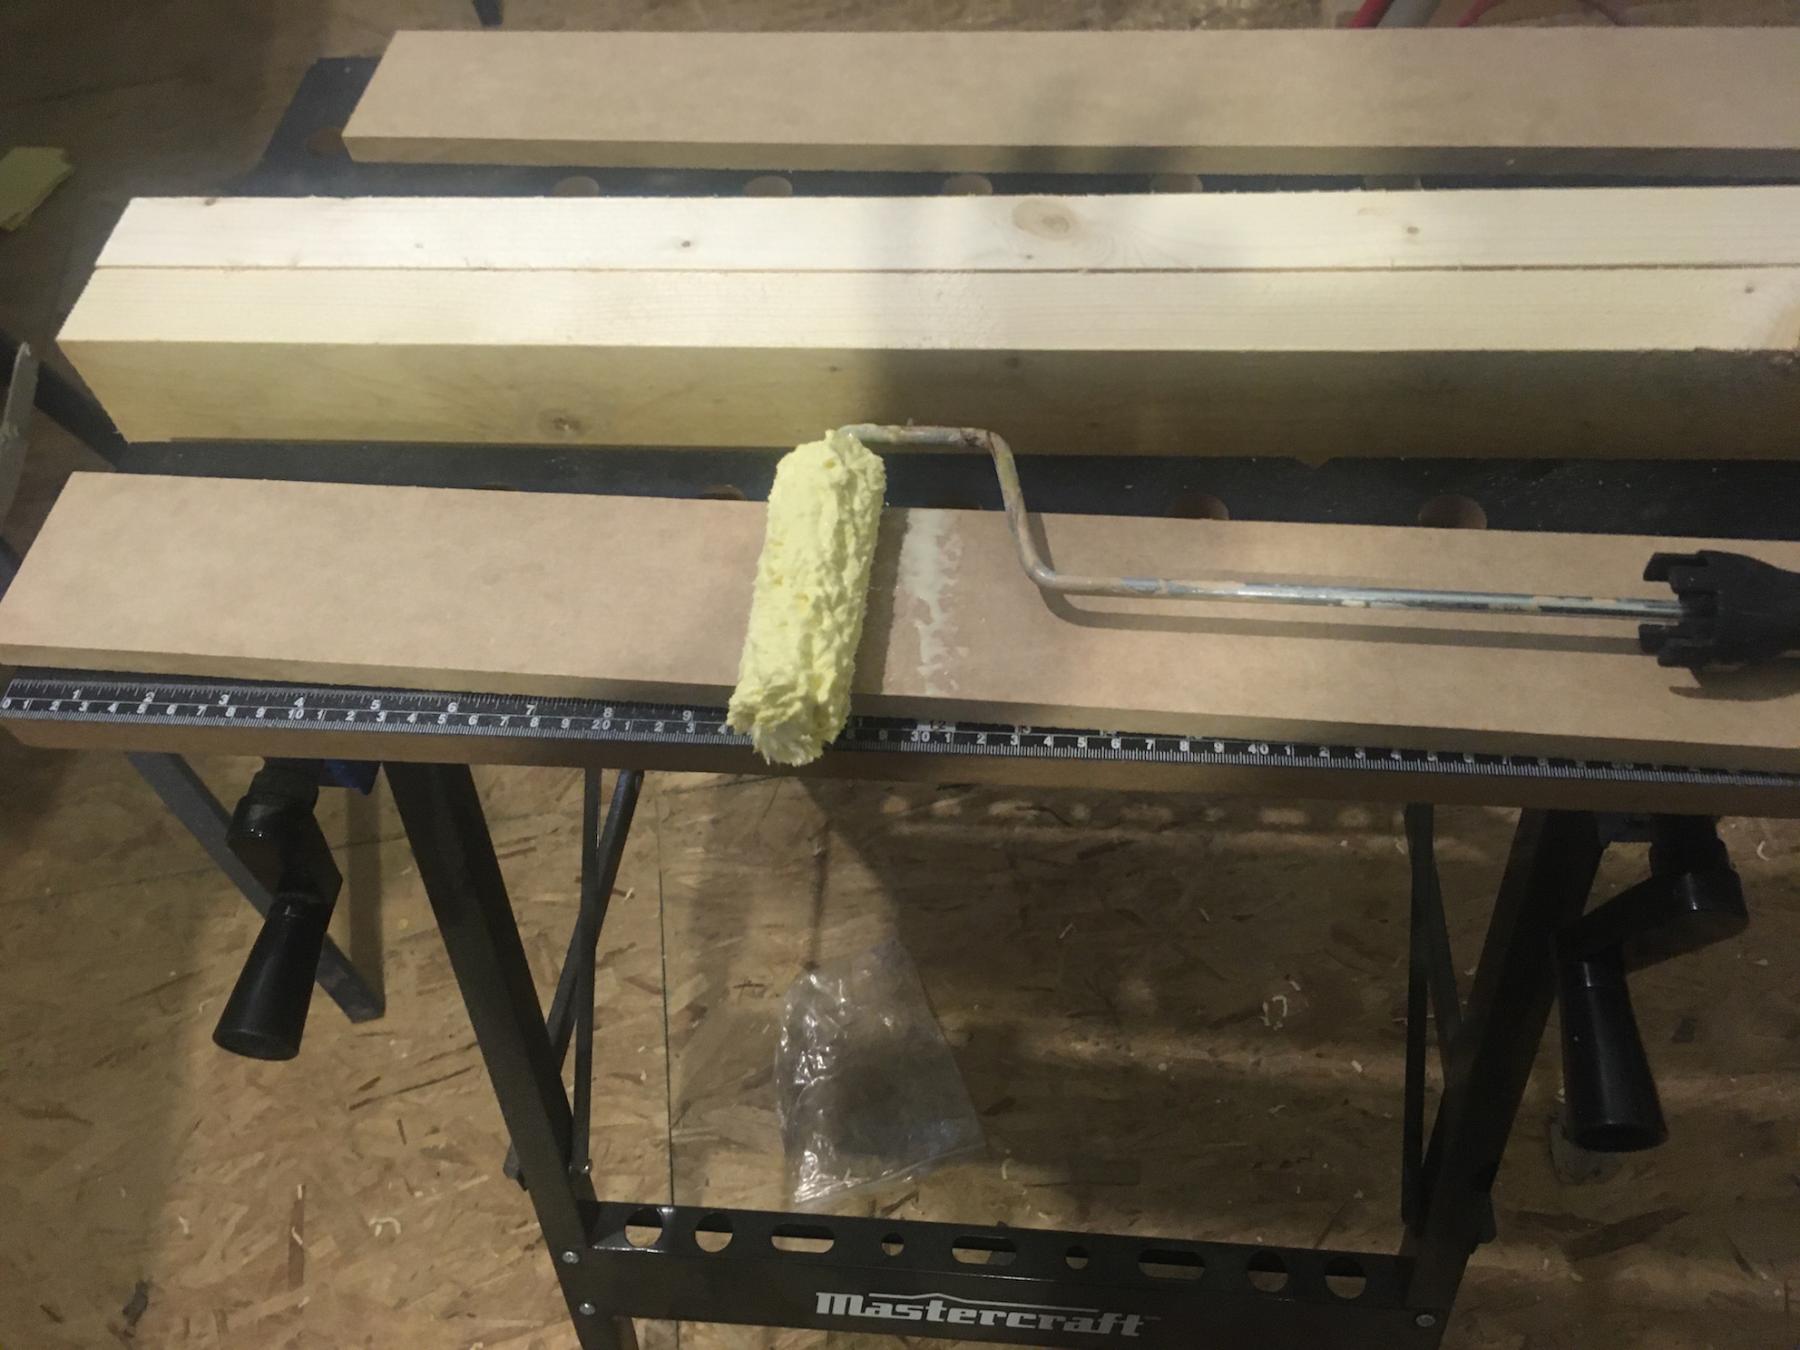
I do the bulk of gluing with a small paint roller:

IMG_2813.jpg

IMG_2816.jpg

IMG_2819.jpg


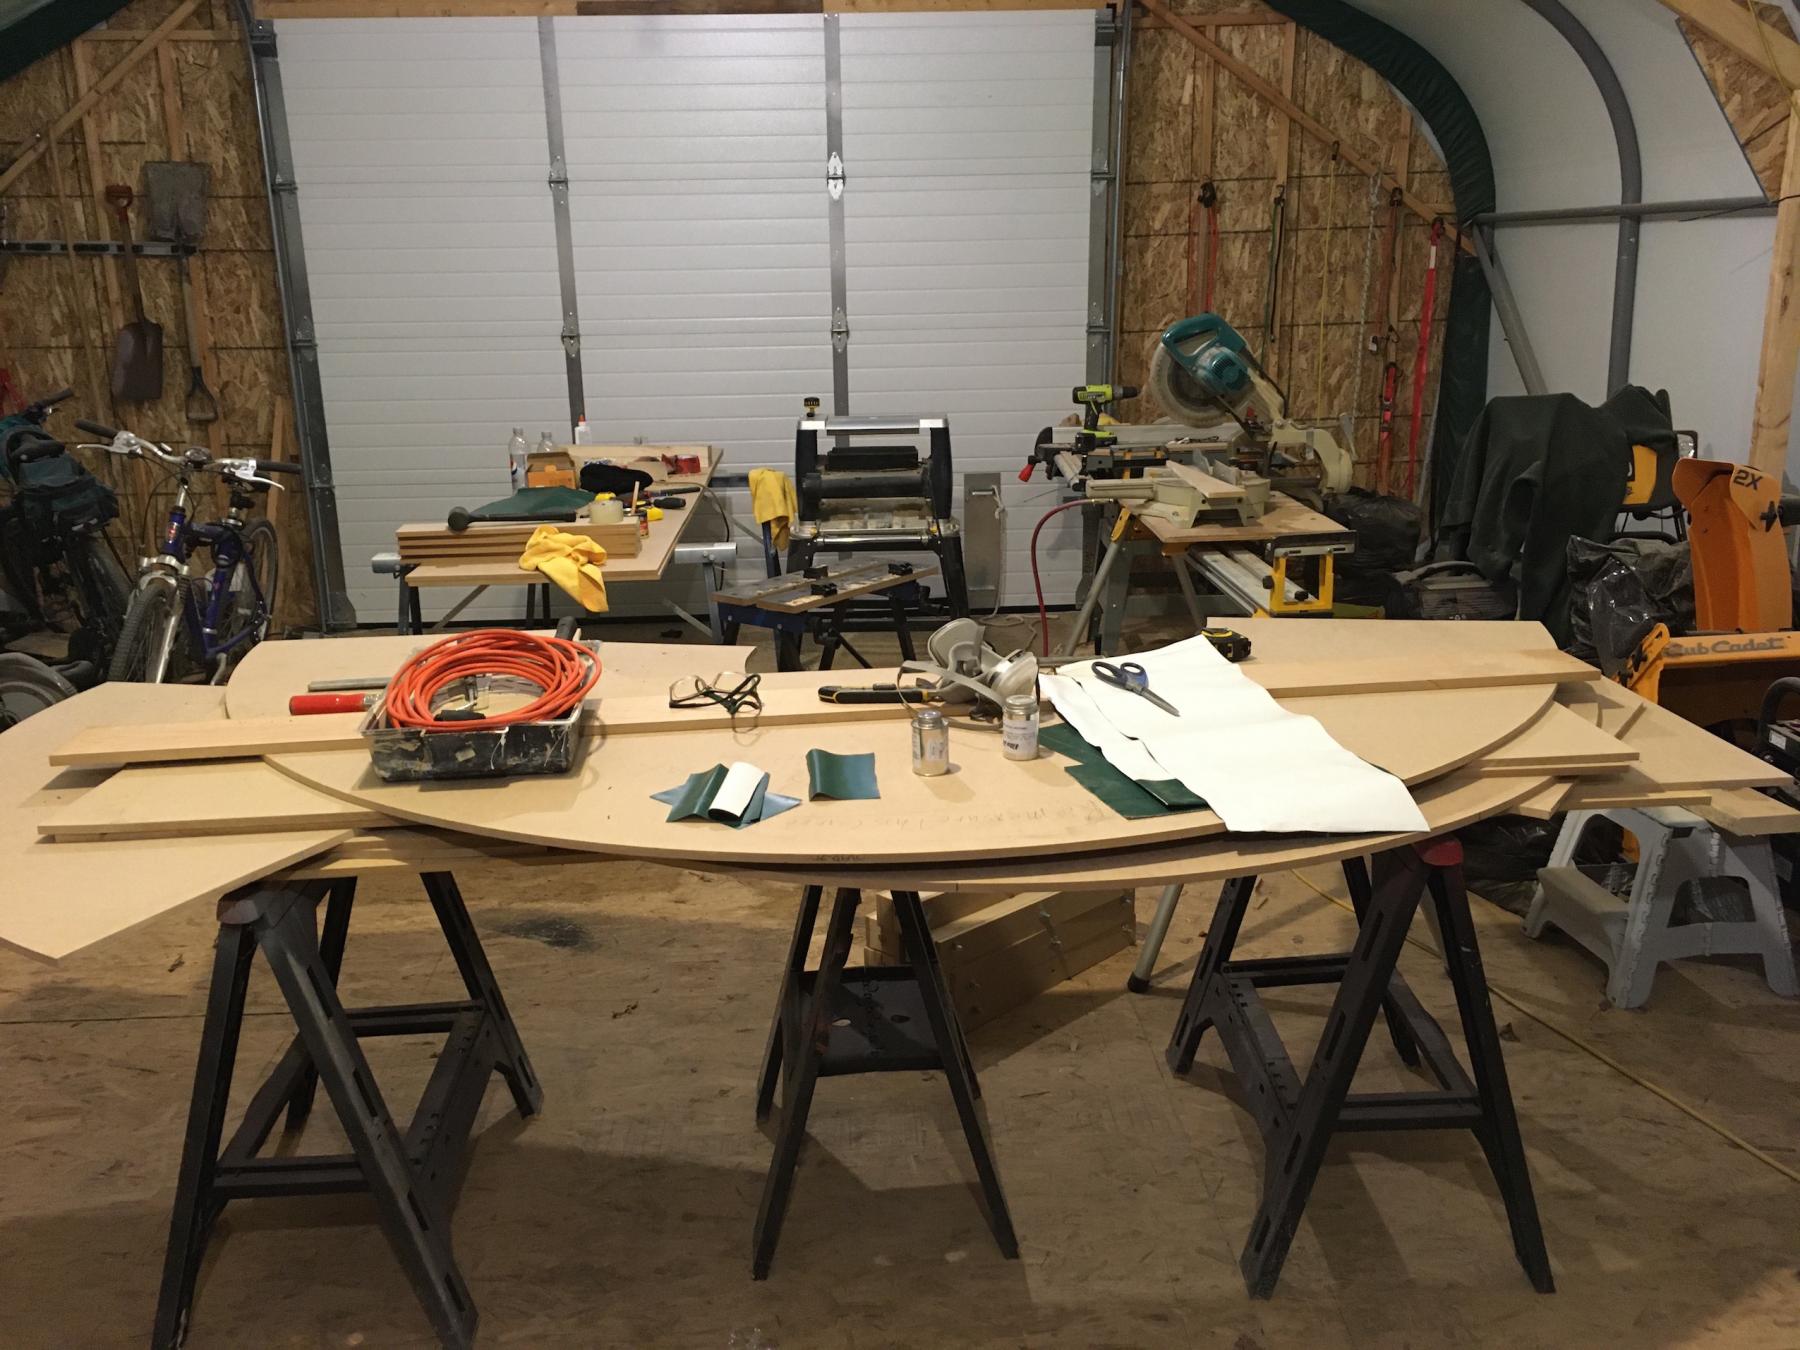
Shed is getting really crowded. Had to borrow my brother Bob's thickness planer. Usually he is always borrowing my stuff. If you look close you can see the planed stack of joints in there somewhere.


IMG_2830.jpg


Hopefully it will be sunny tomorrow. I want to work on this track every day if possible.


  • Rob Voska and William Bowden like this

#114 Steve Ogilvie

Steve Ogilvie

    Race Leader

  • Subscriber
  • PipPipPipPipPip
  • 630 posts
  • Joined: 17-November 14
  • Gender:Male
  • Location:Kincardine, Ontario, Canada

Posted 14 April 2020 - 05:55 PM

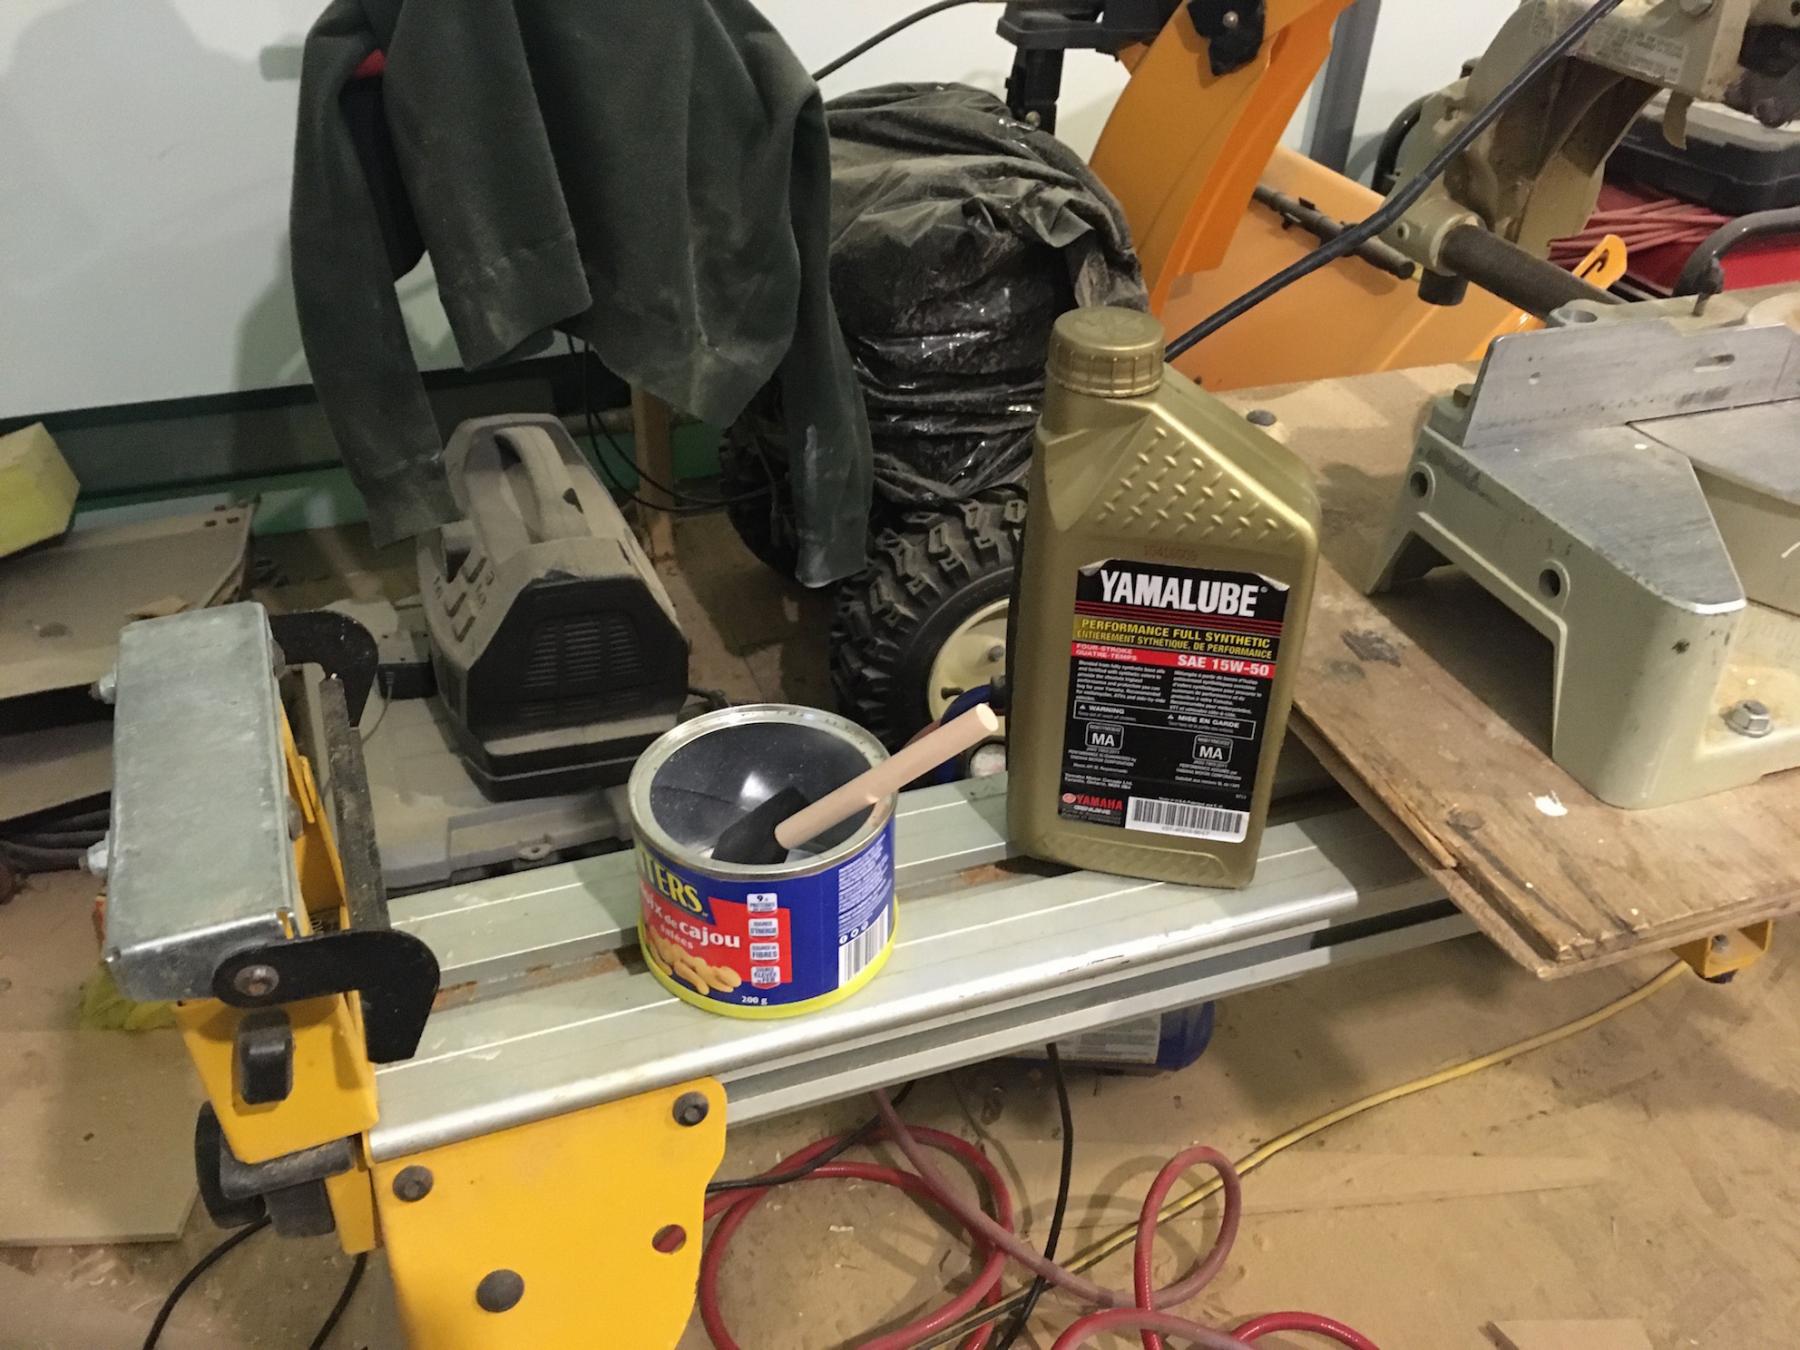
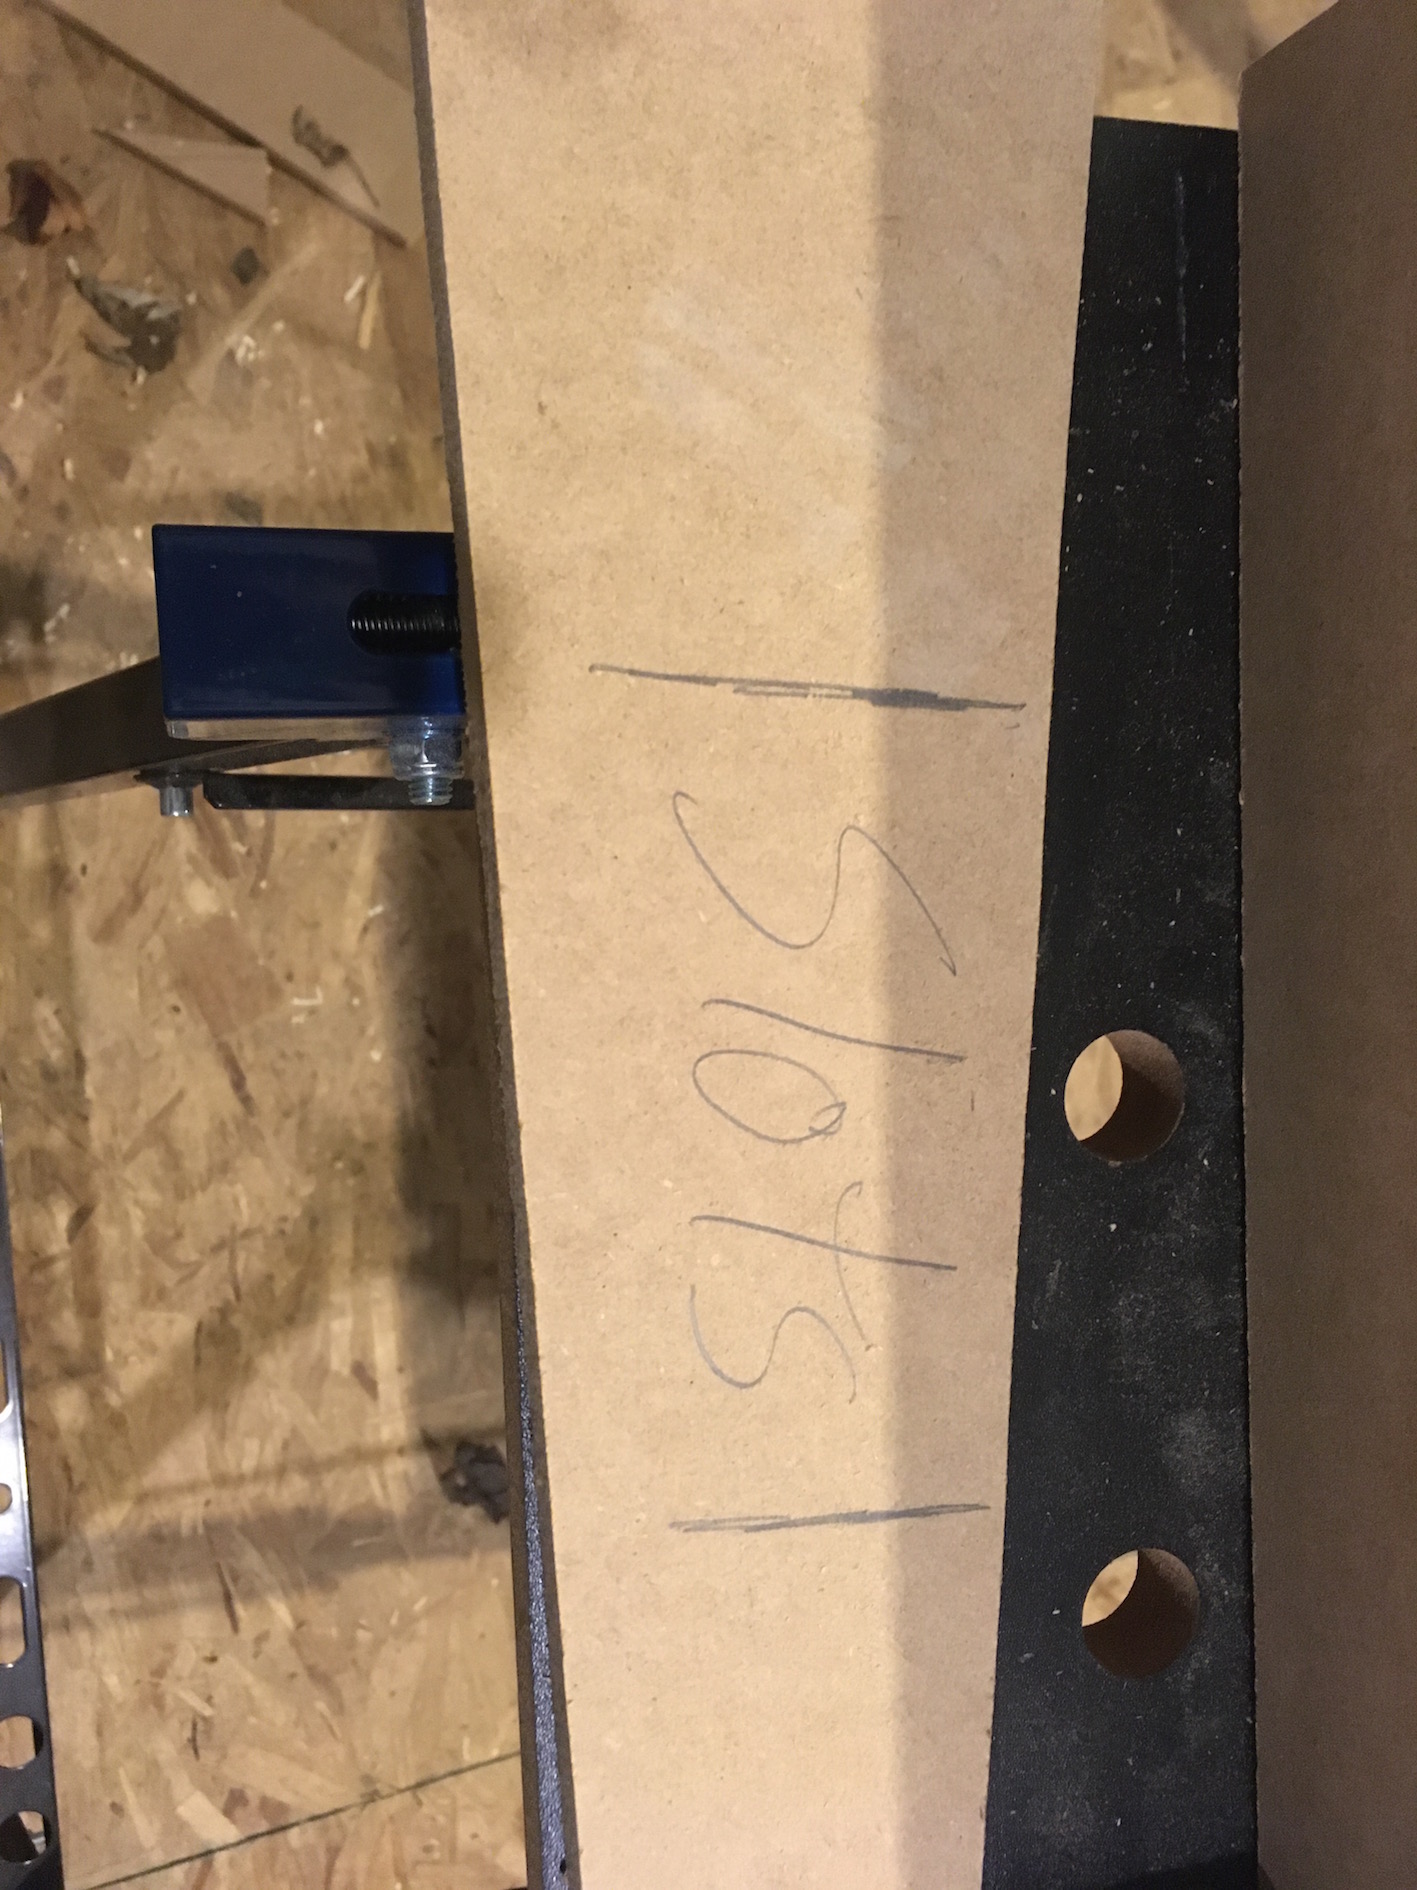
Some more photos, a bolted joint and my high tec oiling tool and a stick I always make up so I make sure the bolts do not end up under a slot.


IMG_2812.jpg


IMG_2822.jpg


IMG_2825.jpg


  • Rob Voska, Eddie Fleming, William Bowden and 1 other like this

#115 MattD

MattD

    Posting Leader

  • Full Member
  • PipPipPipPipPipPipPip
  • 3,561 posts
  • Joined: 13-August 11
  • Gender:Male
  • Location:IN

Posted 14 April 2020 - 05:59 PM

Dang Steve, this thing doesn't need to outlast the pyramids!!!


  • Pappy and Steve Ogilvie like this

Matt Bishop


#116 Steve Ogilvie

Steve Ogilvie

    Race Leader

  • Subscriber
  • PipPipPipPipPip
  • 630 posts
  • Joined: 17-November 14
  • Gender:Male
  • Location:Kincardine, Ontario, Canada

Posted 15 April 2020 - 07:20 AM

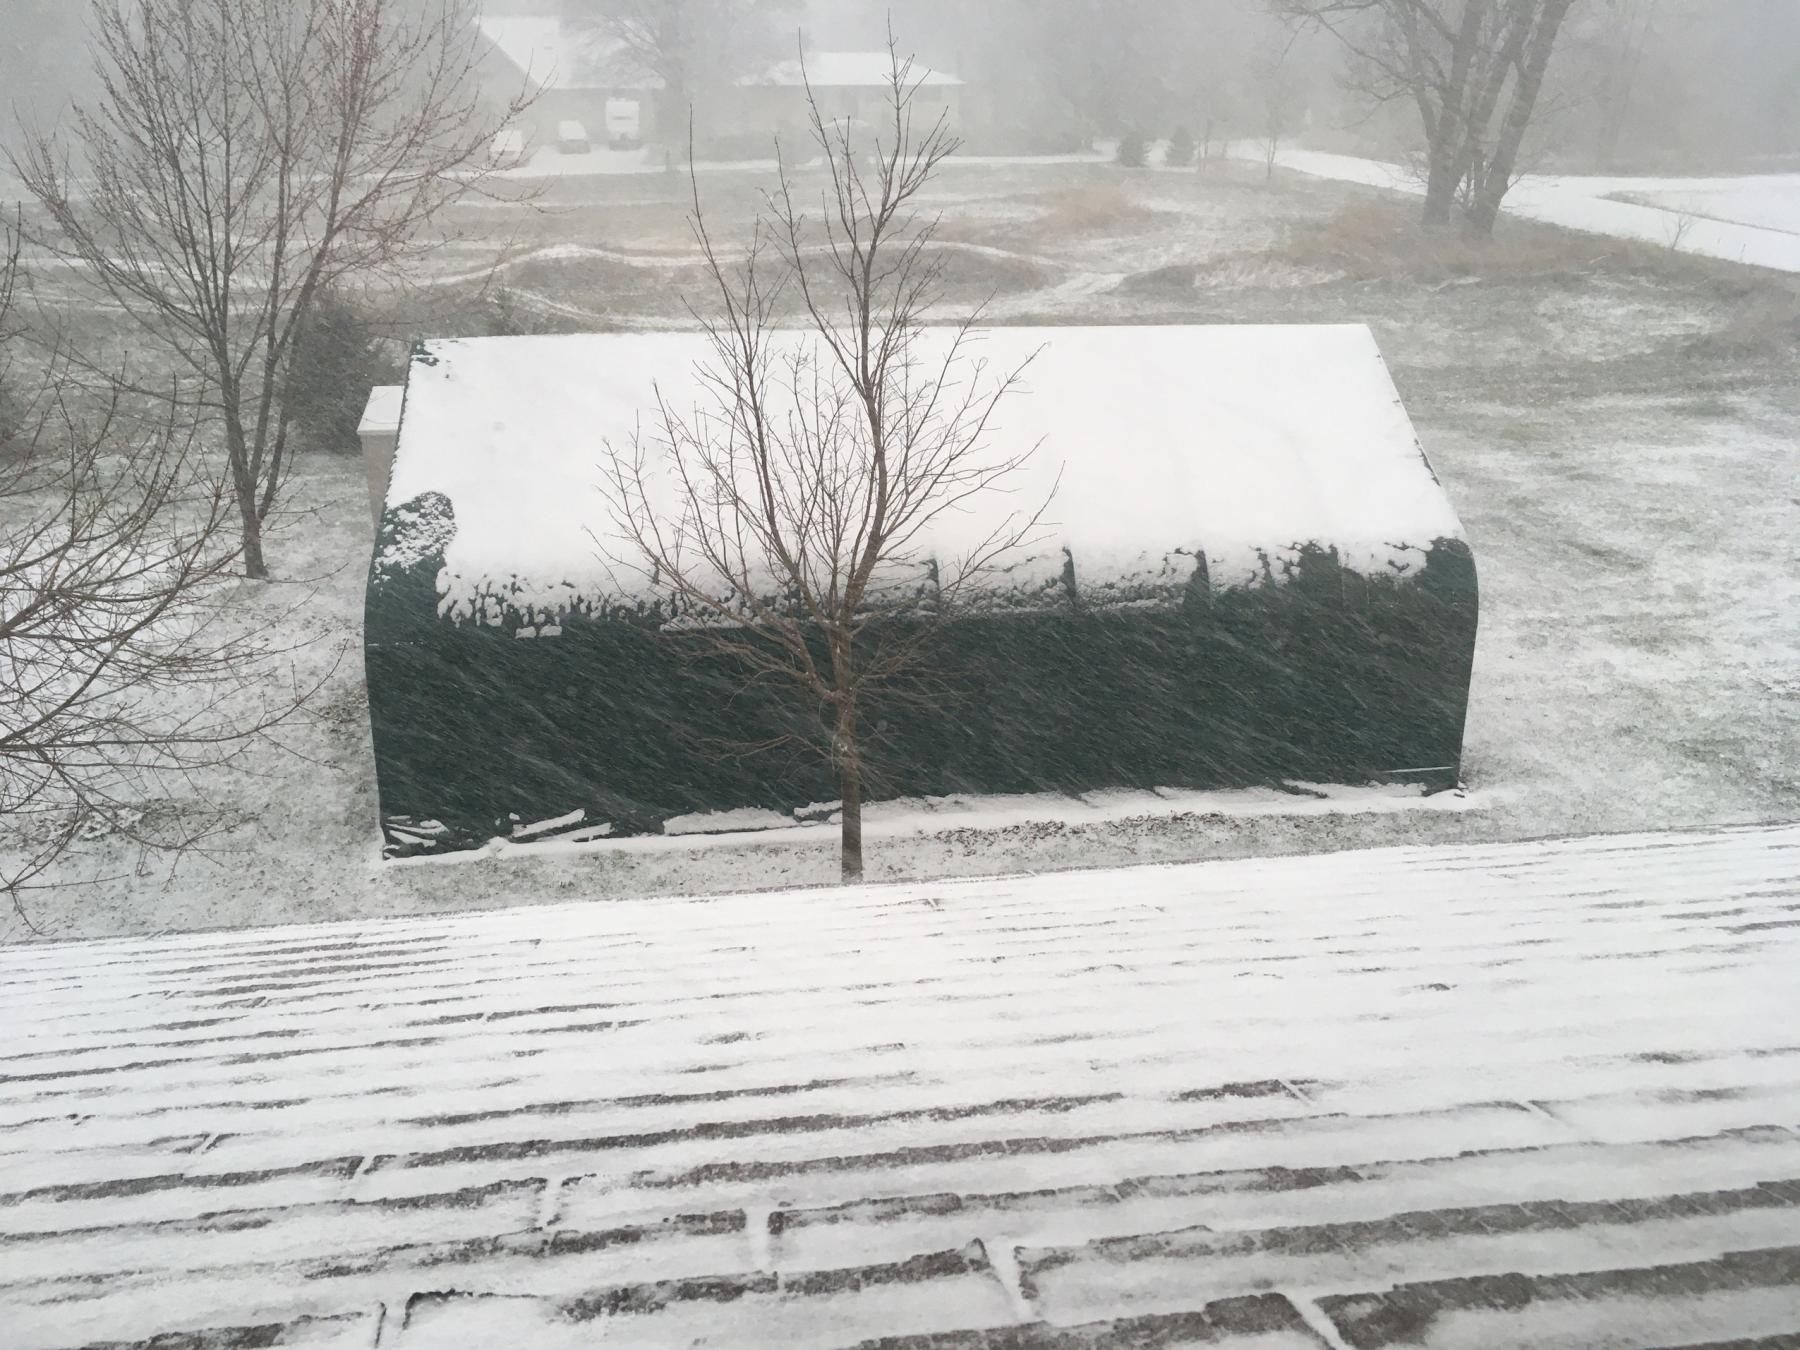
Too cold to work in the shed today. It has turned back in to winter in Bruce County.


IMG_2831.jpg


  • Rob Voska, William Bowden and Steve Roope like this

#117 Eddie Fleming

Eddie Fleming

    Posting Leader

  • Subscriber
  • PipPipPipPipPipPipPip
  • 2,919 posts
  • Joined: 27-April 14
  • Gender:Male
  • Location:Fayetteville, GA USA

Posted 15 April 2020 - 07:51 AM

I don't blame you for staying in the house.


Keep up the track work when you can. You are giving great information.


Thank You.


  • Rob Voska, Steve Ogilvie and William Bowden like this
Eddie Fleming

#118 Revtor

Revtor

    Mid-Pack Racer

  • Full Member
  • PipPipPip
  • 191 posts
  • Joined: 09-August 19
  • Gender:Male
  • Location:Northern NJ

Posted 15 April 2020 - 12:08 PM

I like that bike track in the background!!!
And thanks for giving ideas about track joints. My track table has to be built in sections, this is giving me some ideas..
  • Rob Voska and Steve Ogilvie like this
~ Steve Maietta

#119 Steve Ogilvie

Steve Ogilvie

    Race Leader

  • Subscriber
  • PipPipPipPipPip
  • 630 posts
  • Joined: 17-November 14
  • Gender:Male
  • Location:Kincardine, Ontario, Canada

Posted 15 April 2020 - 04:17 PM

Thanks for all the comments. Everybody thinks the bike track is ours but it belongs to a neighbour. The cottagers don't like the noise but we find it fun when they have a big group out and we can sit on our deck and watch the action. Hasn't been too busy there for about 5 years now since the owner got married and started a family. The sun came out after lunch and melted all the snow and it got T shirt warm in the shed so I got the tops on the joints. Only got up to 2 C outside though.


  • Rob Voska and William Bowden like this

#120 MSwiss

MSwiss

    Grand Champion Poster

  • IRRA National Director
  • PipPipPipPipPipPipPipPip
  • 25,895 posts
  • Joined: 16-April 06
  • Gender:Male

Posted 15 April 2020 - 09:10 PM

I like that bike track in the background!!!
And thanks for giving ideas about track joints. My track table has to be built in sections, this is giving me some ideas..

Steve's tracks go back together nicely.

I put the King he made for Koford Engineering, back together, twice.

I was impressed enough, I replicated that triple tongue and groove, made with all 1/2" MDF cutoffs, on both of the tracks I made for my raceway.

I don't have any pics of them apart, but they are 5 alternating fingers tall, 6 counting the track surface.

20200415_210448.jpg


  • MattD, Eddie Fleming and William Bowden like this

Mike Swiss
 
Inventor of the Low CG guide flag 4/20/18
IRRA® Components Committee Chairman
Five-time USRA National Champion (two G7, one G27, two G7 Senior)
Two-time G7 World Champion (1988, 1990), eight G7 main appearances
Eight-time G7 King track single lap world record holder

17B West Ogden Ave., Westmont, IL 60559, (708) 203-8003, mikeswiss86@hotmail.com (also my PayPal address)

Note: Send all USPS packages and mail to: 692 Citadel Drive, Westmont, Illinois 60559


#121 Steve Ogilvie

Steve Ogilvie

    Race Leader

  • Subscriber
  • PipPipPipPipPip
  • 630 posts
  • Joined: 17-November 14
  • Gender:Male
  • Location:Kincardine, Ontario, Canada

Posted 16 April 2020 - 08:16 AM

Thanks Mike. The stacking joint was a ton of work so after using it for about 20 tracks I designed the joint in the drawing above and although it didn't have the wow factor of the triple stacked joint, it could be made a lot faster and is a bit stronger in the cross ways direction. So yesterday I got the tops of the joints taped, glued and stapled on to the planed blocks.


    This joint has a 4 1/2" top width and it gets offset a bit so when I split the joint on the table saw it rides on the edge of the mdf and not the bolt heads.


IMG_2833.jpg


This shows a dry run of how everything will line up when track pieces are added to a finished joint.


IMG_2835.jpg


Once I have a centre line measurement I use a trisquare to draw the lines on the tops.


IMG_2836.jpg


  • William Bowden likes this

#122 Steve Ogilvie

Steve Ogilvie

    Race Leader

  • Subscriber
  • PipPipPipPipPip
  • 630 posts
  • Joined: 17-November 14
  • Gender:Male
  • Location:Kincardine, Ontario, Canada

Posted 16 April 2020 - 08:47 AM

I use a stanley knife with a new blade in it to cut the strapping tape in to a strip about 1/2" wide


IMG_2837.jpg


The strip of tape 


IMG_2839.jpg


The glued and stapled joint. I put a light coat of glue on the joint block and a heavy coat on the underside of the top plate. Using a heavy coat on the block tends to lift the strapping tape, and then you have to scrape the glue off and redo the tape. If you use red tuck tape that does not happen, but it is thicker.


IMG_2841.jpg


Doesn't hurt to add a little weight while the glue drys:


IMG_2843.jpg


  • Rob Voska, Matt Sheldon and William Bowden like this

#123 Steve Ogilvie

Steve Ogilvie

    Race Leader

  • Subscriber
  • PipPipPipPipPip
  • 630 posts
  • Joined: 17-November 14
  • Gender:Male
  • Location:Kincardine, Ontario, Canada

Posted 17 April 2020 - 07:39 AM

Yesterday my oldest son Dan came over and he helped me clean up the shed, rearange things and cut up the offcuts in to to 3" strips to make support brackets


IMG_2846.jpg


Stayed warm enough in the shed that I went out after dinner and started assembling the pieces in to L's.


IMG_2847.jpg


IMG_2850.jpg


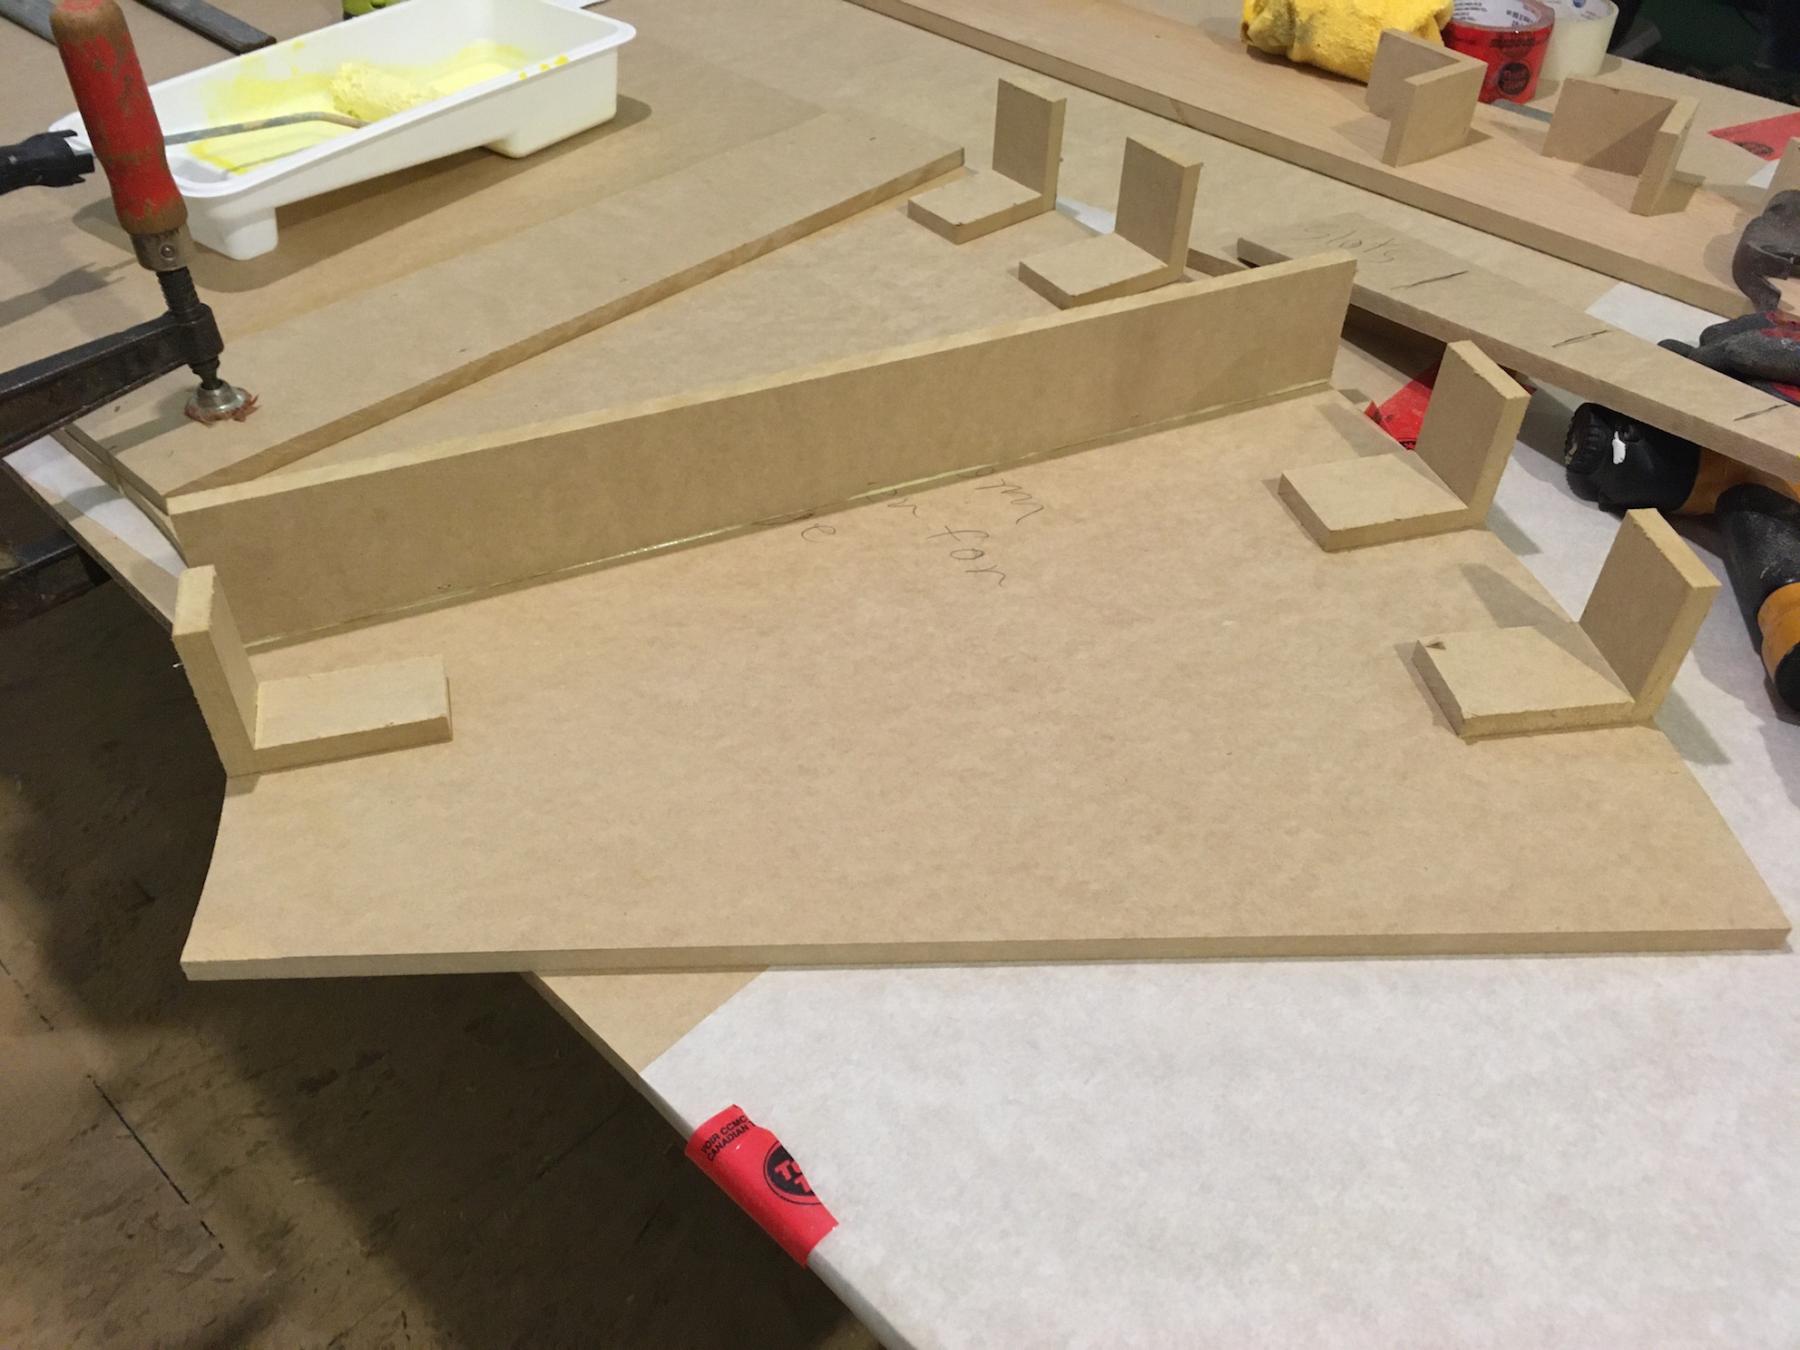
Made up a temporary work table with a sheet of parchment paper taped on to do the gluing and stapling. Also I cut up enough triangles for about half the legs.


Featured Raceway - Elmsford Raceway


A blast from the past some of you might find interesting.


  • Matt Sheldon, William Bowden and Steve Roope like this

#124 Steve Ogilvie

Steve Ogilvie

    Race Leader

  • Subscriber
  • PipPipPipPipPip
  • 630 posts
  • Joined: 17-November 14
  • Gender:Male
  • Location:Kincardine, Ontario, Canada

Posted 17 April 2020 - 05:55 PM

I have now completed the assembly of a piece, the over bridge straight and corner:


IMG_2861.jpg

All edges get trimmed with this router and a straight edge. I bought this router in 1986, I think I have changed one set of brushes and put on 2 new base plates. Note the flats on either side, you cannot get a good edge without this type of base.


IMG_2864.jpg


IMG_2865.jpg


IMG_2868.jpg


IMG_2873.jpg


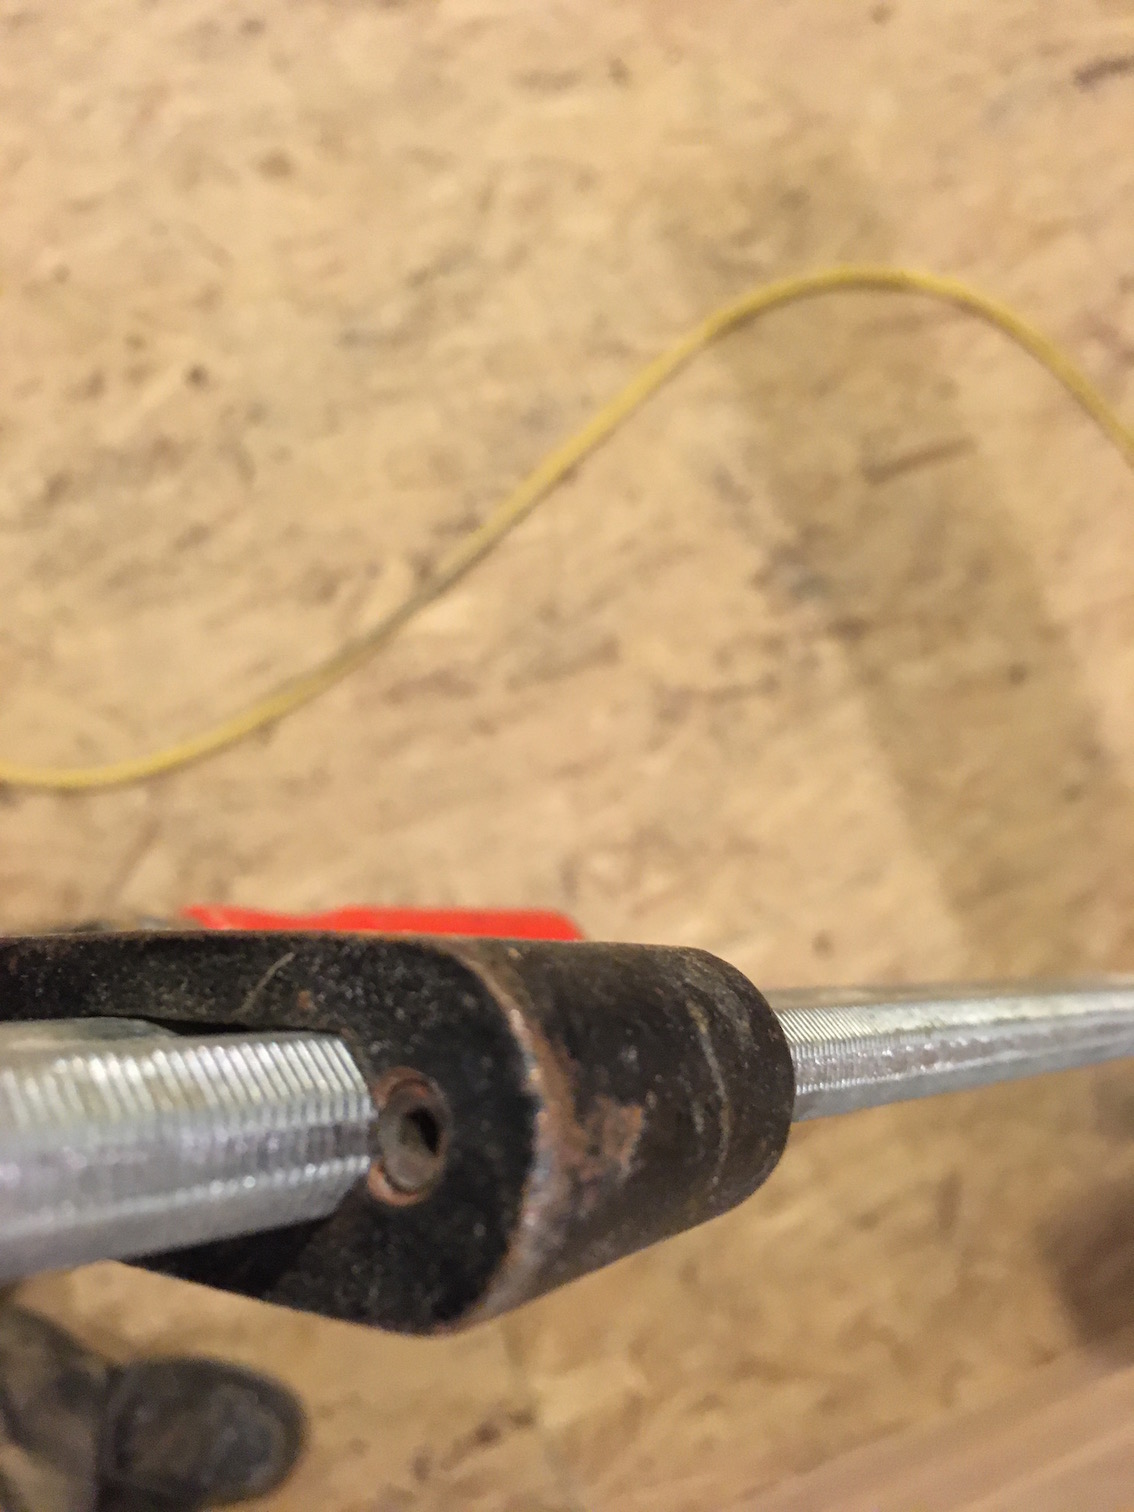
Here is a pic of a sliding bar clamp, bessey brand, made in Germany. They make two types, one with this set screw one without. Do not buy the one without the set screw. As they get old they slip.


IMG_2860.jpg

Attached Images

  • IMG_2861.jpg

  • William Bowden likes this

#125 Steve Ogilvie

Steve Ogilvie

    Race Leader

  • Subscriber
  • PipPipPipPipPip
  • 630 posts
  • Joined: 17-November 14
  • Gender:Male
  • Location:Kincardine, Ontario, Canada

Posted 17 April 2020 - 06:16 PM

Another pic I meant to put in: 


IMG_2869.jpg


I added these ribs for the overbridge area. We did the same sort of bracing on every section of all our 8 lane tracks starting about 1998 or so. We always had lots of offcuts to make strips out of so why not add strength for free.


  • Lou E and William Bowden like this


Electric Dreams Online Shop