Scratchbuilt chassis gallery
#2176

Posted 20 May 2014 - 10:16 AM
He's officially made it. Lol
Actually a fair amount different.
Way different down stop system.
Nice job by Eric.
Mike Swiss
Inventor of the Low CG guide flag 4/20/18
IRRA® Components Committee Chairman
Five-time USRA National Champion (two G7, one G27, two G7 Senior)
Two-time G7 World Champion (1988, 1990), eight G7 main appearances
Eight-time G7 King track single lap world record holder
17B West Ogden Ave., Westmont, IL 60559, (708) 203-8003, mikeswiss86@hotmail.com (also my PayPal address)
Note: Send all USPS packages and mail to: 692 Citadel Drive, Westmont, Illinois 60559
#2177

Posted 20 May 2014 - 10:21 AM
LOL agreed Mike. great work, looks a lot more flex able. My chassis by design is stiff from the motor back and gets flexible forward of the Motor.
John Chas Molnar
"Certified Newark Wise Guy since 1984" (retired)
"Certified Tony P Chassis God 2007.2023
Retro Chassis Designer-Builder
#2178

Posted 22 May 2014 - 07:32 PM


- 7D7 Hobbies likes this
Joe "Noose" Neumeister
Sometimes known as a serial despoiler of the clear purity of virgin Lexan bodies. Lexan is my canvas!
Noose Custom Painting - Since 1967
Chairman - IRRA® Body Committee - Roving IRRA® Tech Dude - "EVIL BUCKS Painter"
"Team Evil Bucks" Racer - 2016 Caribbean Retro Overall Champion
The only thing bad about Retro is admitting that you remember doing it originally.
#2179

Posted 22 May 2014 - 11:14 PM
Sexy Stocker, another great Katz Build !!!
John Chas Molnar
"Certified Newark Wise Guy since 1984" (retired)
"Certified Tony P Chassis God 2007.2023
Retro Chassis Designer-Builder
#2180

Posted 23 May 2014 - 05:51 PM
Since I won't be in the Stock car race I hope Joe can make it work and put it in the A main!!
Mike Katz
Scratchbuilts forever!!
#2182

Posted 23 May 2014 - 08:10 PM
Mike Swiss
Inventor of the Low CG guide flag 4/20/18
IRRA® Components Committee Chairman
Five-time USRA National Champion (two G7, one G27, two G7 Senior)
Two-time G7 World Champion (1988, 1990), eight G7 main appearances
Eight-time G7 King track single lap world record holder
17B West Ogden Ave., Westmont, IL 60559, (708) 203-8003, mikeswiss86@hotmail.com (also my PayPal address)
Note: Send all USPS packages and mail to: 692 Citadel Drive, Westmont, Illinois 60559
#2183

Posted 23 May 2014 - 08:11 PM
Looks great, Eddie! Simple is usually the best. Now, go race it!
Remember, two wrongs don't make a right... but three lefts do! Only you're a block over and a block behind.
#2184

Posted 23 May 2014 - 08:12 PM
Thanks Mike. I have looked at some of your parts and will be in touch when I start the next one.
#2185

Posted 23 May 2014 - 08:26 PM
Looks good---simple and effective!!! Nice!!
#2186

Posted 23 May 2014 - 10:40 PM
Looks good Ed!!You will have a big smile when you drive it around the track!! If I may make a suggestion--try putting acid on the bottom of the pan hinge tubes and resoldering without adding any more solder. This will make a much stronger joint since the tubes will now be attached securely on both sides.
Mike Katz
Scratchbuilts forever!!
#2187

Posted 24 May 2014 - 05:01 AM
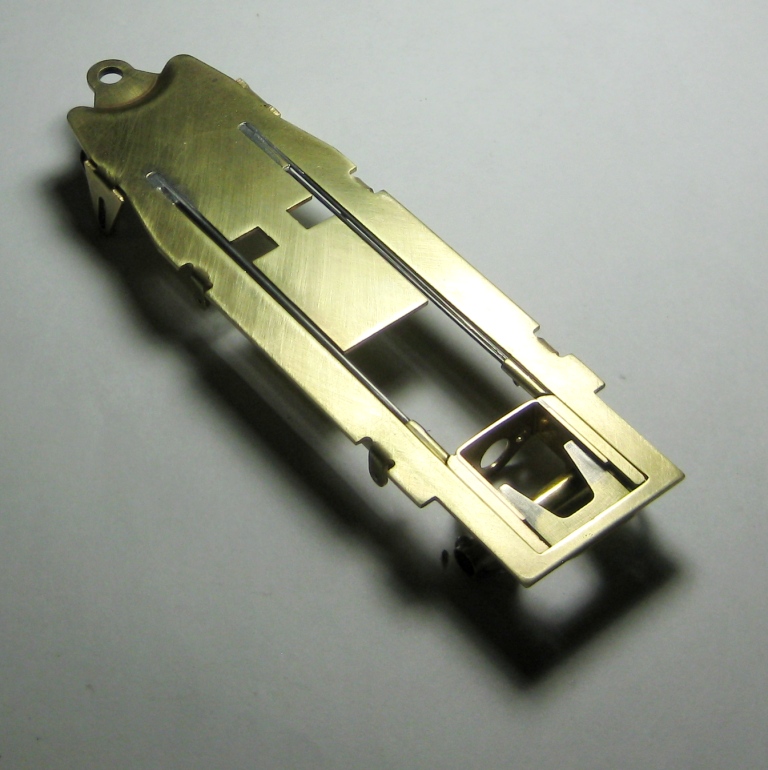
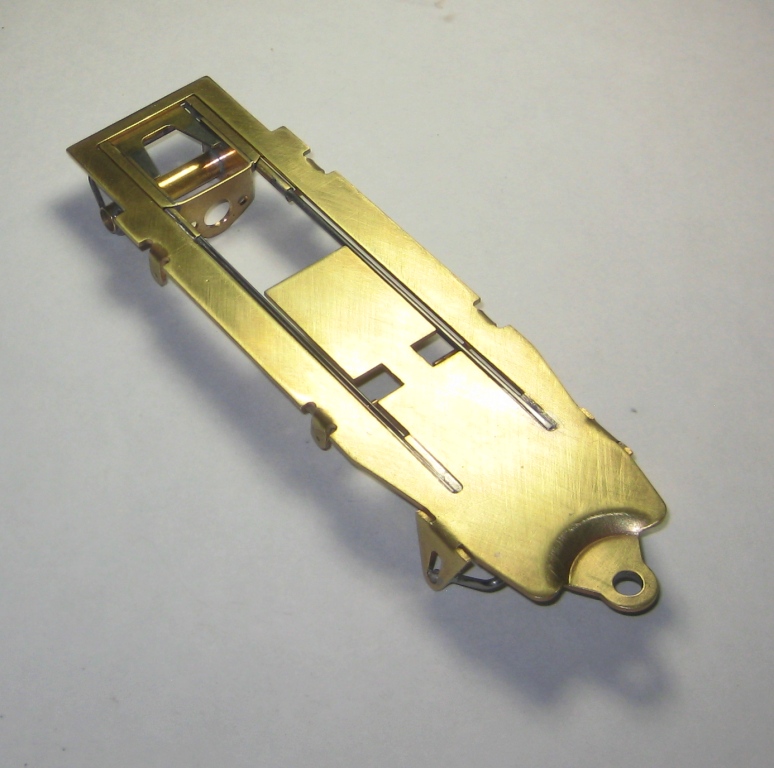
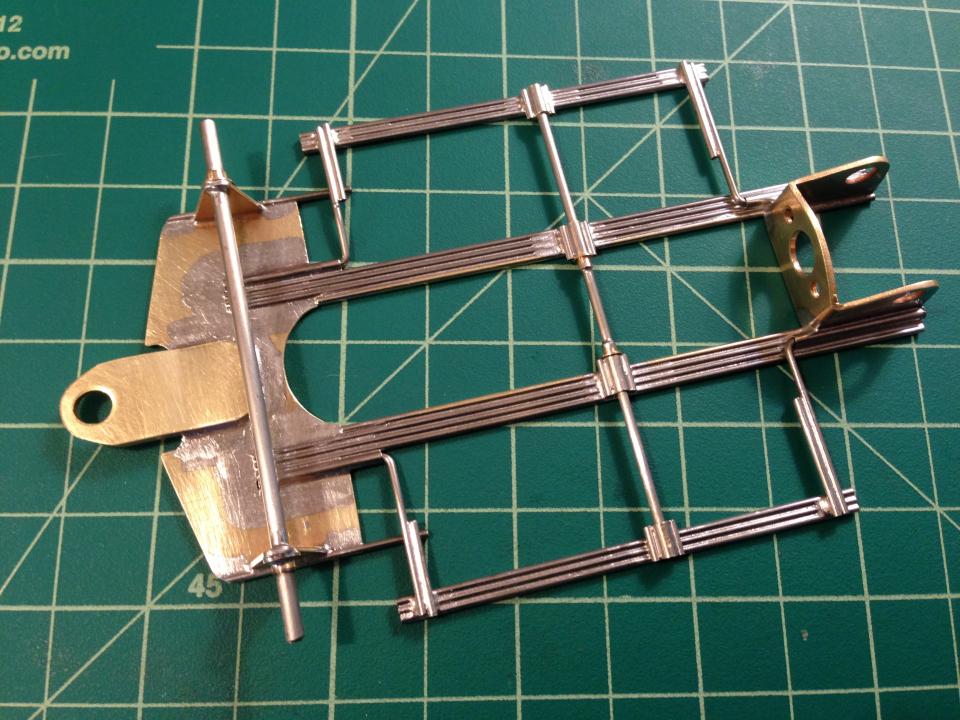
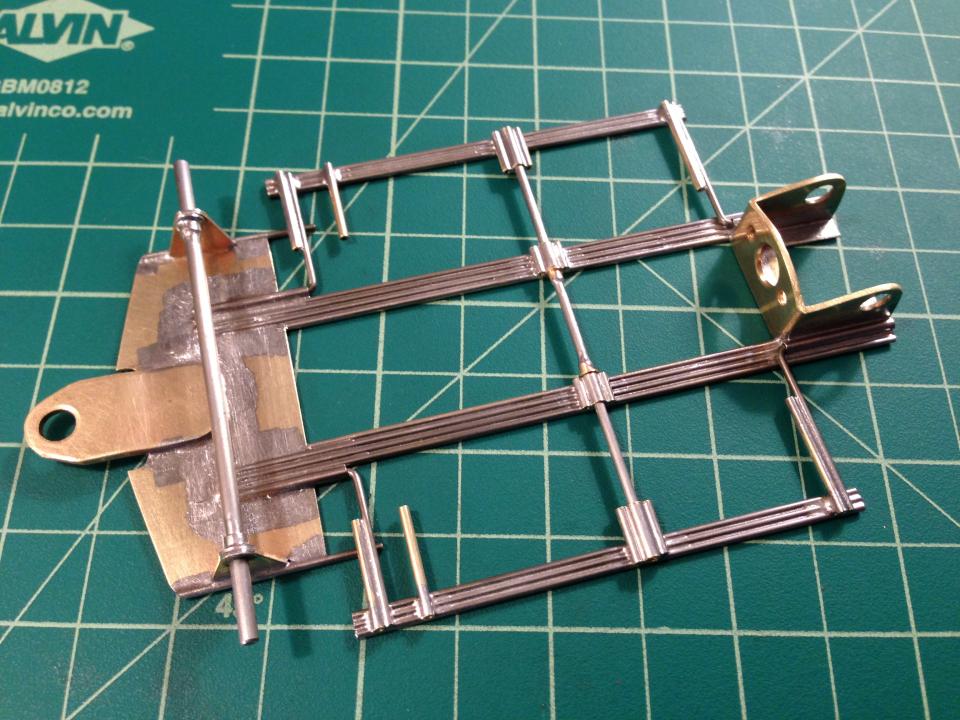
2015 Gator-Built AdjustaBiteTM LTO (prototype preview)
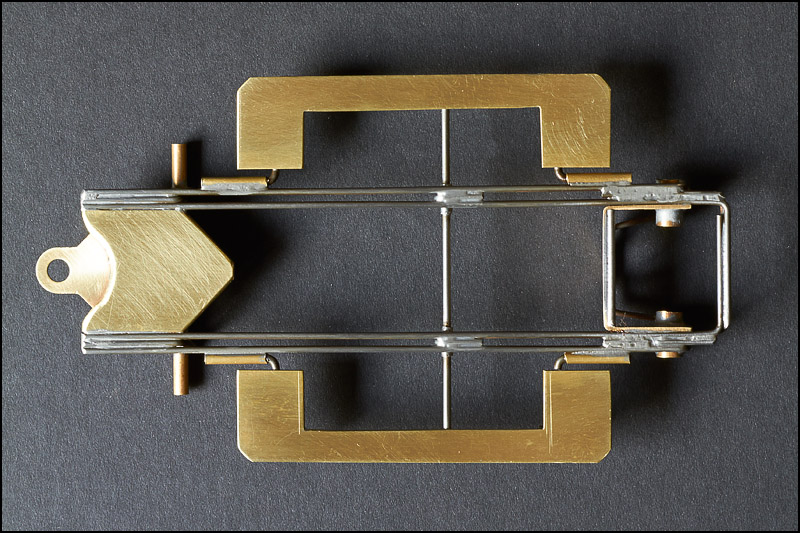
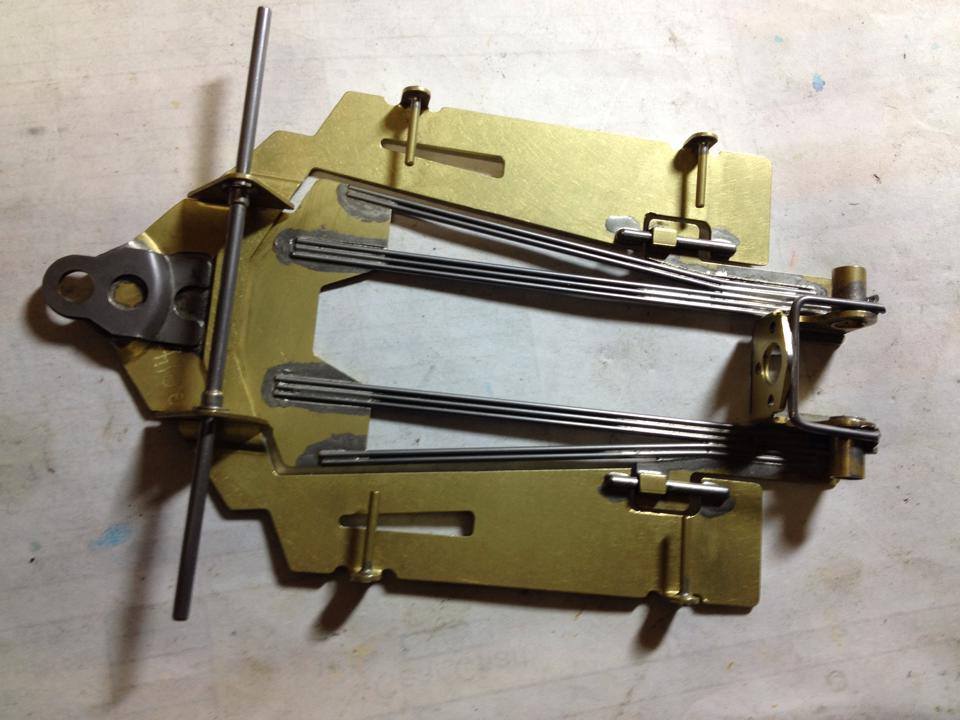
R-Geo Kit based 3 rail will get inspected for rule compliance at this stage before final fit and finish.
"Why mess around?" After solder touch-up and tumble it should look pretty good. Test results to follow.
**Beware of copies**
#2188

Posted 24 May 2014 - 06:31 AM
Bob that looks real nice!! I don't see any reason why it should not be legal. My question is what are the vertical pieces attached to the pin tubes for? Also have you ever had a motor attached to that bracket?
- The Groove likes this
Mike Katz
Scratchbuilts forever!!
#2189

Posted 25 May 2014 - 04:01 PM
Bob, Looks interesting. 3 rail? I think I see 4. Could you explain what the motor box/rear end does? I assume the vertical brass pieces in the middle are to control flex? Great Build!
#2190

Posted 25 May 2014 - 04:42 PM
Really nice build from a great basic starting point (Victory kit). Looks to me as if the primary function of the vertical fences is to provide lightweight reinforcement to the pin tubes. What I'm wondering about is the "adjustable" part. Looks to me that the adjustment is adjusting the wheelbase via moving the rear bracket fore and aft but then...................I don't see all that well these days.
#2191

Posted 25 May 2014 - 08:29 PM
Coming from you guys it must be OK so far.
Thanks !
slotcarone, on 24 May 2014 - 11:31 AM, said:
Bob that looks real nice!! I don't see any reason why it should not be legal. My question is what are the vertical pieces attached to the pin tubes for? Also have you ever had a motor attached to that bracket?
Mike,
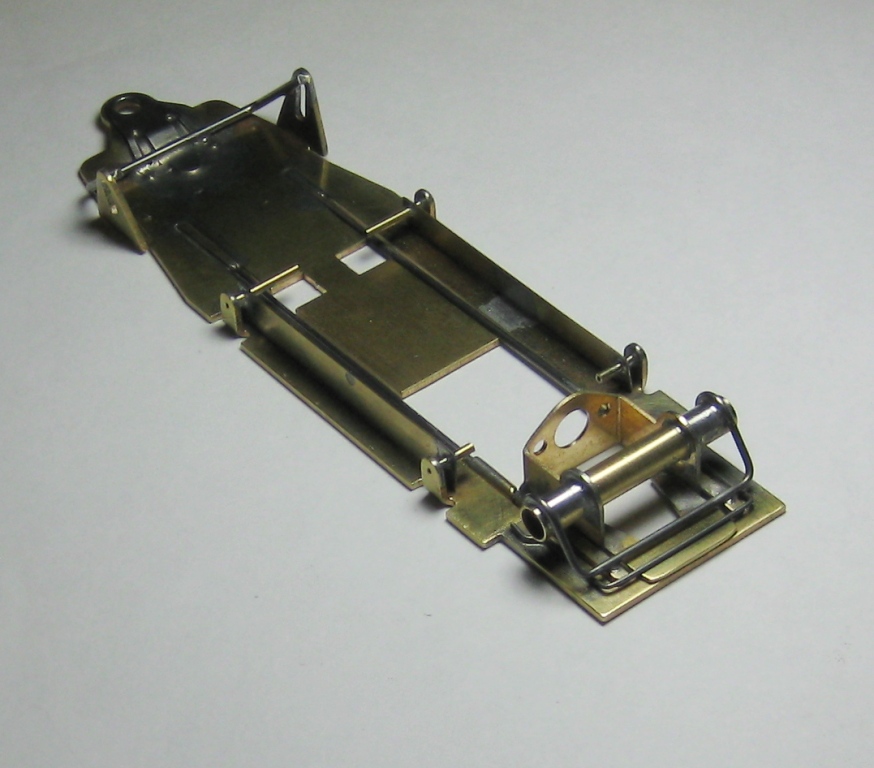
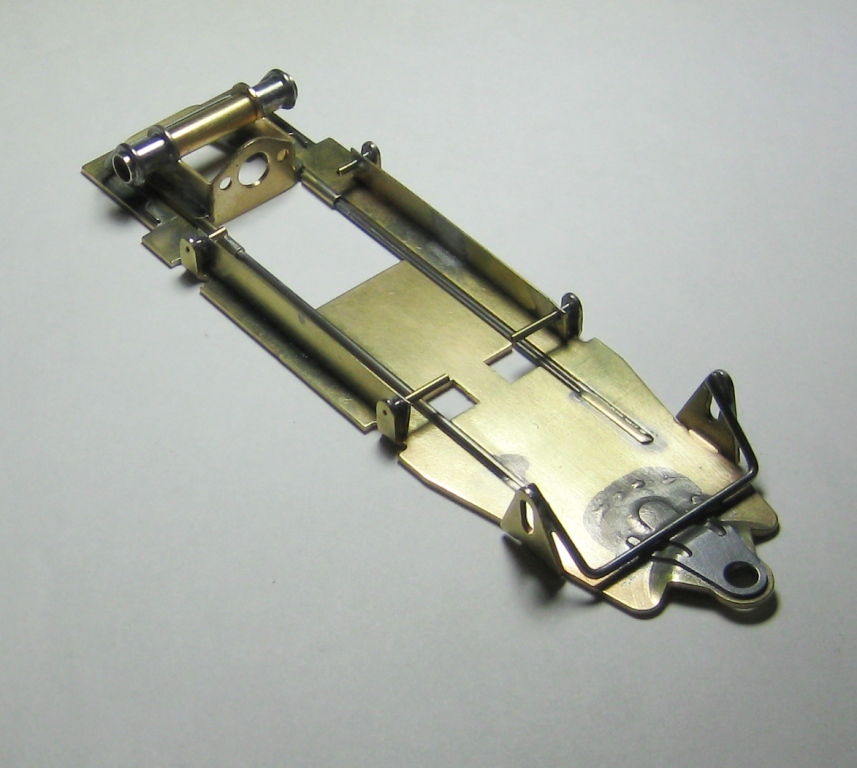
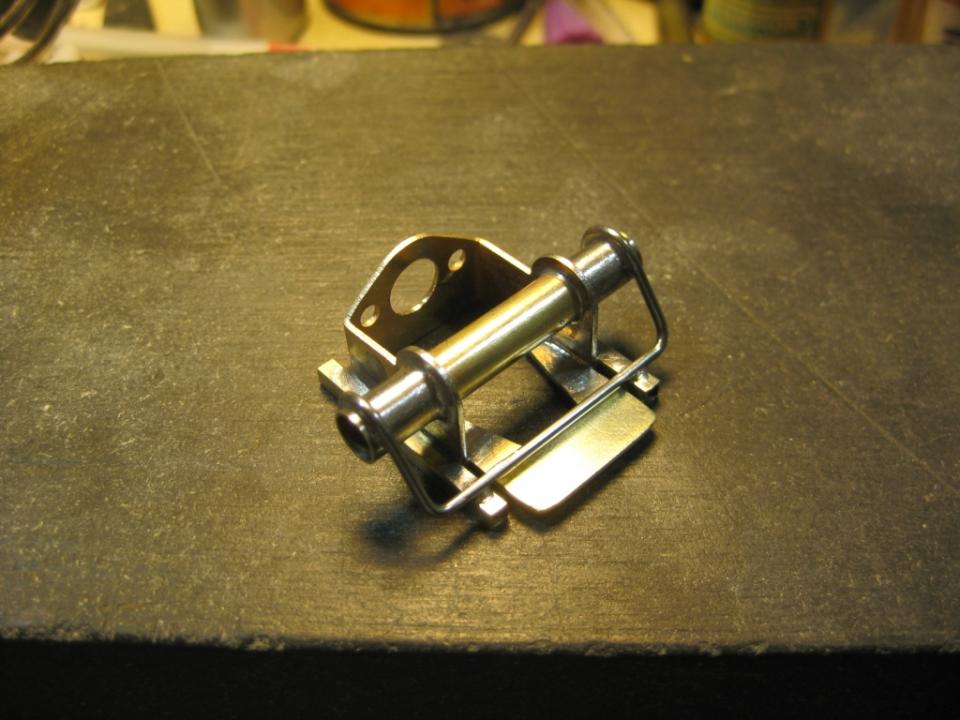
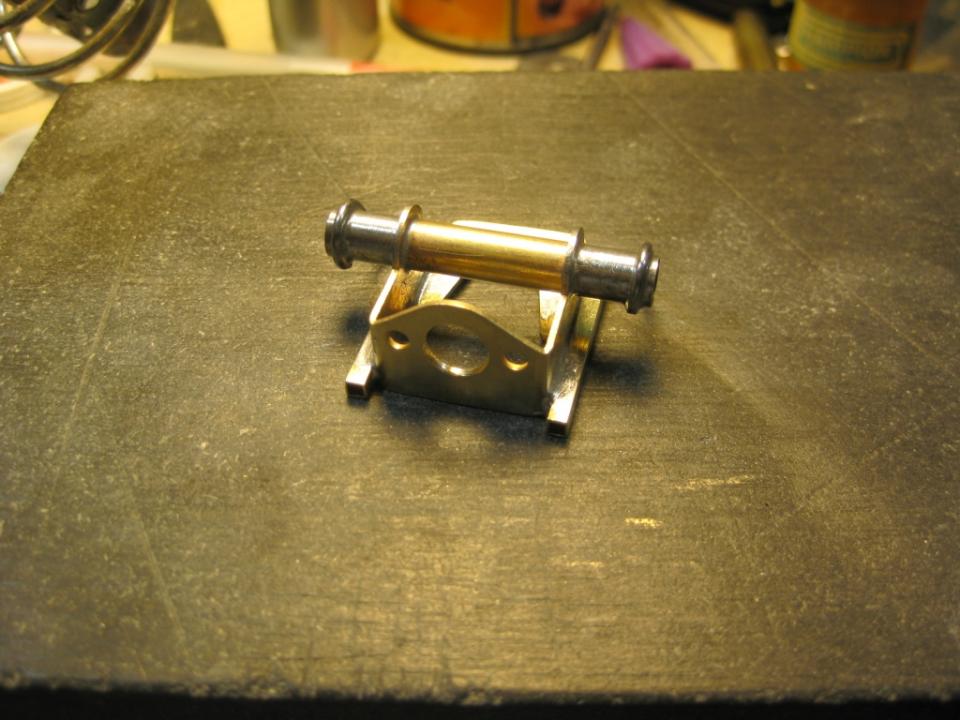
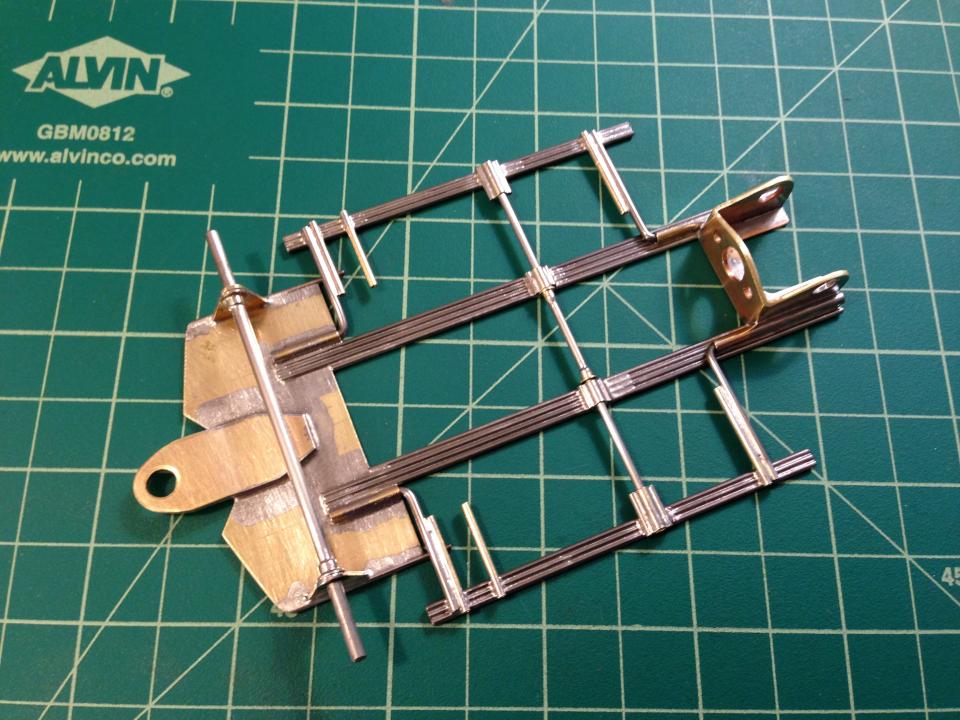
Motor was mounted, bracket tweeked to (almost totally) flat, flaired for BB/PD if needed. The motor was removed before the axle tube was put in... it's a complicated process (for me) to build the floting box. Picture #4 makes the mount look totally curved but I think the angle cut on the 'Sliders' and the camera really tricks the eye.
TG Racing, on 25 May 2014 - 9:01 PM, said:
Bob, Looks interesting. 3 rail? I think I see 4. Could you explain what the motor box/rear end does? I assume the vertical brass pieces in the middle are to control flex? Great Build!
Thom,
It's 3 rails.
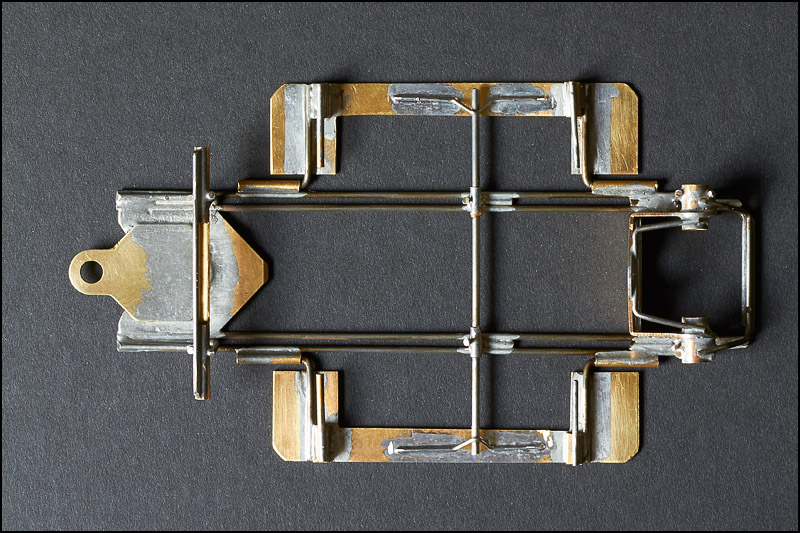
Here is the 'Slider Box' post assembly in the 'chill-out' stage. This would be the best time to sand the solder joints and then tumble.
JimF, on 25 May 2014 - 9:42 PM, said:
Really nice build from a great basic starting point (Victory kit). Looks to me as if the primary function of the vertical fences is to provide lightweight reinforcement to the pin tubes. What I'm wondering about is the "adjustable" part. Looks to me that the adjustment is adjusting the wheelbase via moving the rear bracket fore and aft but then...................I don't see all that well these days.
Jim,
The "AdjustaBite" feature gives the option of adding up to 1/6th of an inch of pre-set 'rear steer'. The 2x1 rail flex will add more active movement under load on track. The static 1/6th'full bite' will probably only needed be on shorter flat tracks
Keep in mind this is a Left Turn Only chassis.
The vertical brass 'Aero-Pans" serves many functions. I figured if I was going to raise the cars weight and CoG with these they better work hard.
- Possible under body air channeling.
- They keep the narrow rails strong by making them a modified 'T'
- They support and ad some rigidity to the body pin tubes.
- Flexibility in body tuning with respect to side force. Locals affectionately call many of my LTO cars "all cattywompus".
- And .. last but not least will be 'Body Slop or Stop' and obvious when the car is completed.
The chassis is far from complete as I have to do the whole front end 'Inertia cross weight' drop center part.
The front up-rights are spread to the full width of the pans. If what is seen here is IRRA compliant then the rest of the chassis will be too.
What I learned in slots was brought over to 1:1, now that I'm back in slots I'm bring over what I learned in 1:1 racing.
Much of it does translate 'both ways'.

Bob Israelite
#2192

Posted 01 June 2014 - 11:00 PM
Spent some time over the weekend with the hopes of upping my game at the Summer Western Classic.
Got some info from my friend Don Cambell because I wanted to build a multi rail chassis similar to what he has been doing quite well with lately.
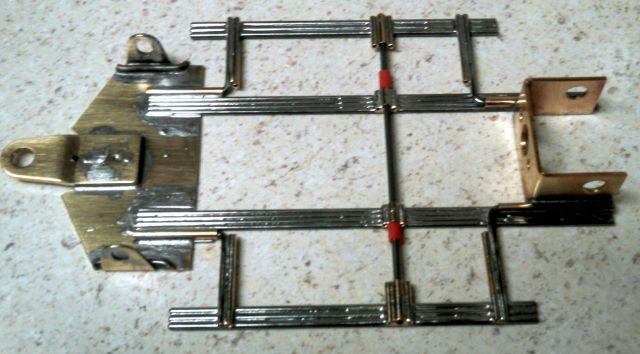
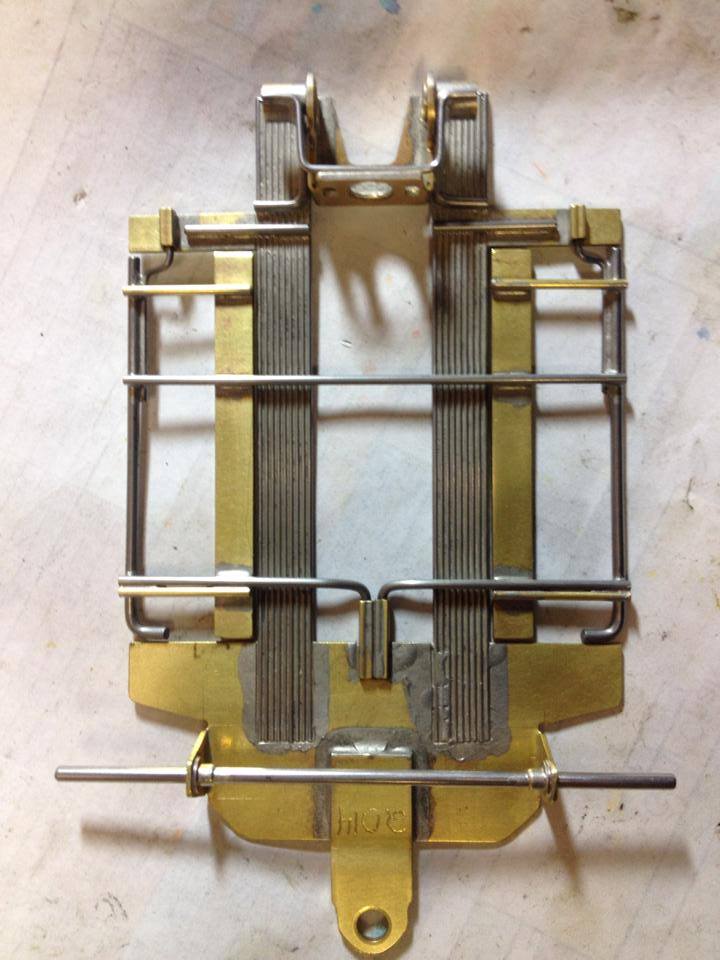
This is what came off the jig.
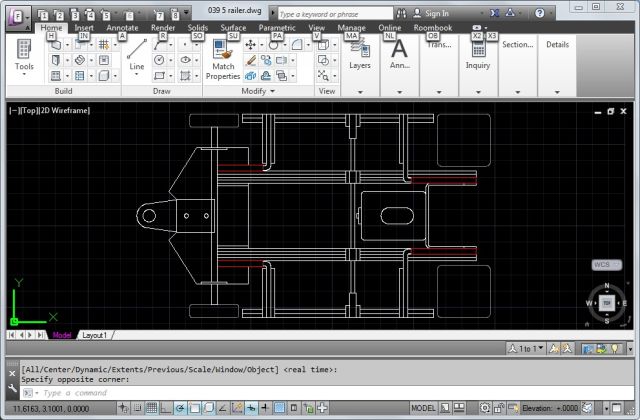
This is the drawing I did in advance.
I recycled an old chassis I had stuffed in my retired chassis drawer for the Warmack nose piece. Ripped it apart and sliced and diced to what is pictured.
Overall length: 4.835"
Guide lead: 1.00"
Wheelbase: 3.835
Main Rails: 4 X .047" (per side)
Pans: 3 X .0625" (per side)
Motor bracket: 1.00" Warmack
11/27/57-8/12/22
Requiescat in Pace
#2193

Posted 02 June 2014 - 09:23 AM
Good job, Craig! Recycling, huh? Why not... the 1:1 guys did it too.
Remember, two wrongs don't make a right... but three lefts do! Only you're a block over and a block behind.
#2195

Posted 16 June 2014 - 01:46 AM
……This is DCR #47…….built for a customer for the up coming Western Classic race in July at BPR.Light weight Can-Am for a high-speed king track.At 43g this should build a 90gram RTR.
I plan to build a few more Can-Am's to sell before the big race…………….Take Care everyone……..DC
"DCR Slot Cars" on FaceBook
#2196

Posted 16 June 2014 - 10:10 AM
Awesome build and design Don....
John Chas Molnar
"Certified Newark Wise Guy since 1984" (retired)
"Certified Tony P Chassis God 2007.2023
Retro Chassis Designer-Builder
#2199

Posted 03 July 2014 - 04:59 AM
….DCR #53, another customer order.A little longer,stronger then #52,it is also a bit heaver at 40g…..a nice weight,should build a 88-90 gram RTR….also it has some tricks that I hope will give the car even more bite………..DC
"DCR Slot Cars" on FaceBook
#2200

Posted 03 July 2014 - 01:08 PM
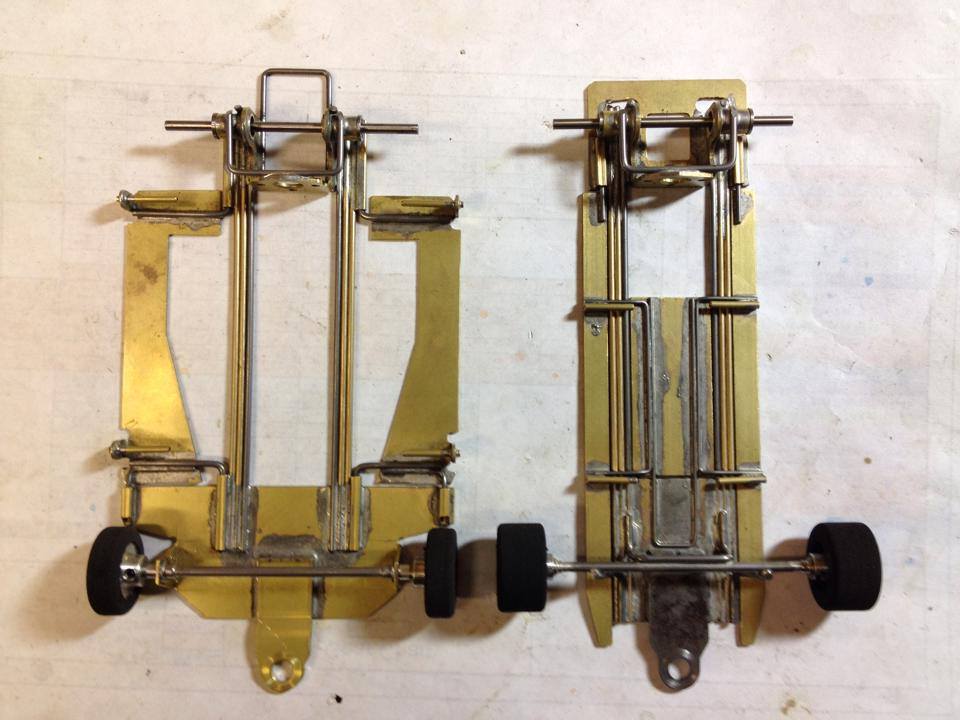
Built some new stuff in my downtime this week. First are a Can-Am/ F1 Pair using Samson style .063 steel/ bronze rails. Can-Am uses a Warmack Nose and Older R-Geo Pans with a 3/4" CL MB. F1 is a Raptor Kit using a CL 3/4" MB and Flat Tongue.
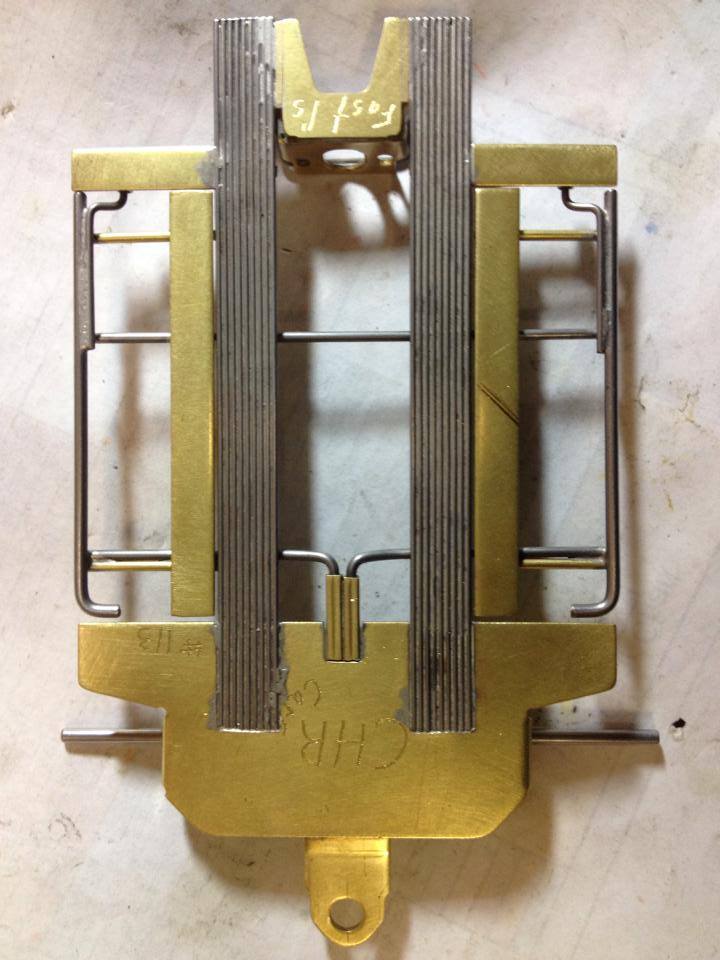
The other car I built is a Tony P inspired 18 rail Can-Am. 18 Rails of .039, Warmack Nose, Older CL 3/4" MB.
- macman likes this


