I spy the infamous "EZ Bake" oven 

yep Pablo...lotta miles on that puppy already!

Looks good! 
Mine?
heck yeah Jairus

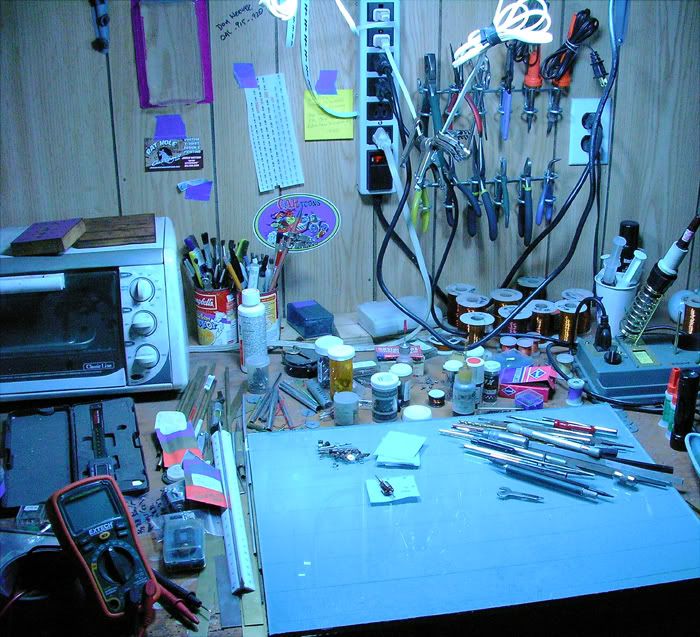
Some details:
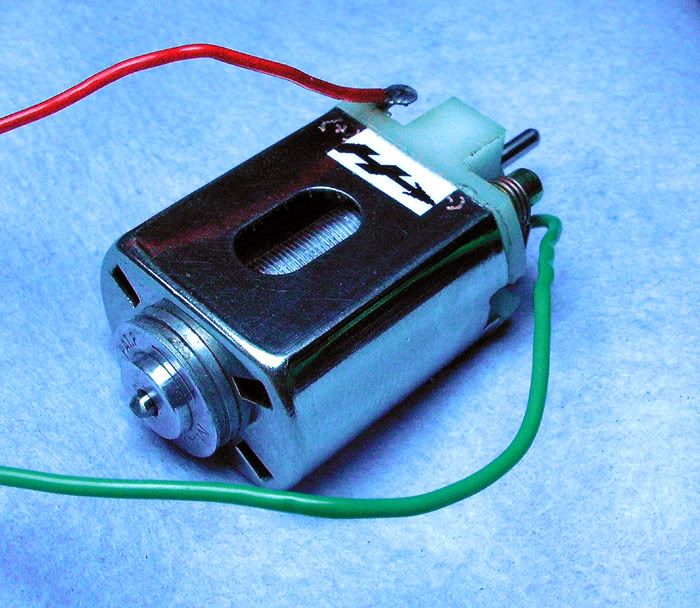
First off, I took a Mabuchi FT16D that was in sore need or some cosmetic surgery and stripped it bare. I then flattened the magnet retaining tabs and filled them with solder and sanded them smooth. I cut down a Falcon can and removed the bushing end altogether. Then I used whatever i could find that would center the Falcon (which is now a can shim) in the Mabuchi. As it turns out, a pair of Magnet spring clips from a Champion worked perfectly to center it side to side. Top and bottom, the Falcon is a neat snug slip-fit.
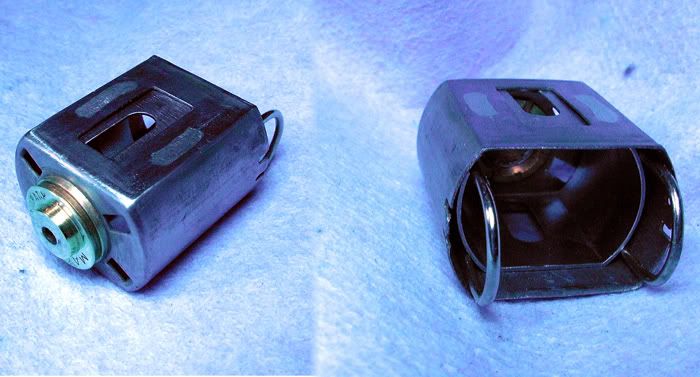
The caged bushing was missing from this can and, even though they're fine when they're snug, I prefer a solid soldered in bushing anyway. I reamed out the back of the can after removing the bushing "fingers" to fit a standard 6mm/2mm bushing and soldered it in with an alignment tool and a junk endbell in place to keep it sitting true while soldering it in. To maintain the stock appearance as best I could, I then sanded the new bushing flush with the bushing boss on the can. I also soldered-in the Falcon can shim and then trimmed it flush with the Mabuchi's top and bottom holes. After a wash in some baking soda to neutralize any acid residue and some finish sanding, the new can and can shim got a coat of textured black for that "serious" look:
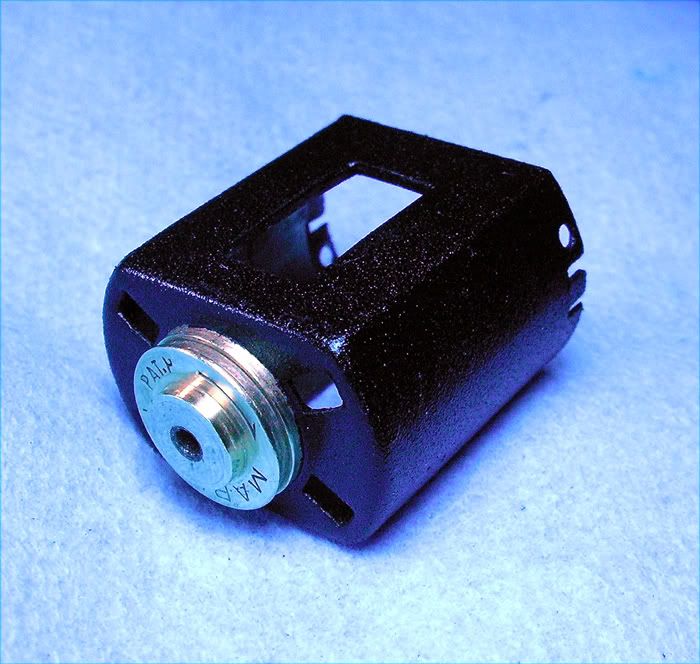
Hard to tell from the outside that there will be something "different" going on inside the old 'Buchi
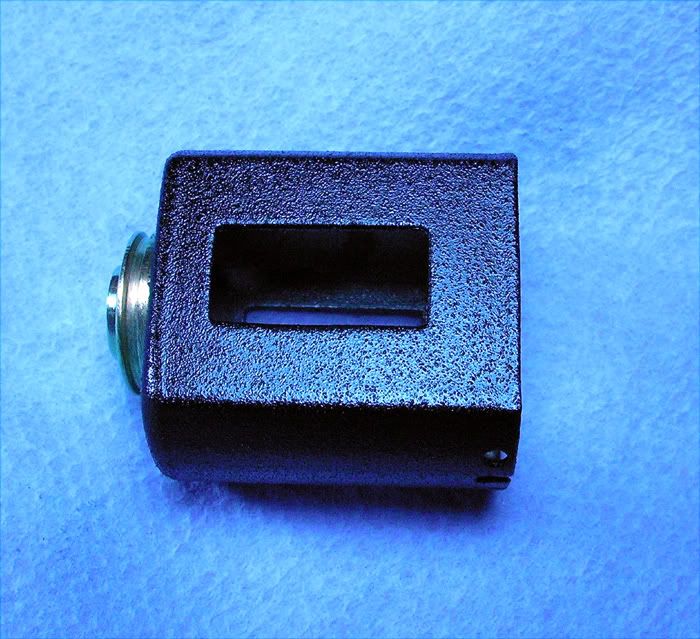
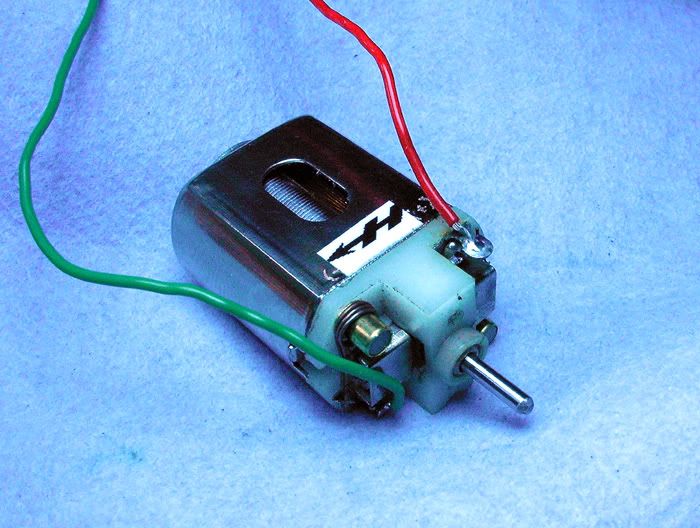
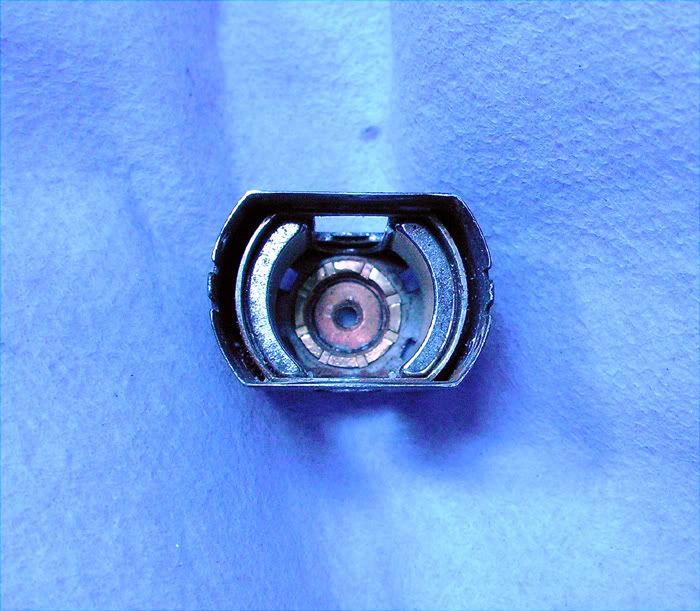
But a quick peek around the other side tells the tale:
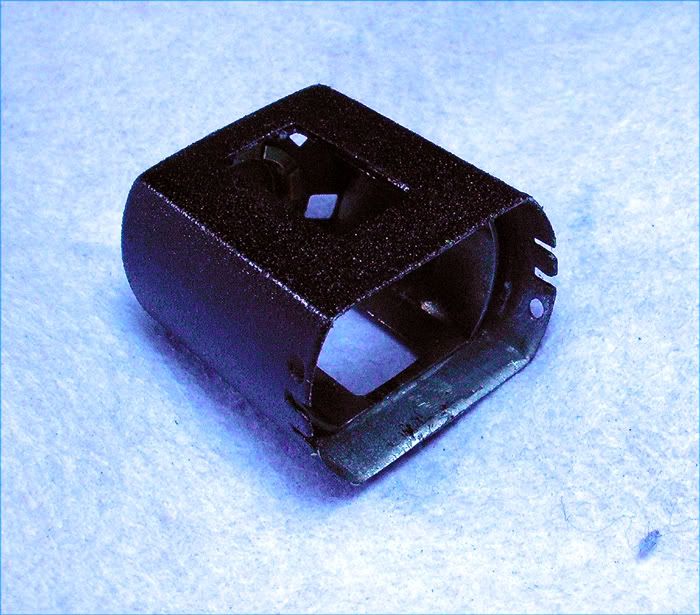
Some more work to get the new magnets in there, but a quick and dirty test with a junk arm confirms the new can is well centered in the FT16D outer can...success! (whew)
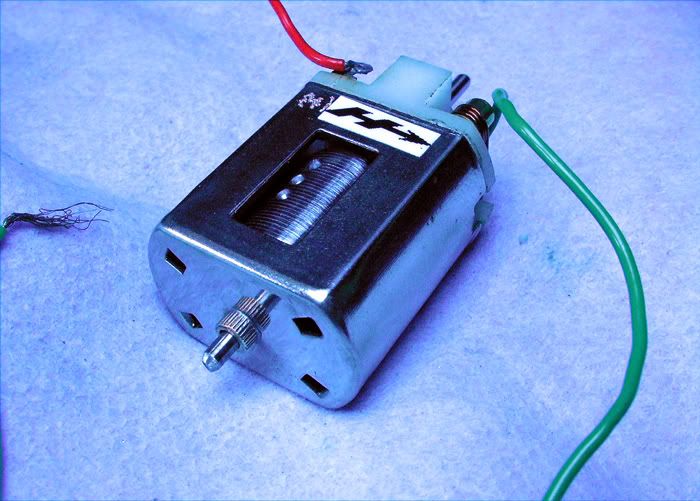
Jairus has a pair of Emovendo neos coming, so to finish the can I took a set I had in another motor out and installed them in this can. I also shimmed them .008" per side to tighten up the airgap:
-john


 This topic is locked