Jump to content


Photo

Building my first D3 Hardbody Group C car


  • Please log in to reply
86 replies to this topic

#51 DeanJ

DeanJ

    Backmarker

  • Full Member
  • PipPip
  • 95 posts
  • Joined: 13-March 26
  • Gender:Male
  • Location:SoCal

Posted 22 April 2026 - 12:54 AM

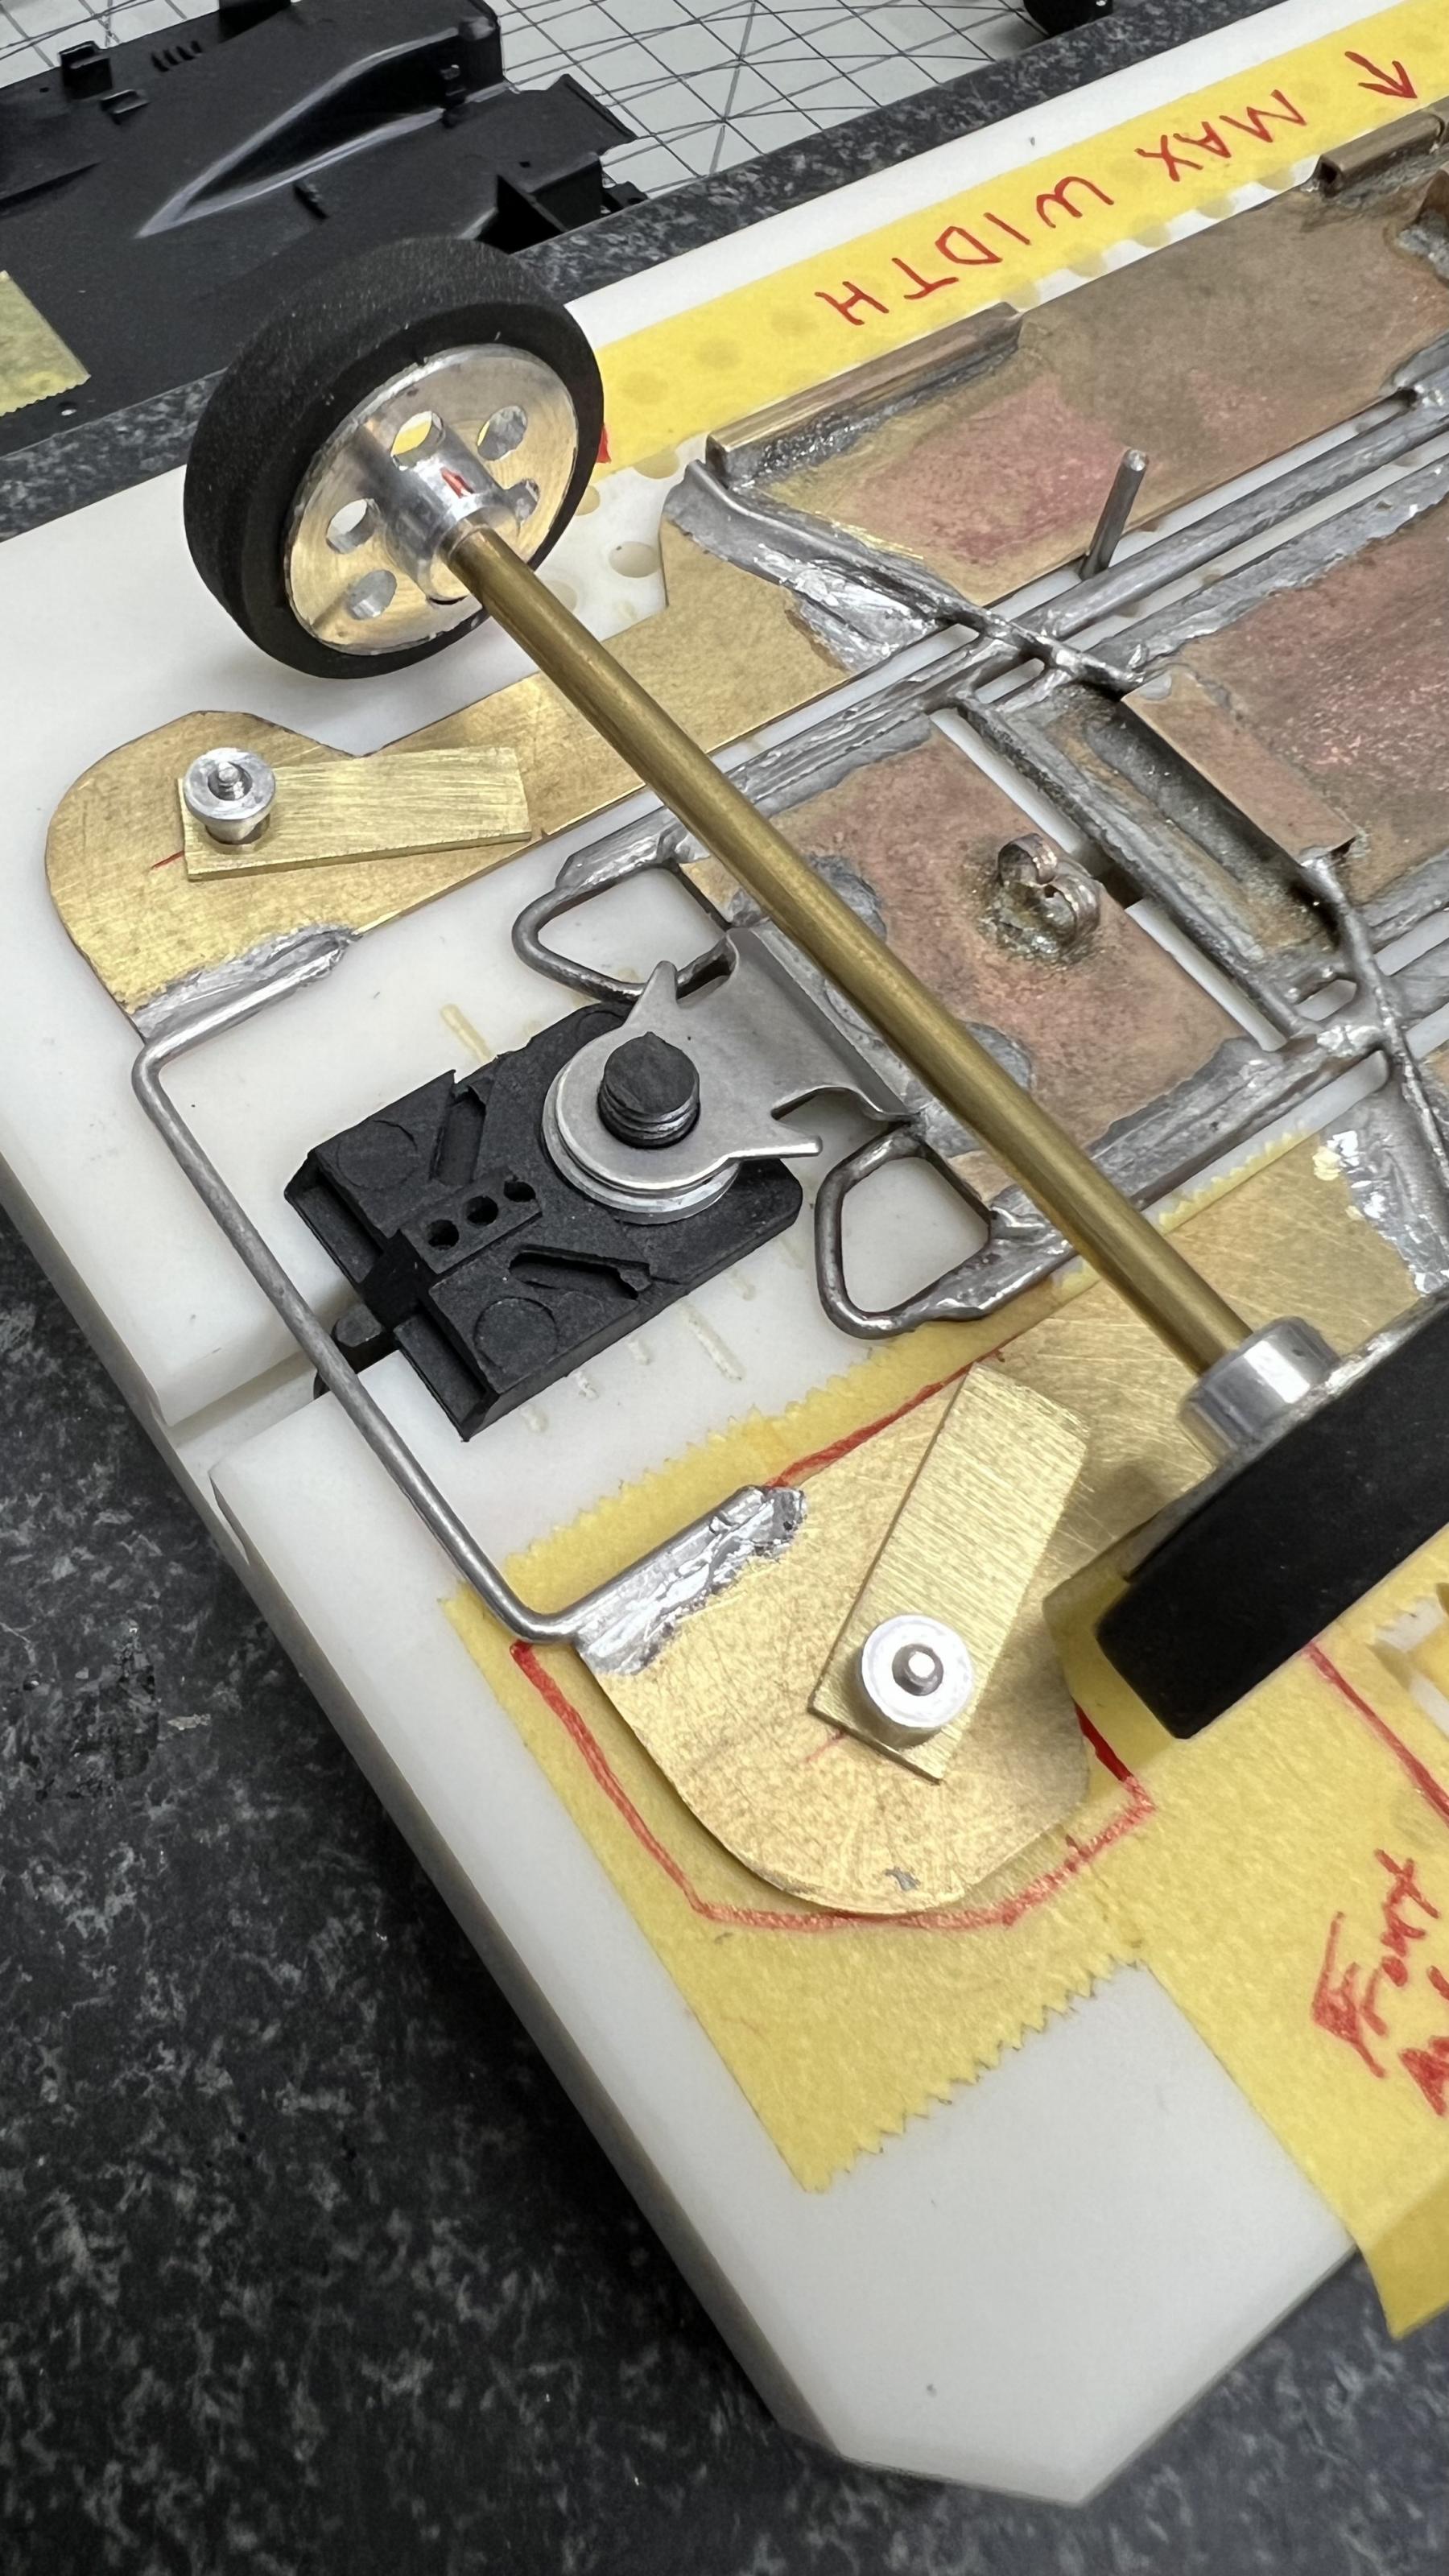
I decided to make the front with suspension and started the work. I'll bend some wire and solder it to the brass guide tube that the axle goes through. I'll use 2 wires per side, one fore and one aft of the guide tube.


IMG_8108.jpeg


I also used the metal polish on the chassis with a toothbrush just to get all the grime off, and it did a good job. Brasso is the name of the product I used. Once it's all completed it'll get a proper sanding and cleaning.


IMG_8109.jpeg


Dean John


#52 DeanJ

DeanJ

    Backmarker

  • Full Member
  • PipPip
  • 95 posts
  • Joined: 13-March 26
  • Gender:Male
  • Location:SoCal

Posted 23 April 2026 - 10:19 PM

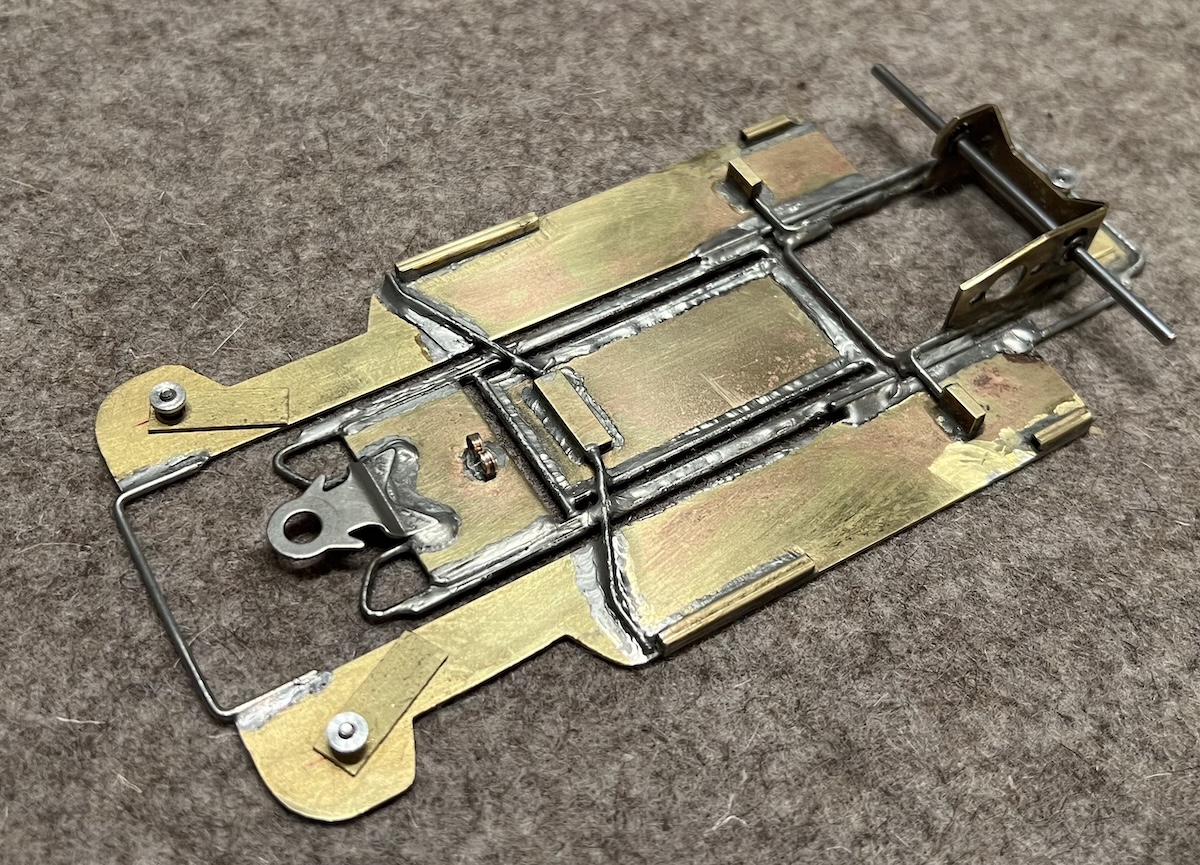
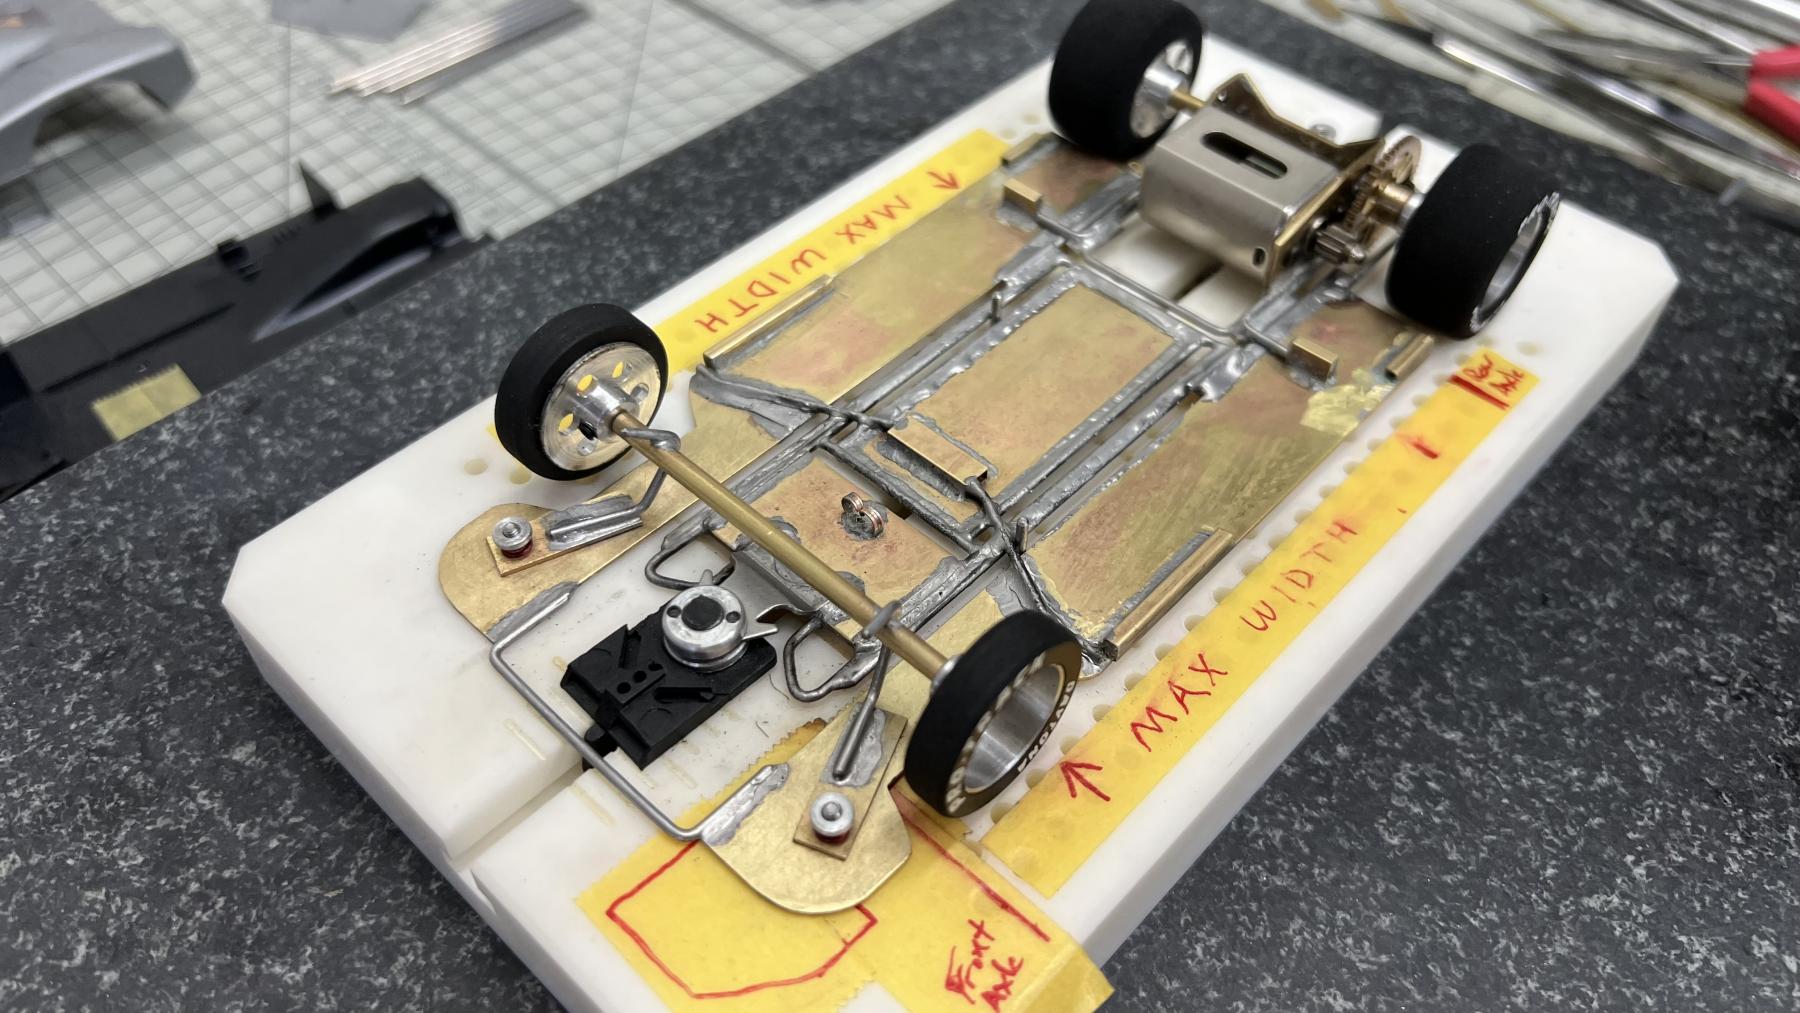
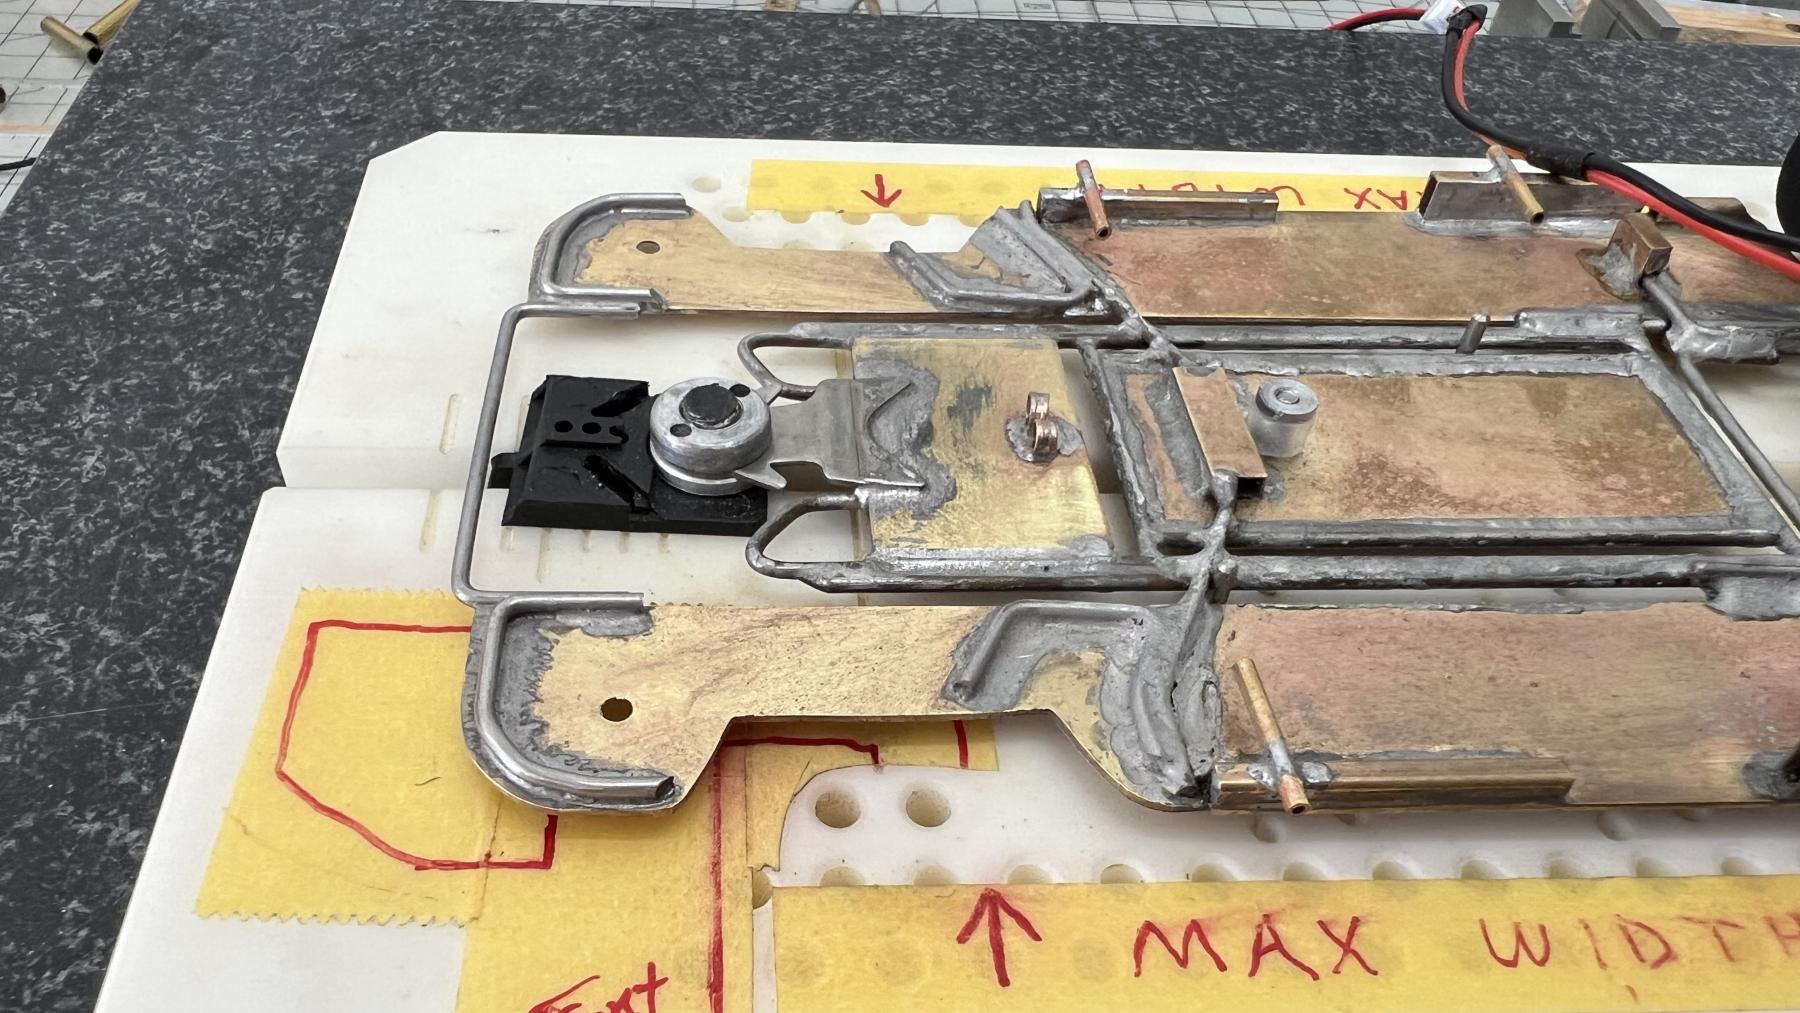
Front end is done, I think. I might lower the front wheels depending on how it sits on the track.
Next is to mount the rectangular tube on the chassis for the body mounts, and make some angle for the inside of the body.

IMG_8117.jpeg
  • olescratch likes this
Dean John

#53 olescratch

olescratch

    olescratch

  • Subscriber
  • PipPipPipPipPip
  • 990 posts
  • Joined: 19-July 13
  • Gender:Male
  • Location:Ravenna, OH

Posted 24 April 2026 - 09:57 AM

   Dean I'm nowhere near to being good at soldering to the point that I'm blind to my own work.  I did notice something that may or may not be of interest to you.  You showed that you are using rosin-cored solder and acid for your joints.  These two together may be causing problems.  I use solid Sn63 along with an acid-based flux.  I'm still having issues with heat, and desire a better iron.


John Stewart

#54 slotcarone

slotcarone

    Posting Leader

  • IRRA National Director
  • PipPipPipPipPipPipPip
  • 4,179 posts
  • Joined: 23-January 07
  • Gender:Male
  • Location:Dutchess County, NY

Posted 24 April 2026 - 10:07 AM

   Dean I'm nowhere near to being good at soldering to the point that I'm blind to my own work.  I did notice something that may or may not be of interest to you.  You showed that you are using rosin-cored solder and acid for your joints.  These two together may be causing problems.  I use solid Sn63 along with an acid-based flux.  I'm still having issues with heat, and desire a better iron.


What are you using for an iron? It's not about the heat it is more about transferring the heat to the work.


Mike Katz

Scratchbuilts forever!!


#55 DeanJ

DeanJ

    Backmarker

  • Full Member
  • PipPip
  • 95 posts
  • Joined: 13-March 26
  • Gender:Male
  • Location:SoCal

Posted 24 April 2026 - 01:23 PM

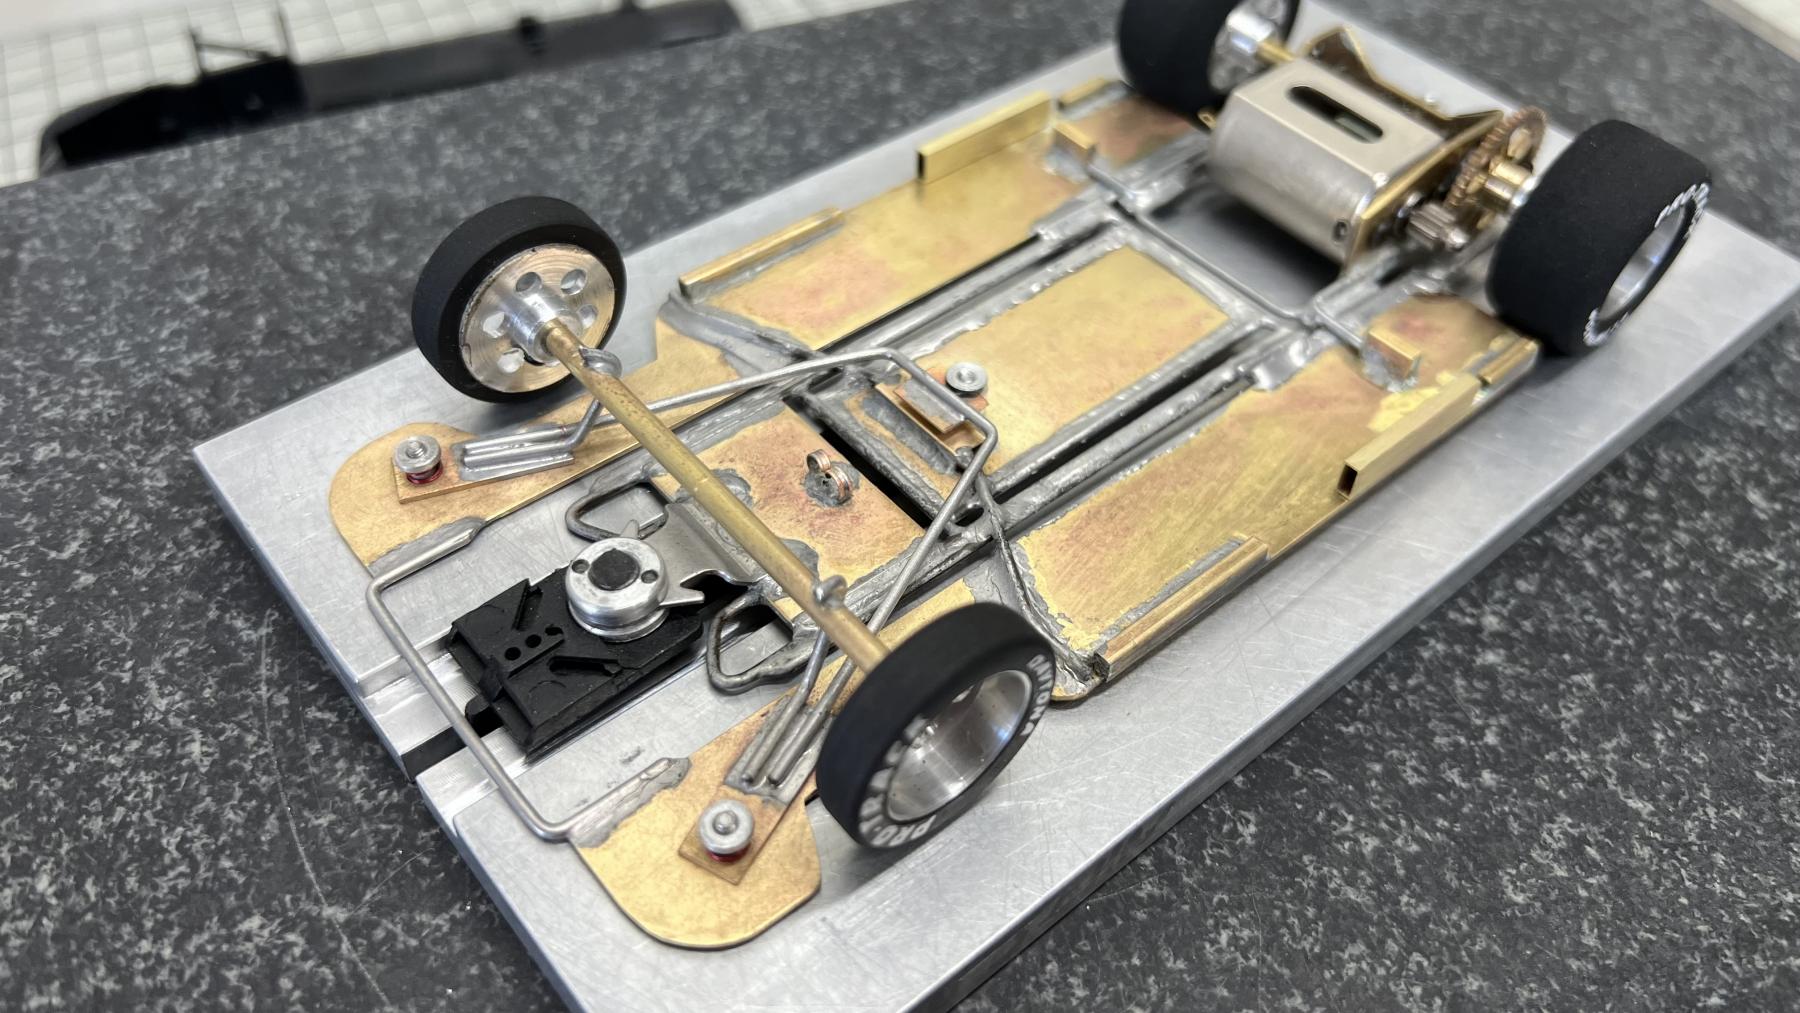
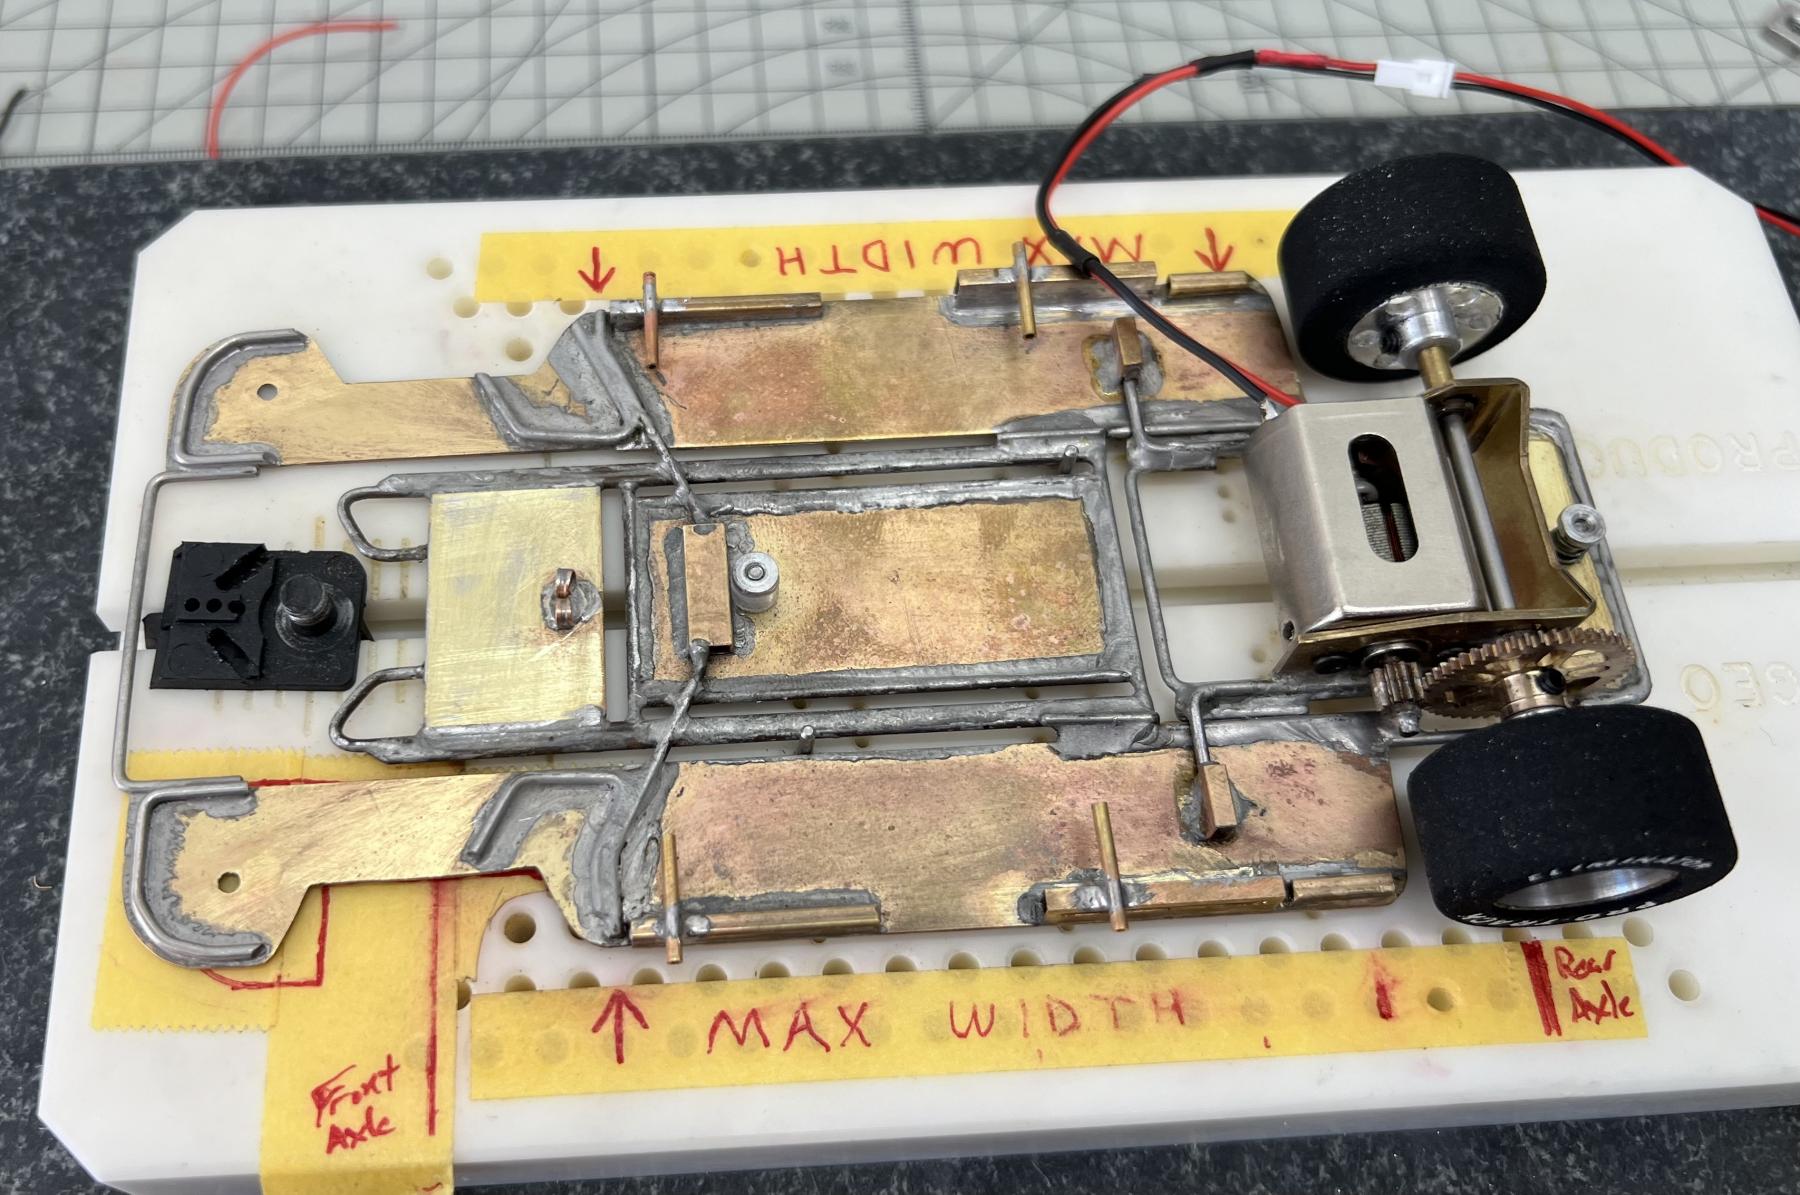
Front suspension is complete

IMG_8118.jpeg

Now to focus on the body mounts and the body itself.

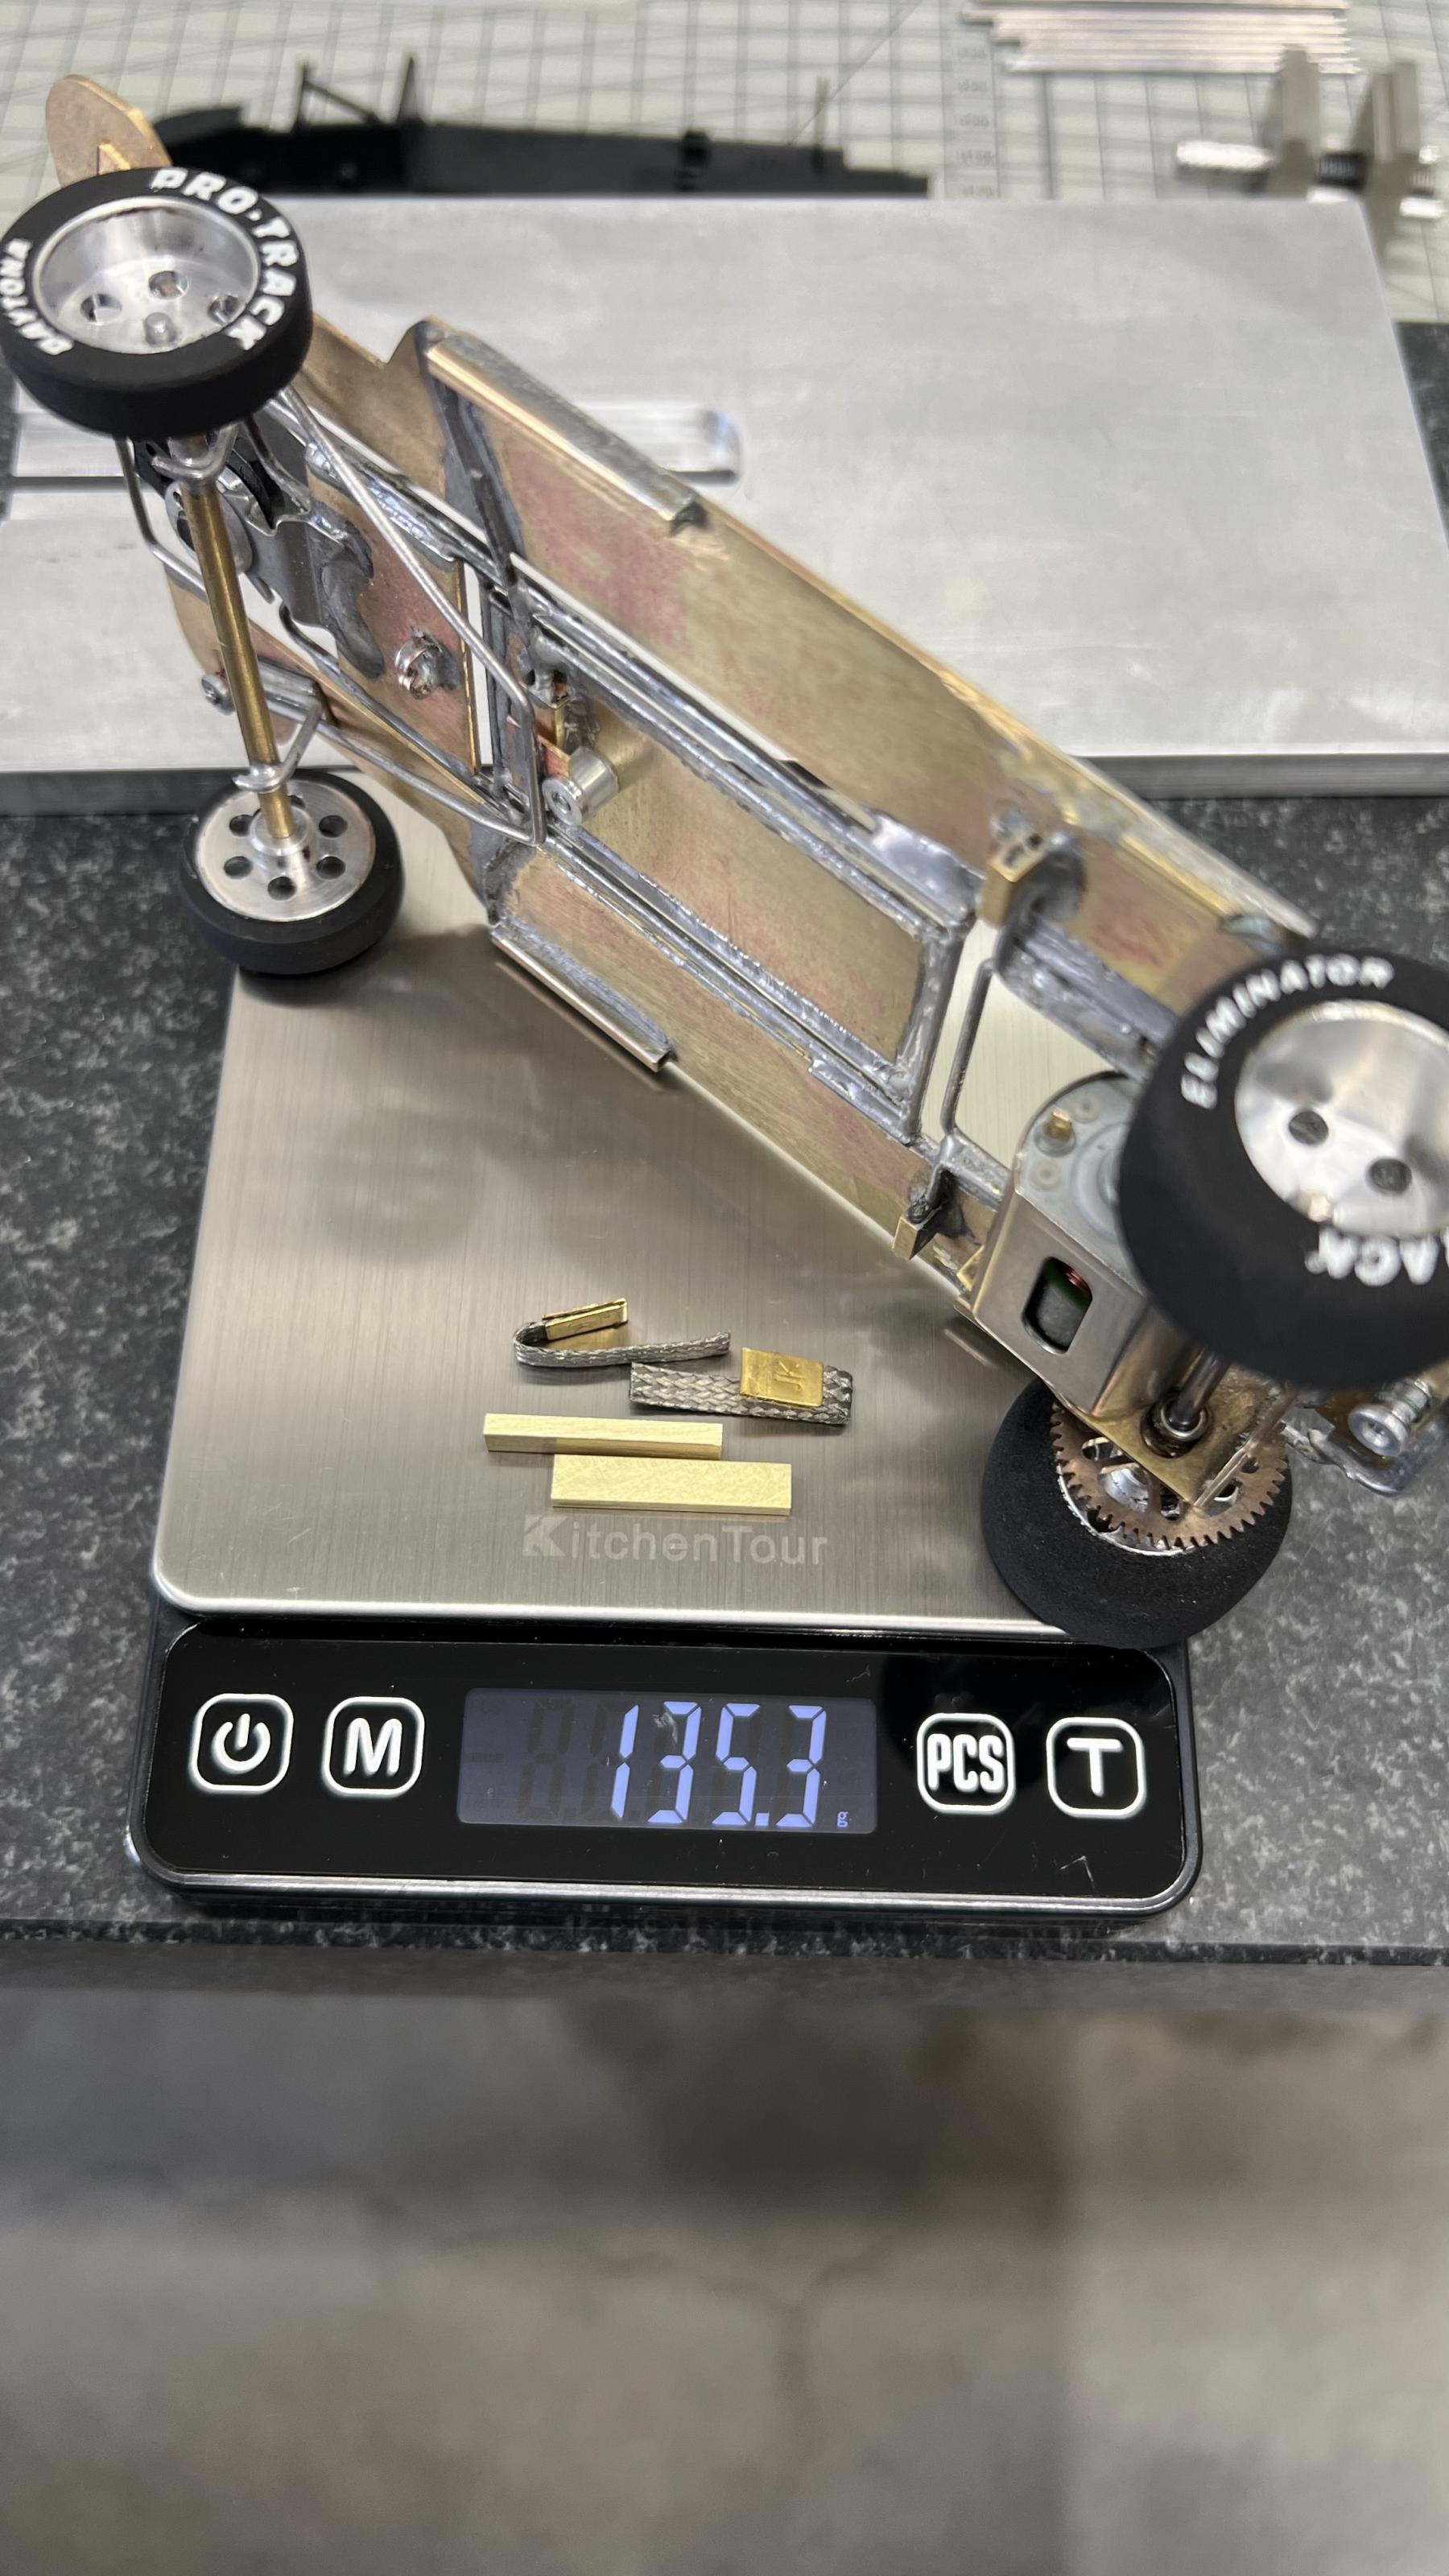
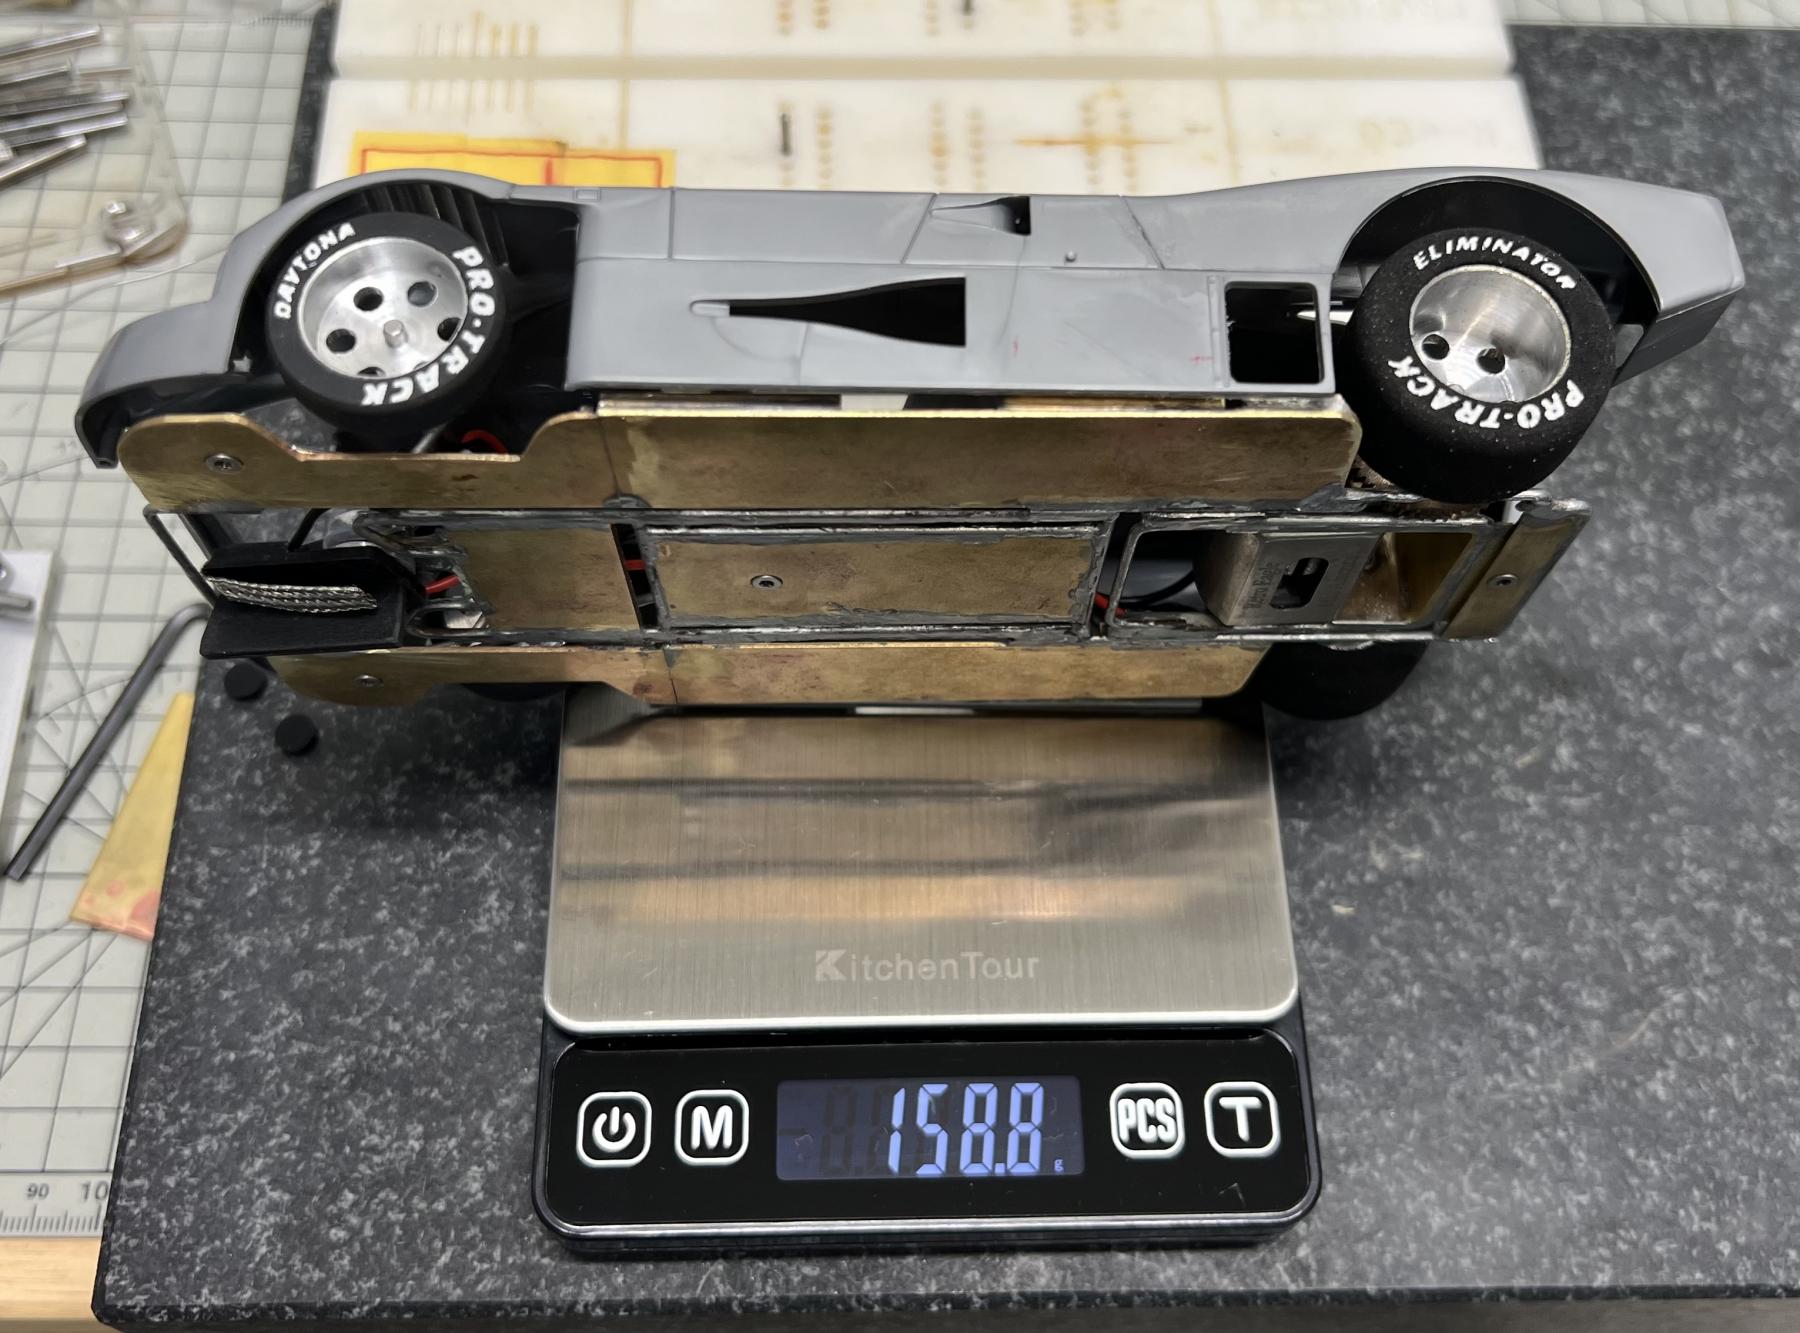
Heres what it weighs now with braids

IMG_8119.jpeg
  • vfr750 and olescratch like this
Dean John

#56 DeanJ

DeanJ

    Backmarker

  • Full Member
  • PipPip
  • 95 posts
  • Joined: 13-March 26
  • Gender:Male
  • Location:SoCal

Posted 25 April 2026 - 02:41 AM

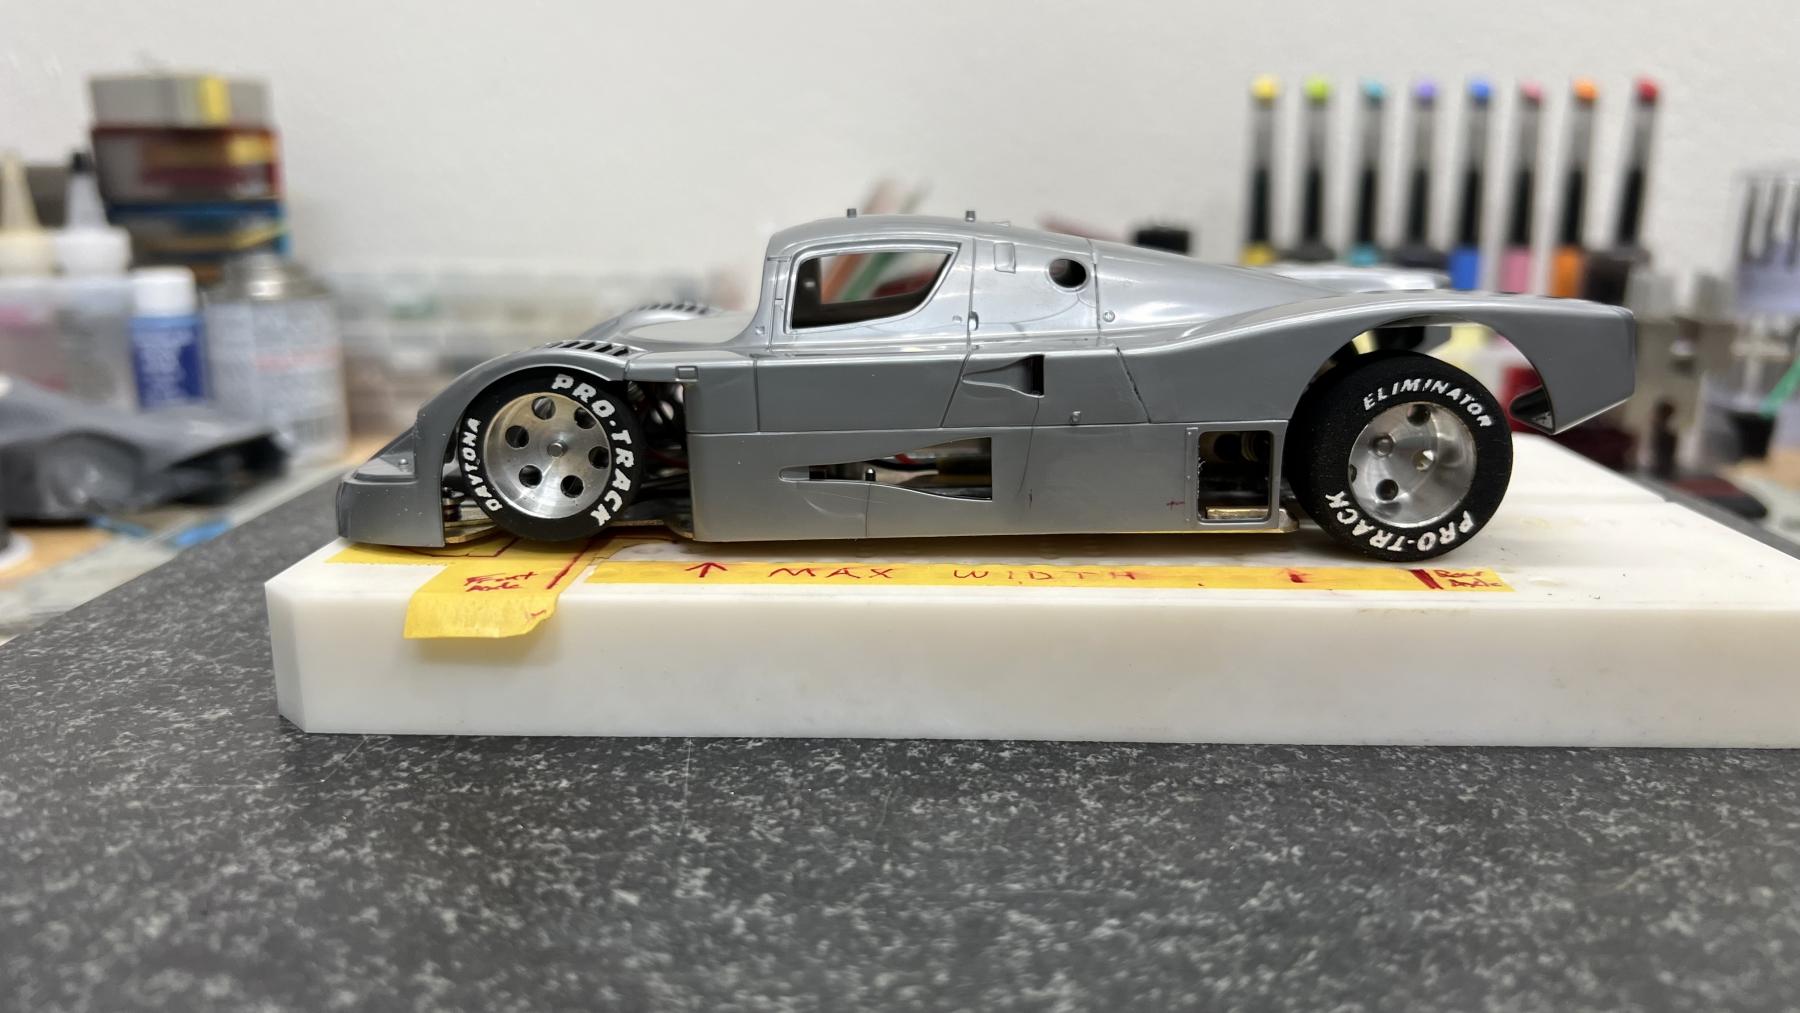
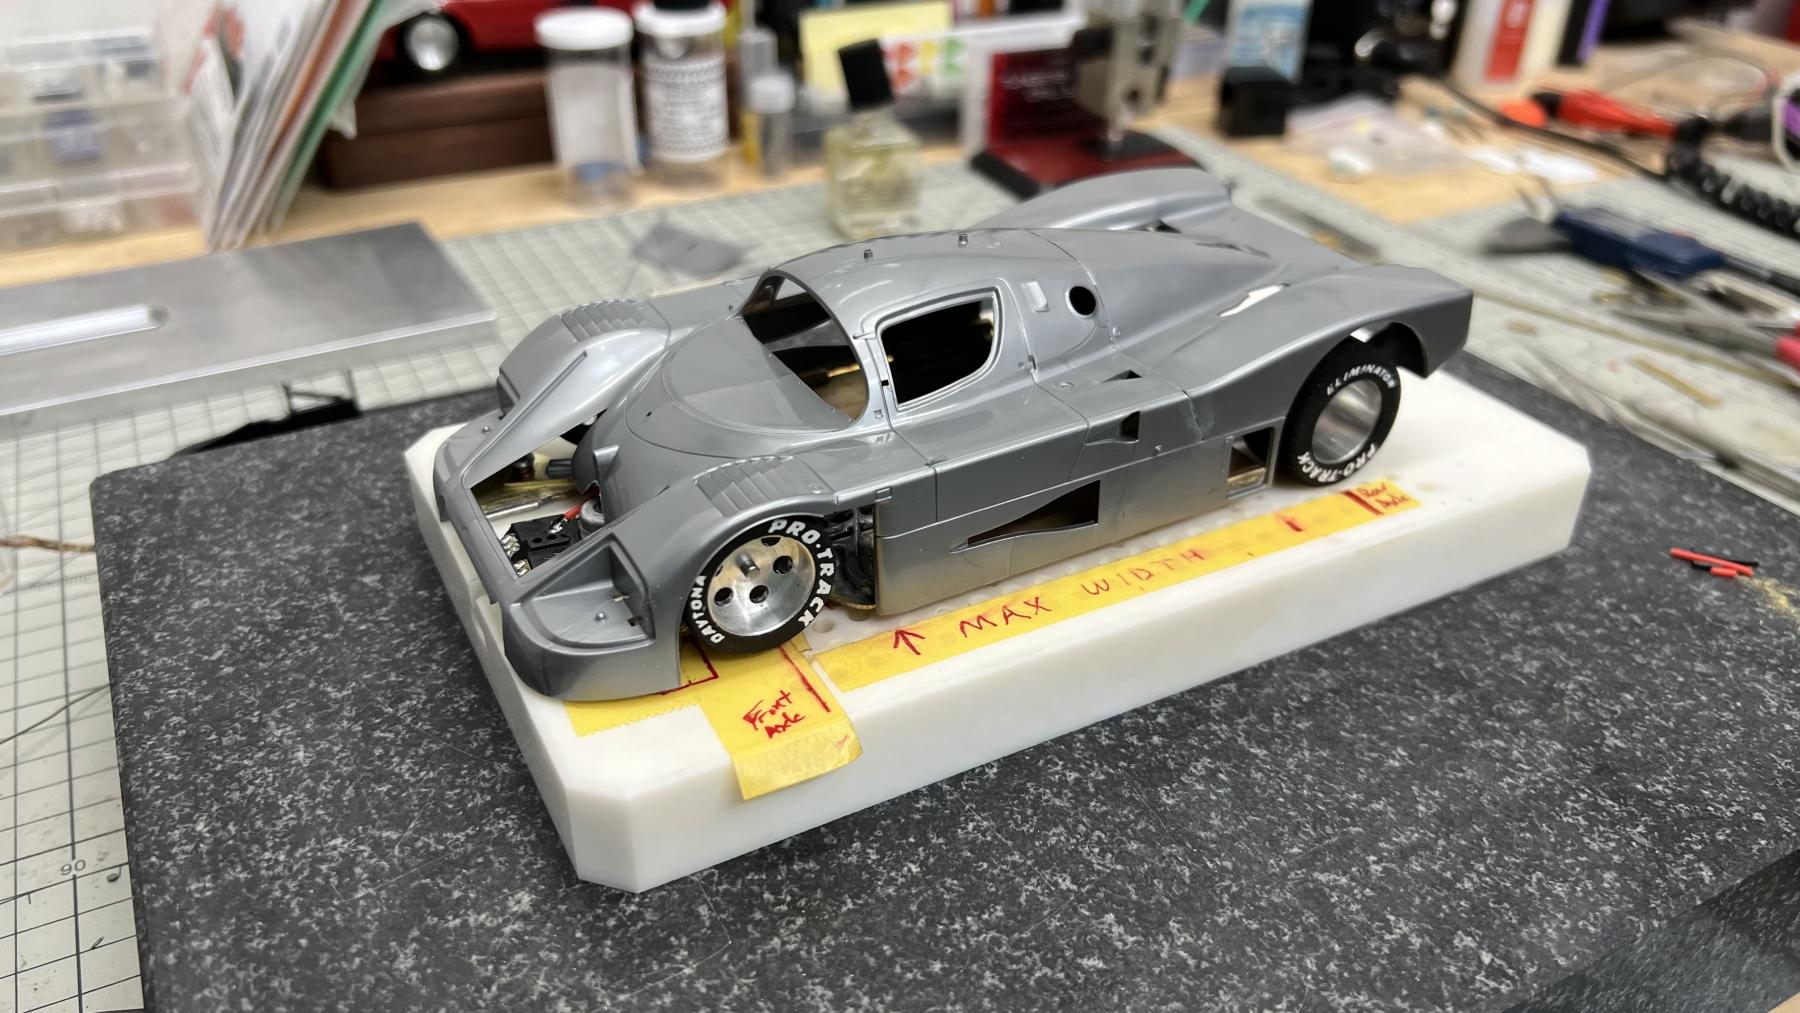
I really rushed to get this done for the race tomorrow. I have to redo the body mounts and add 2 to the front behind the front wheels. I might just add pins there, but the back needs to be lowered for sure!
Then of course I have to complete the body work - the body seems very brittle so Ill add a layer of fiberglass to the inside of it survives the 4 hour enduro! Whatever that is! lol

IMG_8121.jpeg

IMG_8122.jpeg
  • vfr750 and olescratch like this
Dean John

#57 DeanJ

DeanJ

    Backmarker

  • Full Member
  • PipPip
  • 95 posts
  • Joined: 13-March 26
  • Gender:Male
  • Location:SoCal

Posted 25 April 2026 - 02:45 AM

I might have to add some weight too. I dont think the fiberglass and wing will add another 35g, but well see.

IMG_8123.jpeg
  • vfr750 likes this
Dean John

#58 DeanJ

DeanJ

    Backmarker

  • Full Member
  • PipPip
  • 95 posts
  • Joined: 13-March 26
  • Gender:Male
  • Location:SoCal

Posted 25 April 2026 - 08:33 PM

So, the race was a group event. I didn't race. I ran some of my BRM mini cars (Alfa, Mini Cooper, and newly acquired used Capri) on the other track, and completed adding body pins to the chassis. During the race I saw a couple cars come into the pits with bent front pans, so I added some wire to the front on both sides to prevent that. After the race was finished and everyone cleared out I was able to run the car for the first time. It's fast, but I need to make a couple changes. First, I need to redo the guide holder and make it parallel to the track when the wheels are on. Second, I need to square up and true the rear tires. And last is bring the front tires down about .5mm. The body needs to be completed also :)


  • vfr750 and olescratch like this
Dean John

#59 DeanJ

DeanJ

    Backmarker

  • Full Member
  • PipPip
  • 95 posts
  • Joined: 13-March 26
  • Gender:Male
  • Location:SoCal

Posted 27 April 2026 - 06:39 PM

Here's the new guide work... removed the guide and cleaned up the surface. I squared up the rear tires a bit too.


IMG_8125.jpeg


and added the guide back after putting a slight kink in it


IMG_8126.jpeg


  • vfr750 likes this
Dean John

#60 DeanJ

DeanJ

    Backmarker

  • Full Member
  • PipPip
  • 95 posts
  • Joined: 13-March 26
  • Gender:Male
  • Location:SoCal

Posted 29 April 2026 - 11:38 PM

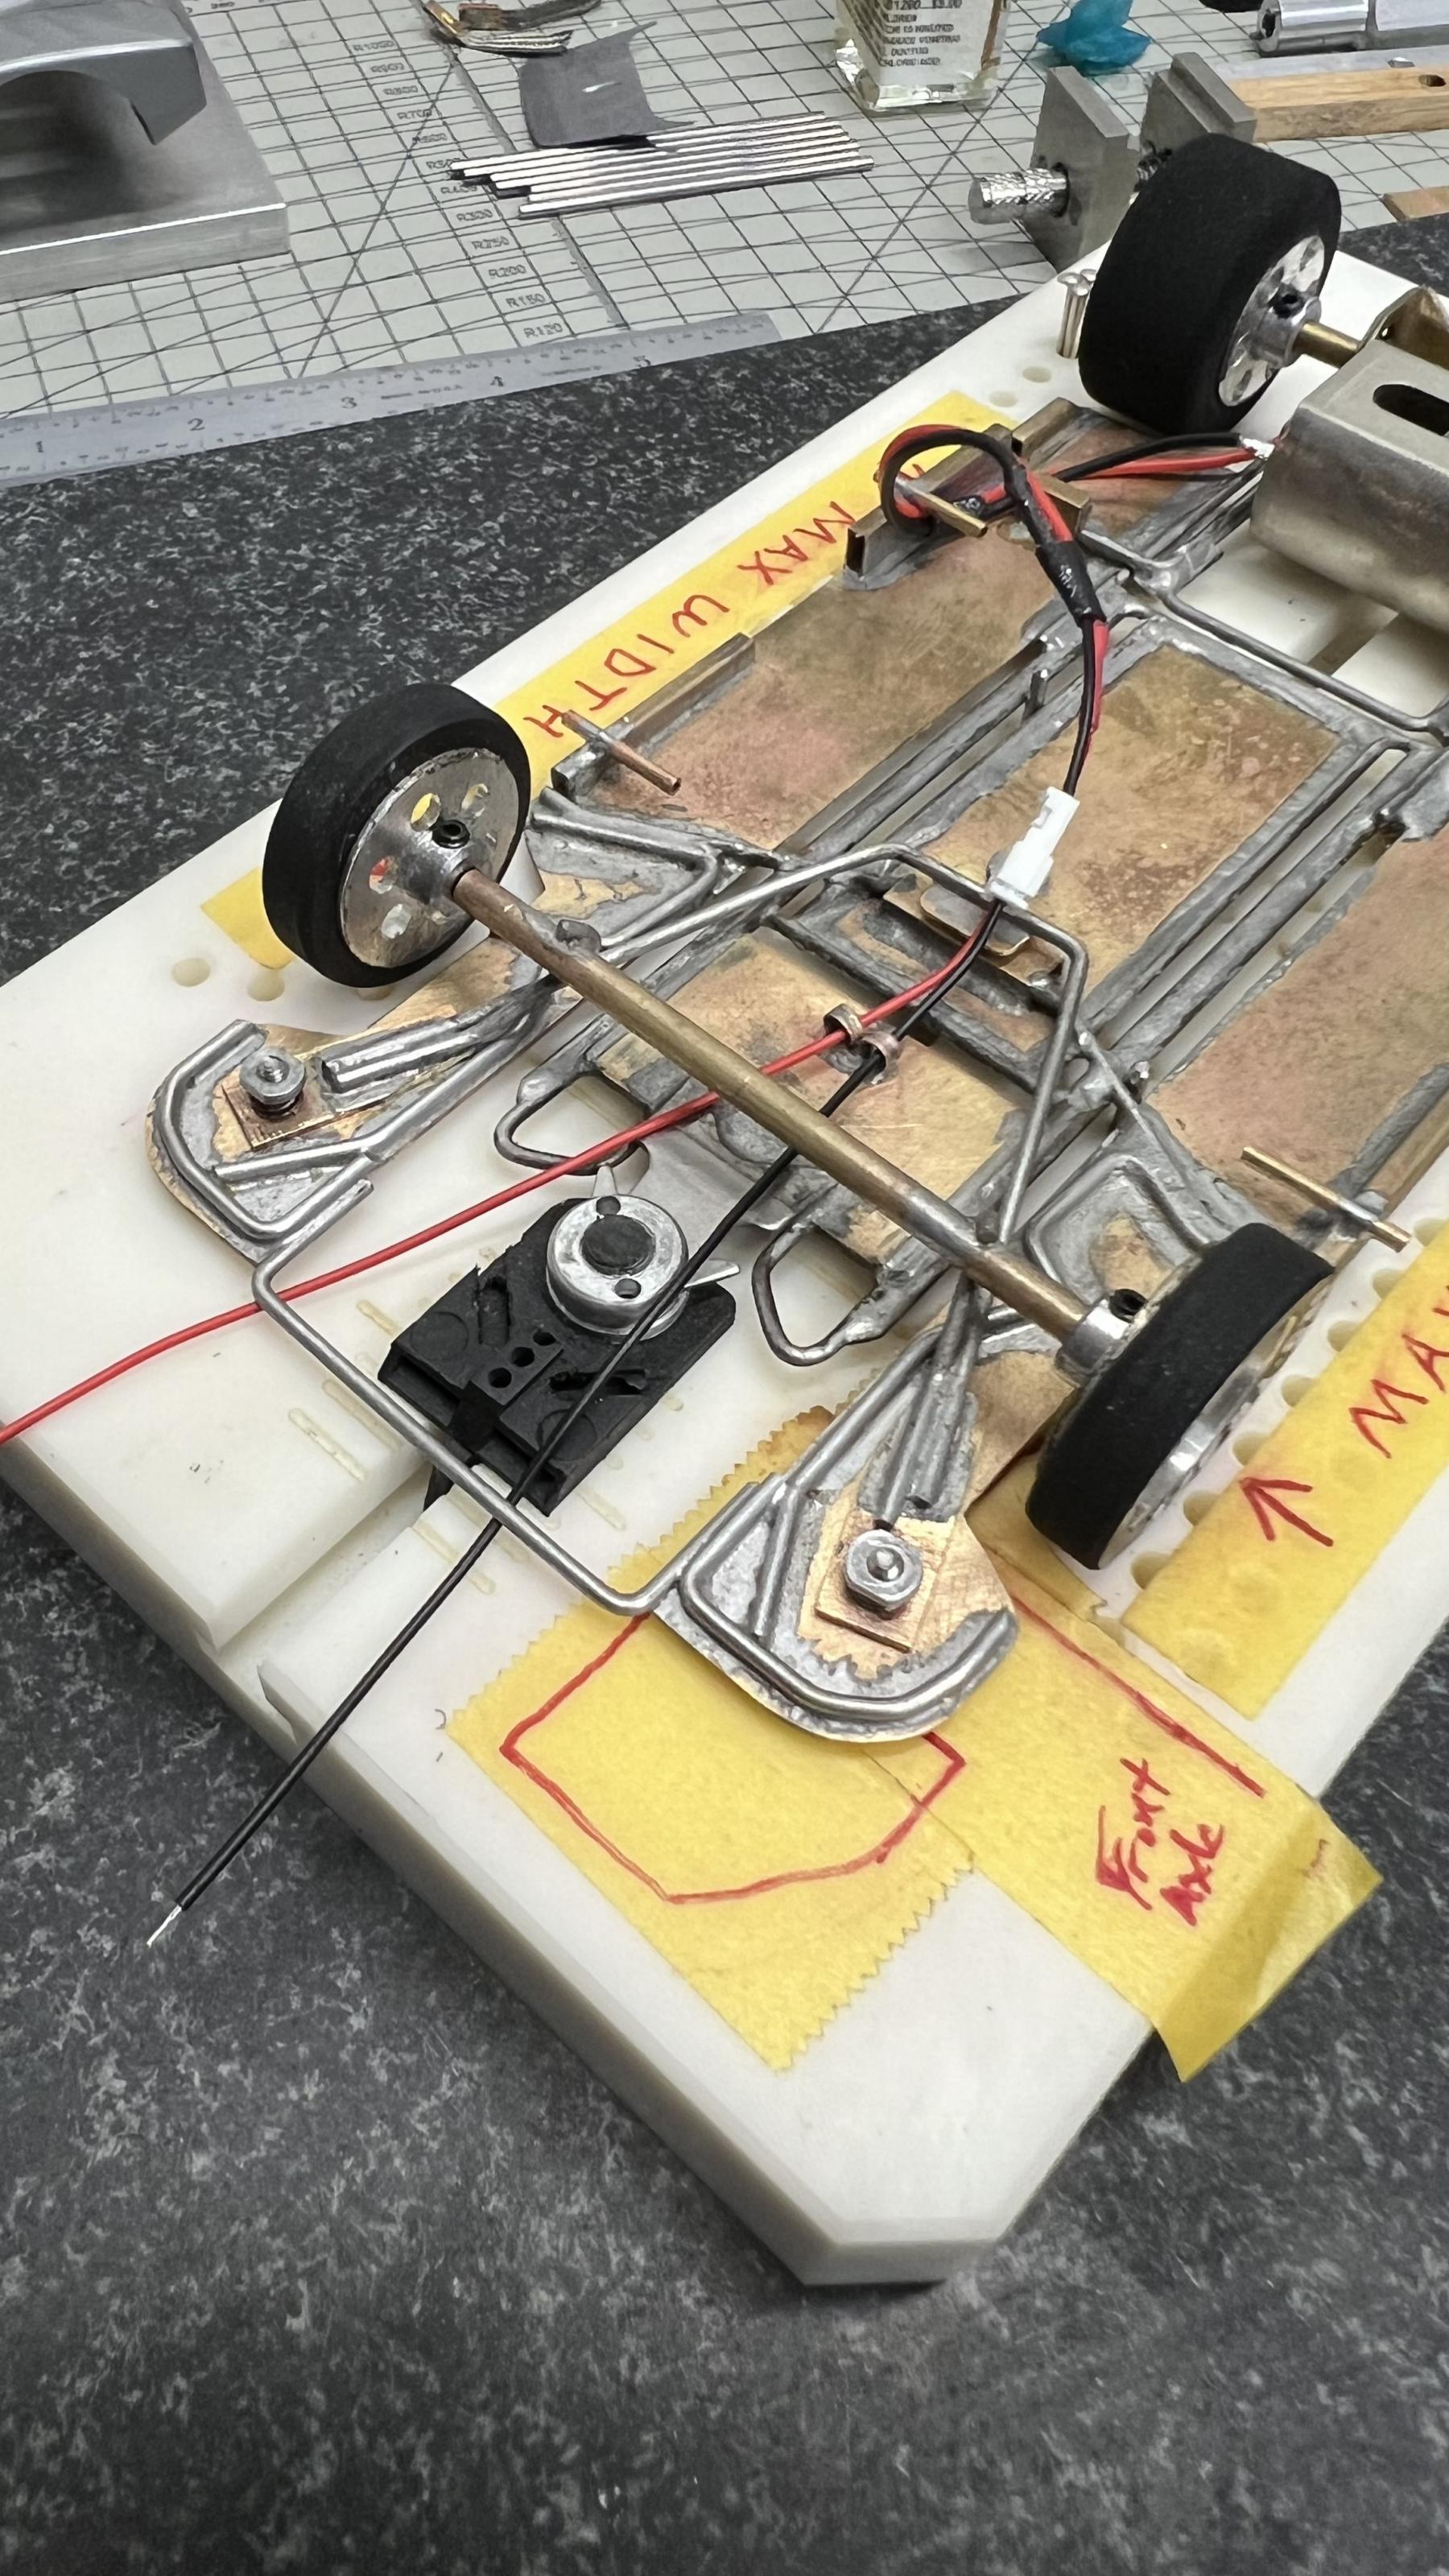
Update! I redid the front axle and added some more support on the front pans. I also added a connector in the guide wire - this way if I want to pull out the motor pod, I could just unplug it.


IMG_8144.jpeg


Here's a side view


IMG_8145.jpeg


  • vfr750, Alchemist and olescratch like this
Dean John

#61 DeanJ

DeanJ

    Backmarker

  • Full Member
  • PipPip
  • 95 posts
  • Joined: 13-March 26
  • Gender:Male
  • Location:SoCal

Posted 10 May 2026 - 12:33 AM

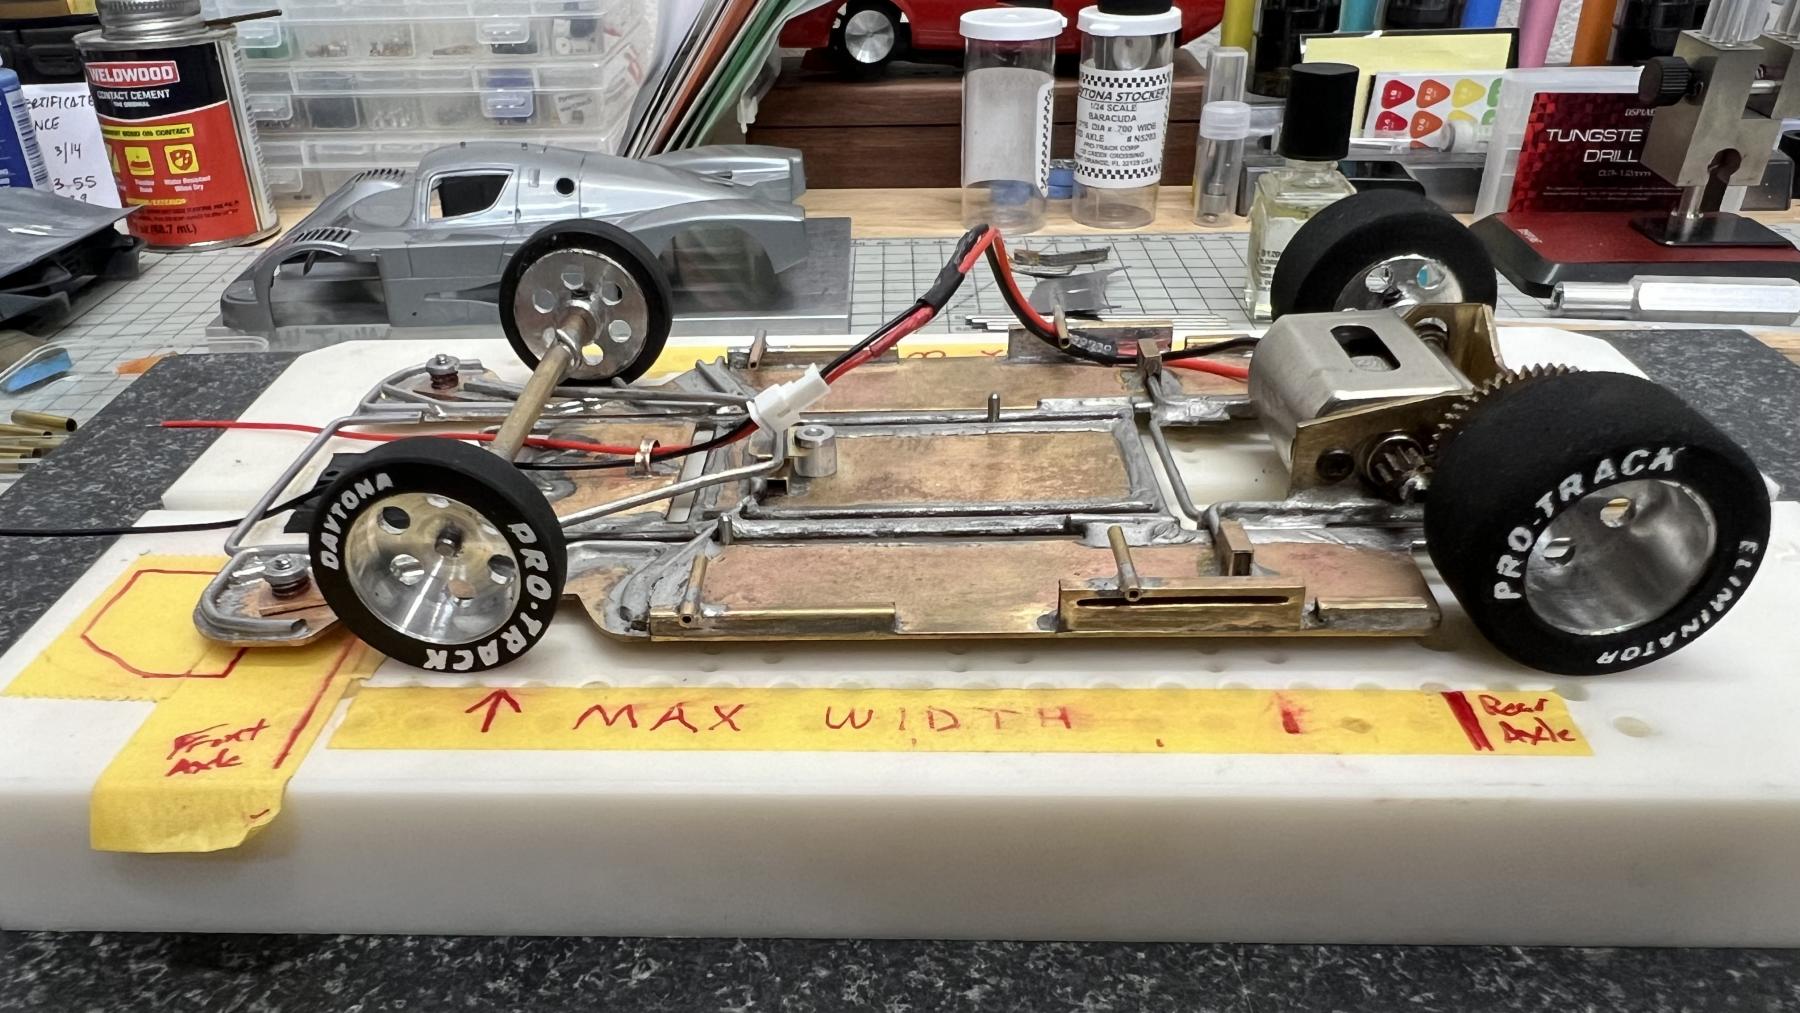
Another update! I stopped by ED today to run the car again after I added some lead in front of the rear wheels. I'm happy with its performance but I think there's more in it. It's about 167g total now with the body unfinished, and I want to try and get to 185-190 with it all completed.

Before leaving I chatted with a fellow racer who ran the car and was impressed! We went over a couple more tweaks that i just finished up. Here's what's been done...


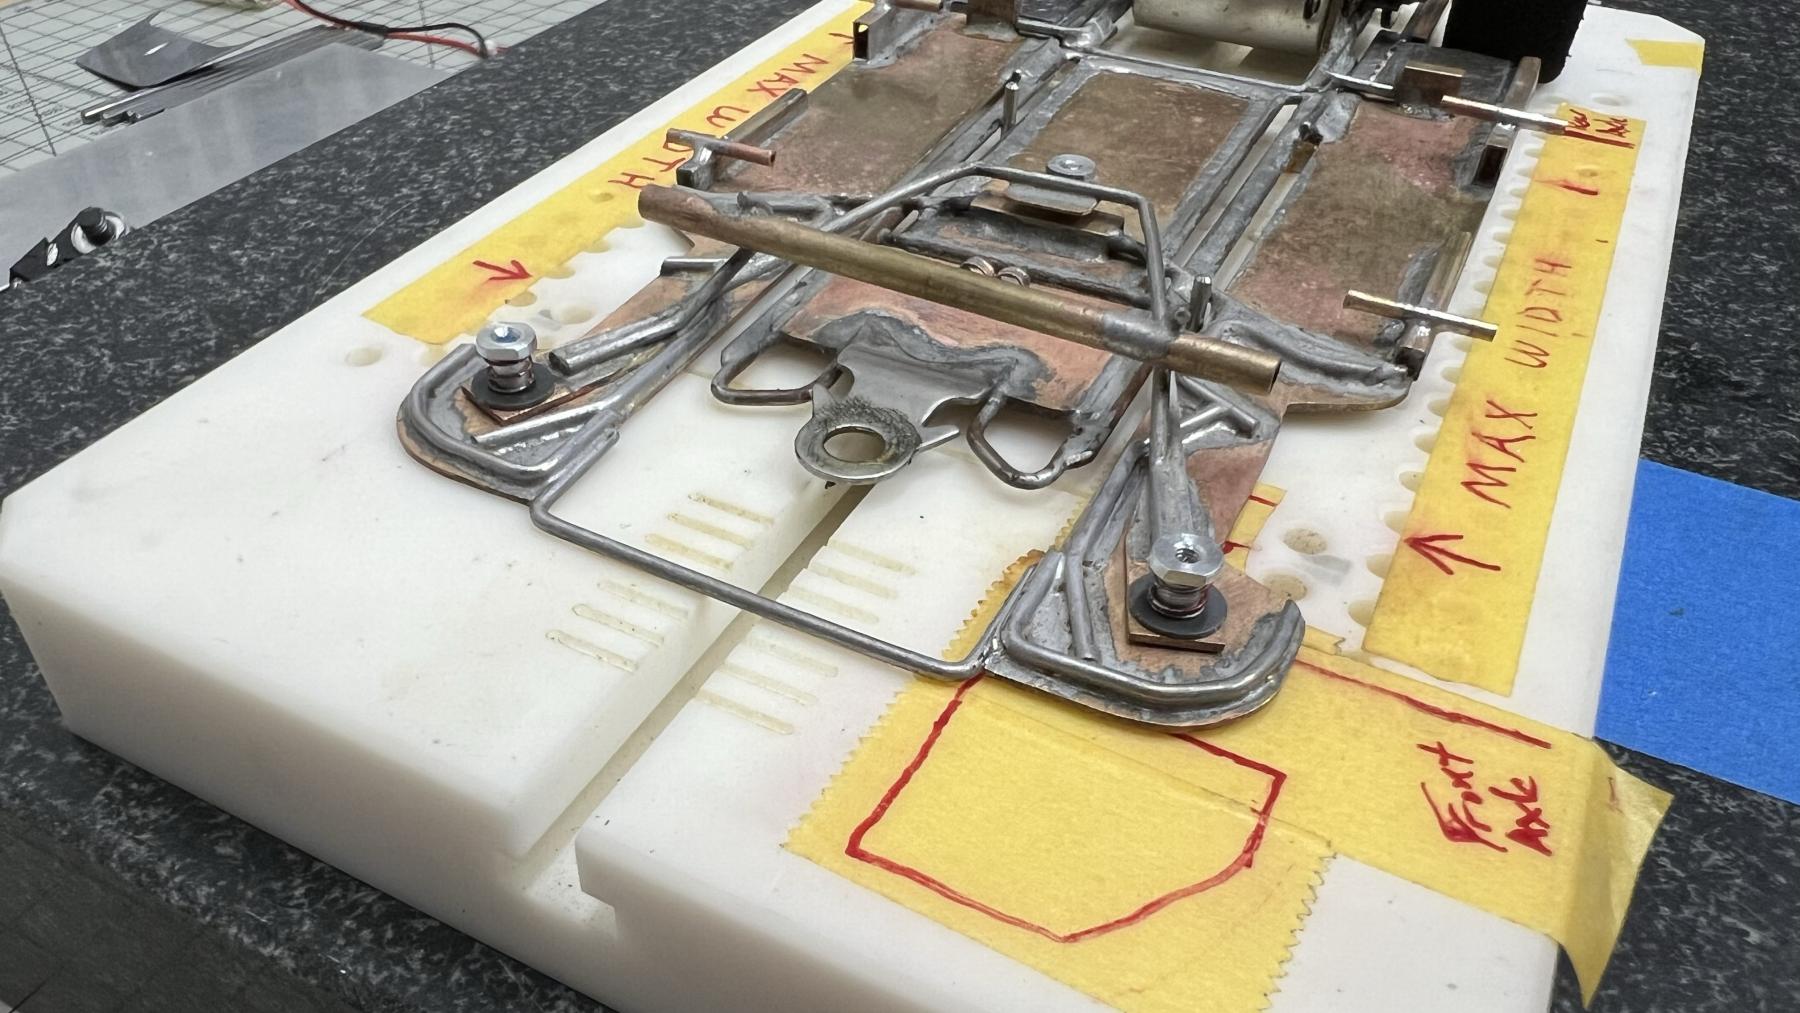
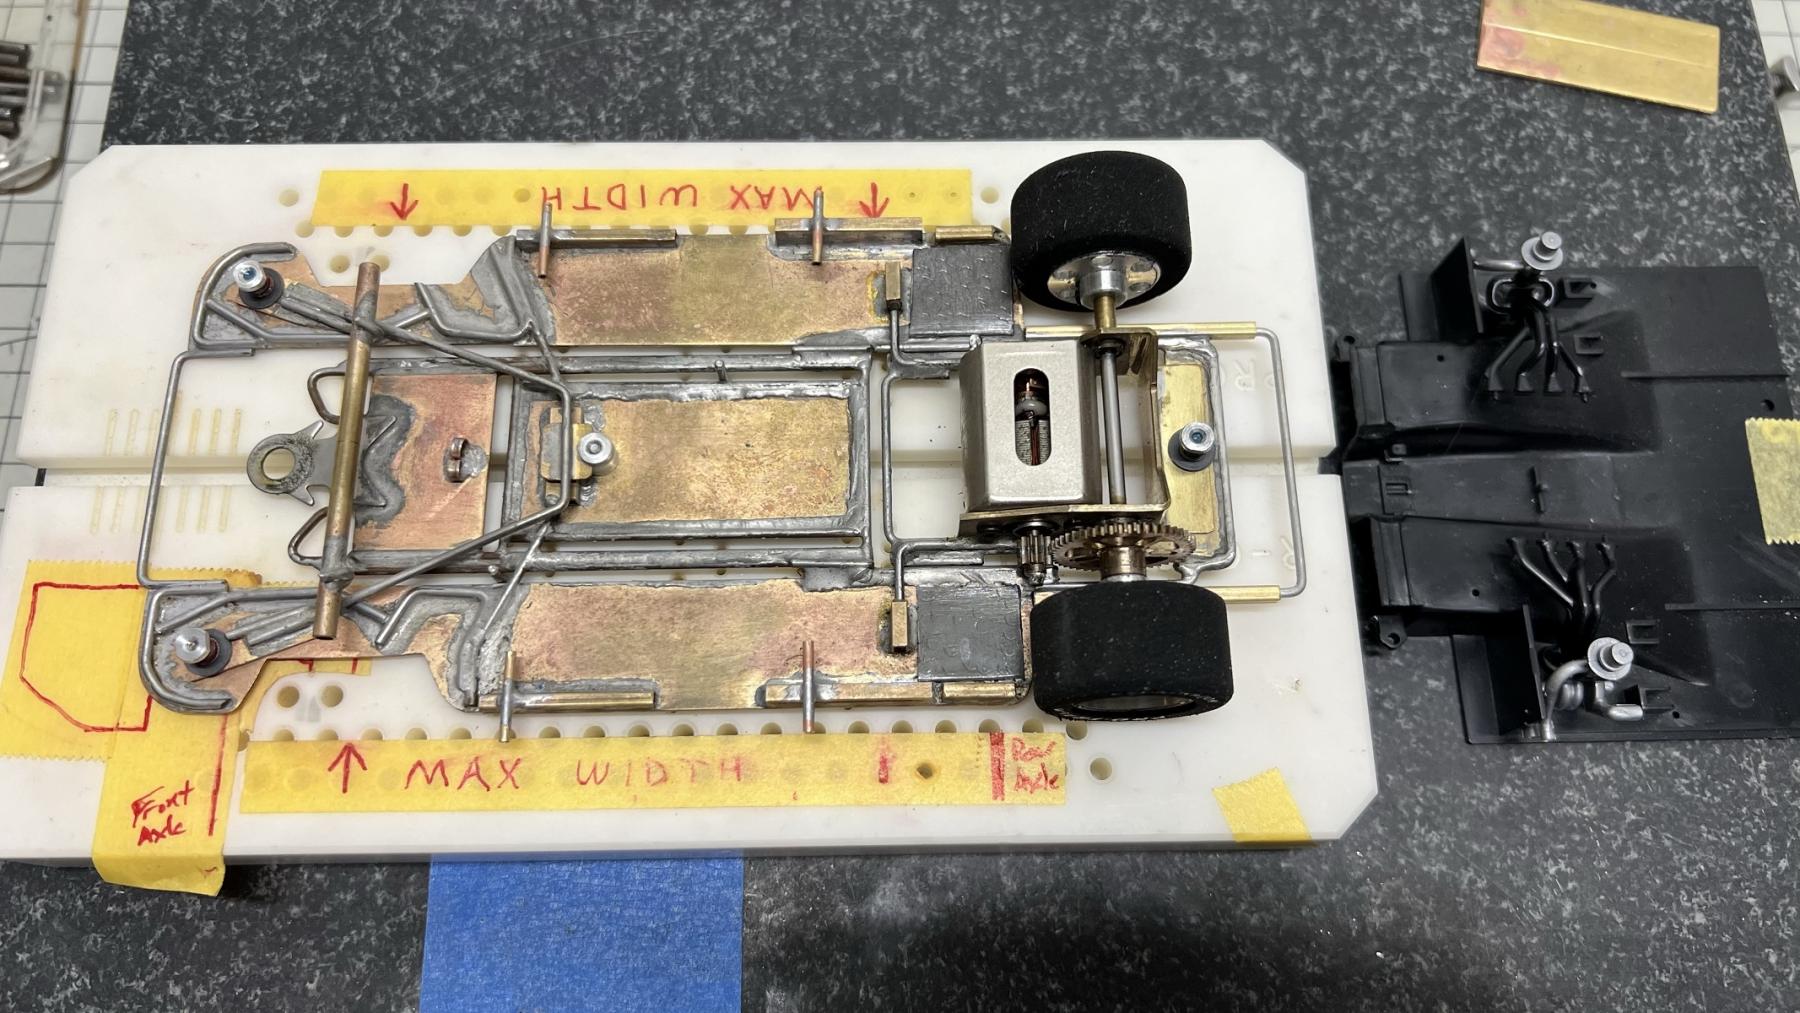
I changed the front suspension posts from 3 to 5mm and added washers below the springs. I also opened up the suspension hole a tiny bit to provide more movement. There's more spring now to the front wheels and it takes less to compress either side.
 

IMG_8197.JPG


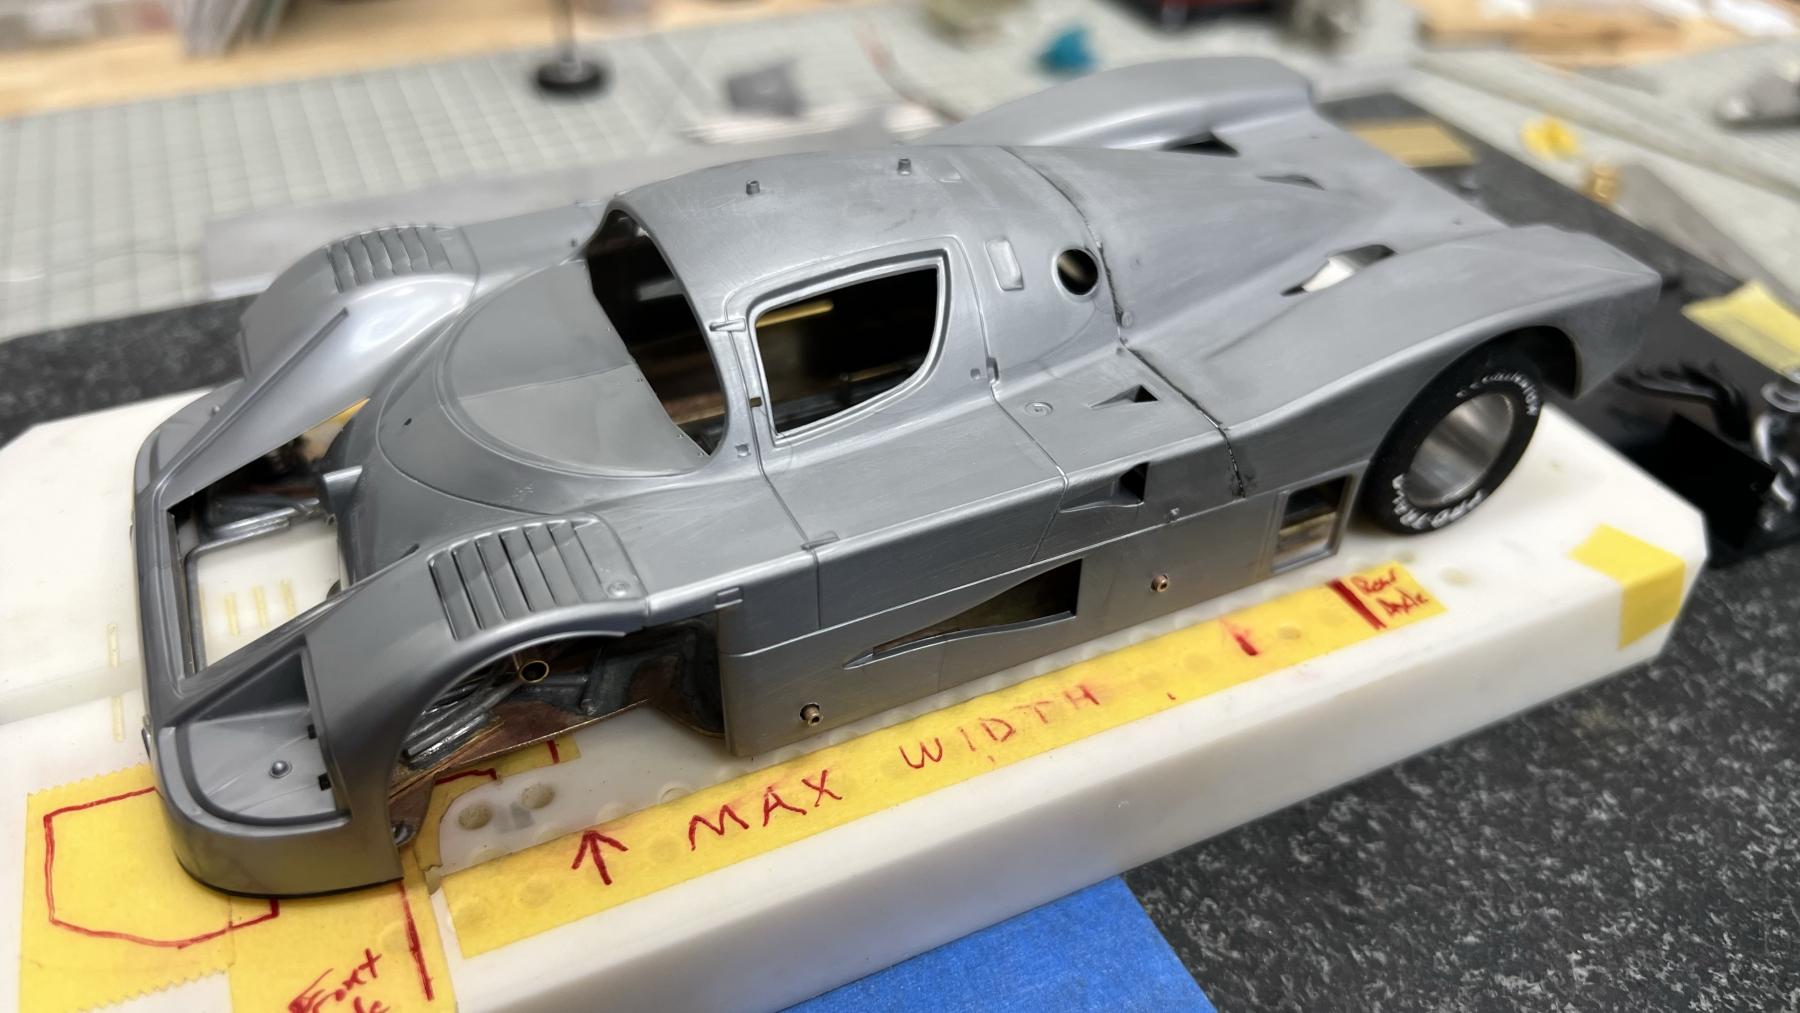
I adjusted the body posts to reach just outside the body and reamed the holes so the body floats a little bit over the pins. I'm planning on making a single wire for each side, instead of using 4 individual pins.
 

IMG_8199.JPG


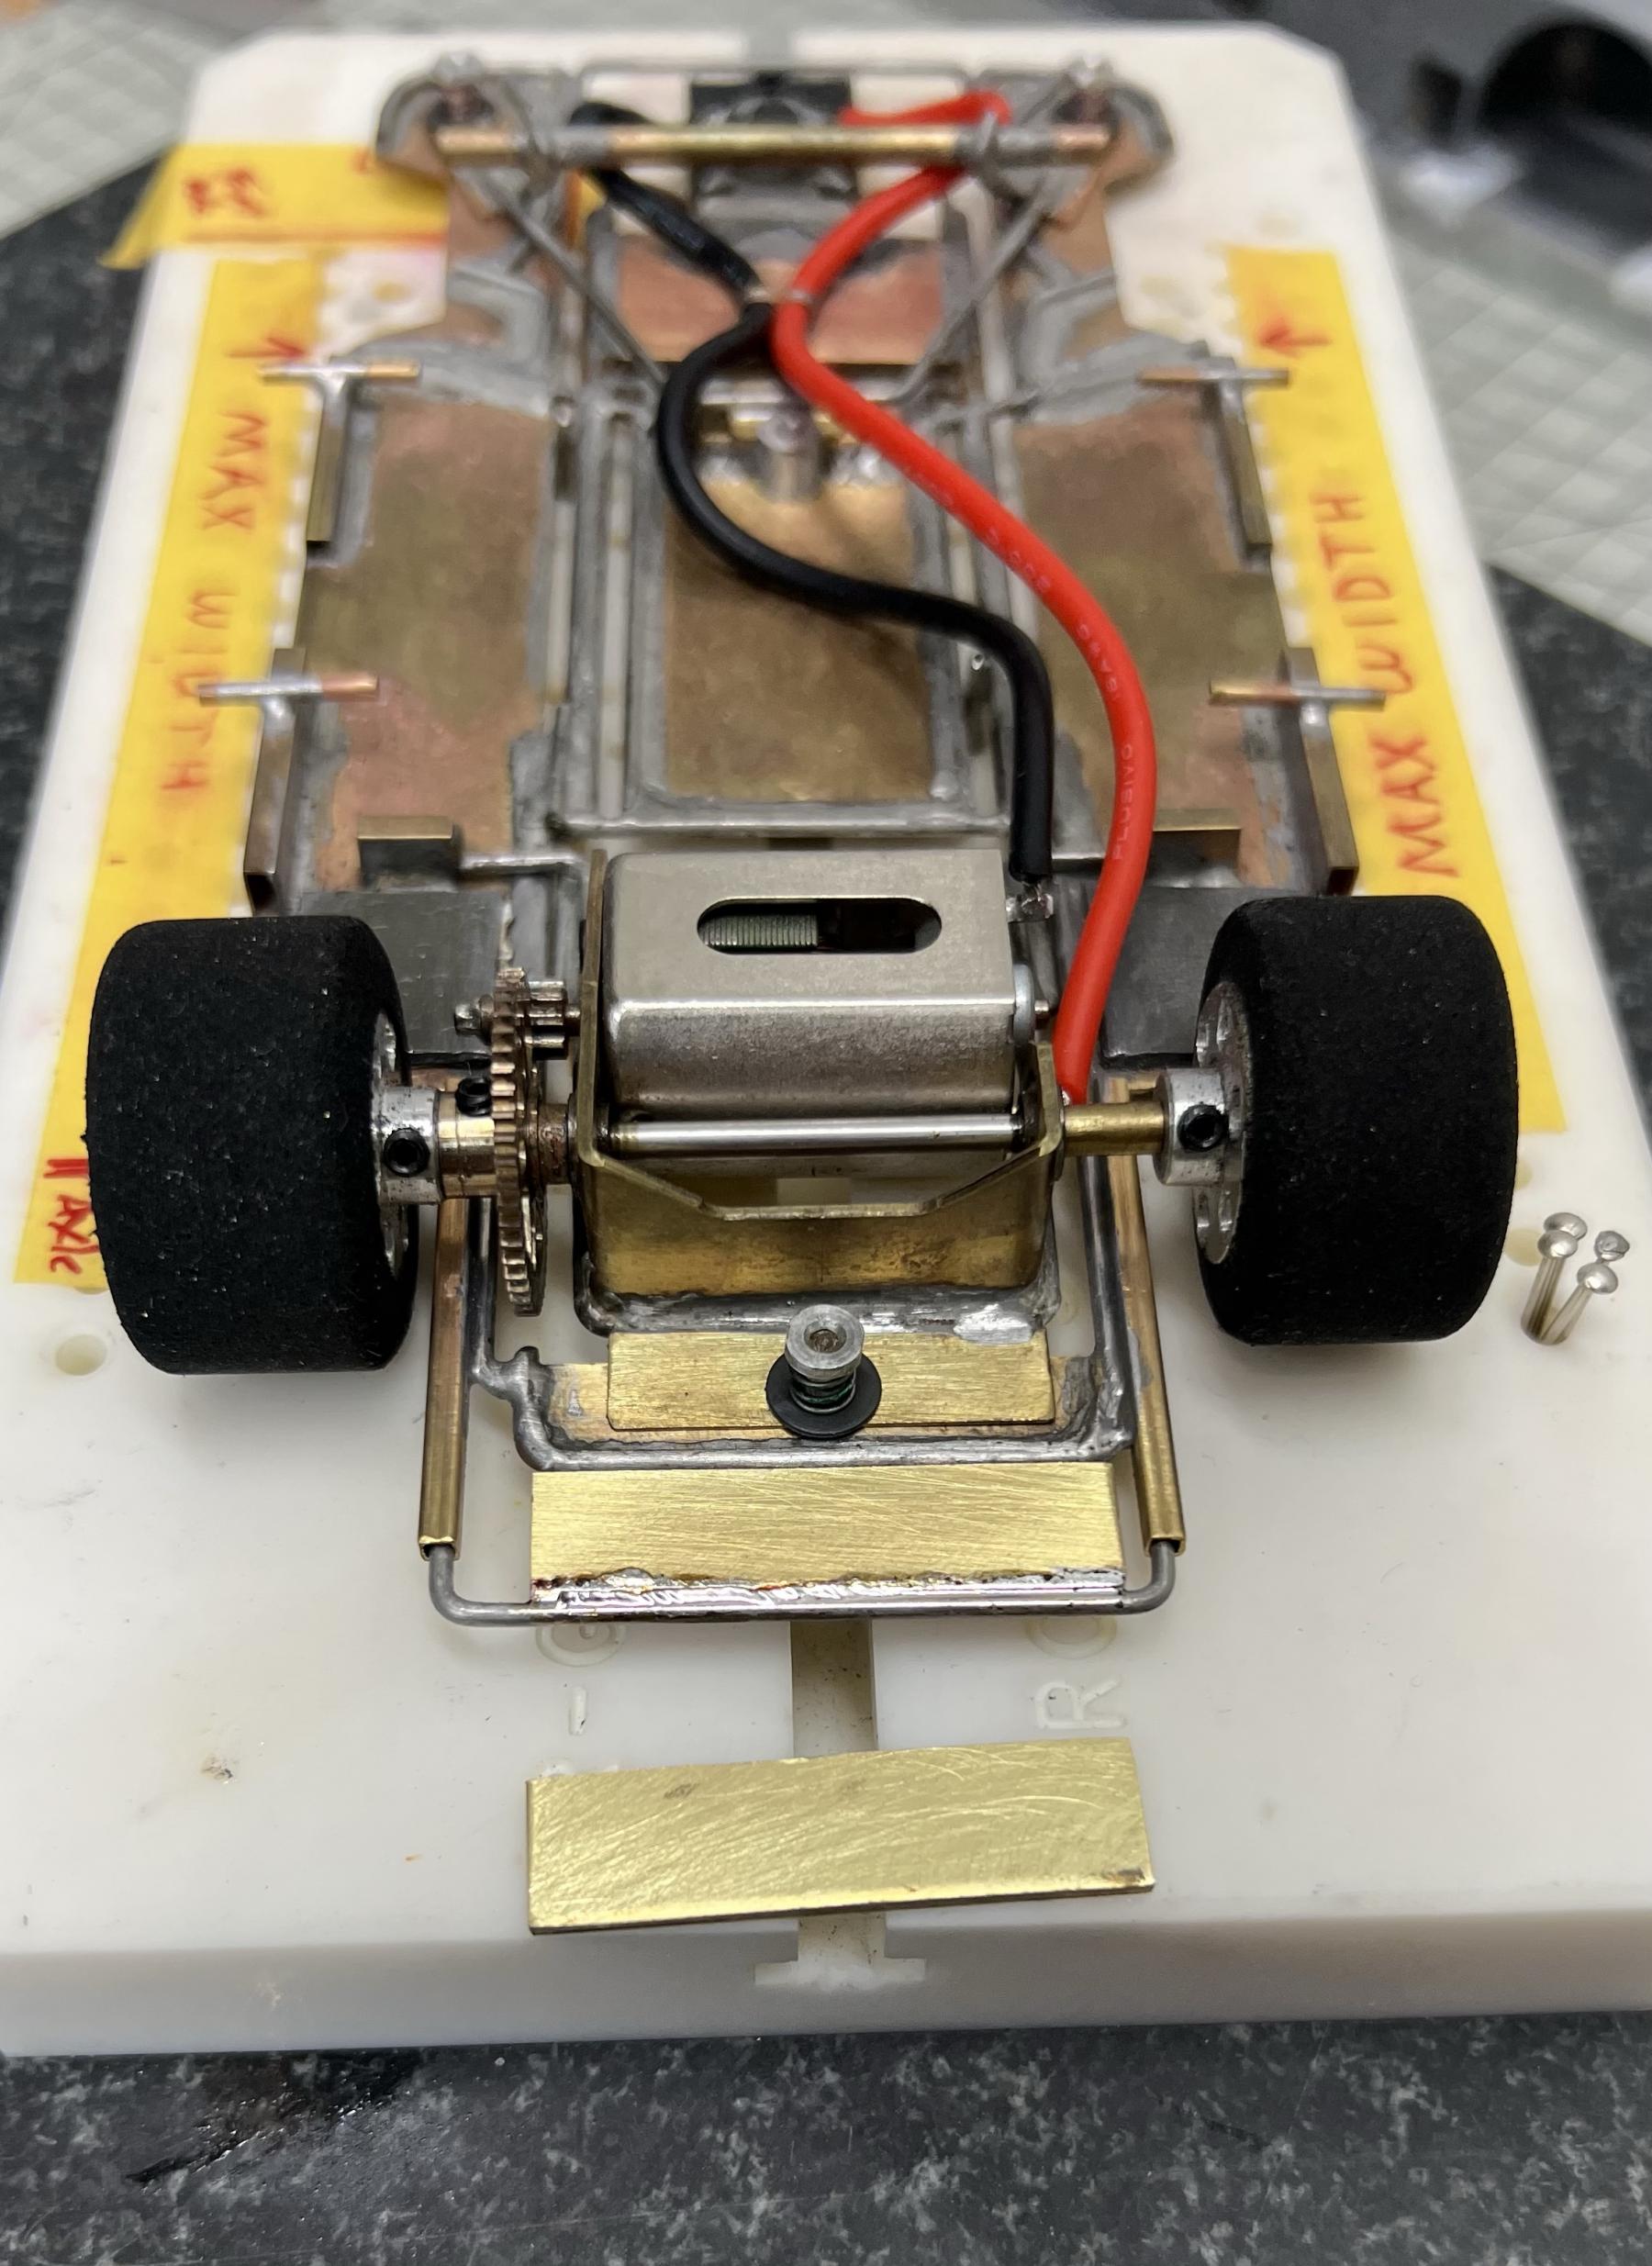
I added a rear "bumper" (for lack of a better term) with some square tube and wire. I'll be able to make different weight wires to adjust weight behind the axle to try and tweak the performance. I don't like the idea of weight trailing behind the rear tires, but I'll be able to quickly change the wires of different designs and weight to see what performs better or not.
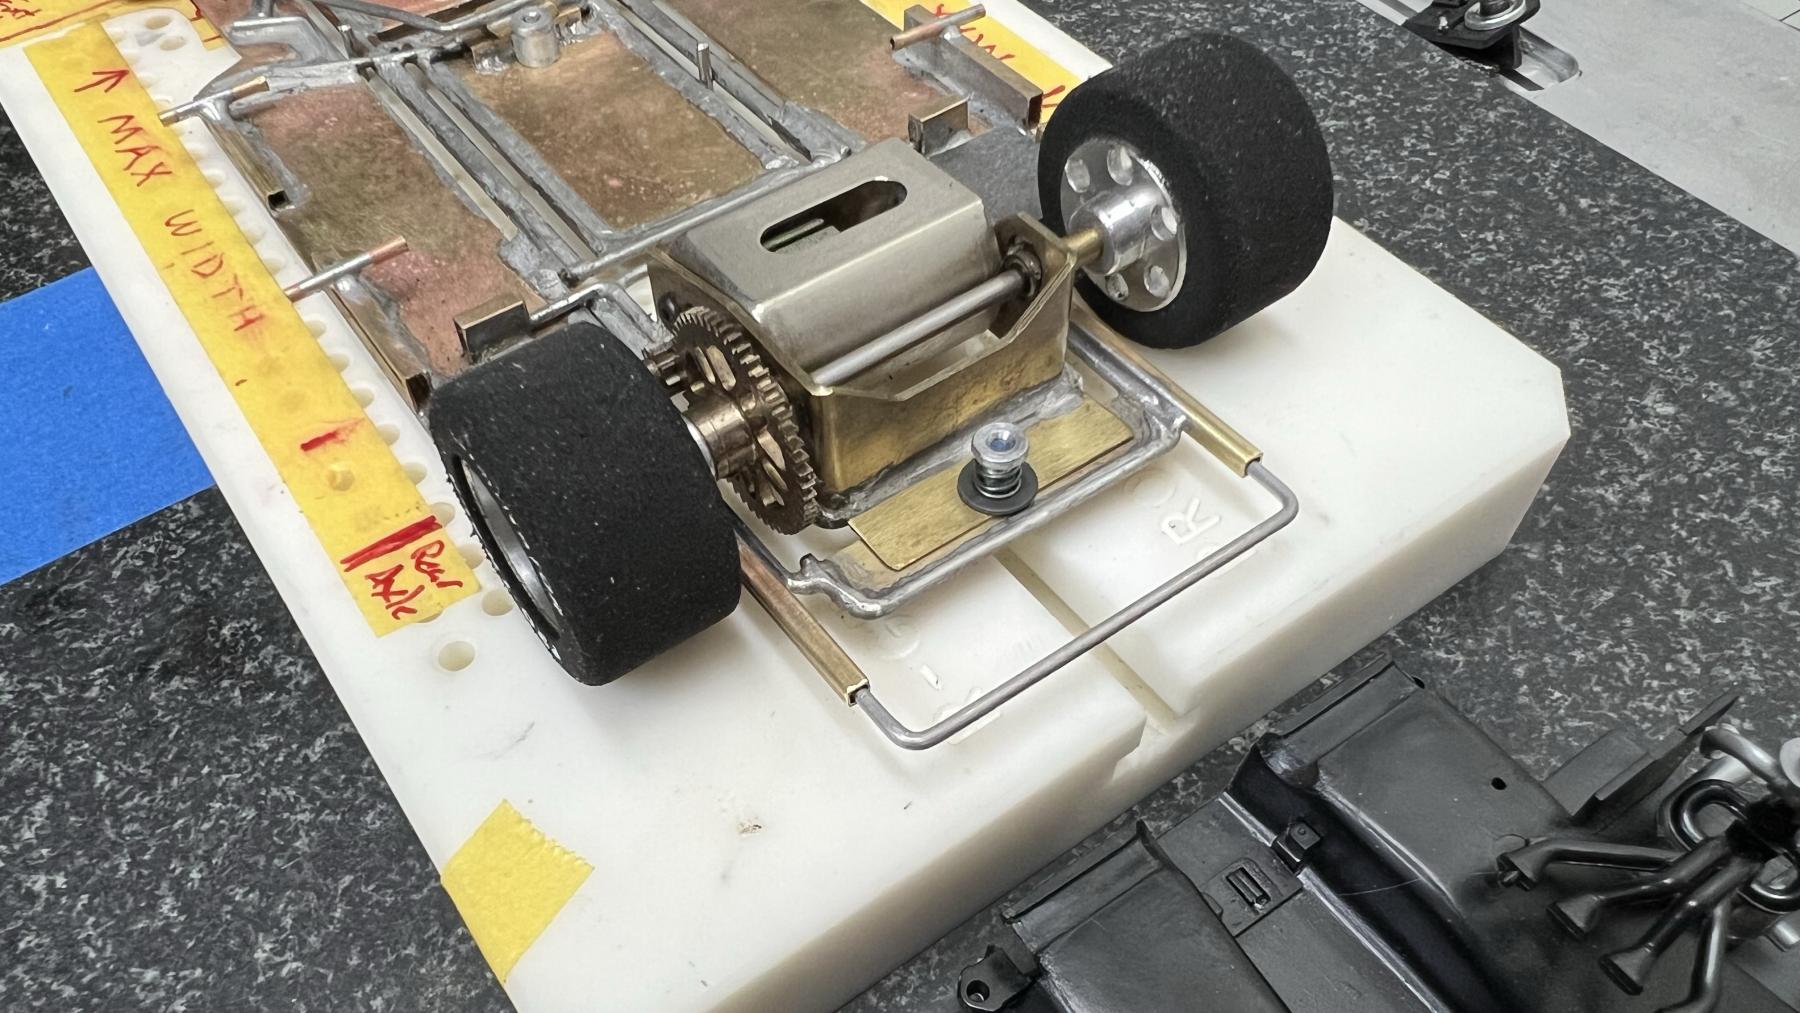
 

IMG_8196.JPG


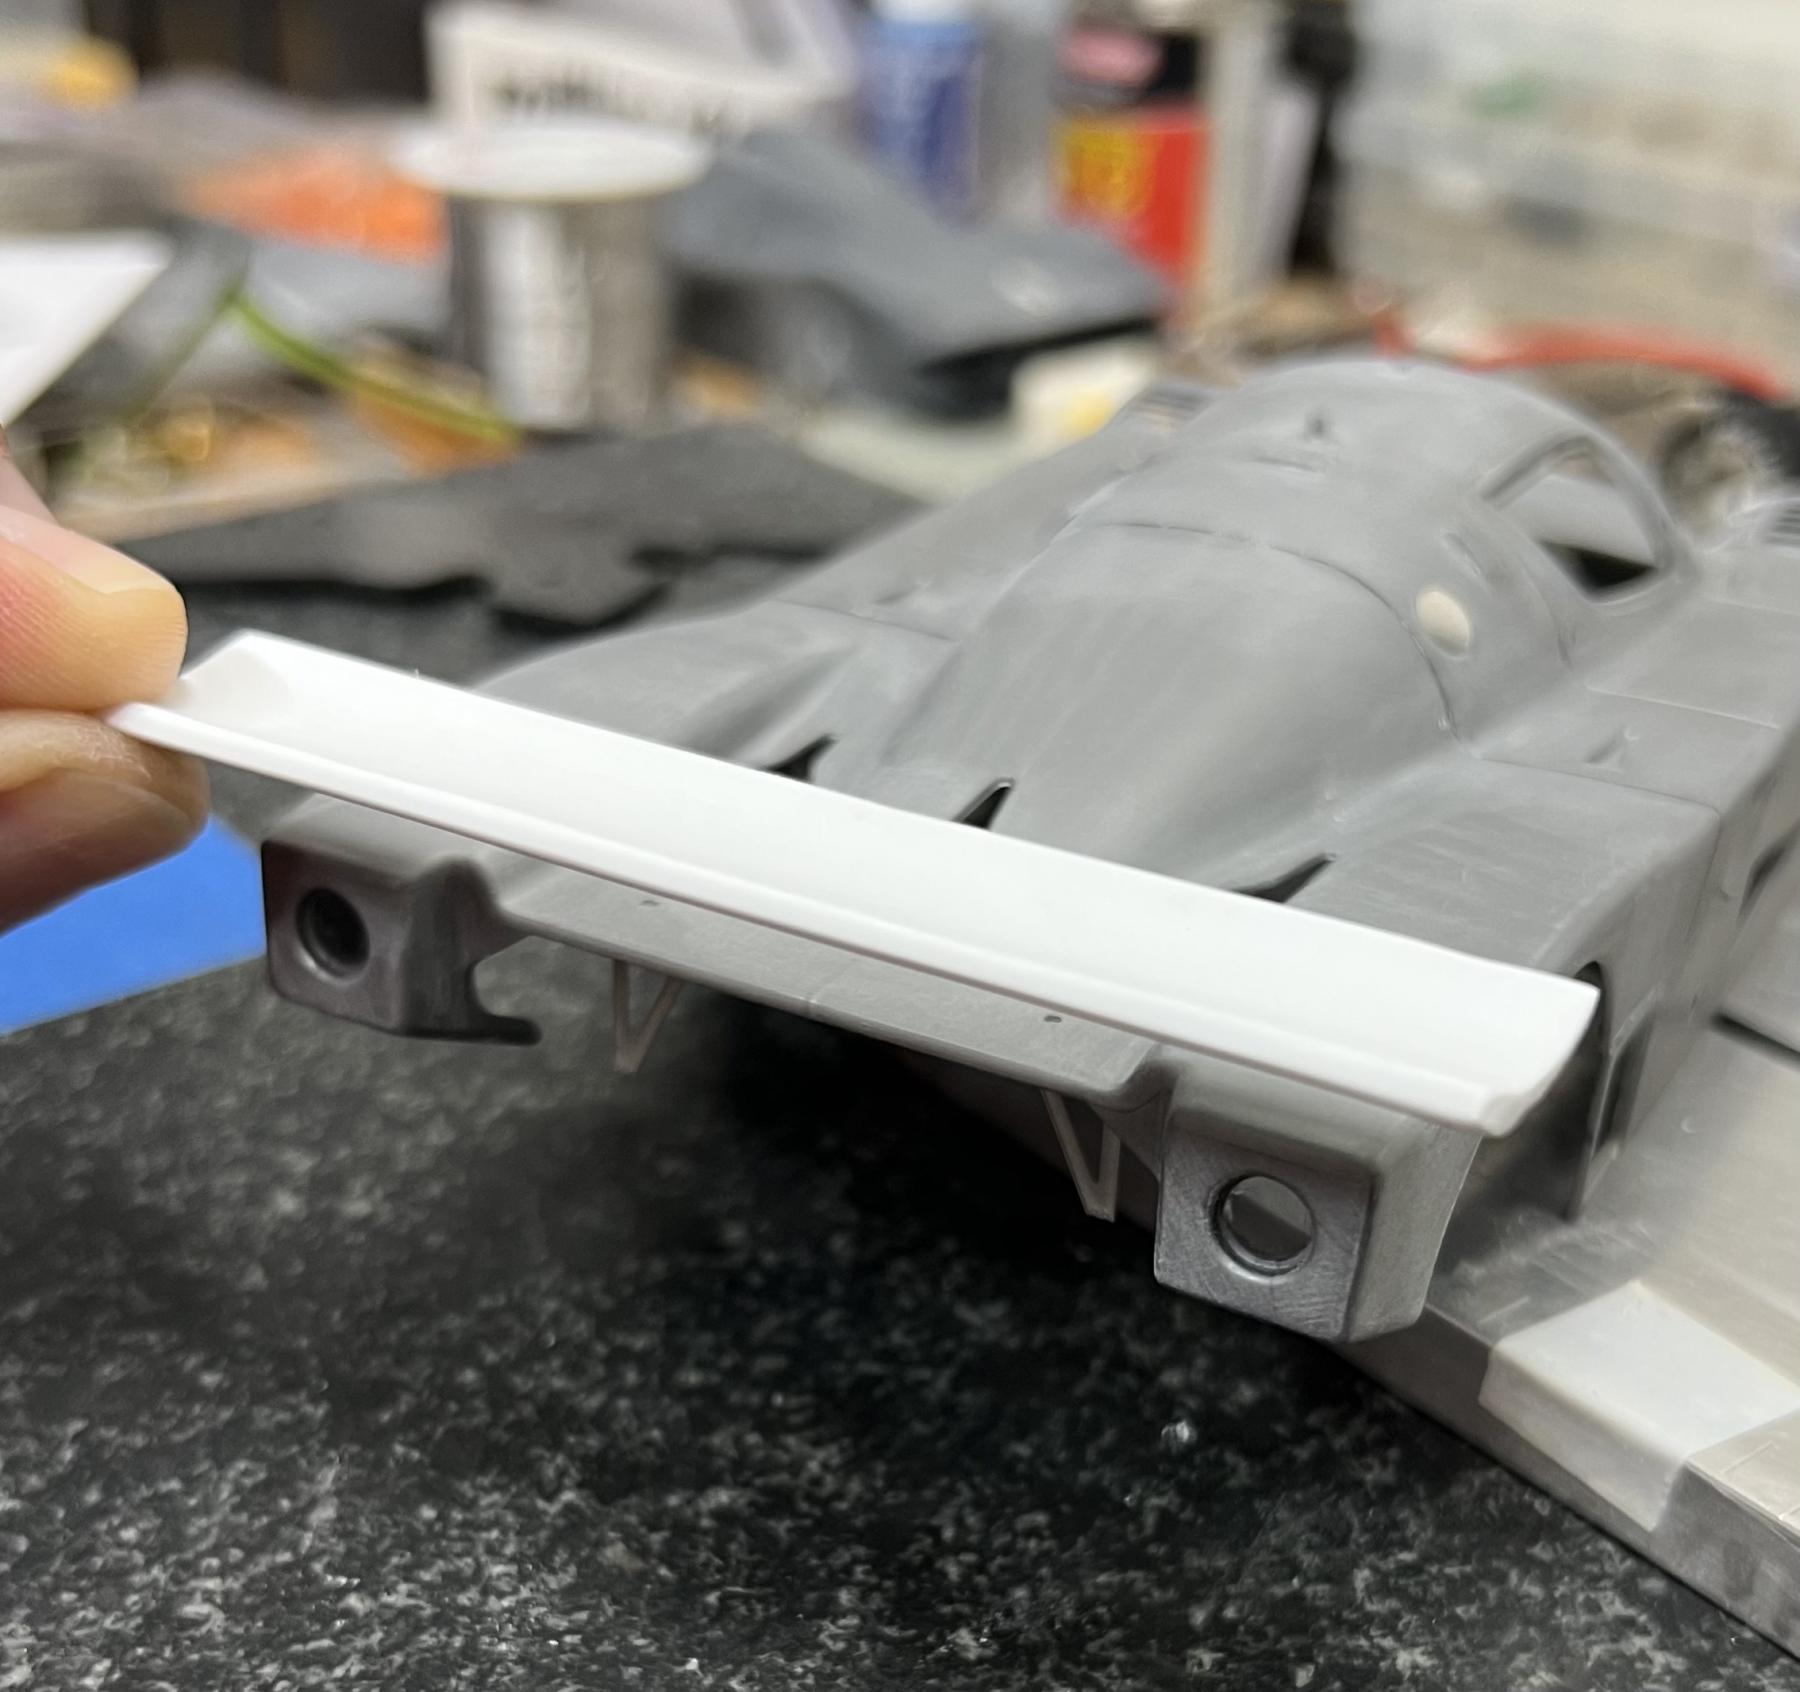
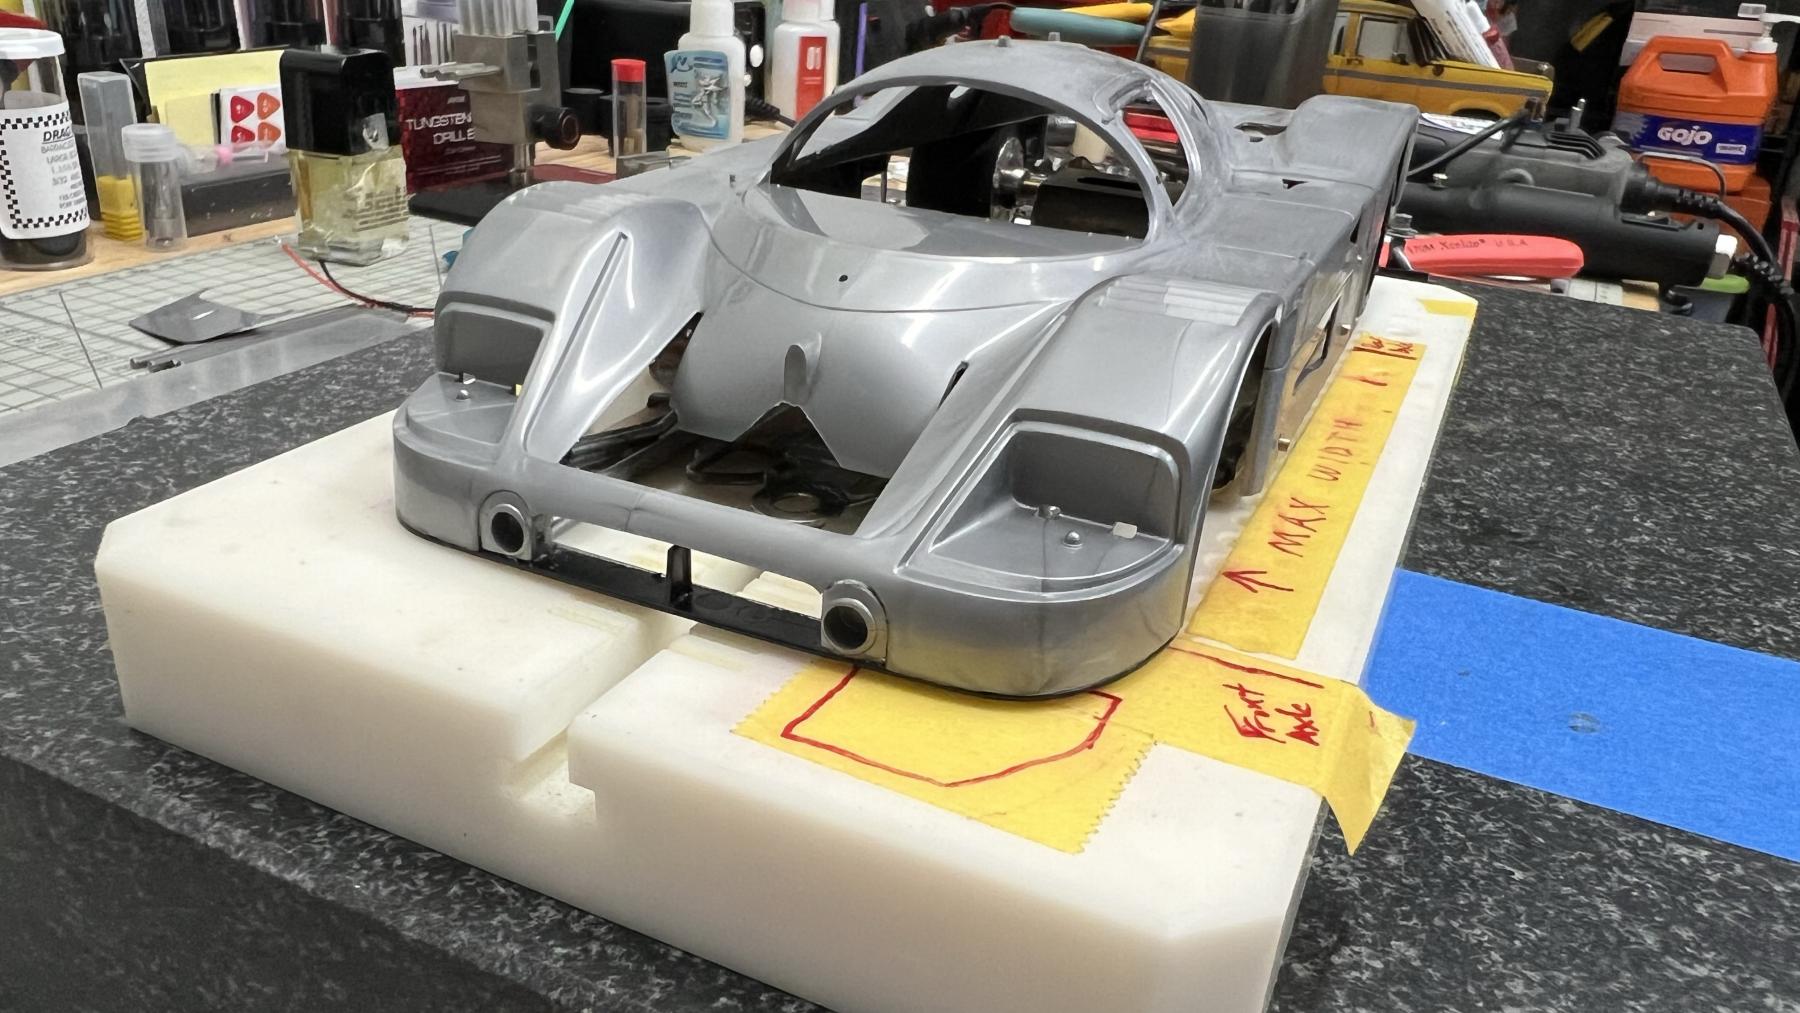
I also worked more on the body. I added the front lip and completed the glue job of the rear section, sanding the glue joint. I also started building the kit for details I'll add. I used the rear wing on a previous build and so need to make one from scratch, which I'll make from carbon fiber sheet I have.
 

IMG_8198.JPG


IMG_8195b.jpg


  • vfr750 and olescratch like this
Dean John

#62 DeanJ

DeanJ

    Backmarker

  • Full Member
  • PipPip
  • 95 posts
  • Joined: 13-March 26
  • Gender:Male
  • Location:SoCal

Posted 13 May 2026 - 01:04 PM

After doing some fiddling I decided to make the rear wing from 4mm styrene sheet that Ill cut to length and shape. Ill make the end plates from thinner 1mm sheet and shape them. The wing will be supported by carbon fiber arms.

I sanded some more of the front of the body and removed the mold lines throughout. I think its ready for primer.
  • olescratch likes this
Dean John

#63 olescratch

olescratch

    olescratch

  • Subscriber
  • PipPipPipPipPip
  • 990 posts
  • Joined: 19-July 13
  • Gender:Male
  • Location:Ravenna, OH

Posted 13 May 2026 - 02:13 PM

 Looking forward to seeing this completed.  True scratchbuilding!


  • DeanJ likes this
John Stewart

#64 DeanJ

DeanJ

    Backmarker

  • Full Member
  • PipPip
  • 95 posts
  • Joined: 13-March 26
  • Gender:Male
  • Location:SoCal

Posted 14 May 2026 - 10:21 AM

I profiled the wing and will trim it to size before making the supports from carbon fiber. I still have to figure out the best way to make it magnetic. I think Ill embed the magnet into the endplate of the support where it meets the body.
IMG_8227.jpeg
  • olescratch likes this
Dean John

#65 DeanJ

DeanJ

    Backmarker

  • Full Member
  • PipPip
  • 95 posts
  • Joined: 13-March 26
  • Gender:Male
  • Location:SoCal

Posted 15 May 2026 - 01:09 AM

I added the ballast weight to the bar and am prepared to add more for testing - I'll double-sided tape any more I add for testing


IMG_8232.JPG


  • olescratch likes this
Dean John

#66 DeanJ

DeanJ

    Backmarker

  • Full Member
  • PipPip
  • 95 posts
  • Joined: 13-March 26
  • Gender:Male
  • Location:SoCal

Posted 15 May 2026 - 11:45 AM

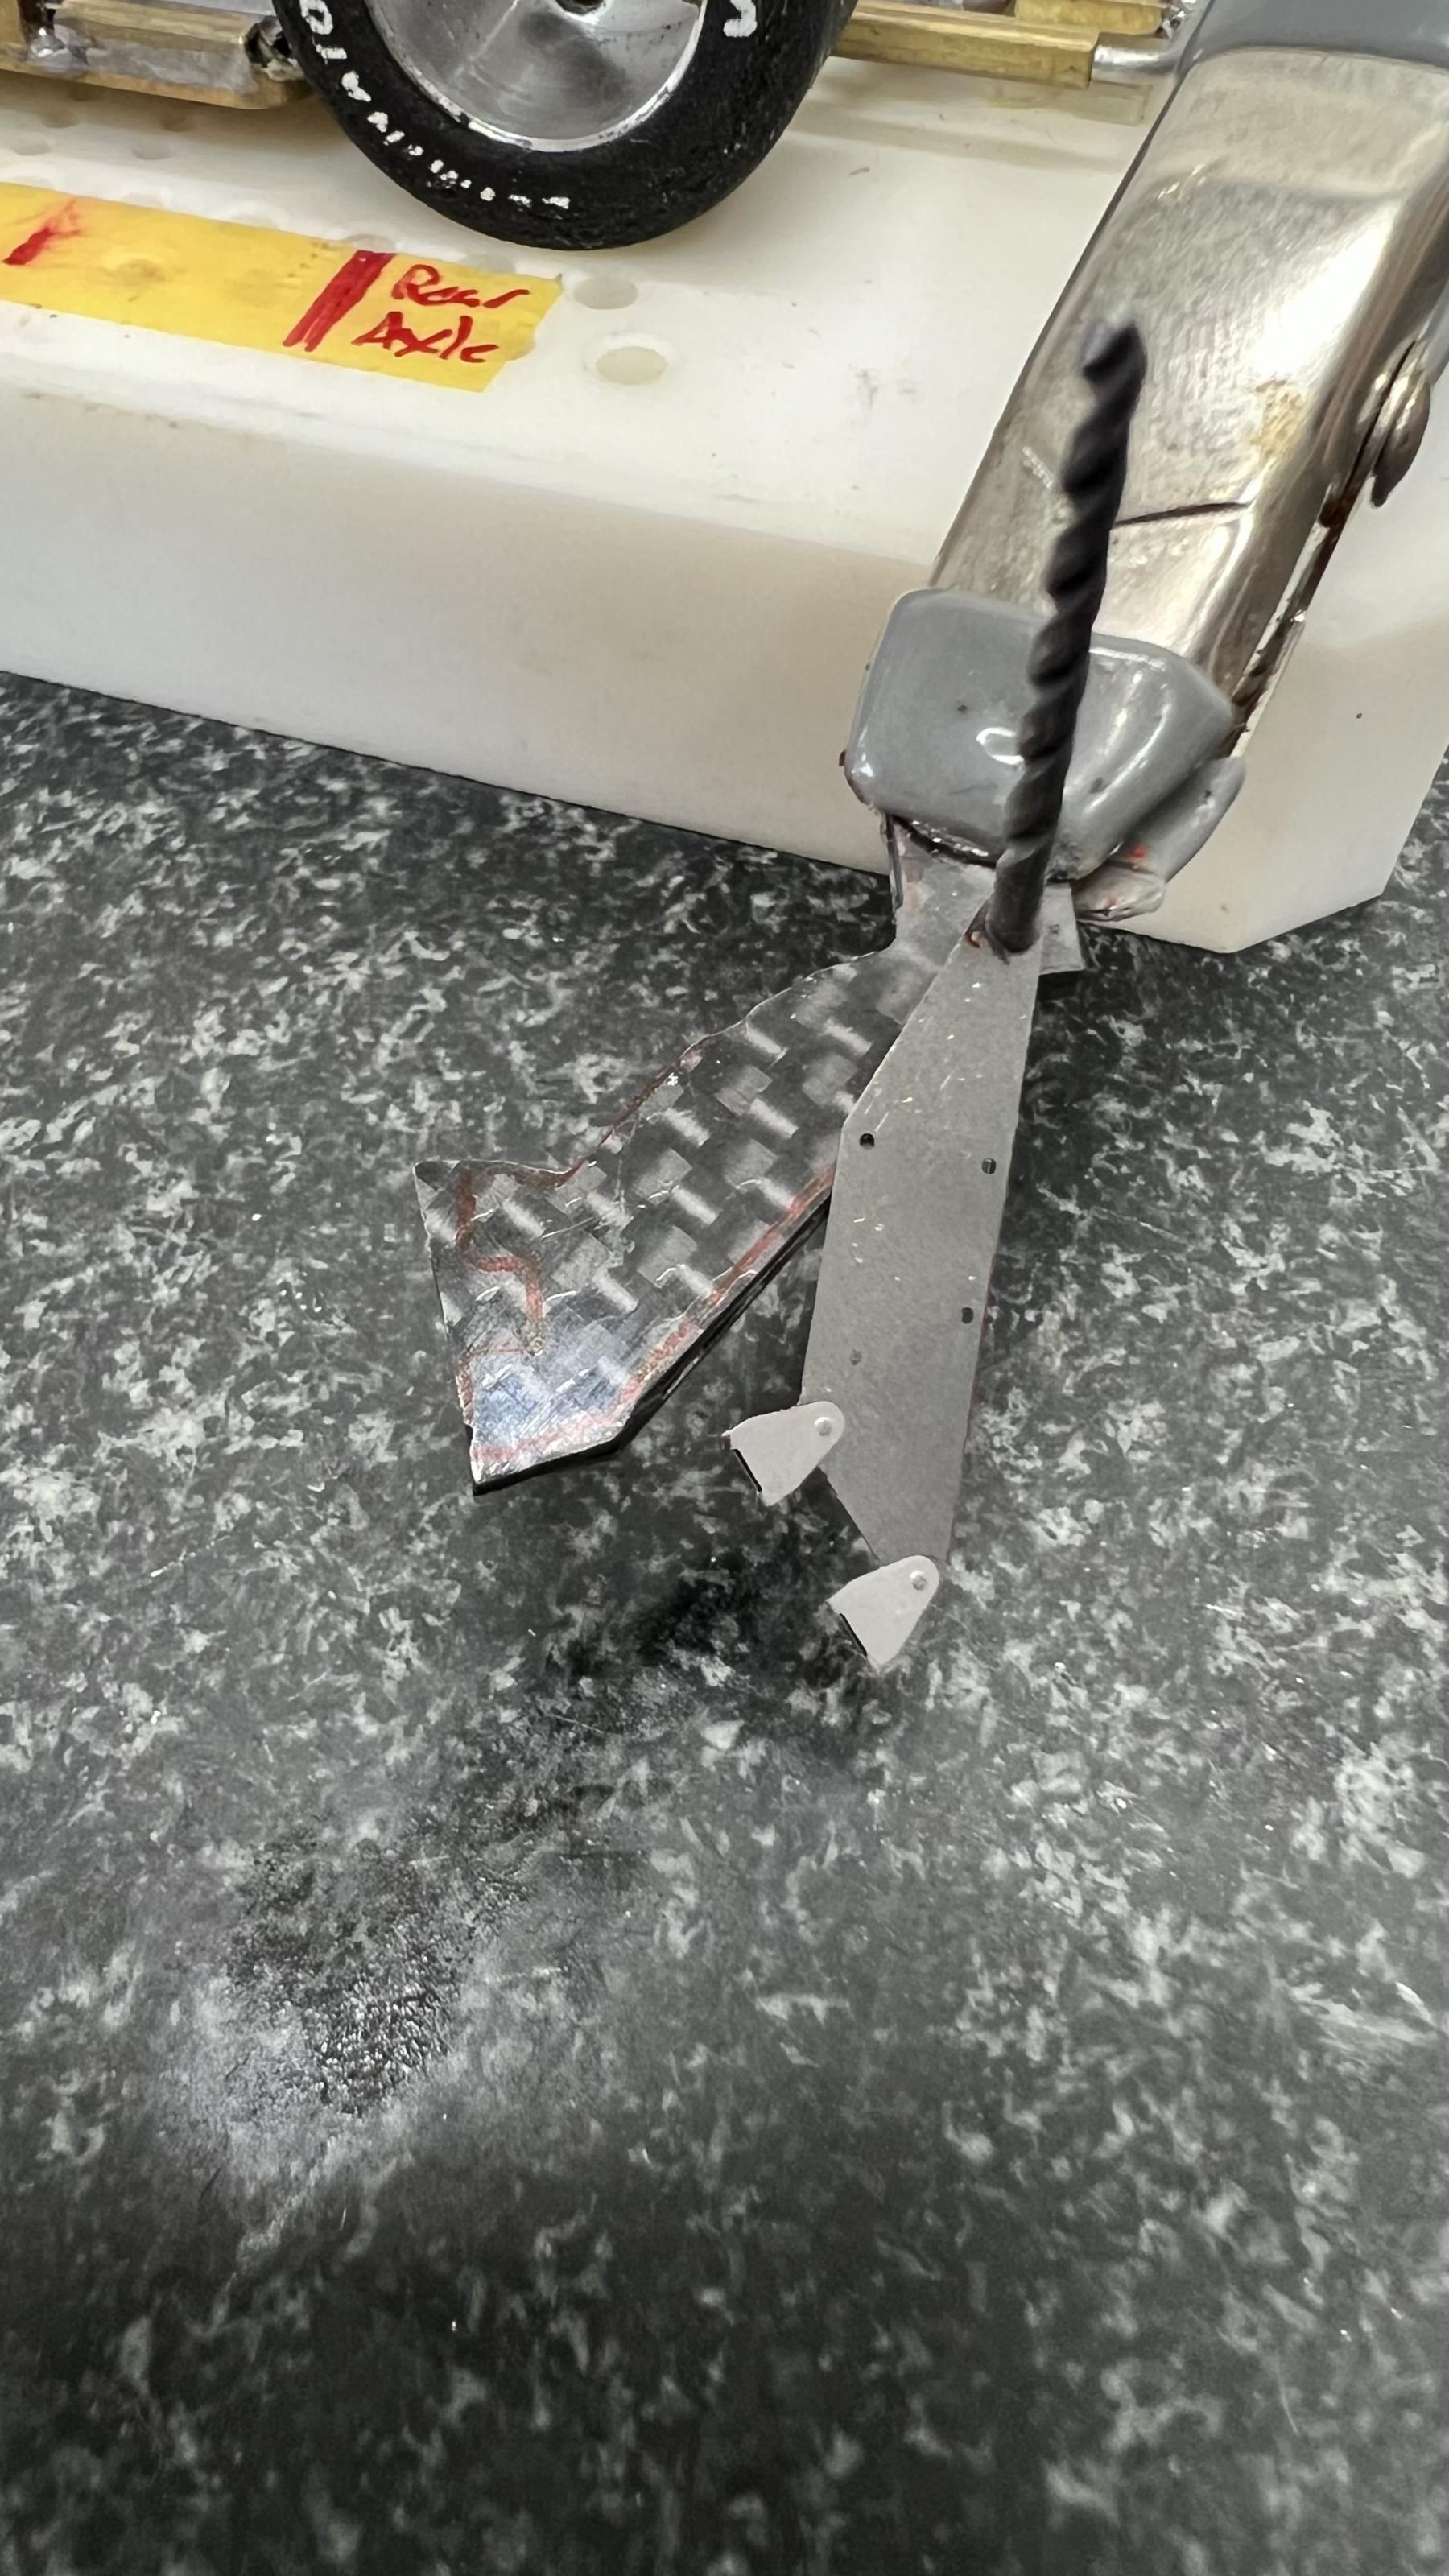
Continuing work on the body, Im building the rear wing supports from .75mm carbon fiber sheet. I use the photo etched part as a template, and will use the spikes to embed into the wing for support. Whatever sticks out the top side of the wing will get sanded before priming.

IMG_8233.jpeg

IMG_8234.jpeg
Dean John

#67 DeanJ

DeanJ

    Backmarker

  • Full Member
  • PipPip
  • 95 posts
  • Joined: 13-March 26
  • Gender:Male
  • Location:SoCal

Posted 17 May 2026 - 09:24 PM

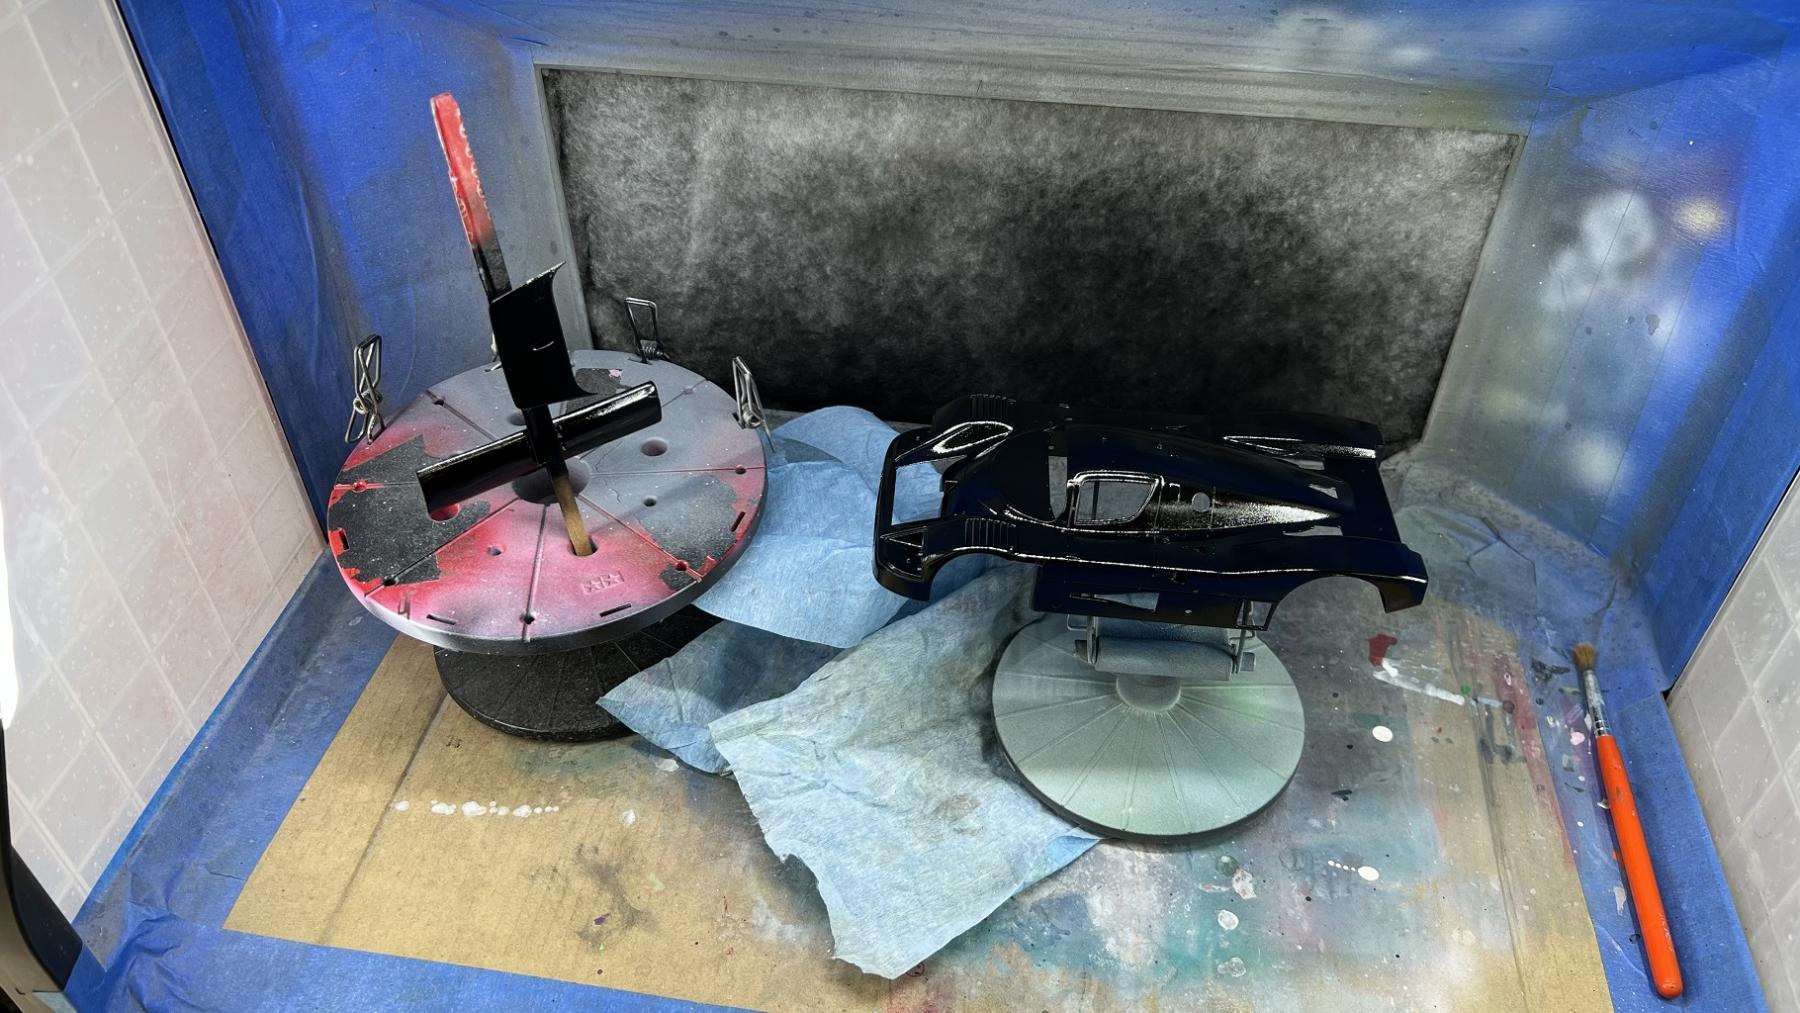
First coat of black base primer is down. All surfaces will get sanded with 600/800 after it cures for a day.


IMG_8236b.jpg


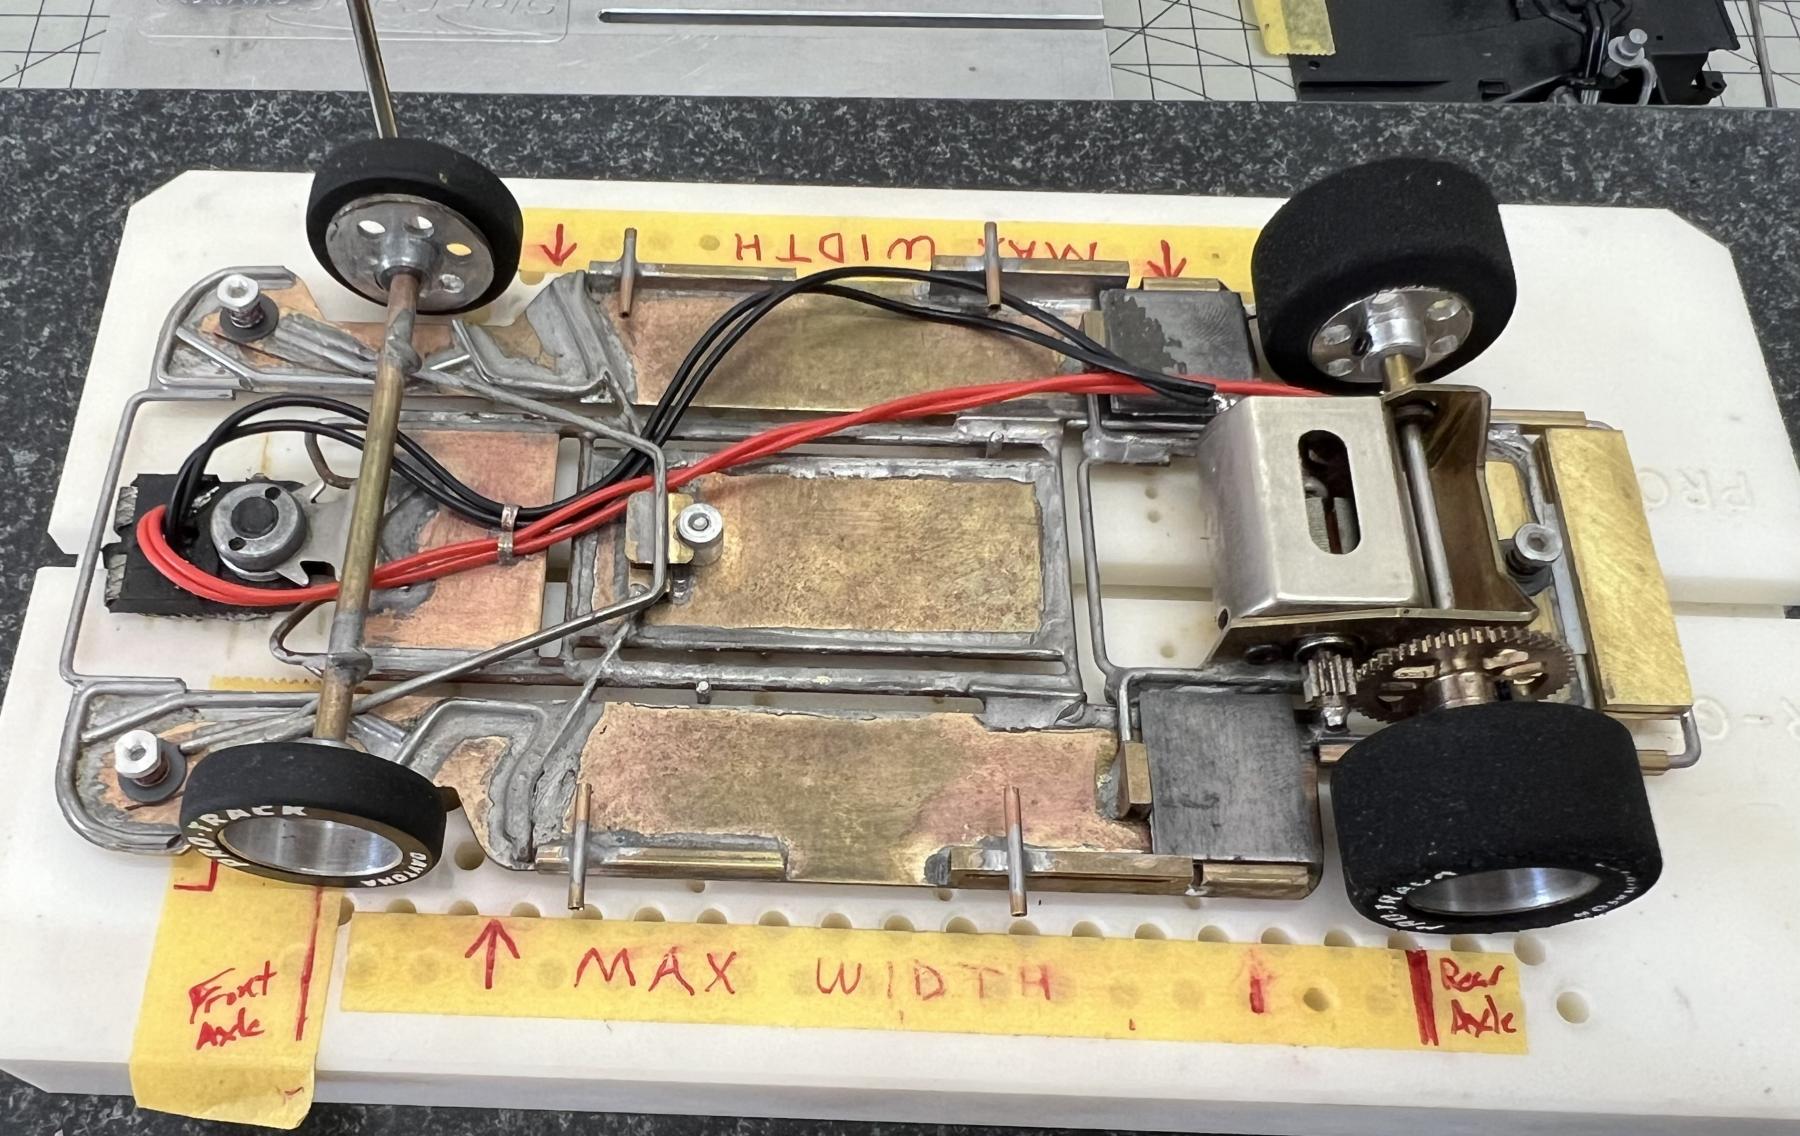
I also changed the lead wire on the chassis back to something smaller in diameter, and doubled it up.


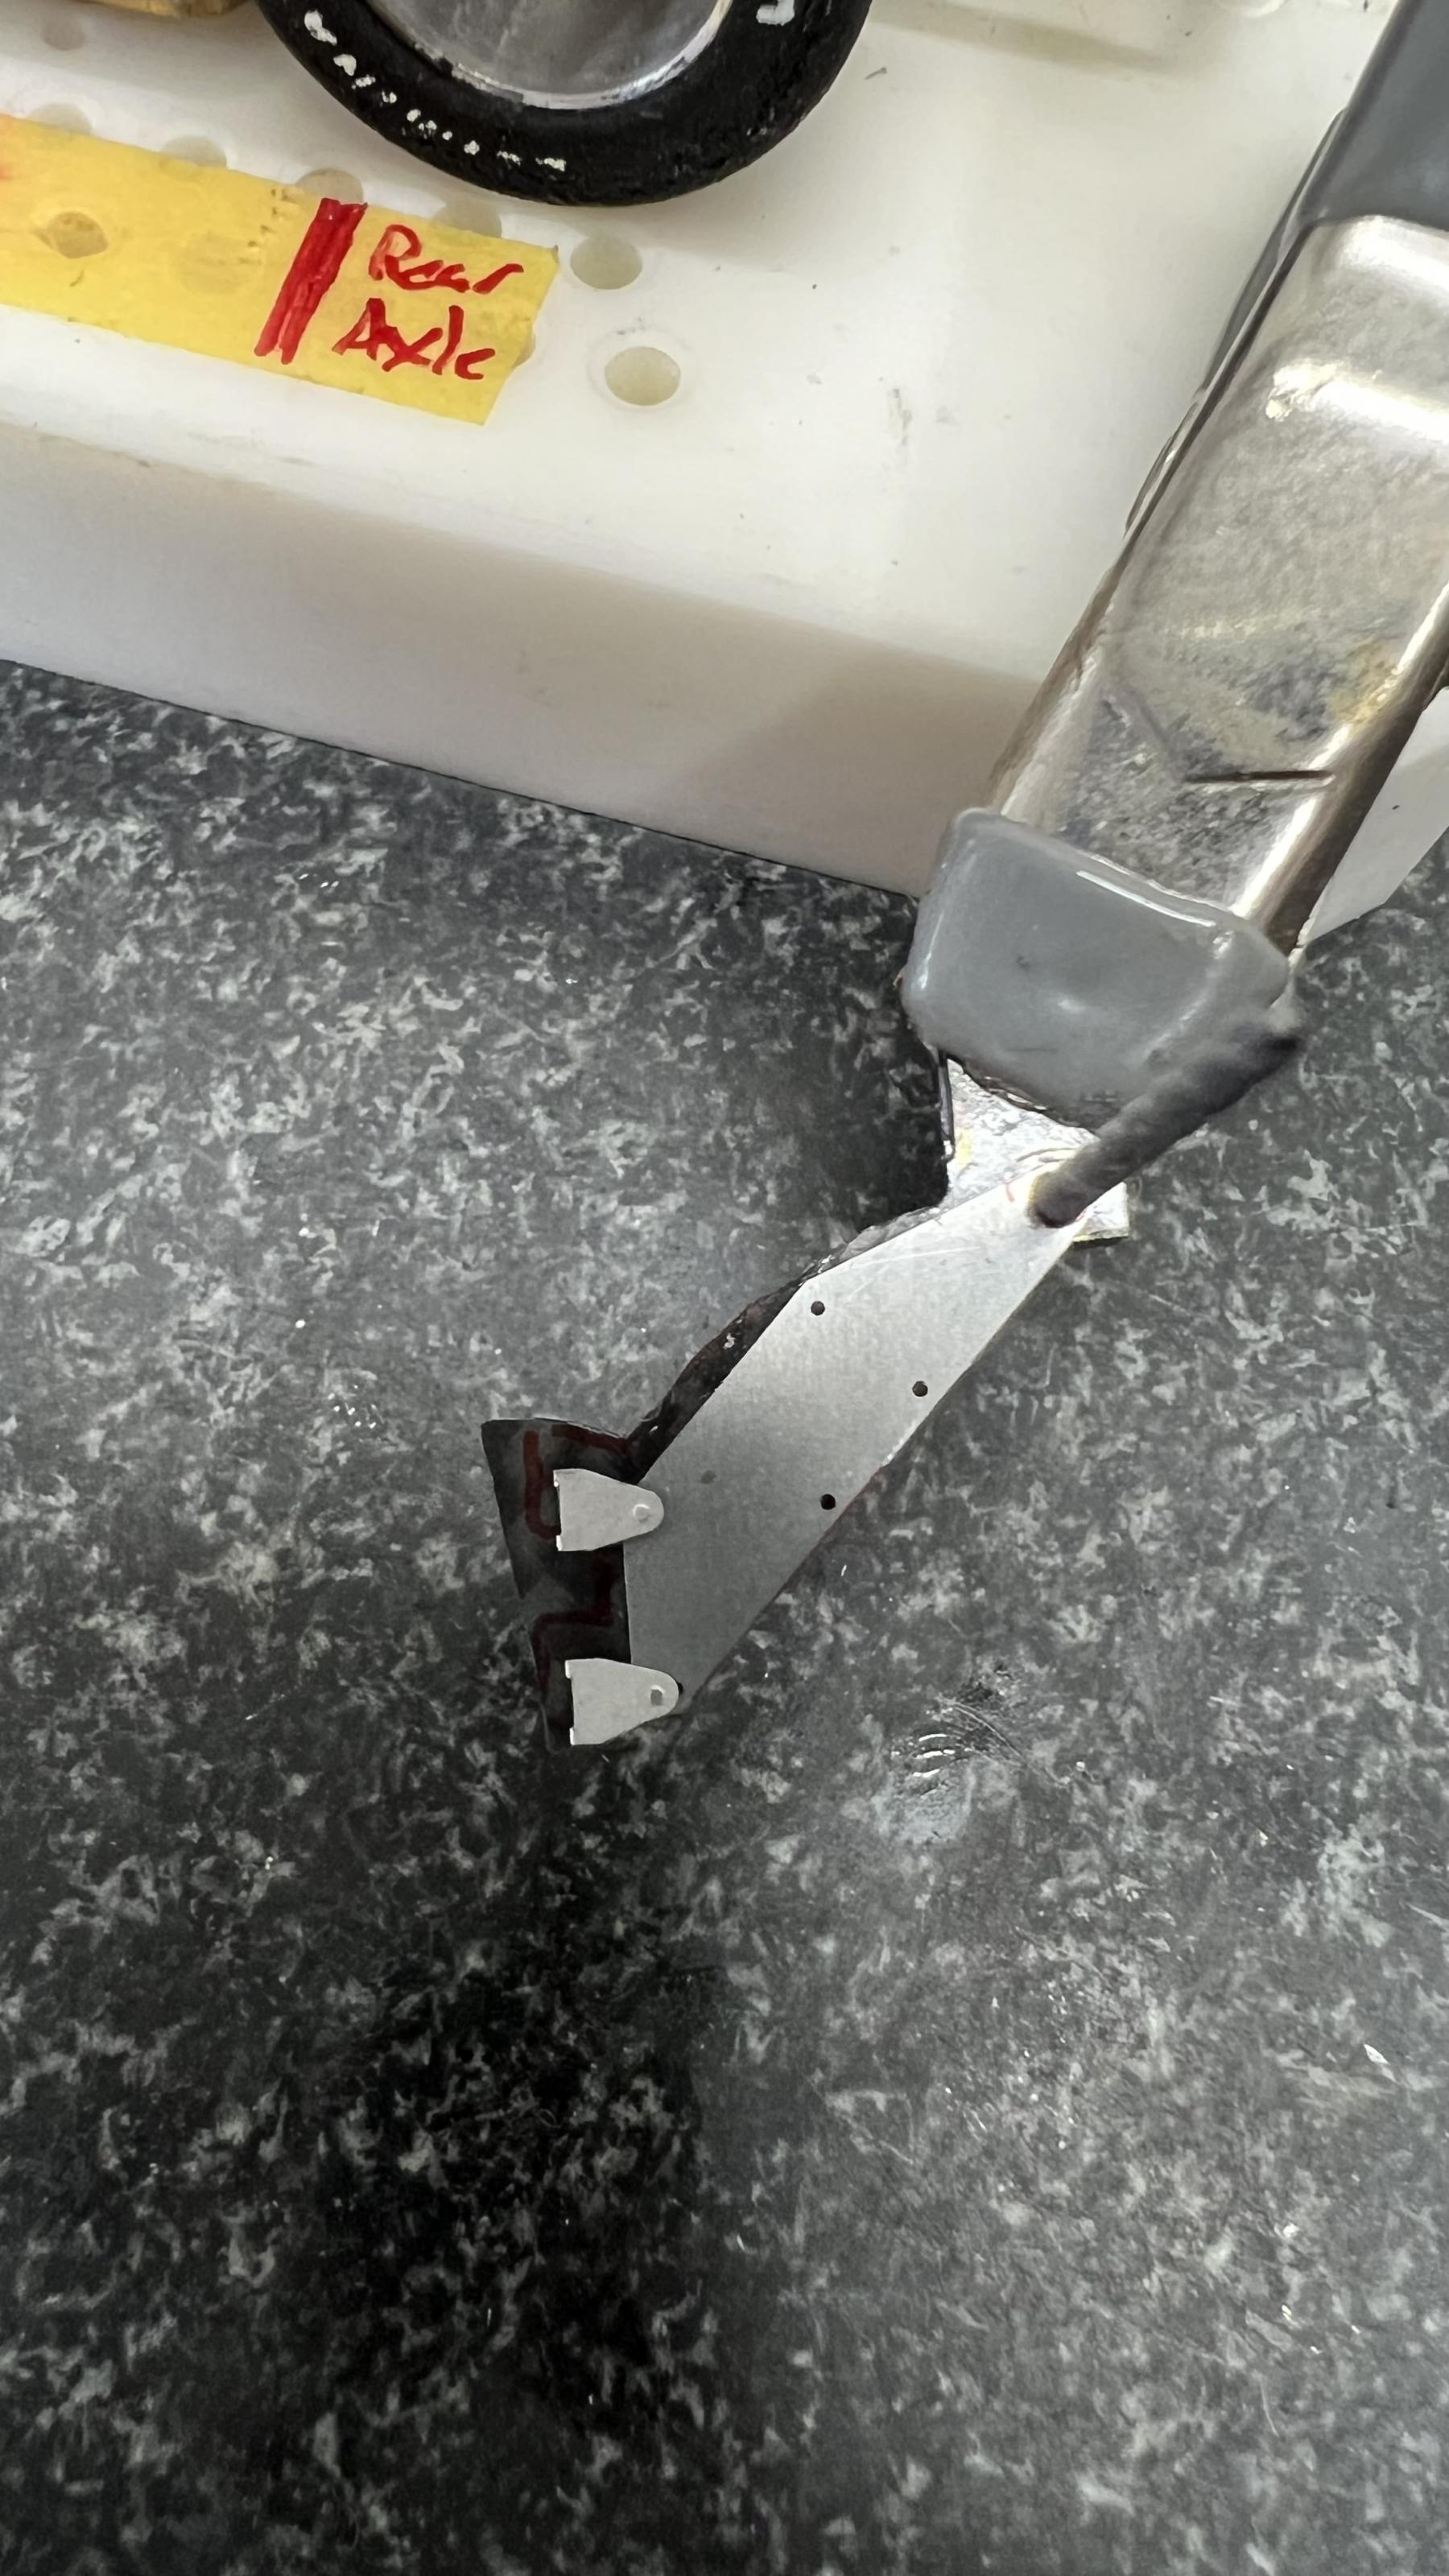
The rear wing support is completed. I need to make the part that receives the wing support and glue that in place under the body.


Dean John

#68 DeanJ

DeanJ

    Backmarker

  • Full Member
  • PipPip
  • 95 posts
  • Joined: 13-March 26
  • Gender:Male
  • Location:SoCal

Posted 18 May 2026 - 07:01 PM


Here's the doubled up lead wire.

IMG_8241.jpeg


Dean John

#69 DeanJ

DeanJ

    Backmarker

  • Full Member
  • PipPip
  • 95 posts
  • Joined: 13-March 26
  • Gender:Male
  • Location:SoCal

Posted 20 May 2026 - 09:27 PM

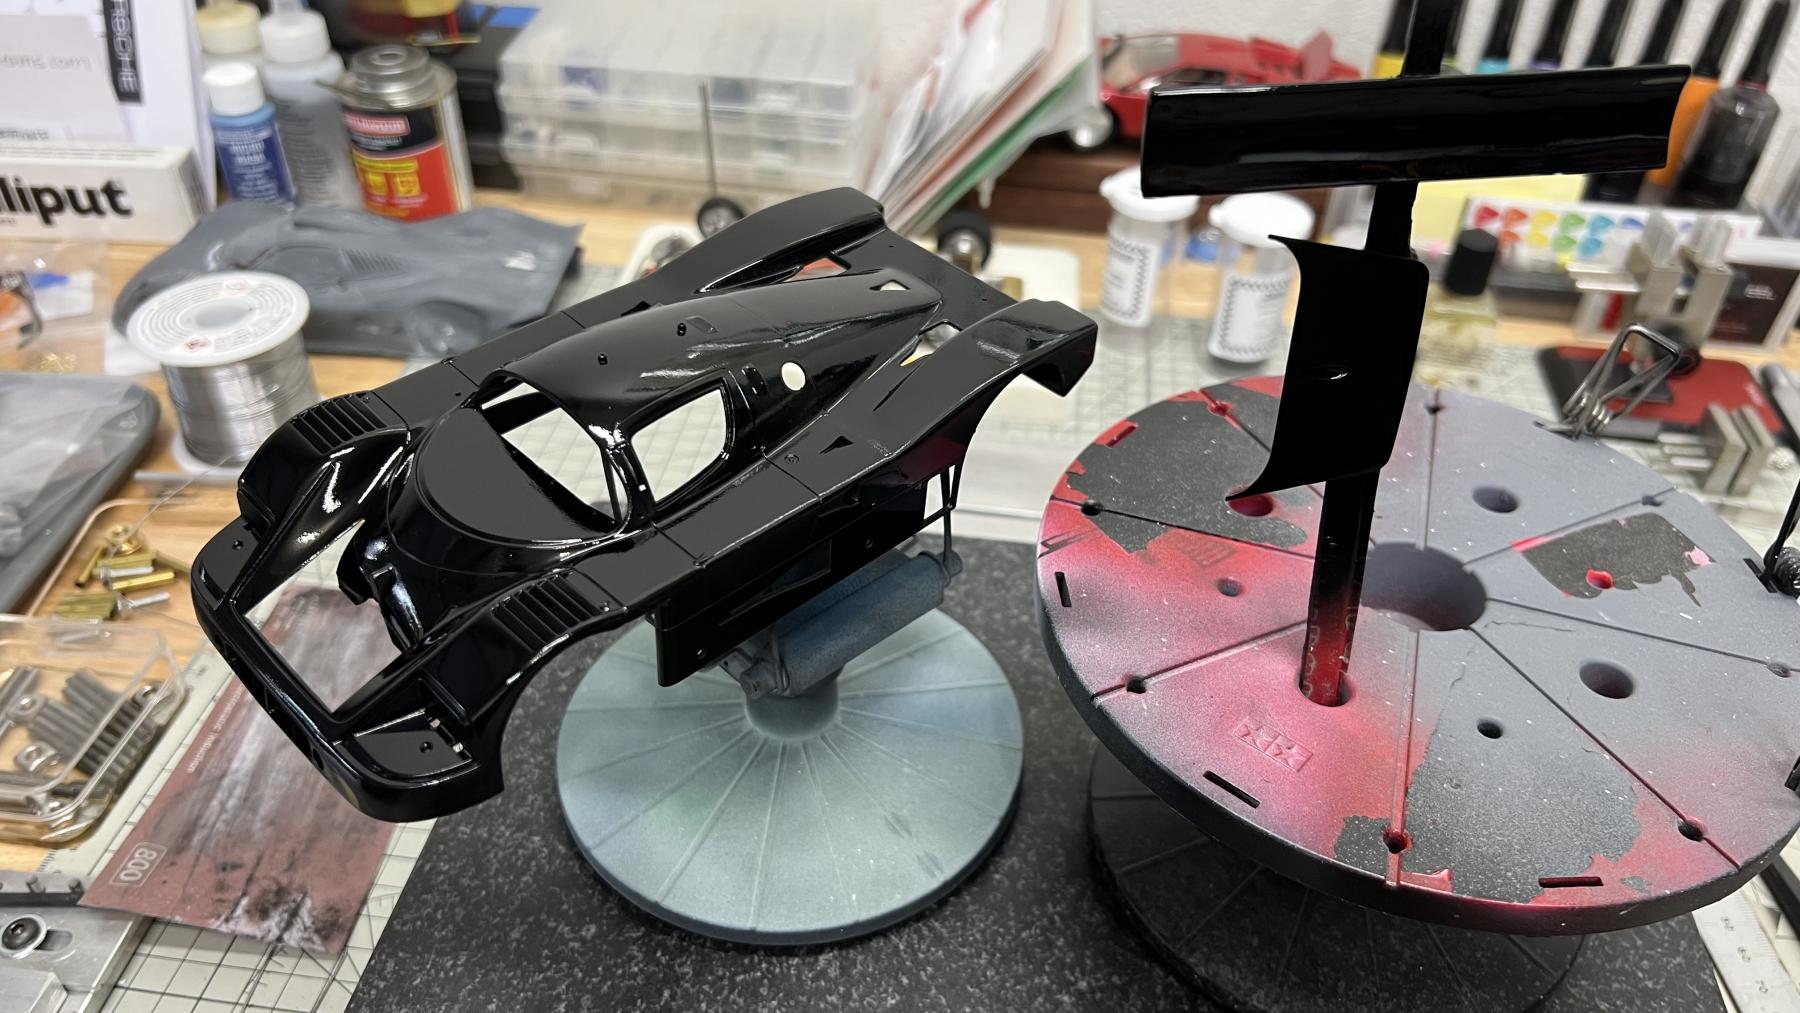
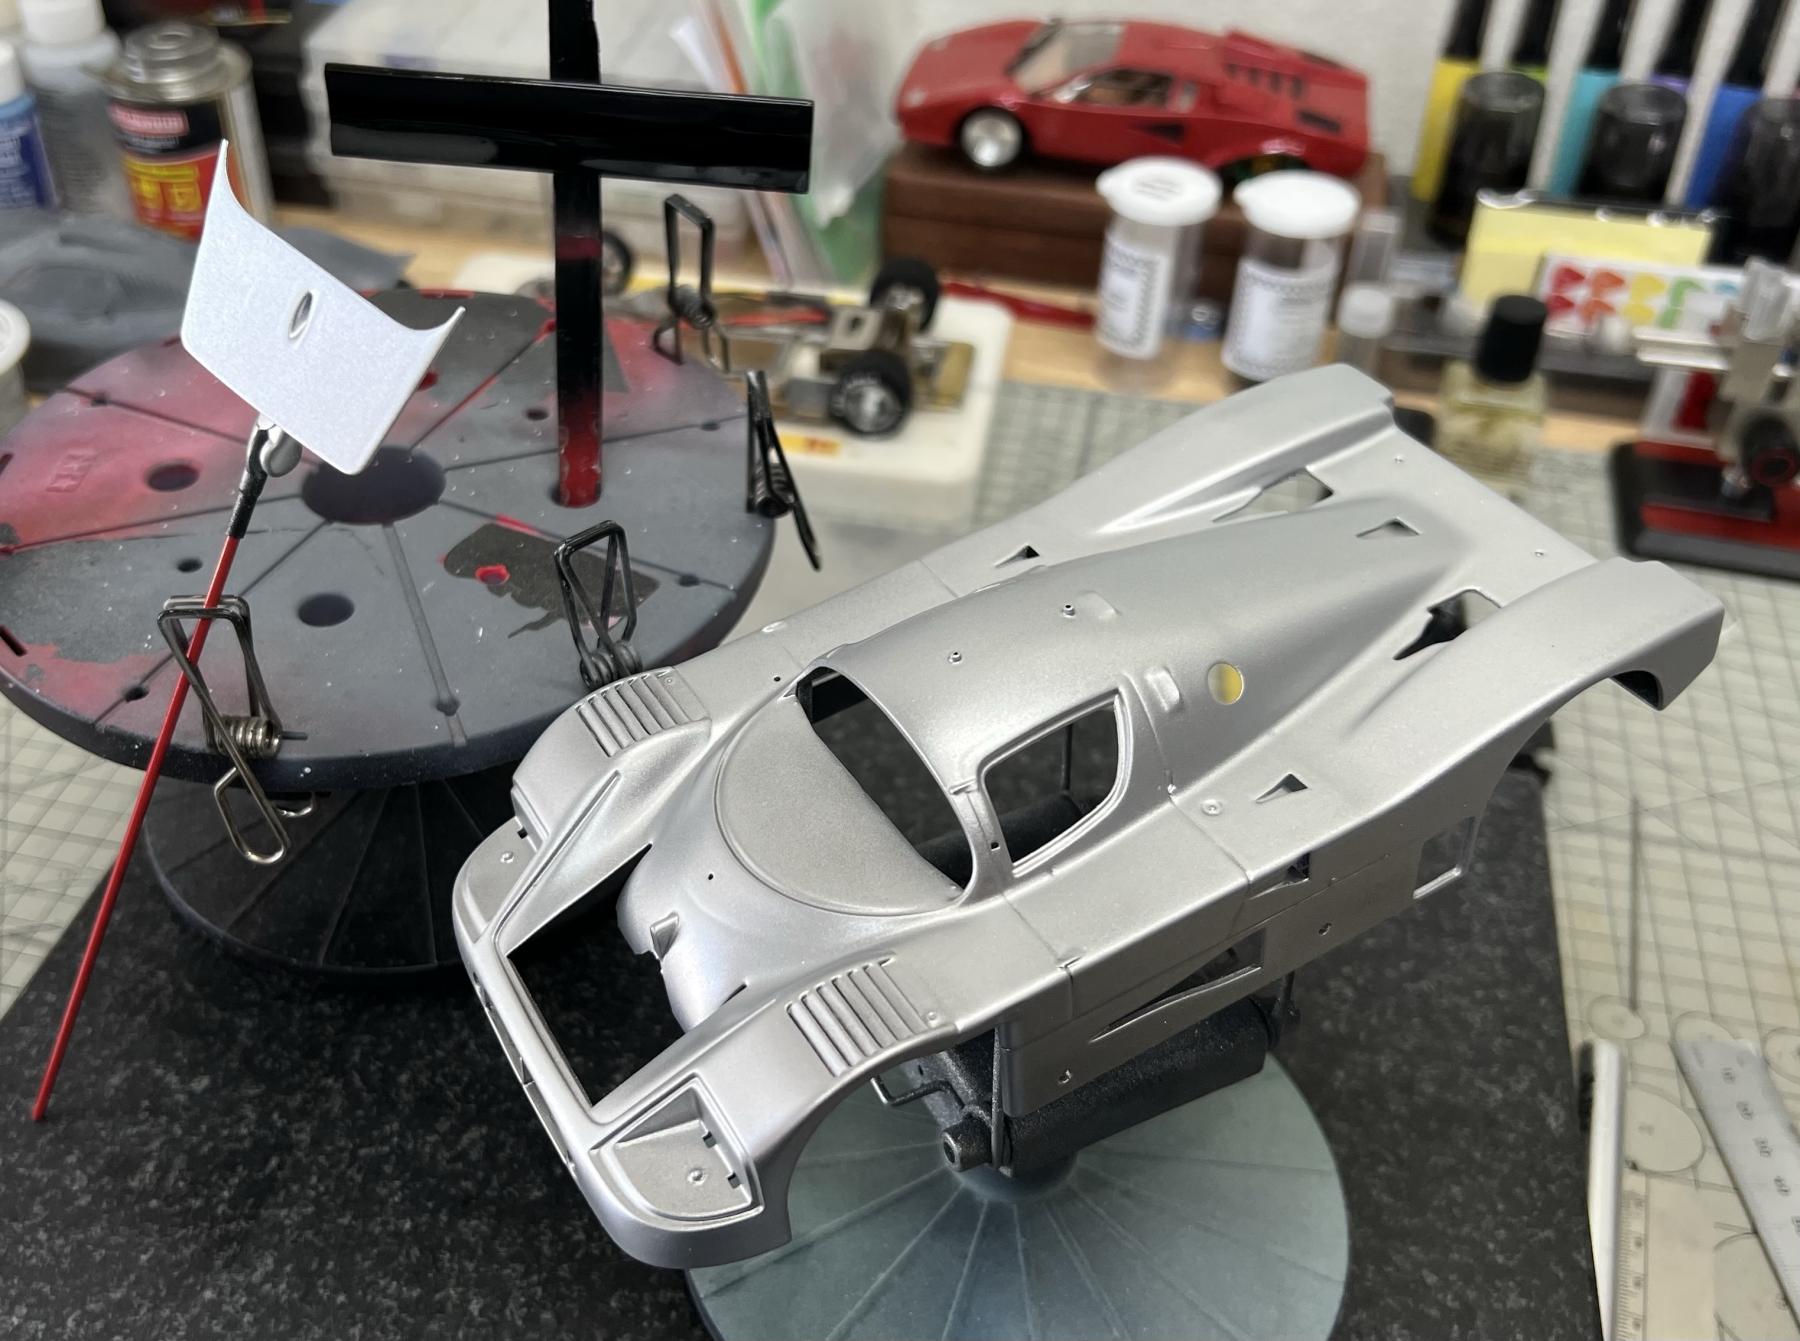
Primer coat is completed. Ill wait 2 days for this to dry, and then wet sand out the dust with 2000.

IMG_8243.jpeg
  • grooverunner likes this
Dean John

#70 DeanJ

DeanJ

    Backmarker

  • Full Member
  • PipPip
  • 95 posts
  • Joined: 13-March 26
  • Gender:Male
  • Location:SoCal

Posted 25 May 2026 - 03:30 PM

Paint is complete. I'll give this a day to dry and then put on the decals. Then decals dry for a day and then 2K Clear.


IMG_8254.JPG


  • Bill from NH and Larry Horner like this
Dean John

#71 Bill from NH

Bill from NH

    Age scrubs away speed!

  • Full Member
  • PipPipPipPipPipPipPipPip
  • 15,316 posts
  • Joined: 02-August 07
  • Gender:Male
  • Location:New Boston, NH

Posted 26 May 2026 - 04:35 PM

Whose silver paint did you use Dean? It looks real smooth laid over the black primer.


  • DeanJ likes this
Bill Fernald
 
I intend to live forever!  So far, so good.  :laugh2:  :laugh2: 

#72 DeanJ

DeanJ

    Backmarker

  • Full Member
  • PipPip
  • 95 posts
  • Joined: 13-March 26
  • Gender:Male
  • Location:SoCal

Posted 26 May 2026 - 08:12 PM

Thanks Bill, I love this paint. The metal flakes are so small, it's just an amazing finish. It's StreetBlisters paint I order from SpotModel.


  • Bill from NH likes this
Dean John

#73 DeanJ

DeanJ

    Backmarker

  • Full Member
  • PipPip
  • 95 posts
  • Joined: 13-March 26
  • Gender:Male
  • Location:SoCal

Posted 28 May 2026 - 12:21 AM

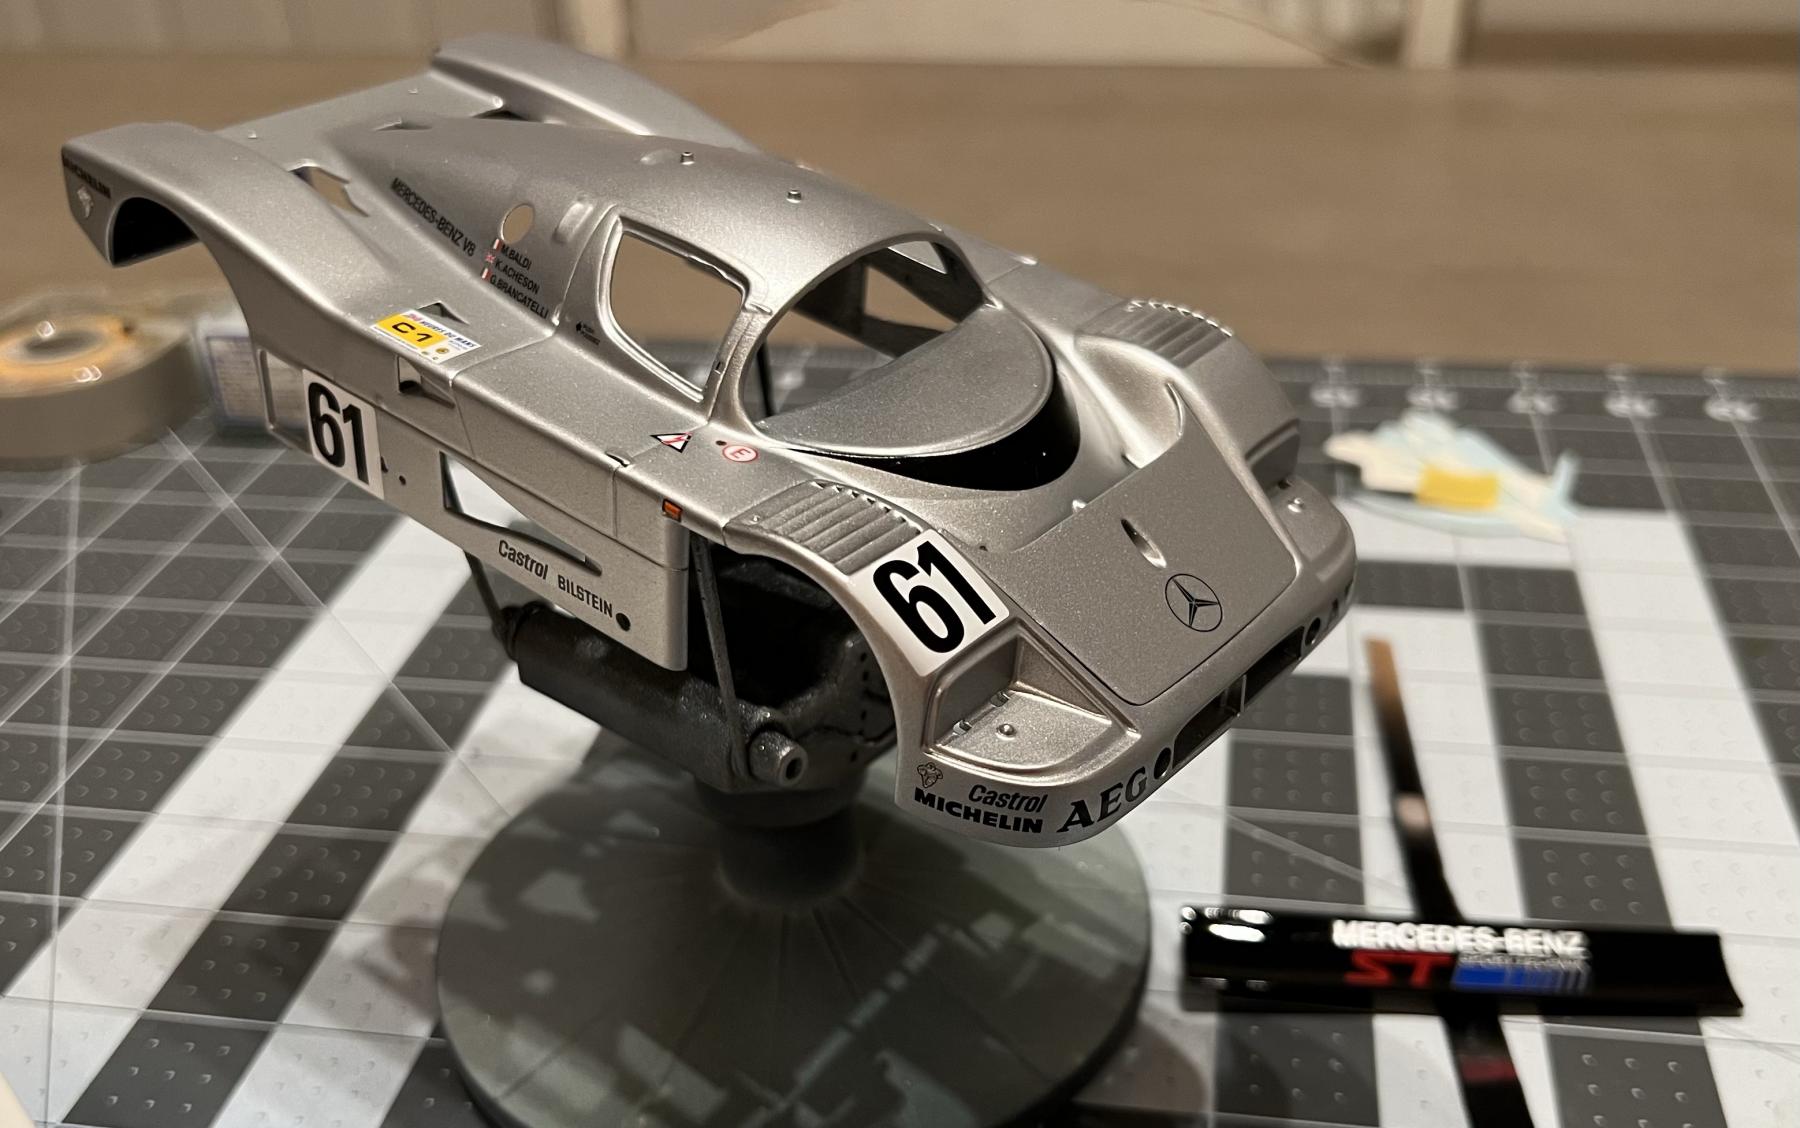
Decals are done. No time for clear tonight. I might just leave it the way it is, but I do have to complete the rear wing install.


IMG_8272.JPG


  • bbr and olescratch like this
Dean John

#74 DeanJ

DeanJ

    Backmarker

  • Full Member
  • PipPip
  • 95 posts
  • Joined: 13-March 26
  • Gender:Male
  • Location:SoCal

Posted 28 May 2026 - 11:03 PM

Actually I'm not going to end up clearing the body, it's a race car that will show the battle scars.


Dean John

#75 Pablo

Pablo

    Builder

  • Administrator
  • PipPipPipPipPipPipPipPip
  • 18,579 posts
  • Joined: 20-February 06
  • Gender:Male
  • Location:Cleveland, Tennessee

Posted 29 May 2026 - 03:36 AM

I was looking forward to seeing your hardbody clear coat method.

Sometimes I use Mop n Glo just to keep the outside waterslide decals from damage.

Maybe you have a better way  :)


Paul Wolcott


Electric Dreams Online Shop