Jump to content


Photo

How to build slot car tracks


  • Please log in to reply
405 replies to this topic

#176 Steve Ogilvie

Steve Ogilvie

    Race Leader

  • Subscriber
  • PipPipPipPipPip
  • 630 posts
  • Joined: 17-November 14
  • Gender:Male
  • Location:Kincardine, Ontario, Canada

Posted 29 April 2020 - 08:04 AM

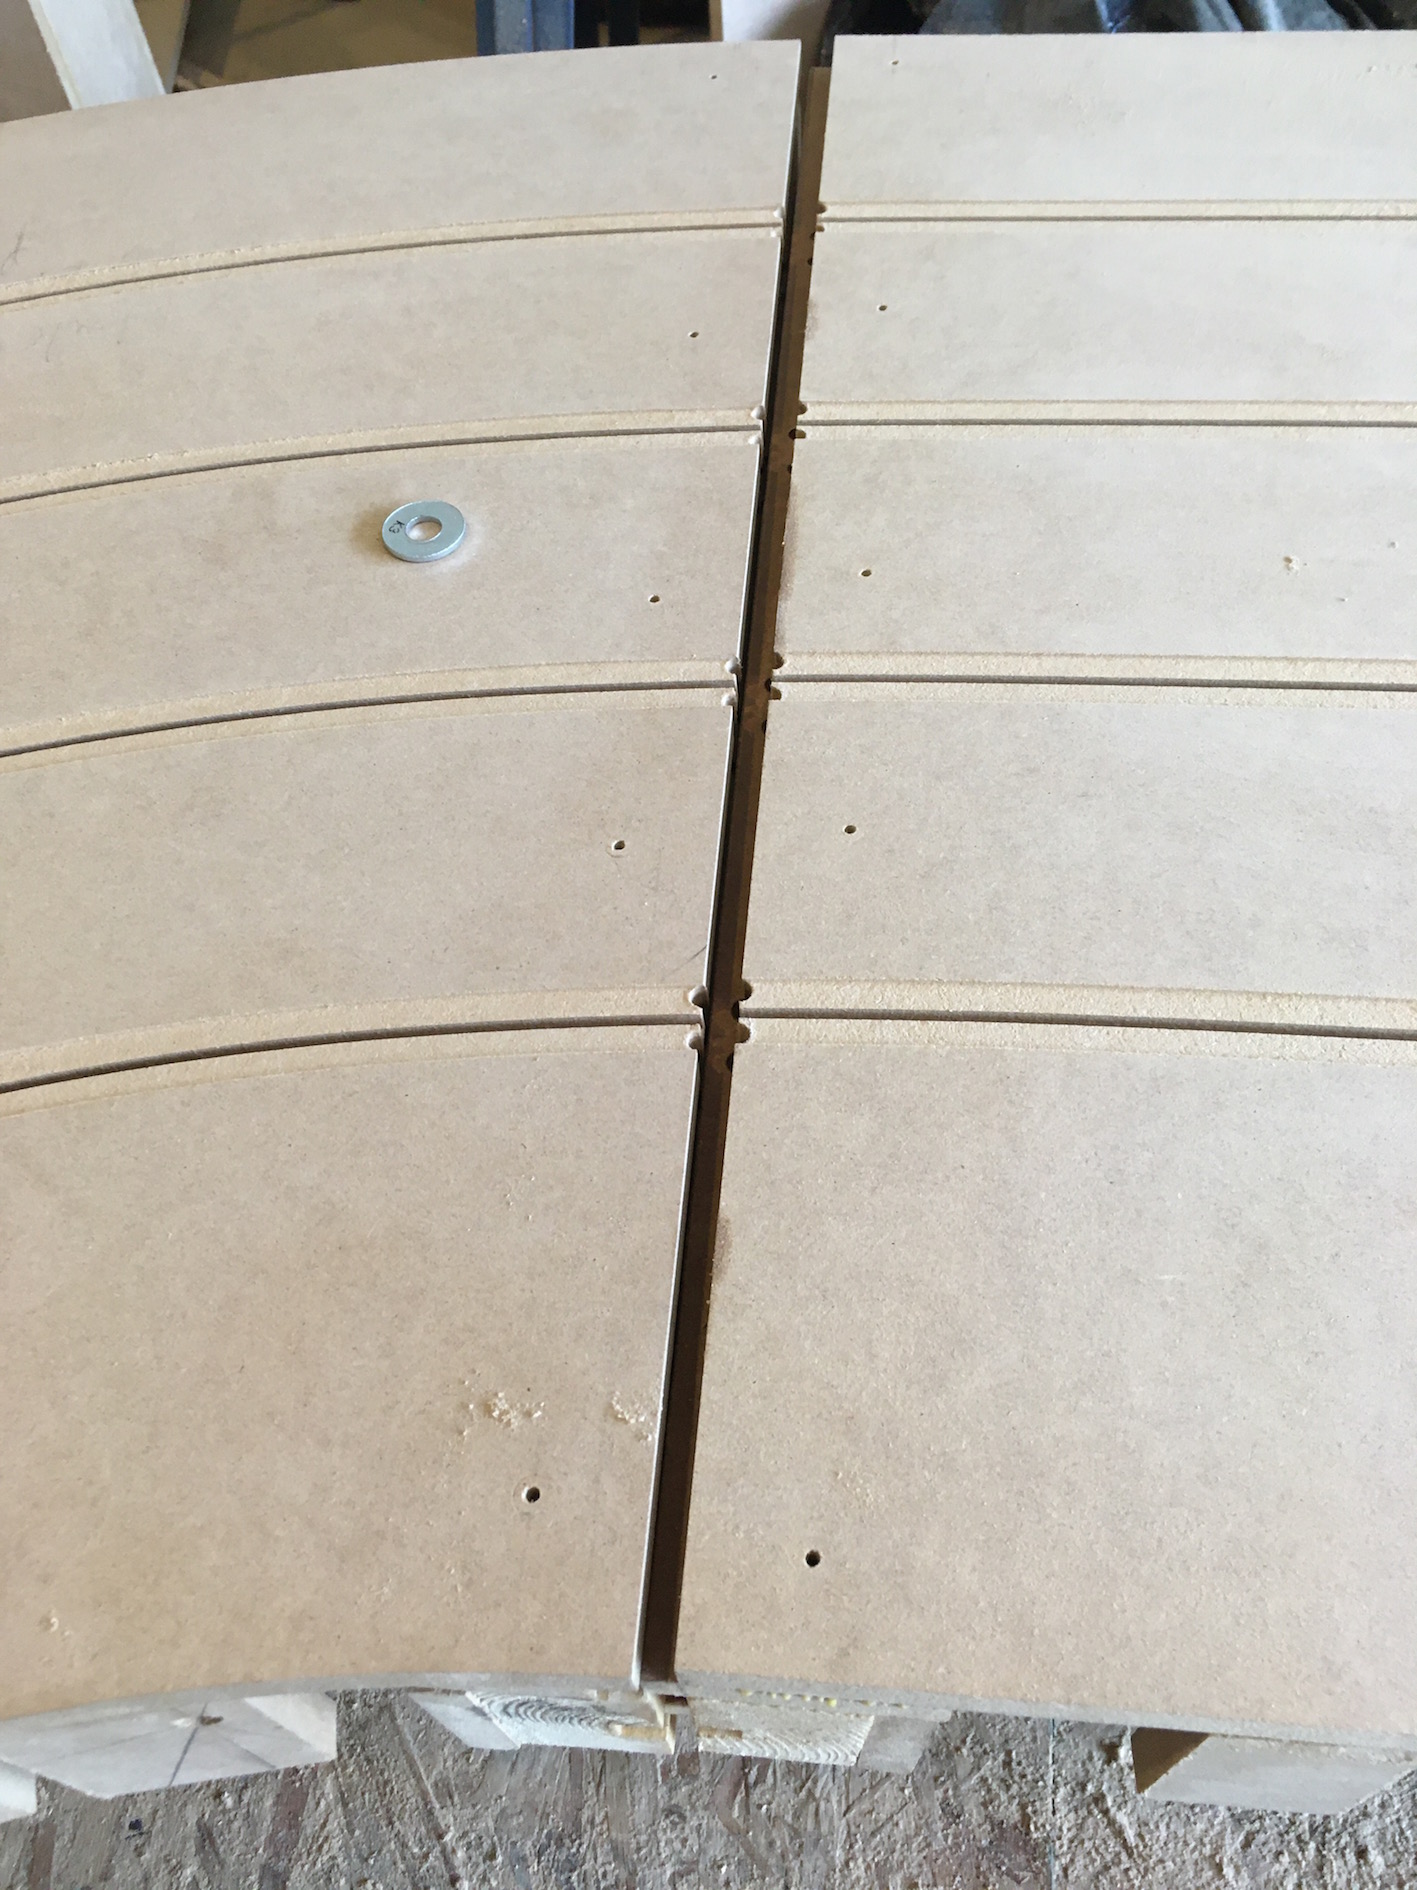
This track was really easy to bolt together. First I shimmed under the outside of each corner leg, about 1" under the donut legs and 3" under the 8' bank turn. The track then was already shallow banked before I pulled the main straights together. I used the corner before the under bridge as my bolt together joint. 


I pushed the corner to the outside with my left leg and pulled the straight in with one arm and got a bolt started. Because the small corners have to be pushed out and the straights get pulled in, on this design they work against each other to hold the banking. So once I got a bolt started I could let everything go and just put the rest of the bolts in and pull the joint together with the bolts.


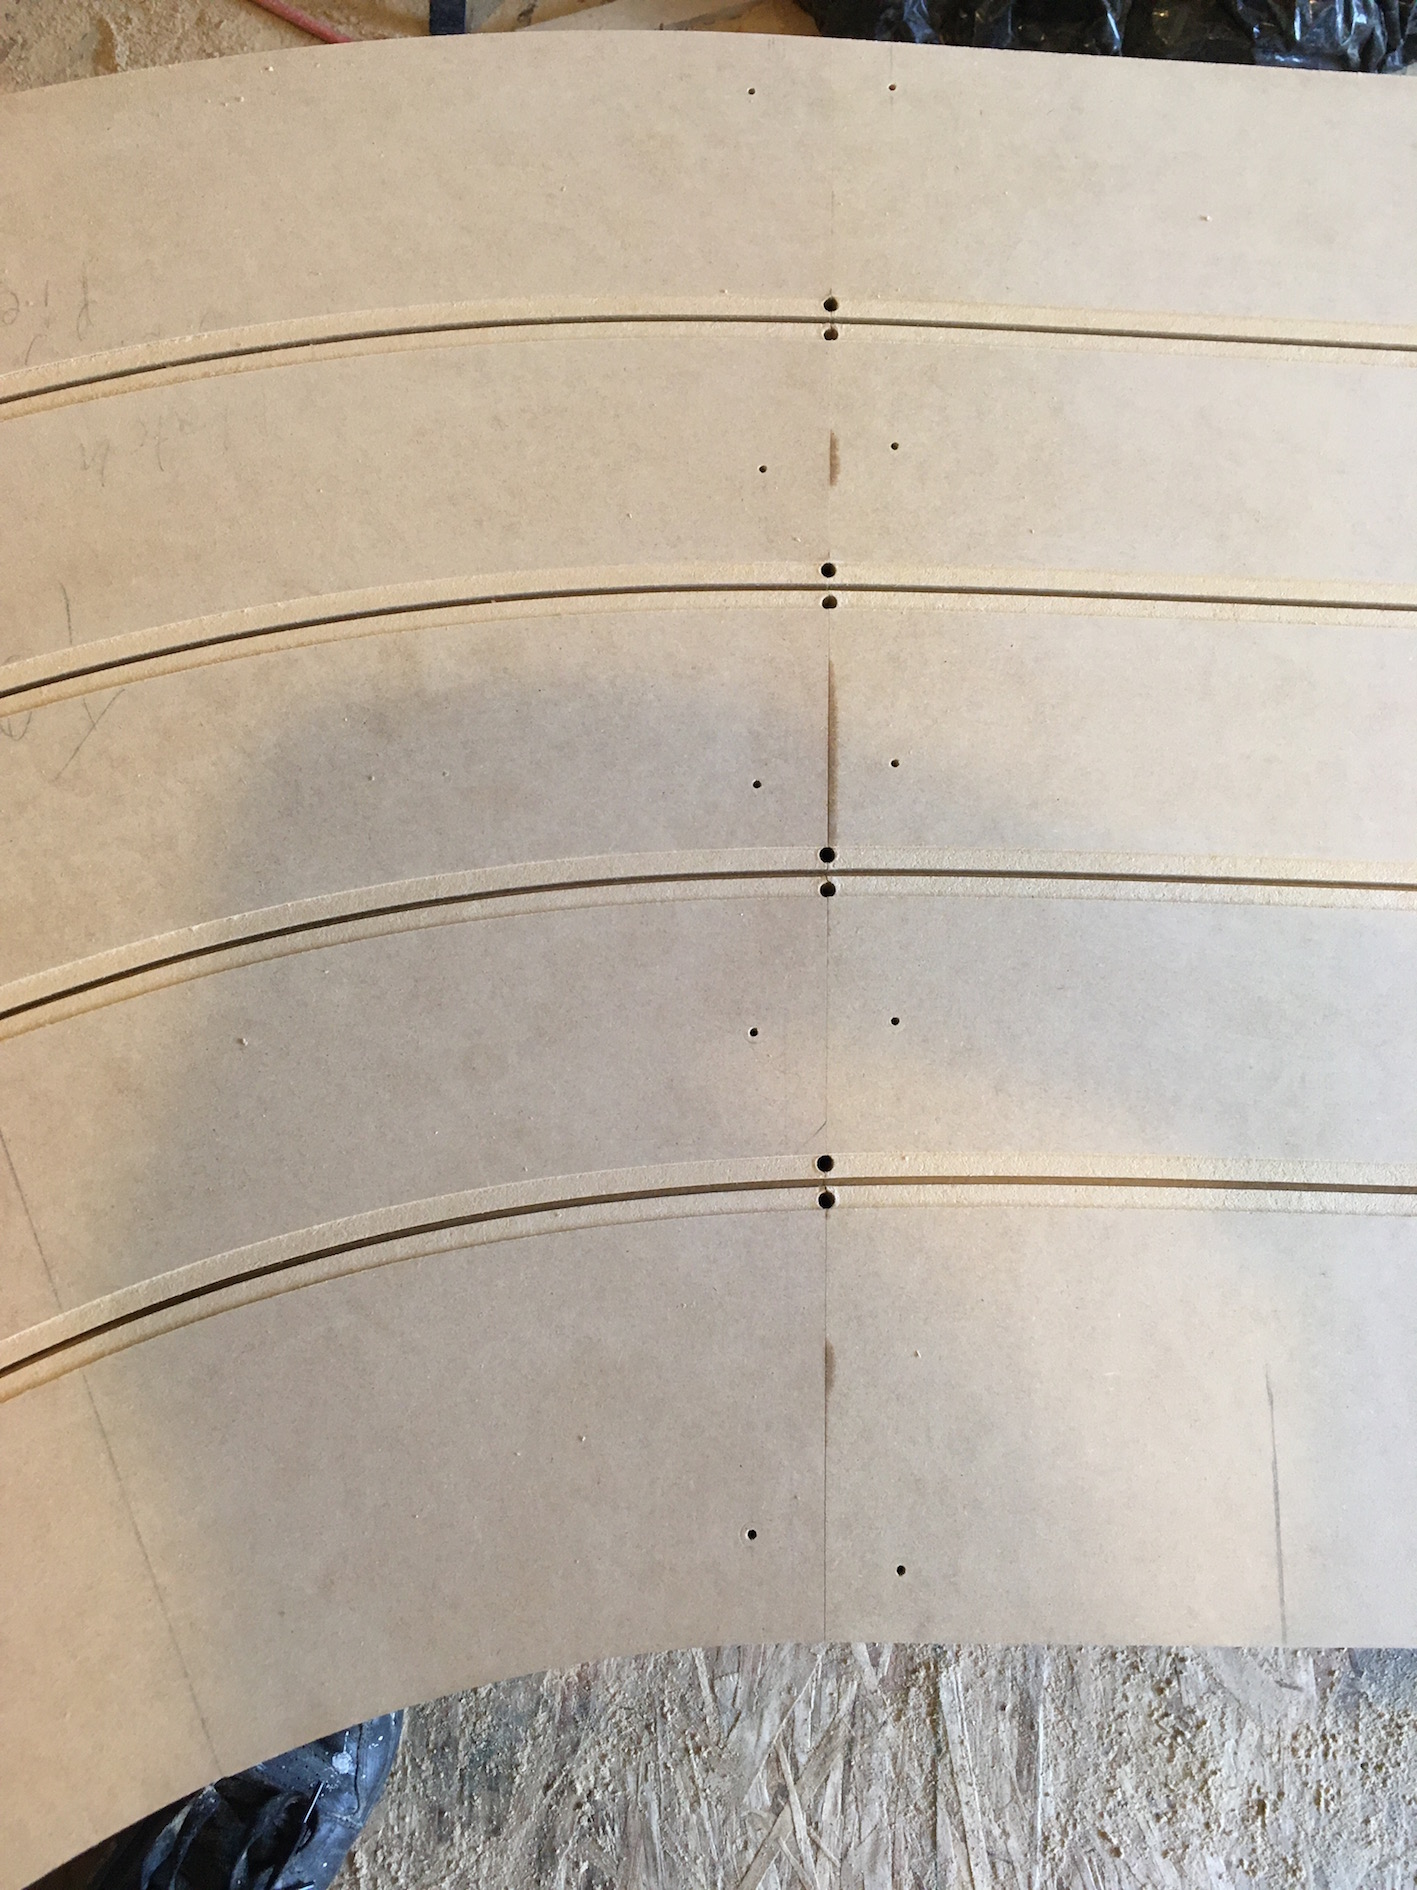
When pulling together the last joint on any track always look at the gap you have when you get it close enough to get a bolt in. A gap on the outside of the corner or a fairly uniform gap not too far apart is what you want to see. A large gap to the inside of a corner means you have a problem, something was cut  with the wrong radius or the circumference was calculated wrong. Whenever this happened to me I could always find a mistake on my drawing. Sometimes you can get the track together but usually something is not going to look quite right. Or worst case, you are not going to be able to pull the joint together and you have a big gap on the inside of the corner at the joint. This was a rare problem for me anyways it was always a glaring mistake, very annoying. I developed a good eye for problems, I could tell if a track was not right as soon as it was put together flat with out the slots cut. But by making a good drawing and checking measurements and calculations (self doubt is a good thing) I only had to change things on maybe 4 tracks in my career. The gap as the joint was bolted up:


IMG_3005.jpg


IMG_3006.jpg


The joint tightened up
IMG_3007.jpg


  • Pappy, slotbaker, Zippity and 7 others like this


#177 Steve Ogilvie

Steve Ogilvie

    Race Leader

  • Subscriber
  • PipPipPipPipPip
  • 630 posts
  • Joined: 17-November 14
  • Gender:Male
  • Location:Kincardine, Ontario, Canada

Posted 29 April 2020 - 11:28 AM

A quick video with the track bolted up and banked.


Steve Ogilvie builds a slot car track- Bent and Bolted - YouTube


  • Zippity, Eddie Fleming, Greg Erskine and 1 other like this

#178 Kehlo

Kehlo

    Backmarker

  • Full Member
  • PipPip
  • 60 posts
  • Joined: 23-February 08
  • Gender:Male
  • Location:Marktredwitz, Germany

Posted 29 April 2020 - 02:17 PM

Thanks a lot!
Please keep it coming, this is great  :)


  • Steve Ogilvie likes this
Christian Kehl

#179 Steve Ogilvie

Steve Ogilvie

    Race Leader

  • Subscriber
  • PipPipPipPipPip
  • 630 posts
  • Joined: 17-November 14
  • Gender:Male
  • Location:Kincardine, Ontario, Canada

Posted 29 April 2020 - 03:37 PM

More from yesterday. 


Steve Ogilvie Builds a Slot Car track update - YouTube


  • Zippity and Eddie Fleming like this

#180 Steve Ogilvie

Steve Ogilvie

    Race Leader

  • Subscriber
  • PipPipPipPipPip
  • 630 posts
  • Joined: 17-November 14
  • Gender:Male
  • Location:Kincardine, Ontario, Canada

Posted 30 April 2020 - 01:57 PM

IMG_3019.jpg

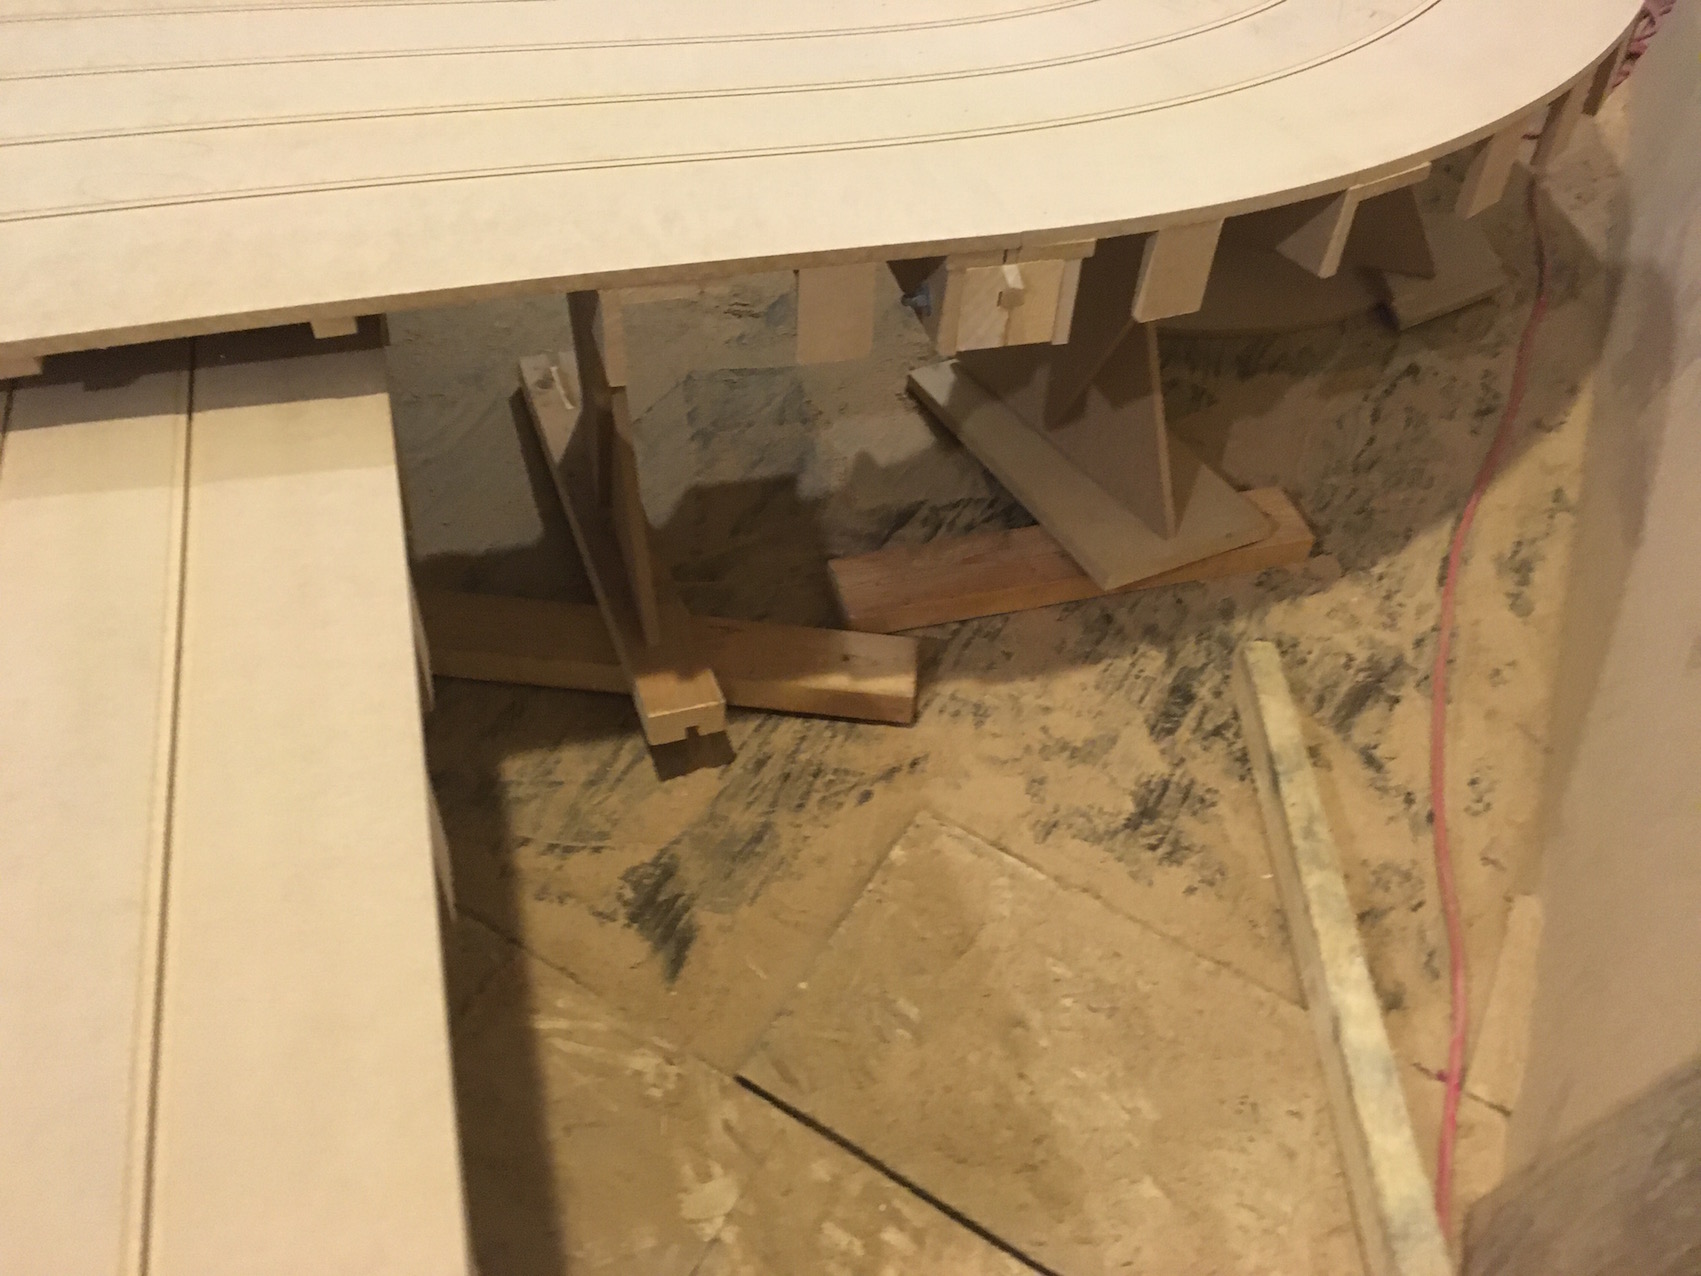
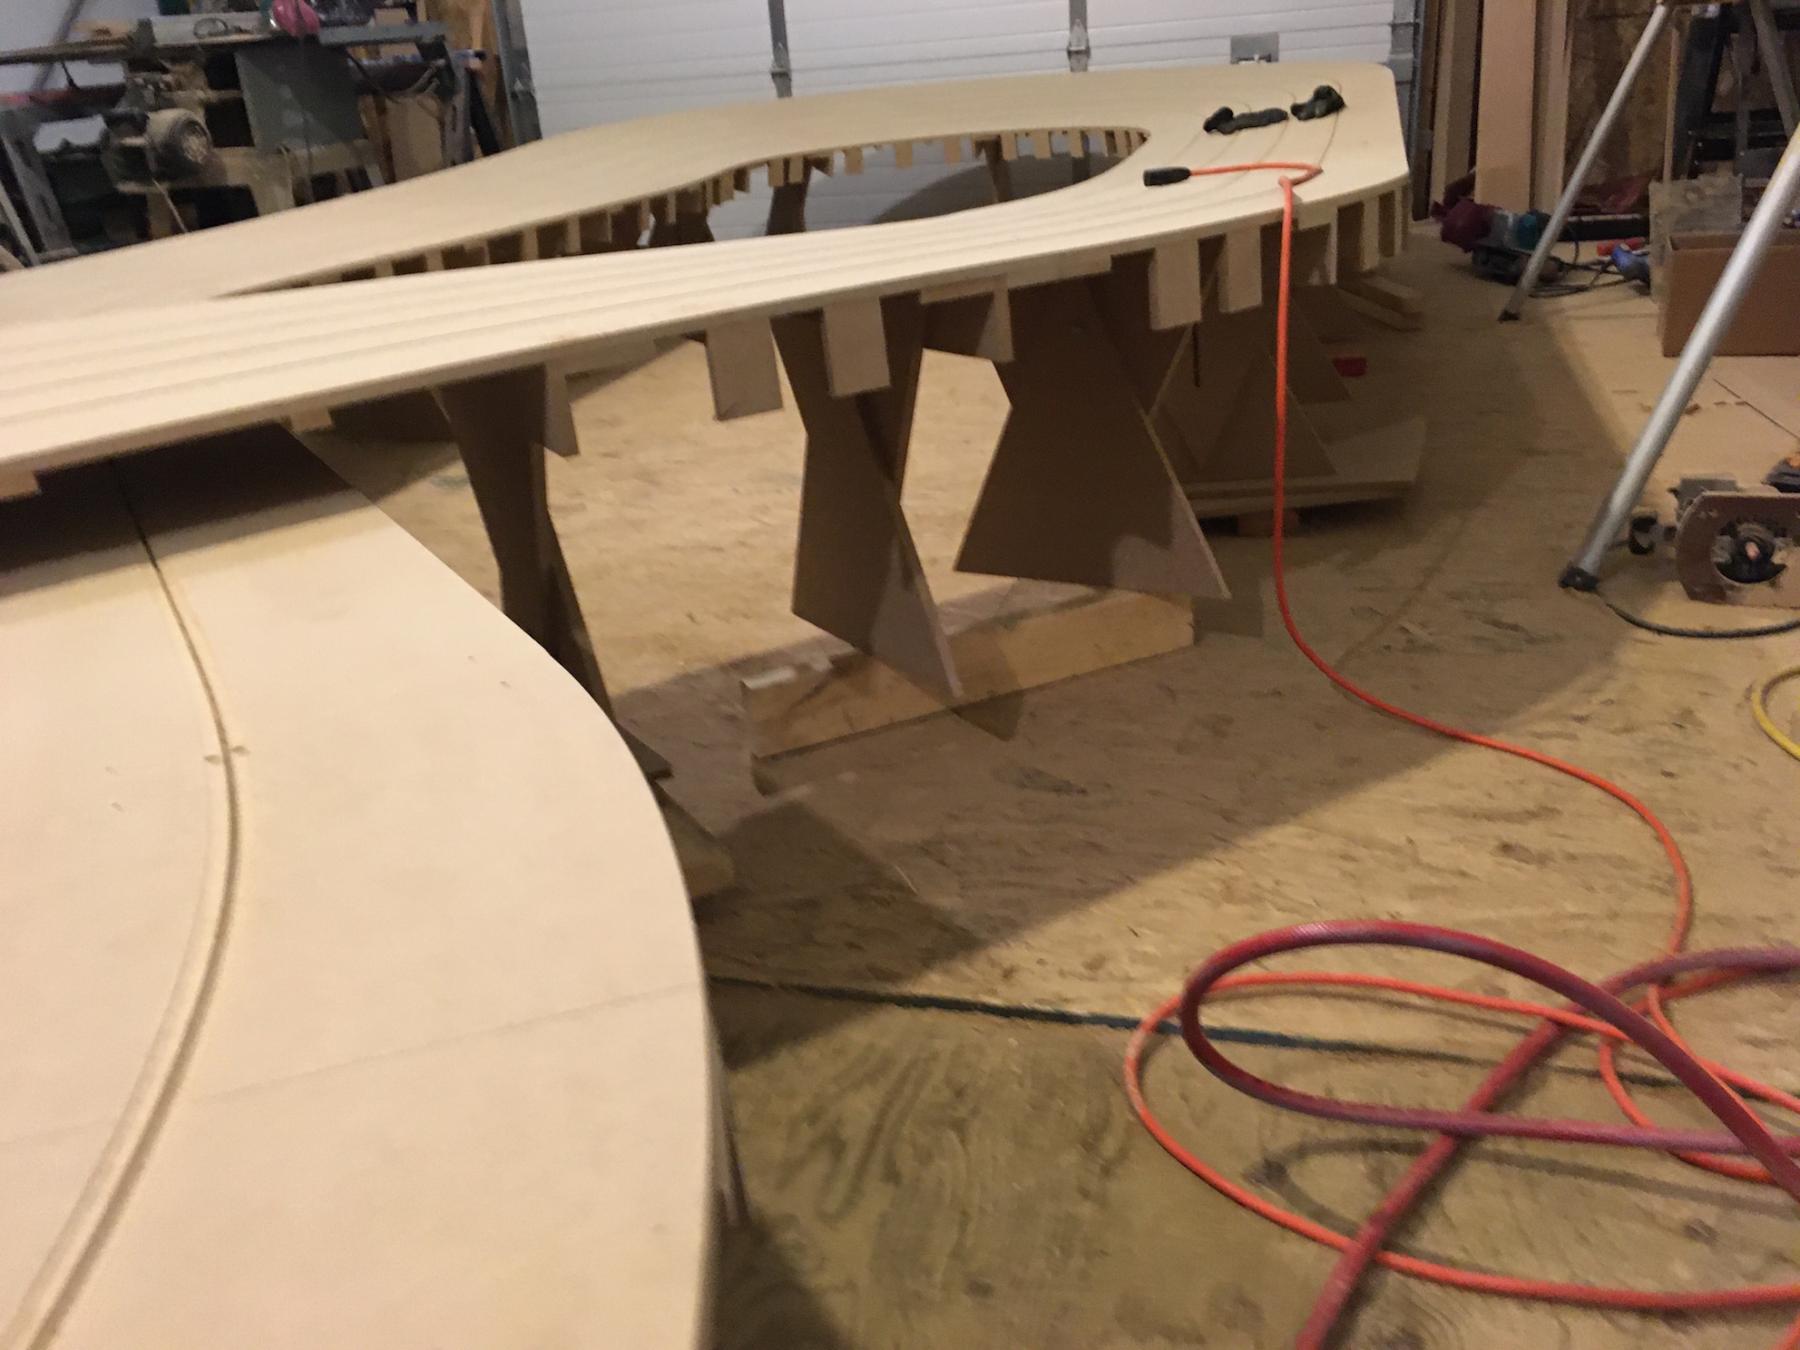
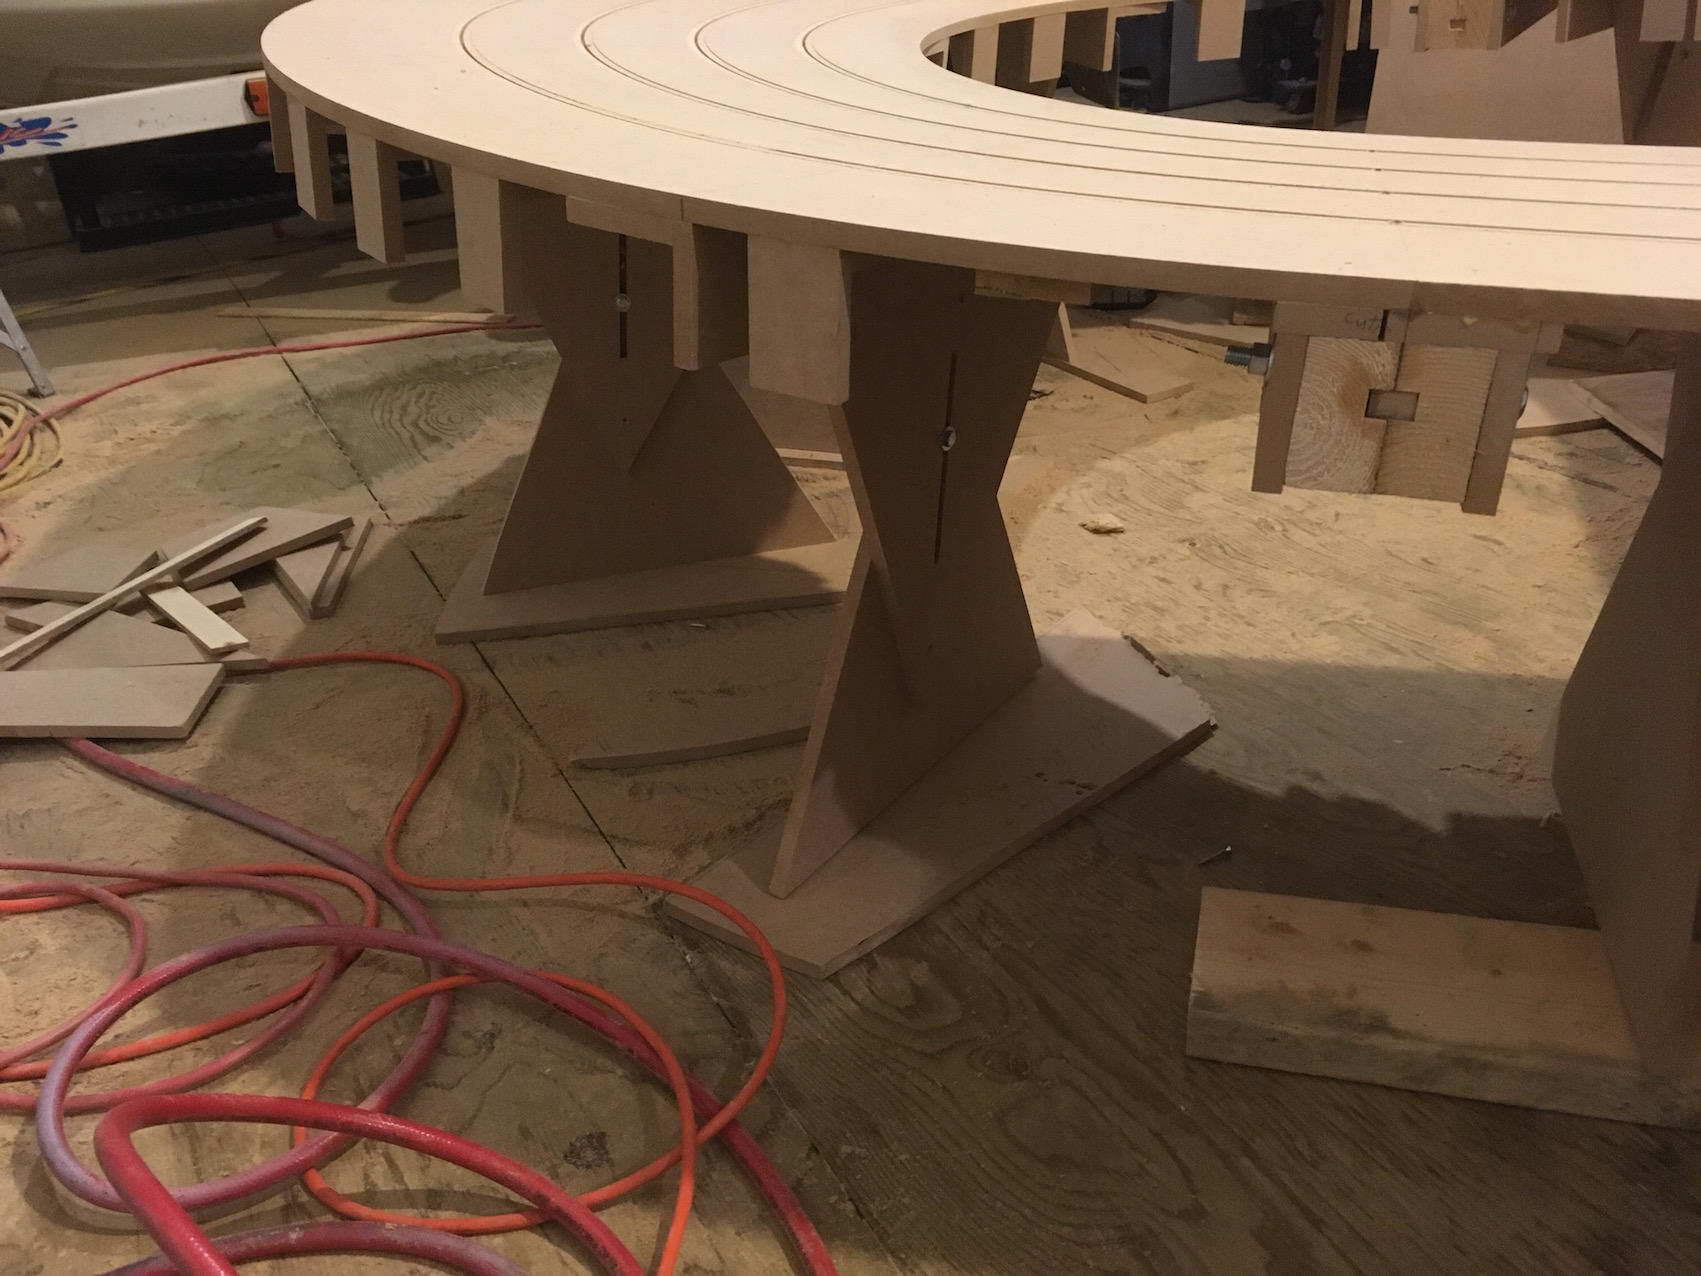
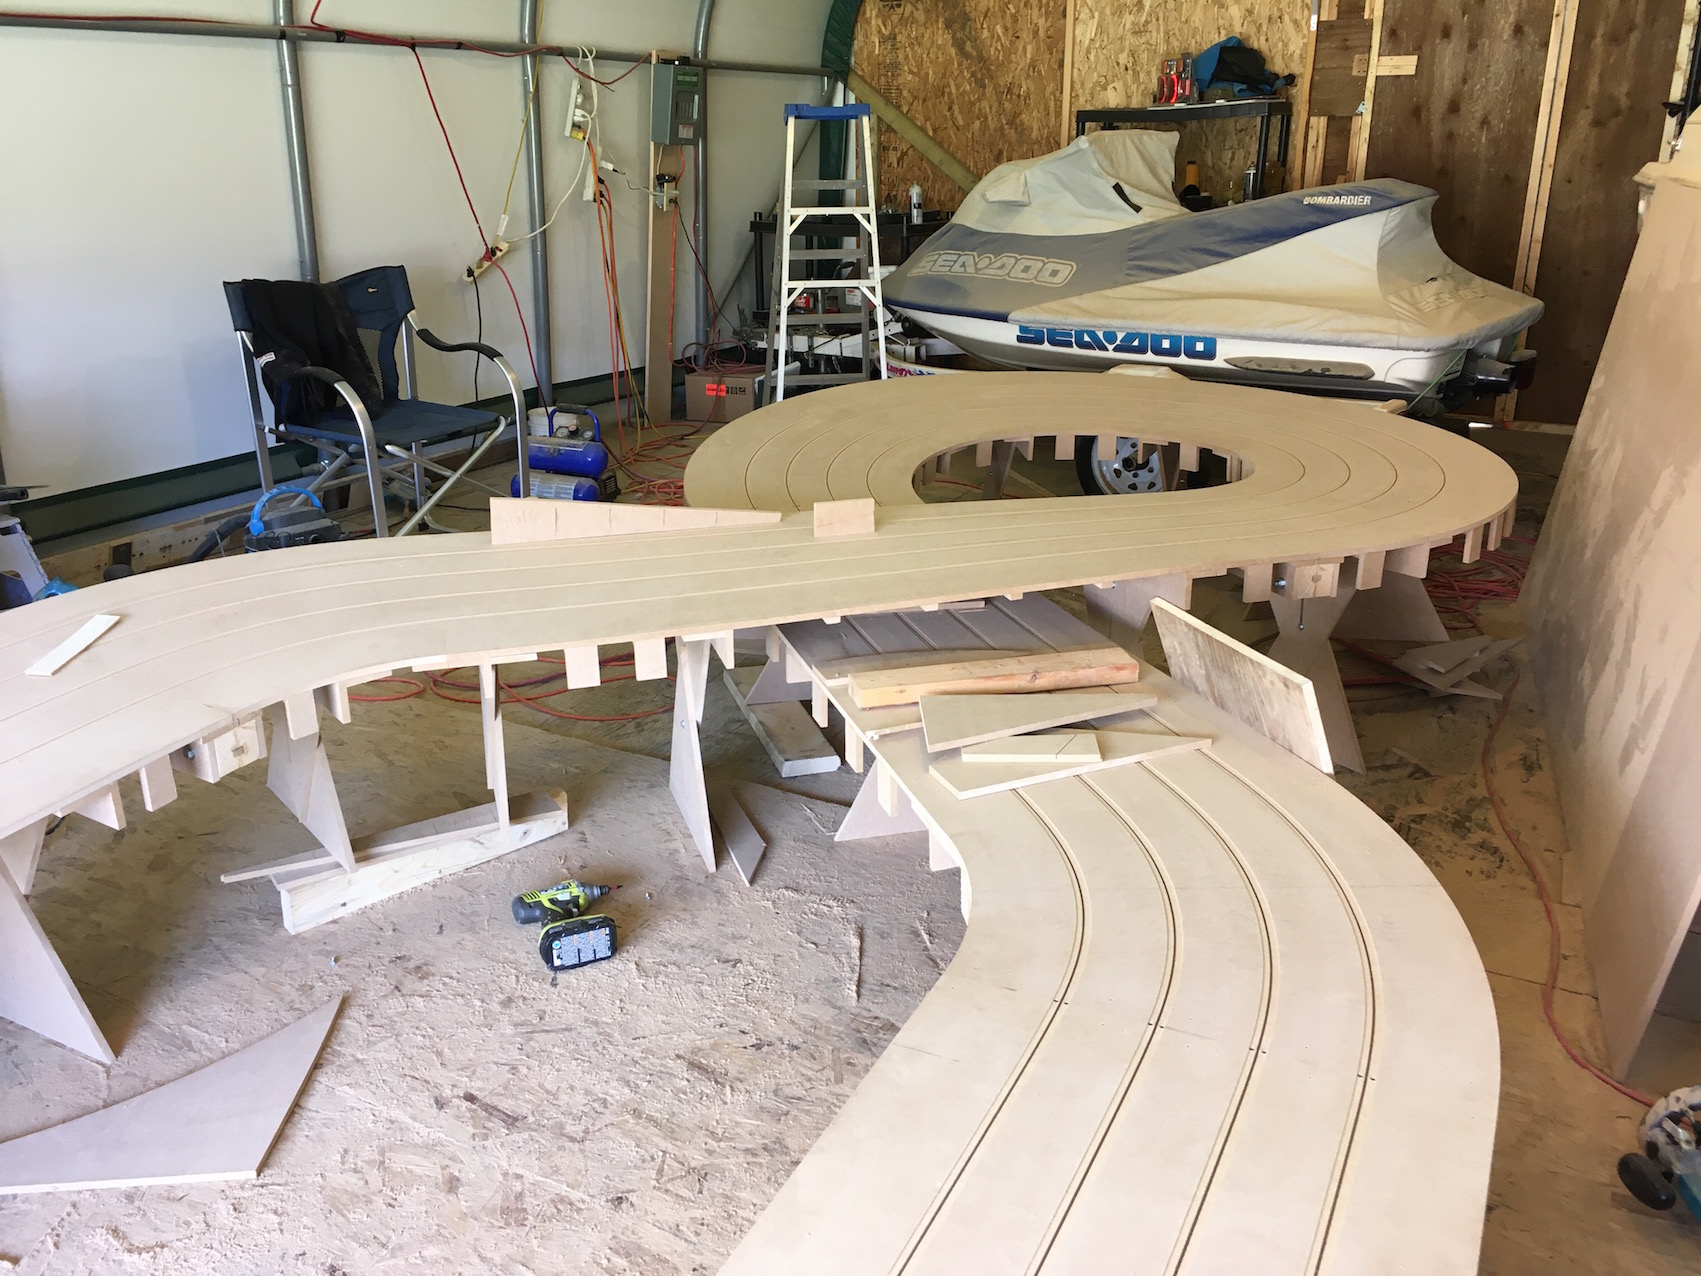
                                                                                                                                                                                                                                     Todays job is to get the donut and bridge area the way I want it. While it would be nice to get about 6" of room under there 4 to 5" is what I usually end up with. I start by just adding shims of scrap wood under the triangle legs, leaving them at as built length.


IMG_3022.jpg


As you get closer to where you want the track to be you end up running out of shims so it is time to take the locking screws out and make the legs do the work. The floor is 1/2" lower under the donut so these shims will stay under the legs until the track gets moved


IMG_3024.jpg


Getting pretty close. I check for humps and dips with straight edges.


IMG_3025.jpg


One thing that is annoying so far in this build is I can no longer get 1/4"poplar plywood from any local suppliers. I use it cross grain cut in to 8" strips to go around the inside turns. I can get it in Pt Huron MI but the border is closed. I am going to try some 1/4" birch but it might not bend enough. I laminate two strips on to get 1/2" thickness and lots of strength.


  • slotbaker, Zippity, Tim Neja and 6 others like this

#181 Zippity

Zippity

    Grand Champion Poster

  • Banned
  • PipPipPipPipPipPipPipPip
  • 5,278 posts
  • Joined: 05-March 06
  • Gender:Male
  • Location:Wellington, New Zealand

Posted 30 April 2020 - 07:42 PM

How about using some plastic sheeting, like and old Coke ad? :)


or multiple kerfs cut into a strip of MDF or plywood, but they tend to look a bit scruffy :(  


Ron Thornton

#182 MattD

MattD

    Posting Leader

  • Full Member
  • PipPipPipPipPipPipPip
  • 3,561 posts
  • Joined: 13-August 11
  • Gender:Male
  • Location:IN

Posted 30 April 2020 - 09:07 PM

Butch gets some kind of 1/4 inch plywood for inside.   I used 1/4 mdf.    Double thickness clamped with lots of glue worked fine.


Matt Bishop


#183 Steve Ogilvie

Steve Ogilvie

    Race Leader

  • Subscriber
  • PipPipPipPipPip
  • 630 posts
  • Joined: 17-November 14
  • Gender:Male
  • Location:Kincardine, Ontario, Canada

Posted 30 April 2020 - 09:57 PM

I used to cut poplar plywood in to 8" strips with the grain standing up and I could laminate two layers and go around the inside of really tight turns. I bought it in 4x4 sheets and it used to be used for underlay for linoleum so it was readily available. Now everyone uses luan but it really isn't that great for laminating inside corners and it is less than 1/4" thick so it doesn't match up with the 1/2" mdf on the straights very well. For the outside of turns I always used 2 layers of 1/4" mdf and that works really well but nobody carries that around here any more either. None of this would be a problem as normally I could just make the 2 hour drive to Pt Huron MI but the border is closed. I can get the 1/4" mdf from my old supplier, Commonwealth Plywood of Waterloo Ont, but I can make the birch go around the outside of the corners faster than I can drive to Waterloo and back. The 1/4" birch I have now is a 5 ply so even cut across the grain it still is a battle to go around the 7' donut on this track.

    On the progress side I have got the donut, under and over bridge levelled and tweaked the way I want so tomorrow there will be some sidewalls put on no matter what. 


  • Tim Neja, Lou E, MattD and 1 other like this

#184 Chris Dadds

Chris Dadds

    Backmarker

  • Full Member
  • PipPip
  • 86 posts
  • Joined: 08-September 10
  • Gender:Male
  • Location:Bloomington, IN

Posted 01 May 2020 - 12:35 PM

I've had pretty good luck on tight bends with three or four layers of cheap 1/8" masonite type board. It's probably available close by and quicker than kerfing once you figure in the filling and smoothing time.  HTH


Chris Dadds, Track Builder

812-219-6771


#185 Steve Ogilvie

Steve Ogilvie

    Race Leader

  • Subscriber
  • PipPipPipPipPip
  • 630 posts
  • Joined: 17-November 14
  • Gender:Male
  • Location:Kincardine, Ontario, Canada

Posted 01 May 2020 - 01:17 PM

I have never kerfed a sidewall. But I did find some 1/4" MDF one town north of me. I think it has been in their shed for about 10 years, it will work for the outside corners but it breaks trying to go inside. And because it is so stiff , to get it tight to the joint takes a pipe clamp. I have a small army of clamps so that is not a problem. I don't like masonite but if nothing else is available what can you do. Poplar plywood is so nice to work with. Hard to believe it is so hard to find now.


#186 Shiggy

Shiggy

    Green Hornet race director

  • Subscriber
  • PipPipPipPip
  • 231 posts
  • Joined: 06-December 12
  • Gender:Male
  • Location:Dead Center, WA

Posted 01 May 2020 - 02:48 PM

Sounds like it is no longer pop(u)lar
  • Steve Ogilvie likes this
D. "shiggy" Person

#187 Steve Ogilvie

Steve Ogilvie

    Race Leader

  • Subscriber
  • PipPipPipPipPip
  • 630 posts
  • Joined: 17-November 14
  • Gender:Male
  • Location:Kincardine, Ontario, Canada

Posted 01 May 2020 - 03:12 PM

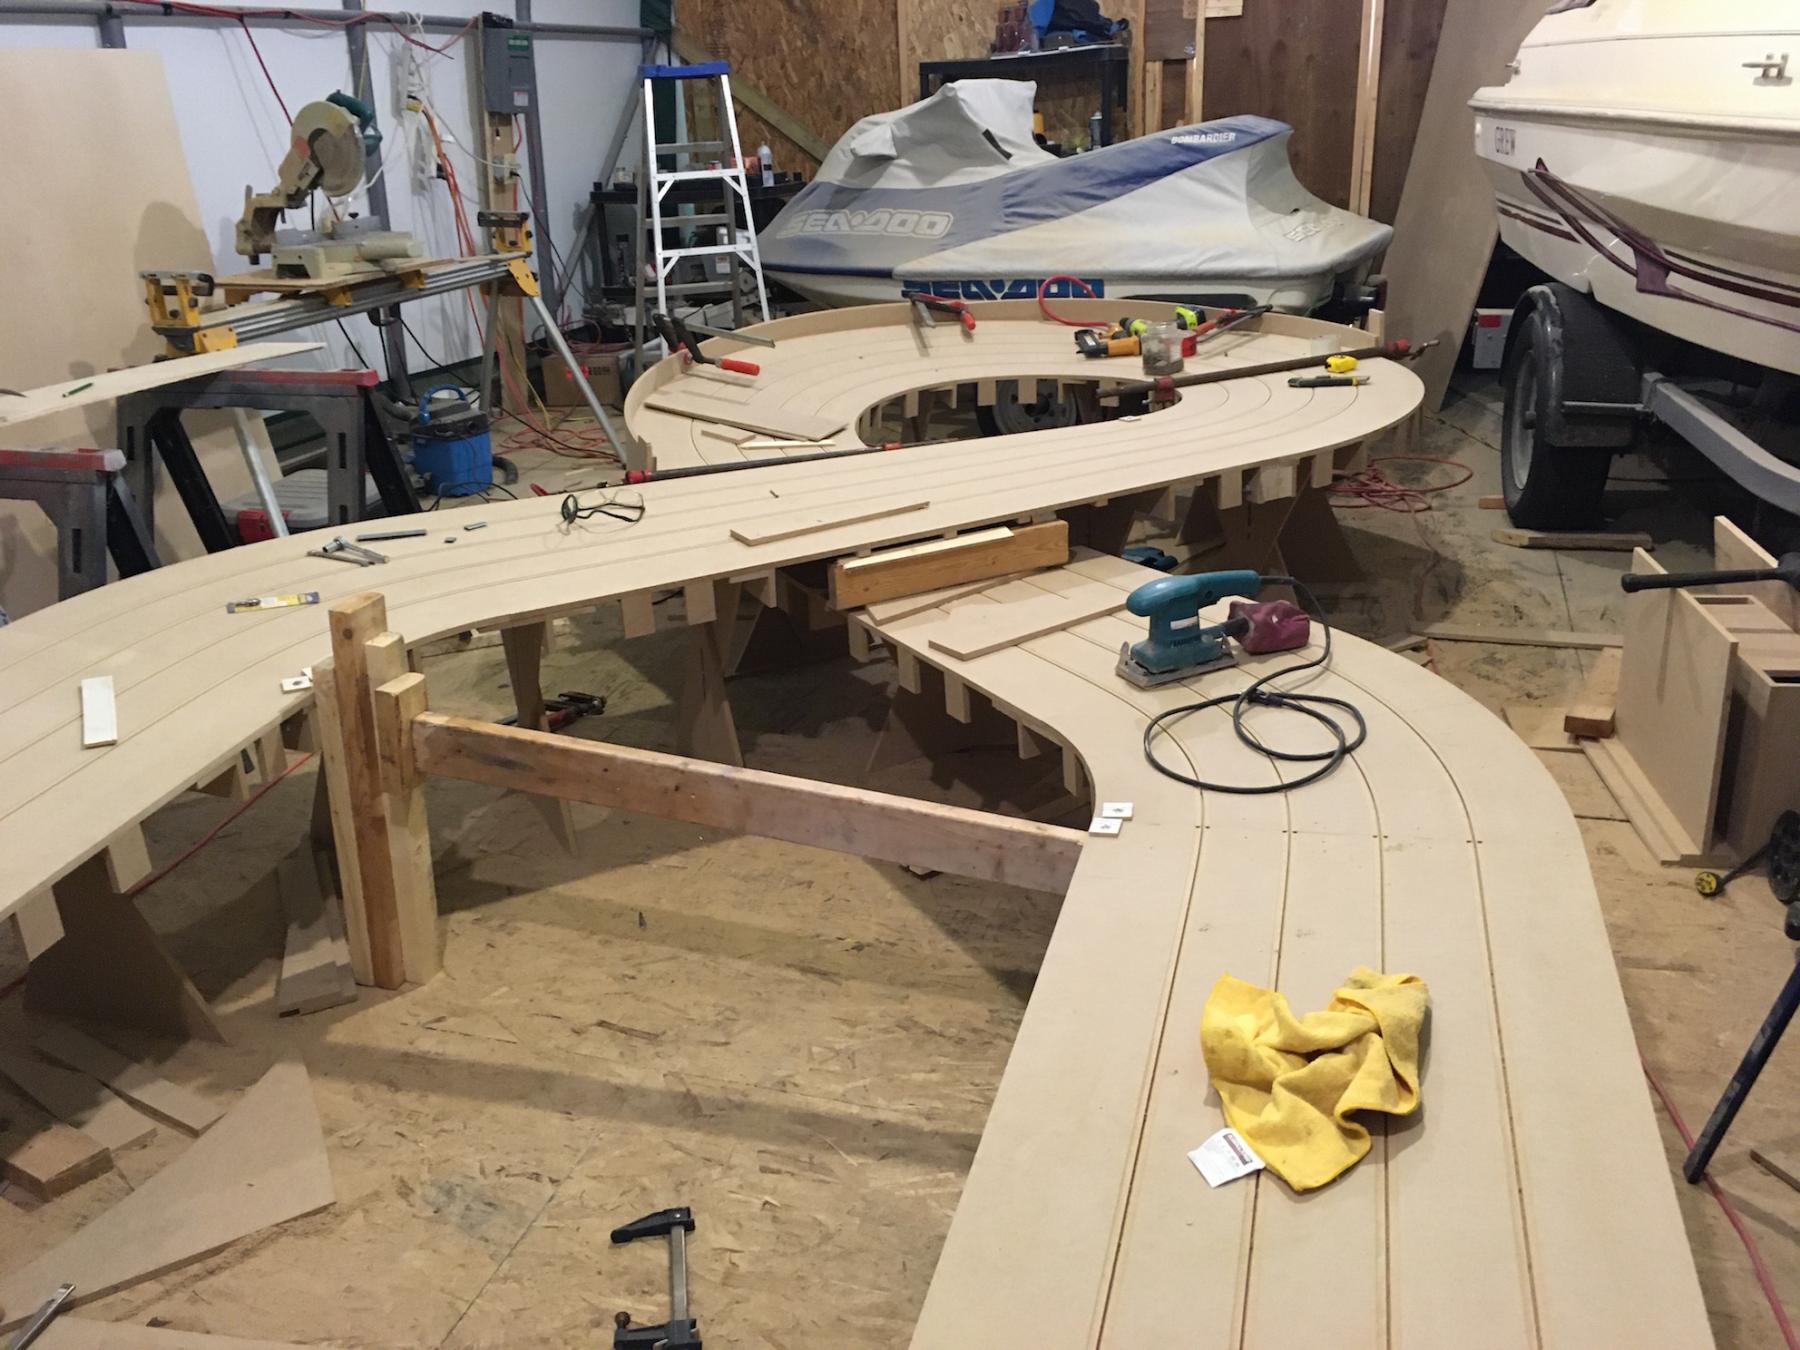
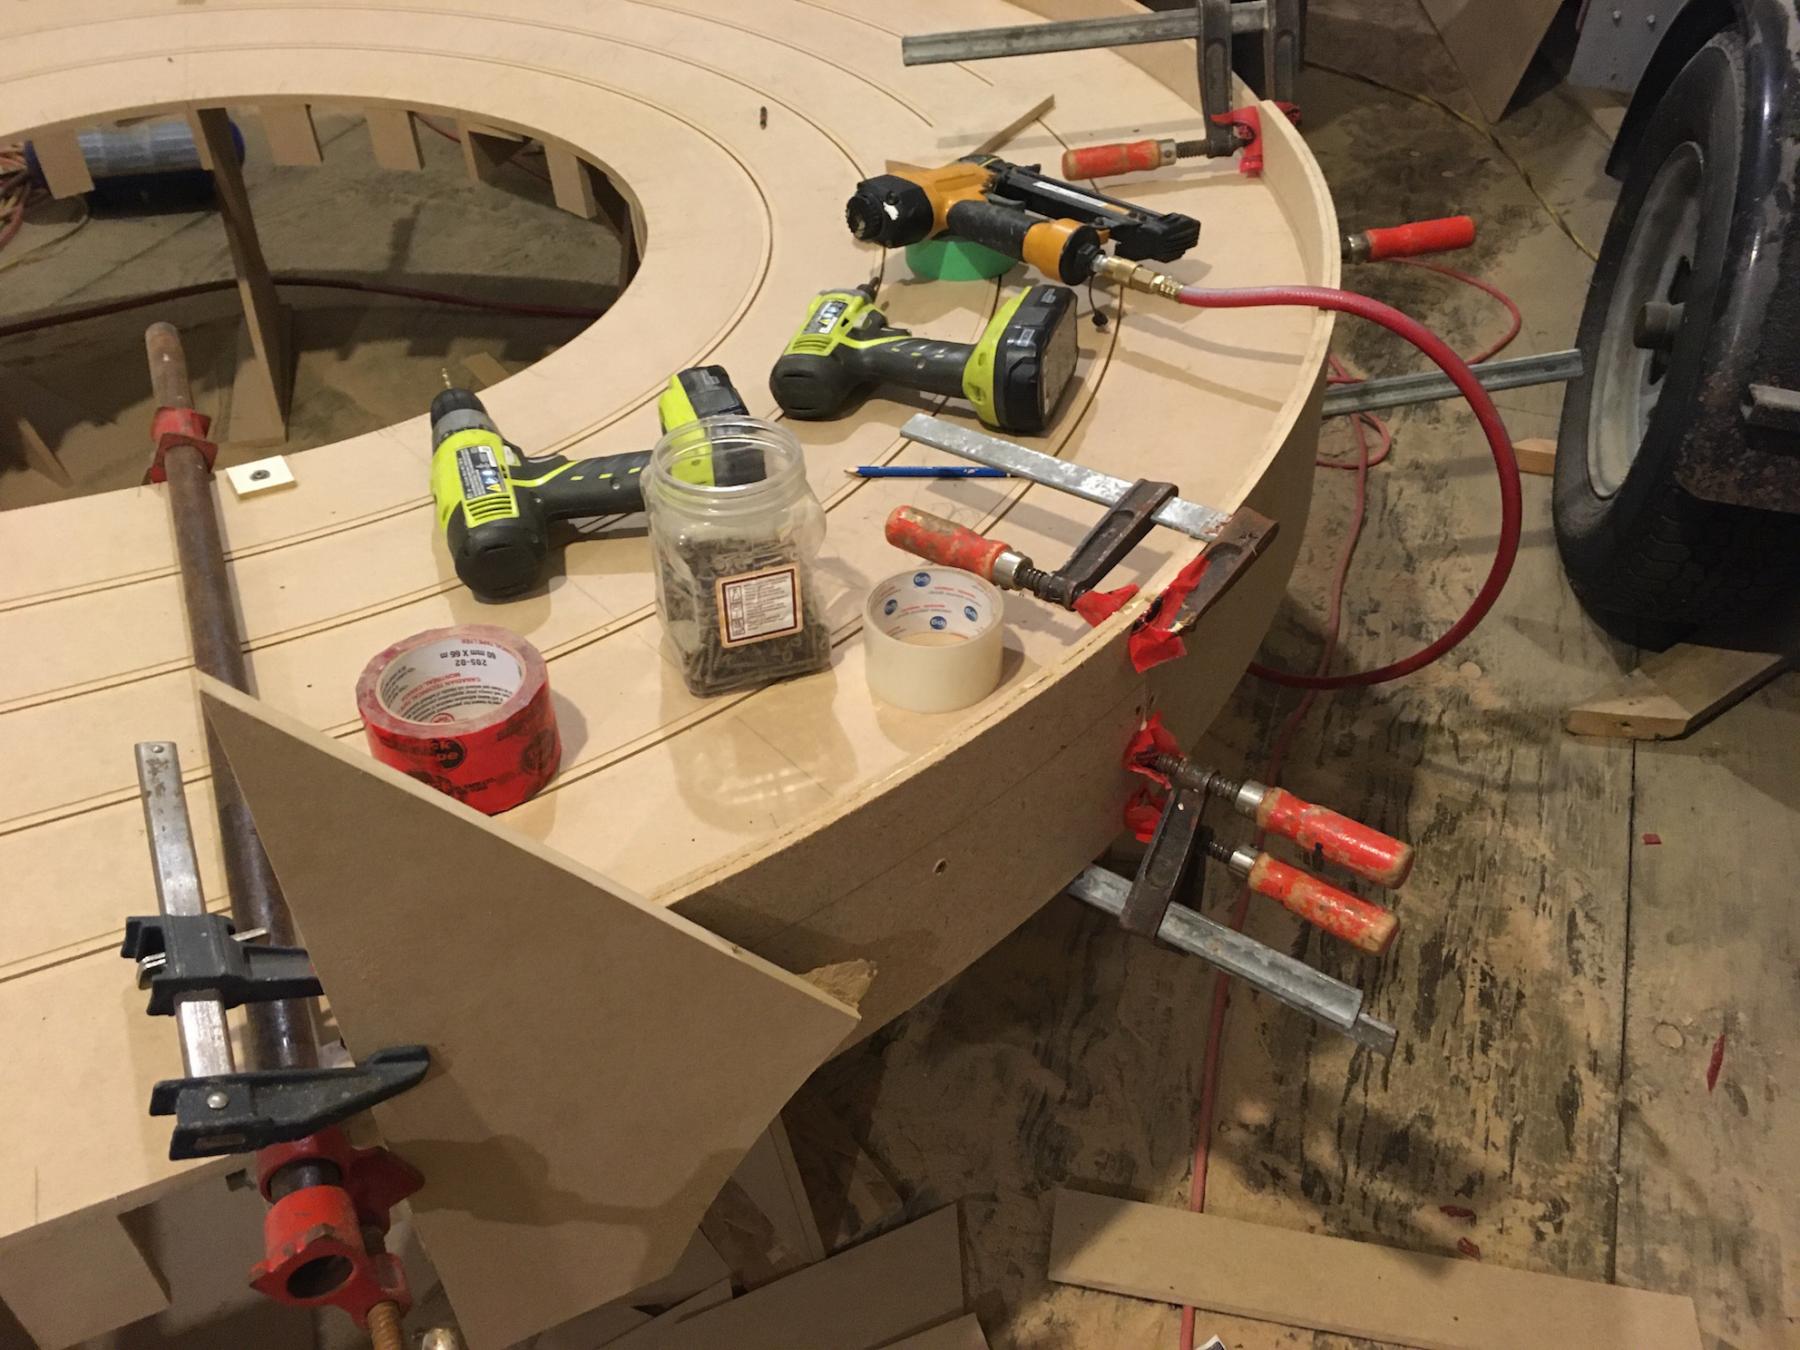
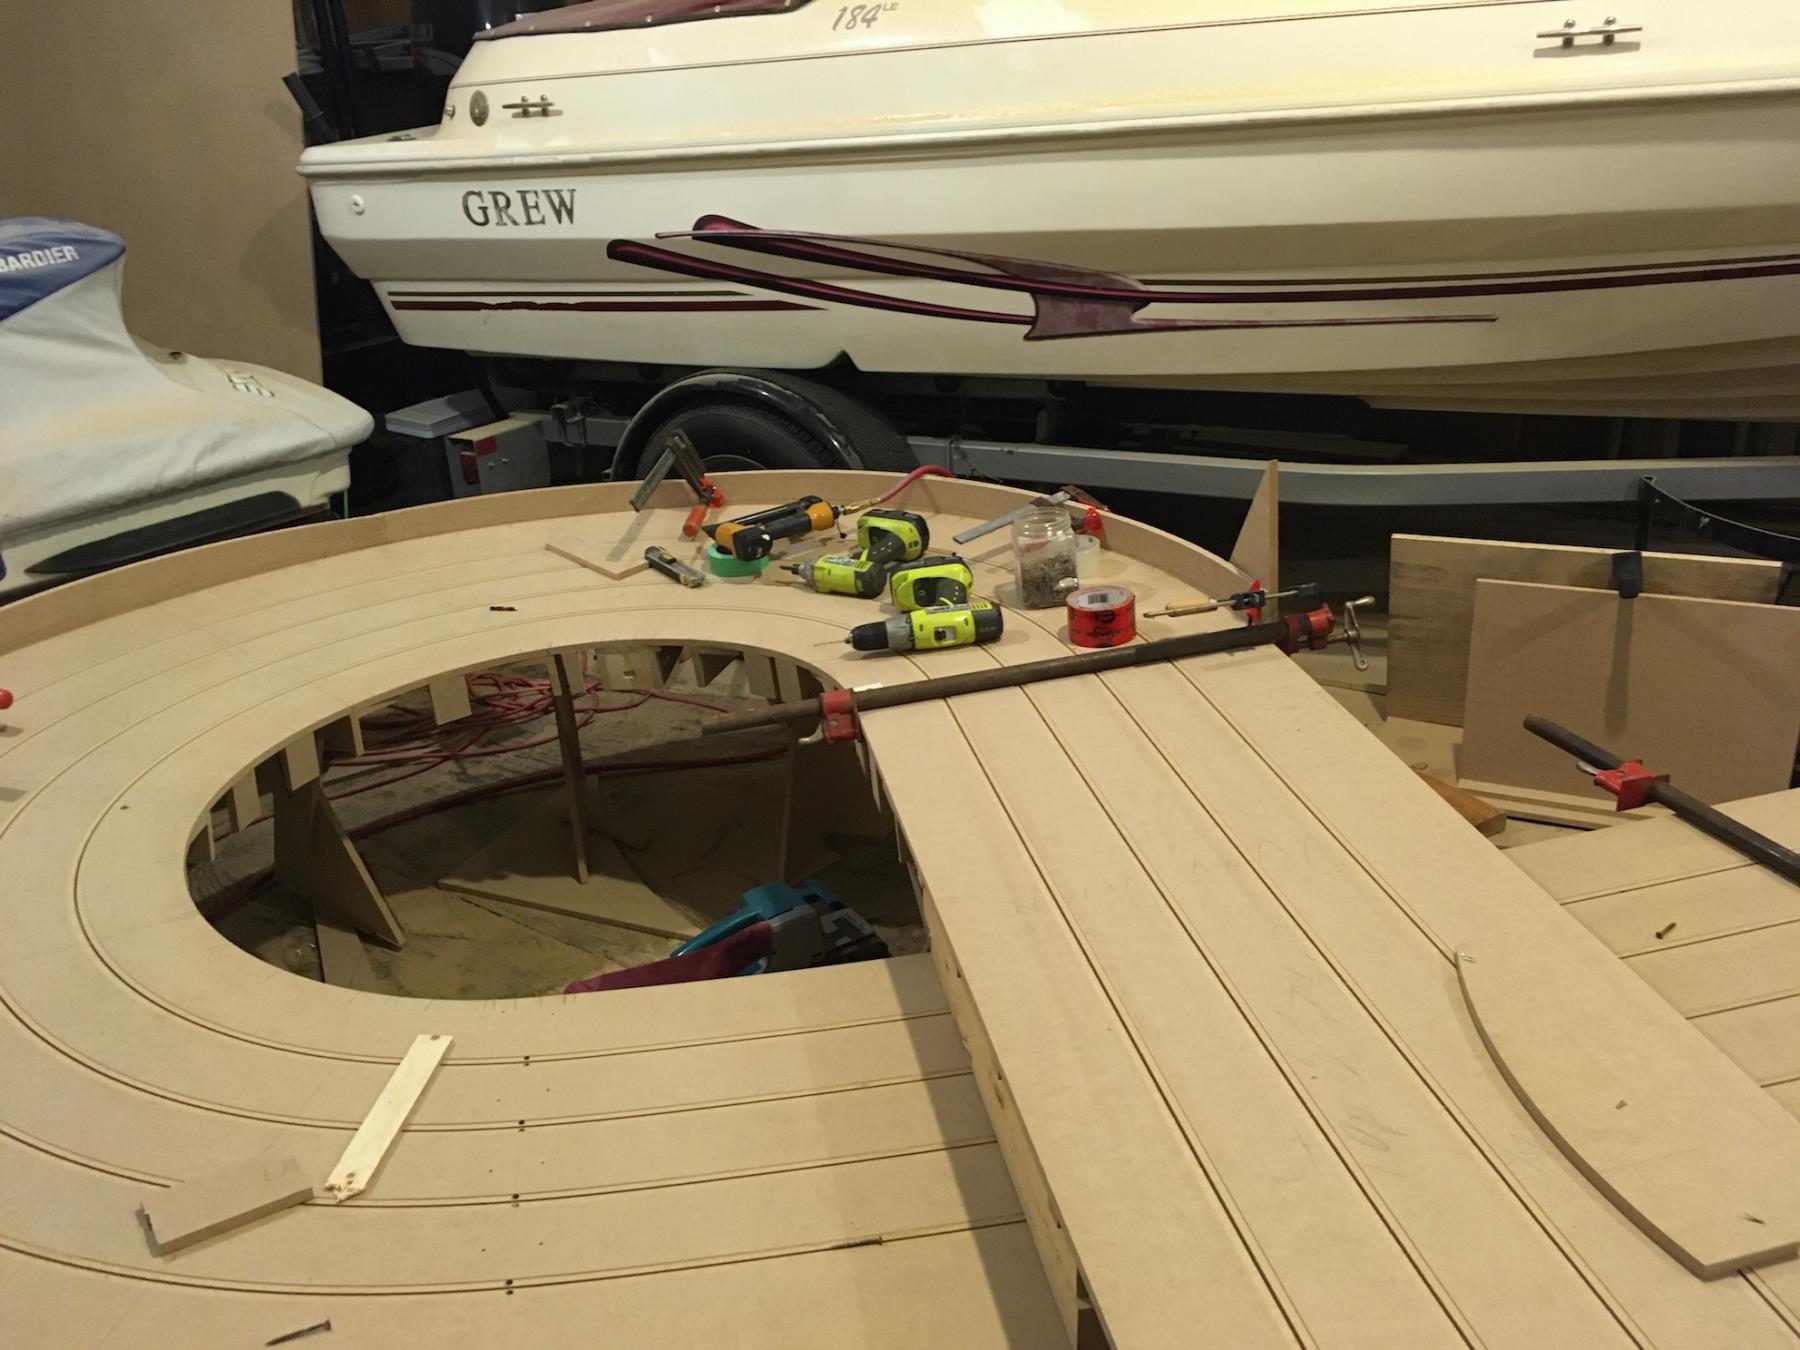
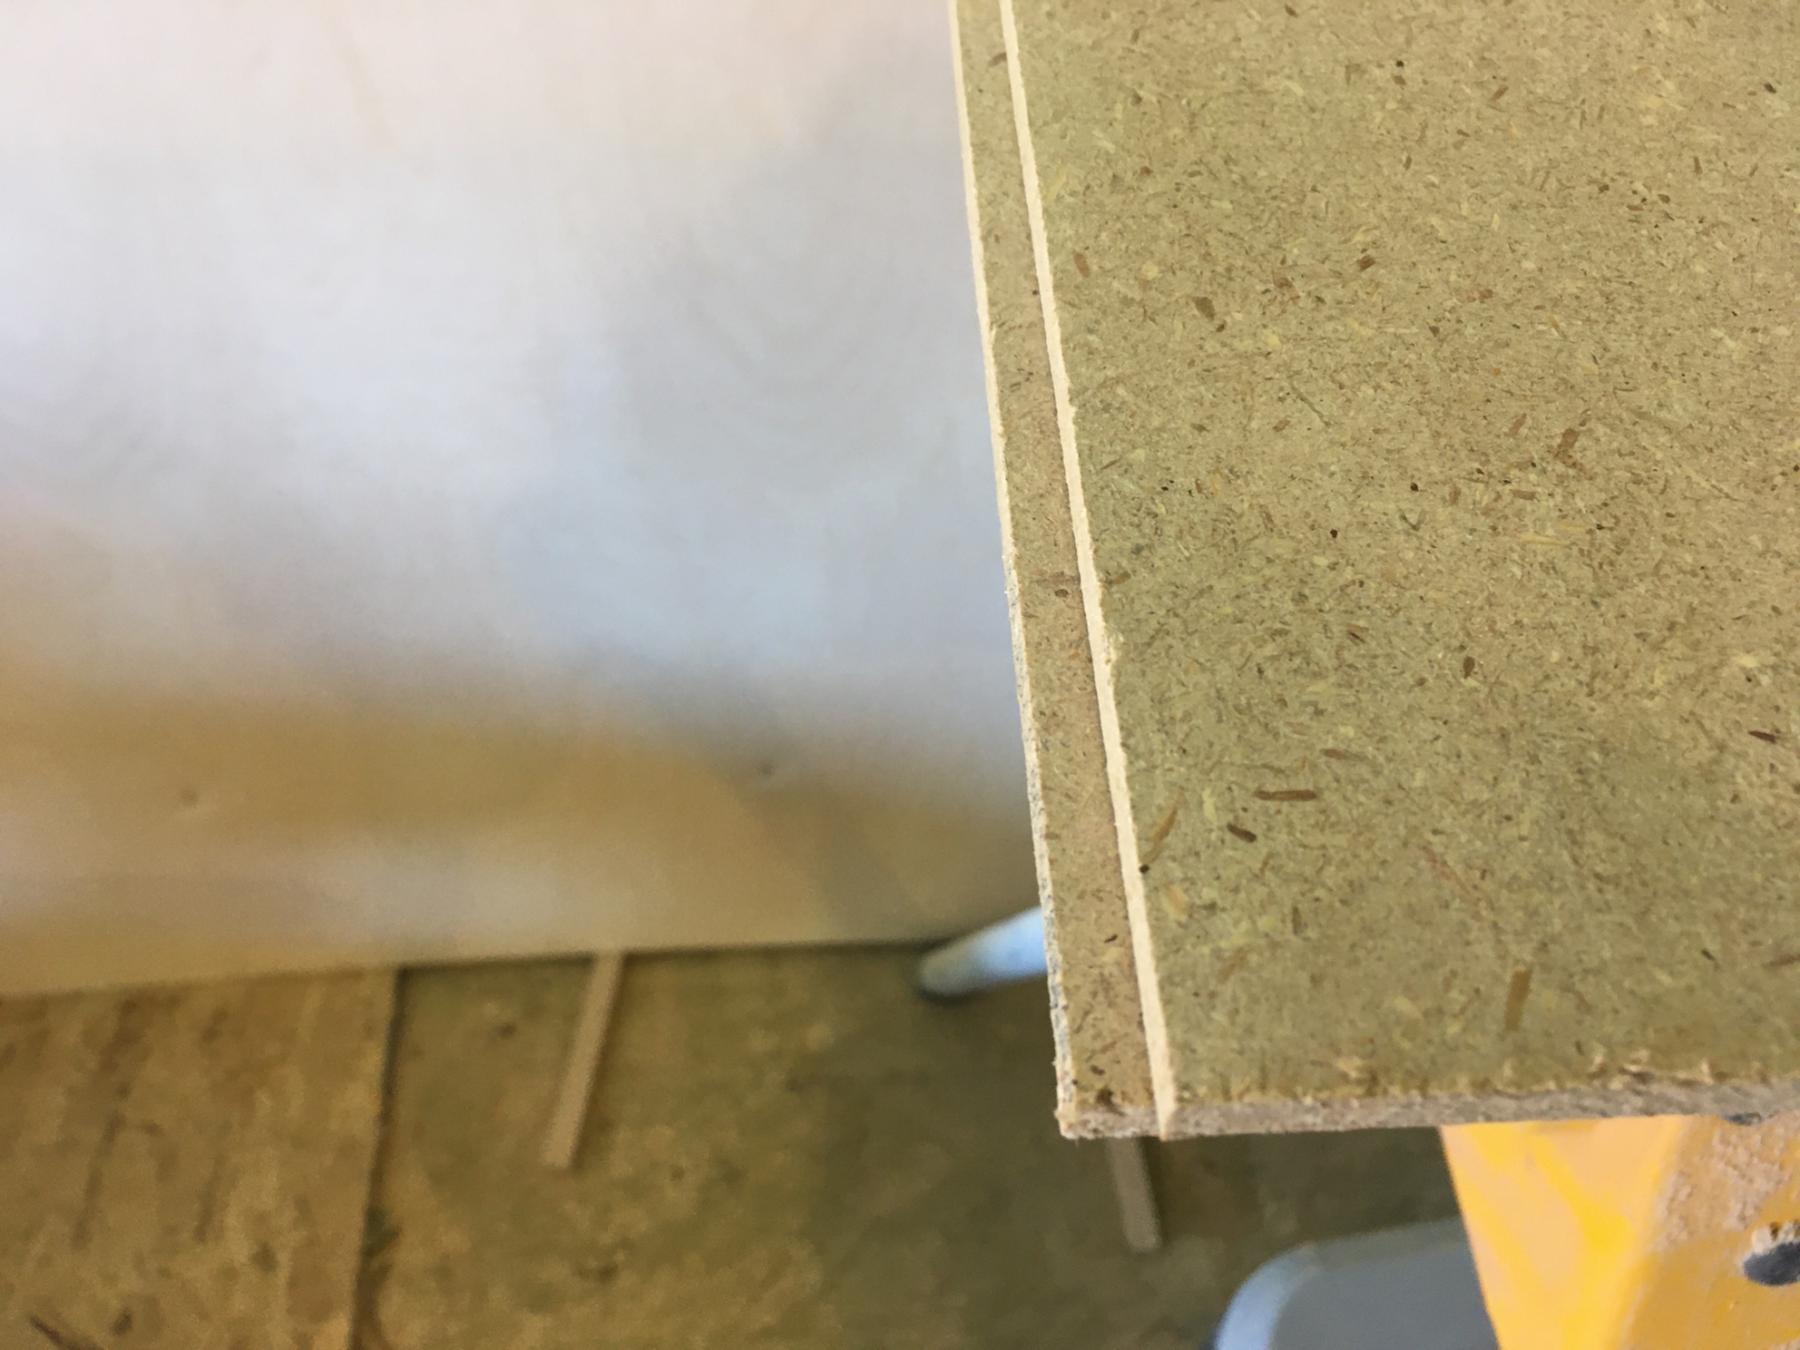
Got  part of the outside of the donut side walled today. Tomorrow I will do the rest, I could do more now because the glue should be dry but it is a nice sunny day for a change so time for a beer or 2 on the deck. I braced the donut with a 2x4 and some scrap in between the small corners. Keeps the donut from moving as I push this crap mdf on to the corner. Looking at the close up picture I am wondering if this isn't straw board. Would explain the lack of flexibility and it is kind of grainy for mdf.


Stagger the board to make a strong joint as you go around:


IMG_3028.jpg


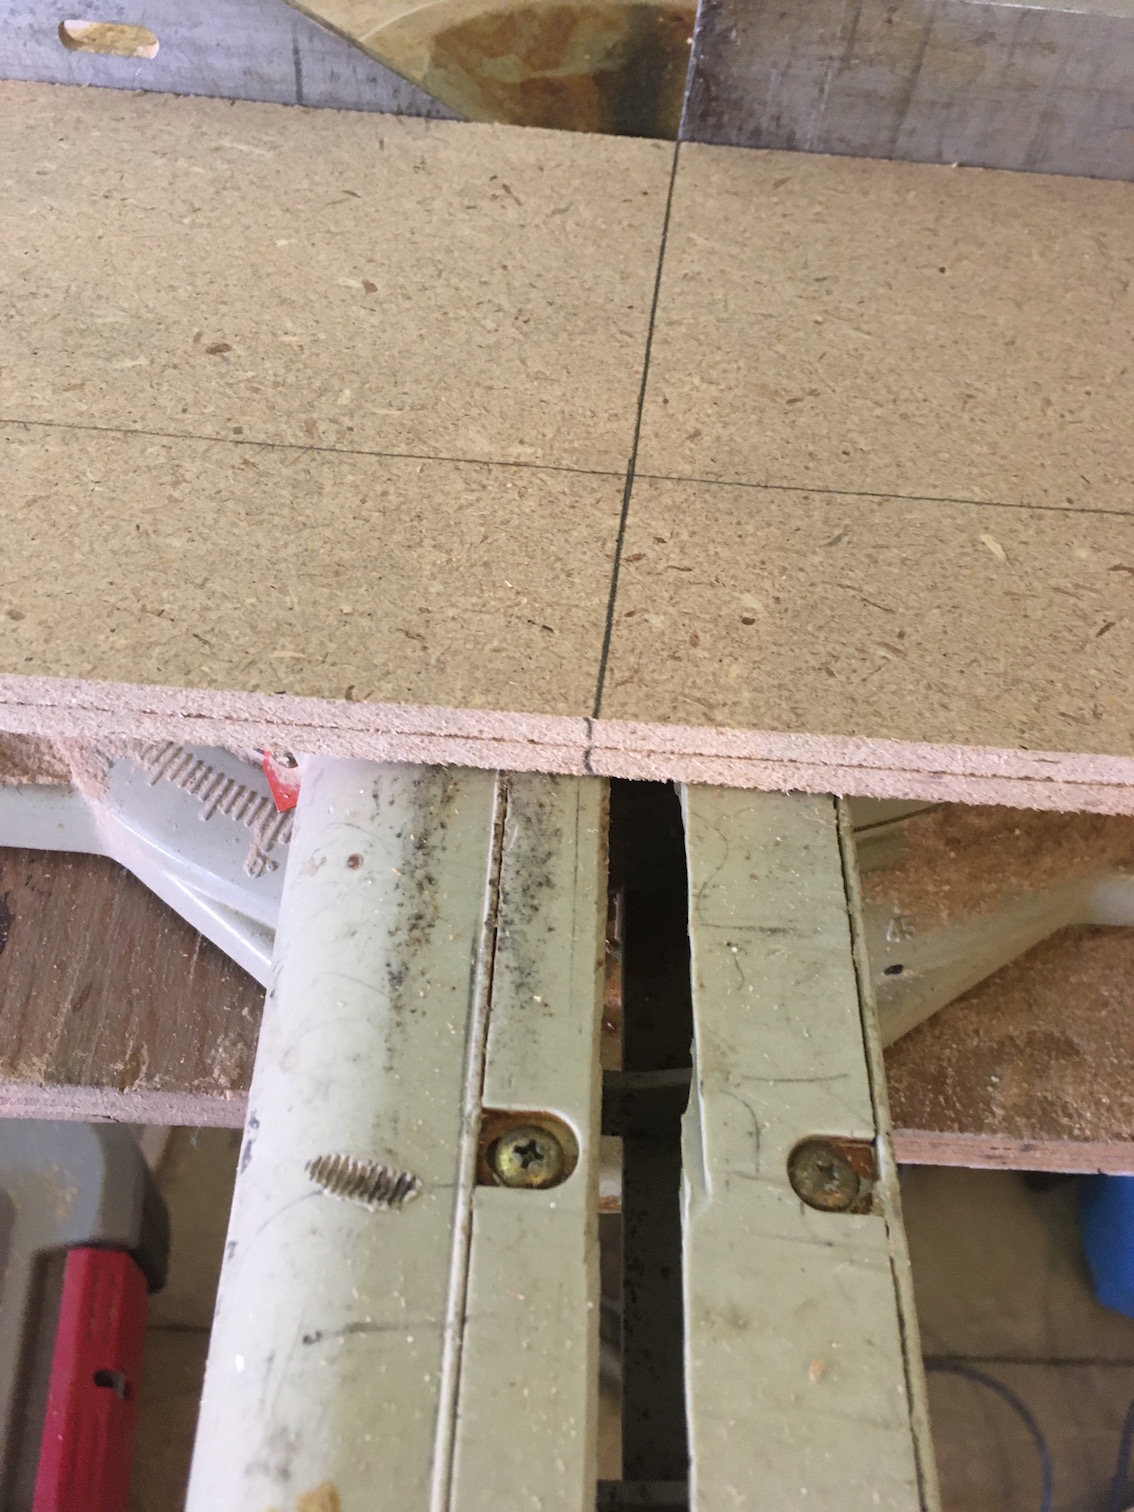
Here you can see the marks made to keep the stagger going and the 2 1/4 " line on the inside board so I can tell I have enough board above the track. And the angle of the cut to match the first piece of wall:


IMG_3029.jpg


Here is how it sits now:


IMG_3030.jpg


  • Pappy, slotbaker, Zippity and 5 others like this

#188 MattD

MattD

    Posting Leader

  • Full Member
  • PipPipPipPipPipPipPip
  • 3,561 posts
  • Joined: 13-August 11
  • Gender:Male
  • Location:IN

Posted 01 May 2020 - 10:33 PM

Looks nice Steve.


Chris, I think you told me you built the King in Louisville.   It has a layer of masonite under  the track bed.   Does that sound like  your method back 15-25 years ago?   You can see it under the high bank.    It has that crosscut grain/pattern underneath.   


Matt Bishop


#189 Steve Ogilvie

Steve Ogilvie

    Race Leader

  • Subscriber
  • PipPipPipPipPip
  • 630 posts
  • Joined: 17-November 14
  • Gender:Male
  • Location:Kincardine, Ontario, Canada

Posted 02 May 2020 - 08:24 AM

A short video of sidewalling so far. Going to make a longer one today and try to explain the process a bit better.


(9) Steve Ogilvie builds a track- starting sidewalls - YouTube


  • Zippity, Eddie Fleming and Dale Tomczyk like this

#190 Steve Ogilvie

Steve Ogilvie

    Race Leader

  • Subscriber
  • PipPipPipPipPip
  • 630 posts
  • Joined: 17-November 14
  • Gender:Male
  • Location:Kincardine, Ontario, Canada

Posted 02 May 2020 - 07:22 PM

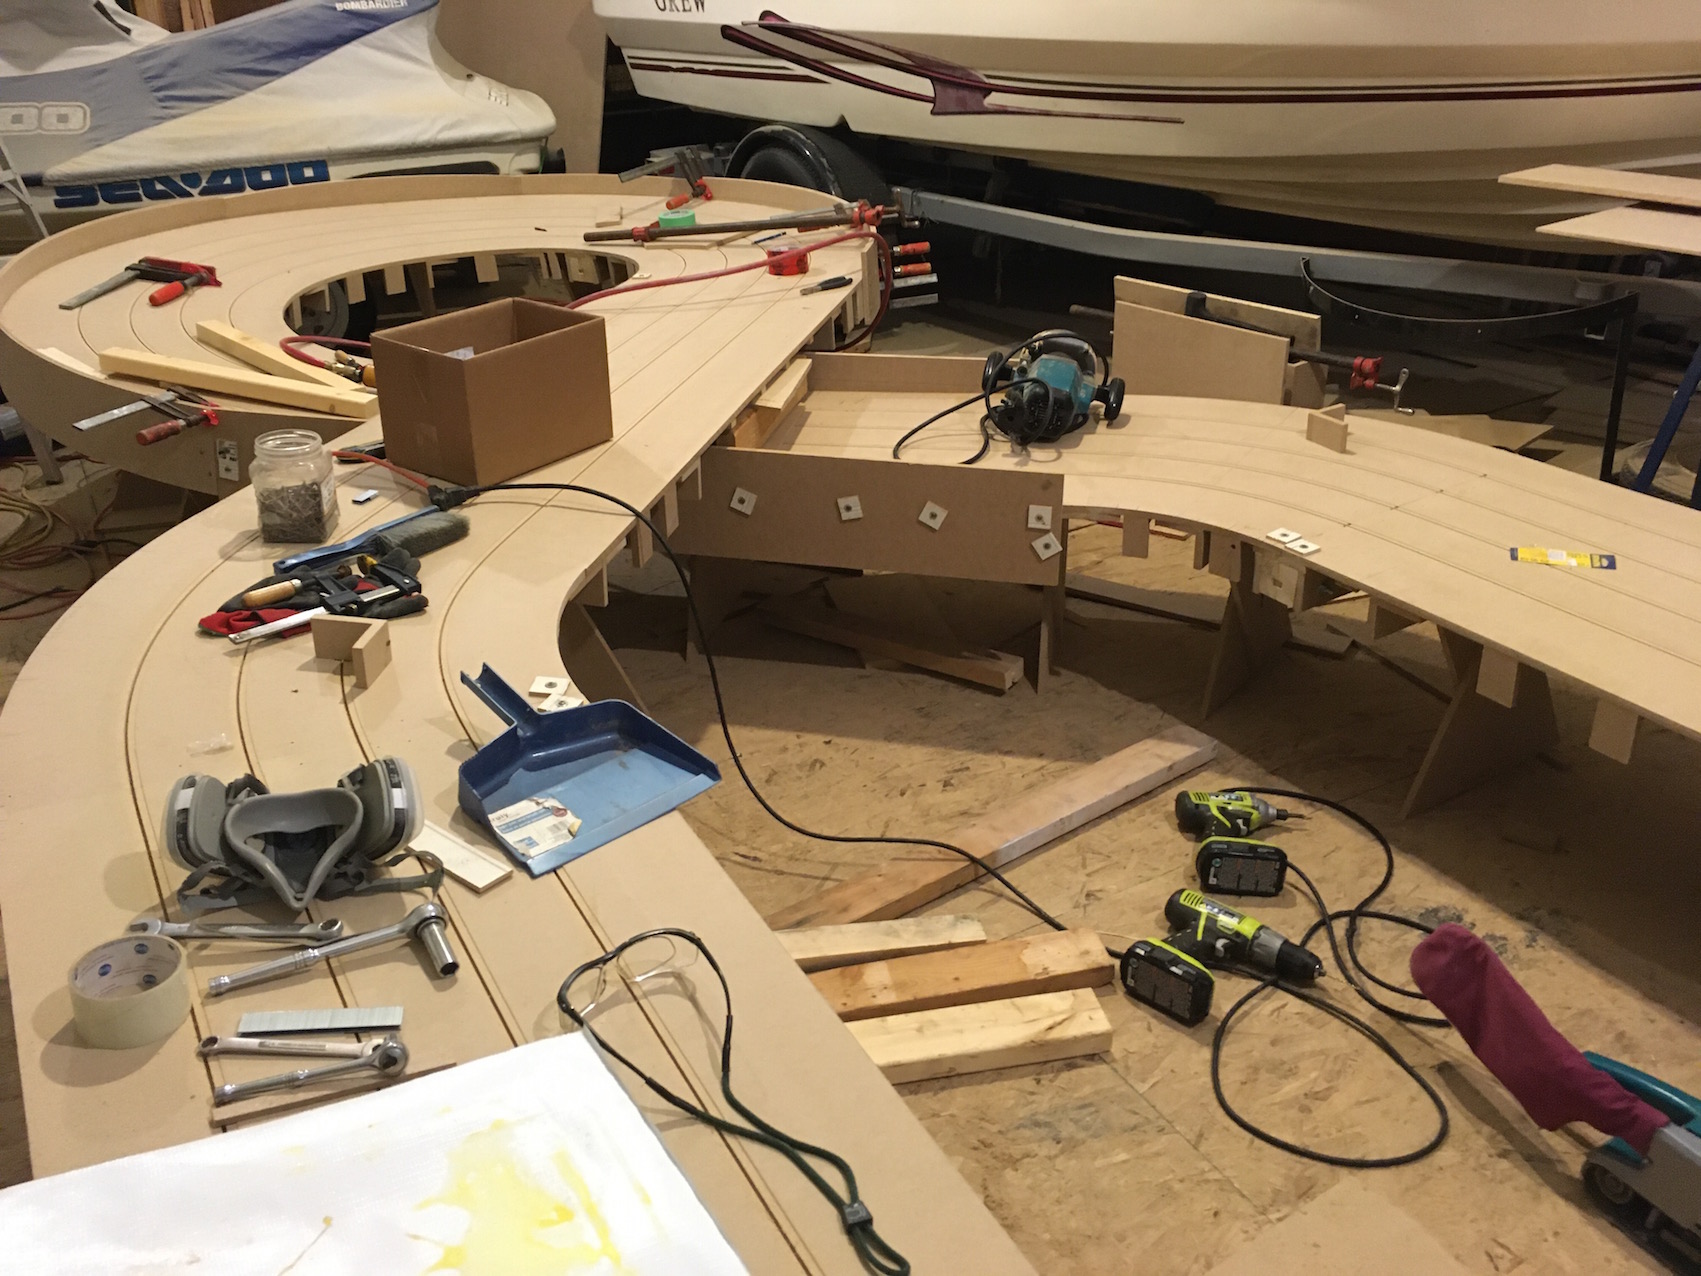
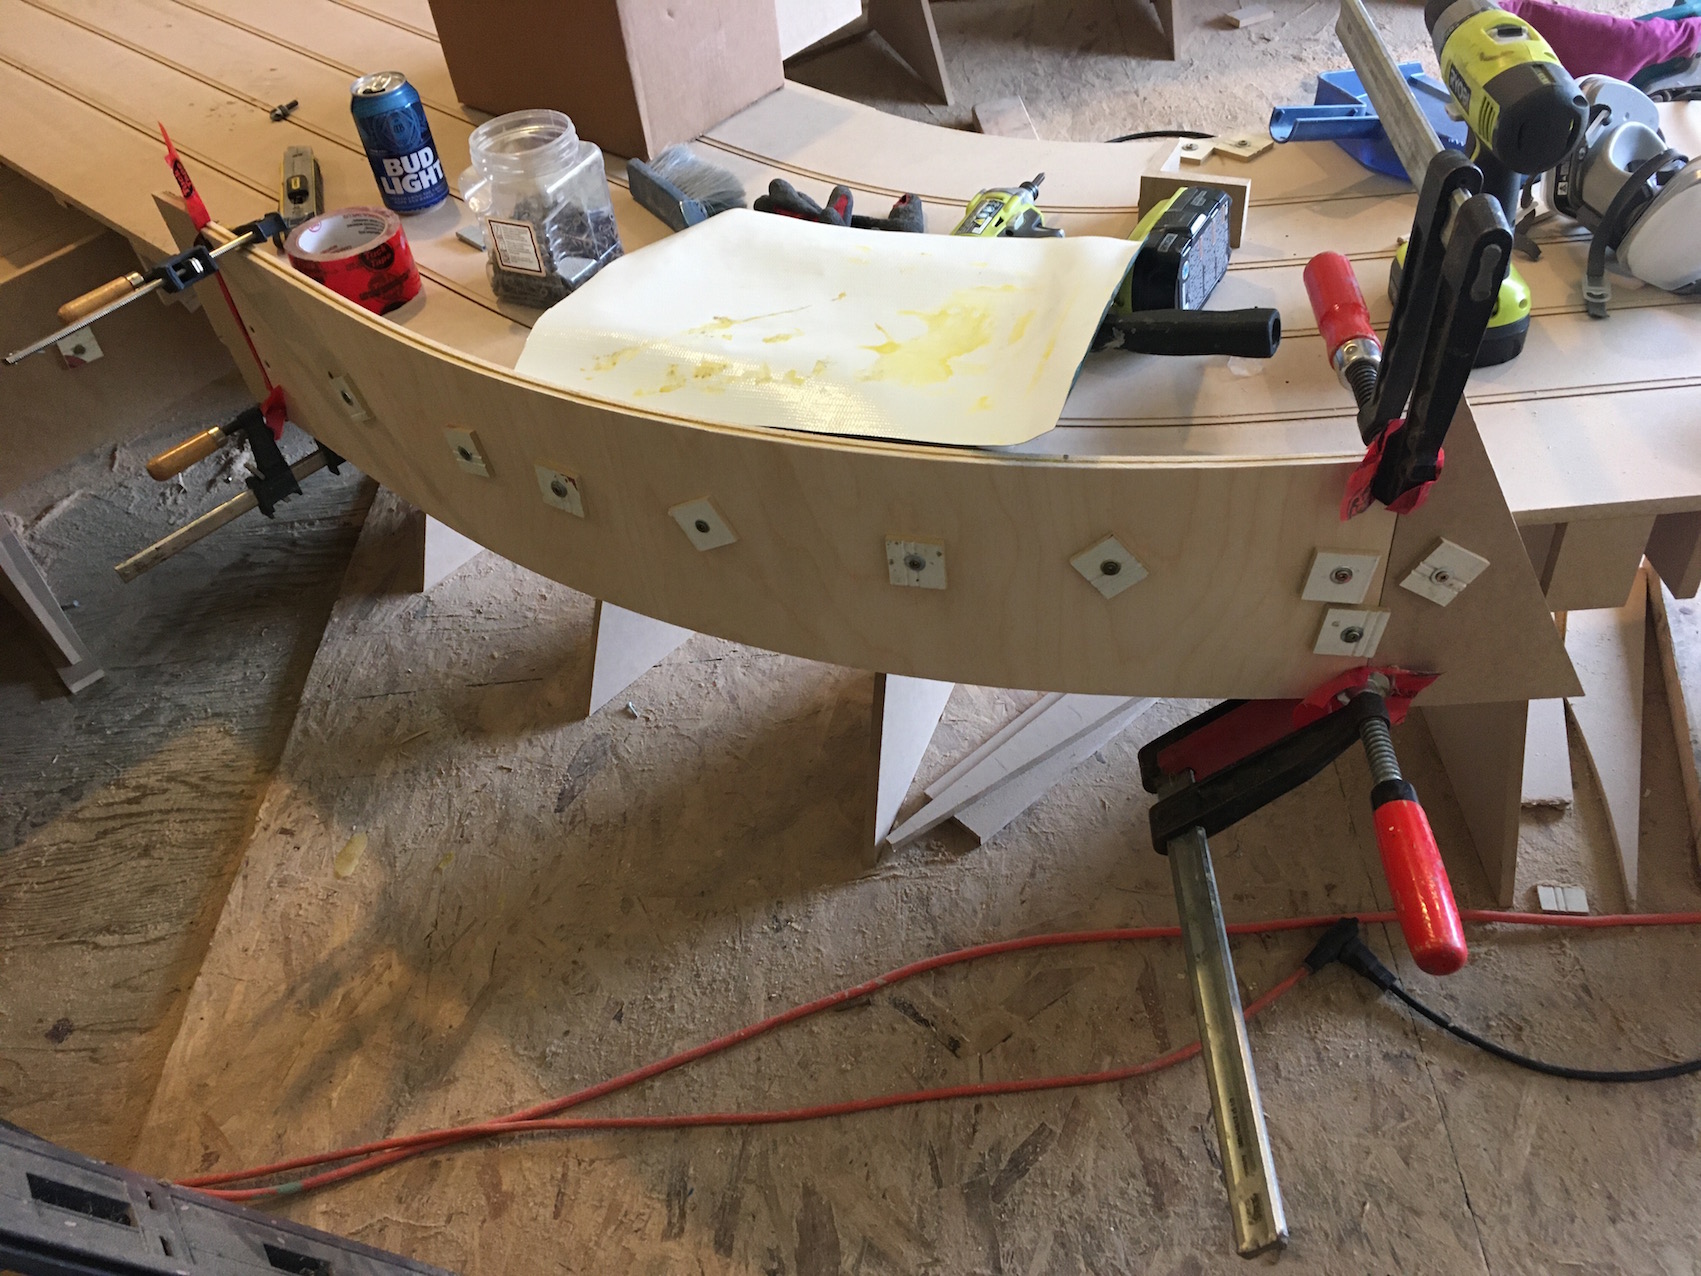
Building more side walls. When I did this for a living my moto was never change a bit, change a tool. I had a dedicated router for trimming, cutting slots, cutting circles, cutting reliefs, trimming sidewalls, drills for pilot holes, driving screws and for counter sinks. Circular saws for cutting straights, trimming upper sidewalls, trimming lower sidewalls and usually two sliding compound mitre saws and of course a 3 HP industrial table saw.And 2 thickness planers. So what did I miss most today? Another drill to put my countersink bit in. So I decided to use my washer screws to pull the sidewalls in tight instead. 


IMG_3032.jpg


IMG_3033.jpg


IMG_3034.jpg


IMG_3036.jpg


  • Lou E, Rob Voska, MattD and 1 other like this

#191 Chris Dadds

Chris Dadds

    Backmarker

  • Full Member
  • PipPip
  • 86 posts
  • Joined: 08-September 10
  • Gender:Male
  • Location:Bloomington, IN

Posted 02 May 2020 - 08:22 PM

Looks nice Steve.


Chris, I think you told me you built the King in Louisville.   It has a layer of masonite under  the track bed.   Does that sound like  your method back 15-25 years ago?   You can see it under the high bank.    It has that crosscut grain/pattern underneath.   


  No Matt, I think I've got a pretty good guess how it happened though.  But let's leave this thread to Steve as he shares his experience with us.  I think I'll go start an "Ask me anything" thread.

   Thanks Steve,  I'm really enjoying seeing that I'm not the only one who strings power tools all over everywhere when I build. I often quip that the only reason I build things is to support my tool collecting habit. :-)


  • MattD, Eddie Fleming, Steve Ogilvie and 1 other like this

Chris Dadds, Track Builder

812-219-6771


#192 Chris Dadds

Chris Dadds

    Backmarker

  • Full Member
  • PipPip
  • 86 posts
  • Joined: 08-September 10
  • Gender:Male
  • Location:Bloomington, IN

Posted 02 May 2020 - 08:37 PM


     Thanks Steve,  I'm really enjoying seeing that I'm not the only one who strings power tools all over everywhere when I build. I often quip that the only reason I build things is to support my tool collecting habit. :-)


  I've also got to say that I'm really impressed with the concept of drilling a little hole then using a screw with a wood washer to hold the thing together till the glue sets.  It's likely to make many of the 300 pounds of clamps that own me obsolete,  That's brilliant Man.


  • Pappy, Rob Voska, NSwanberg and 1 other like this

Chris Dadds, Track Builder

812-219-6771


#193 Steve Ogilvie

Steve Ogilvie

    Race Leader

  • Subscriber
  • PipPipPipPipPip
  • 630 posts
  • Joined: 17-November 14
  • Gender:Male
  • Location:Kincardine, Ontario, Canada

Posted 02 May 2020 - 09:47 PM

Thanks Chris. It is something I invented a long time ago to avoid using bondo in the track surface. Whats really funny is that until today I had never used them to pull sidewalls in tight. Necessity is the mother of invention.


  • Pappy, NSwanberg and Chris Dadds like this

#194 Steve Ogilvie

Steve Ogilvie

    Race Leader

  • Subscriber
  • PipPipPipPipPip
  • 630 posts
  • Joined: 17-November 14
  • Gender:Male
  • Location:Kincardine, Ontario, Canada

Posted 04 May 2020 - 03:29 PM

Made another video. Putting on a bit of sidewall this time. 


(13) Steve Ogilvie Builds a Slot Car Track 12 - YouTube


  • Rob Voska and Eddie Fleming like this

#195 Steve Ogilvie

Steve Ogilvie

    Race Leader

  • Subscriber
  • PipPipPipPipPip
  • 630 posts
  • Joined: 17-November 14
  • Gender:Male
  • Location:Kincardine, Ontario, Canada

Posted 04 May 2020 - 04:59 PM

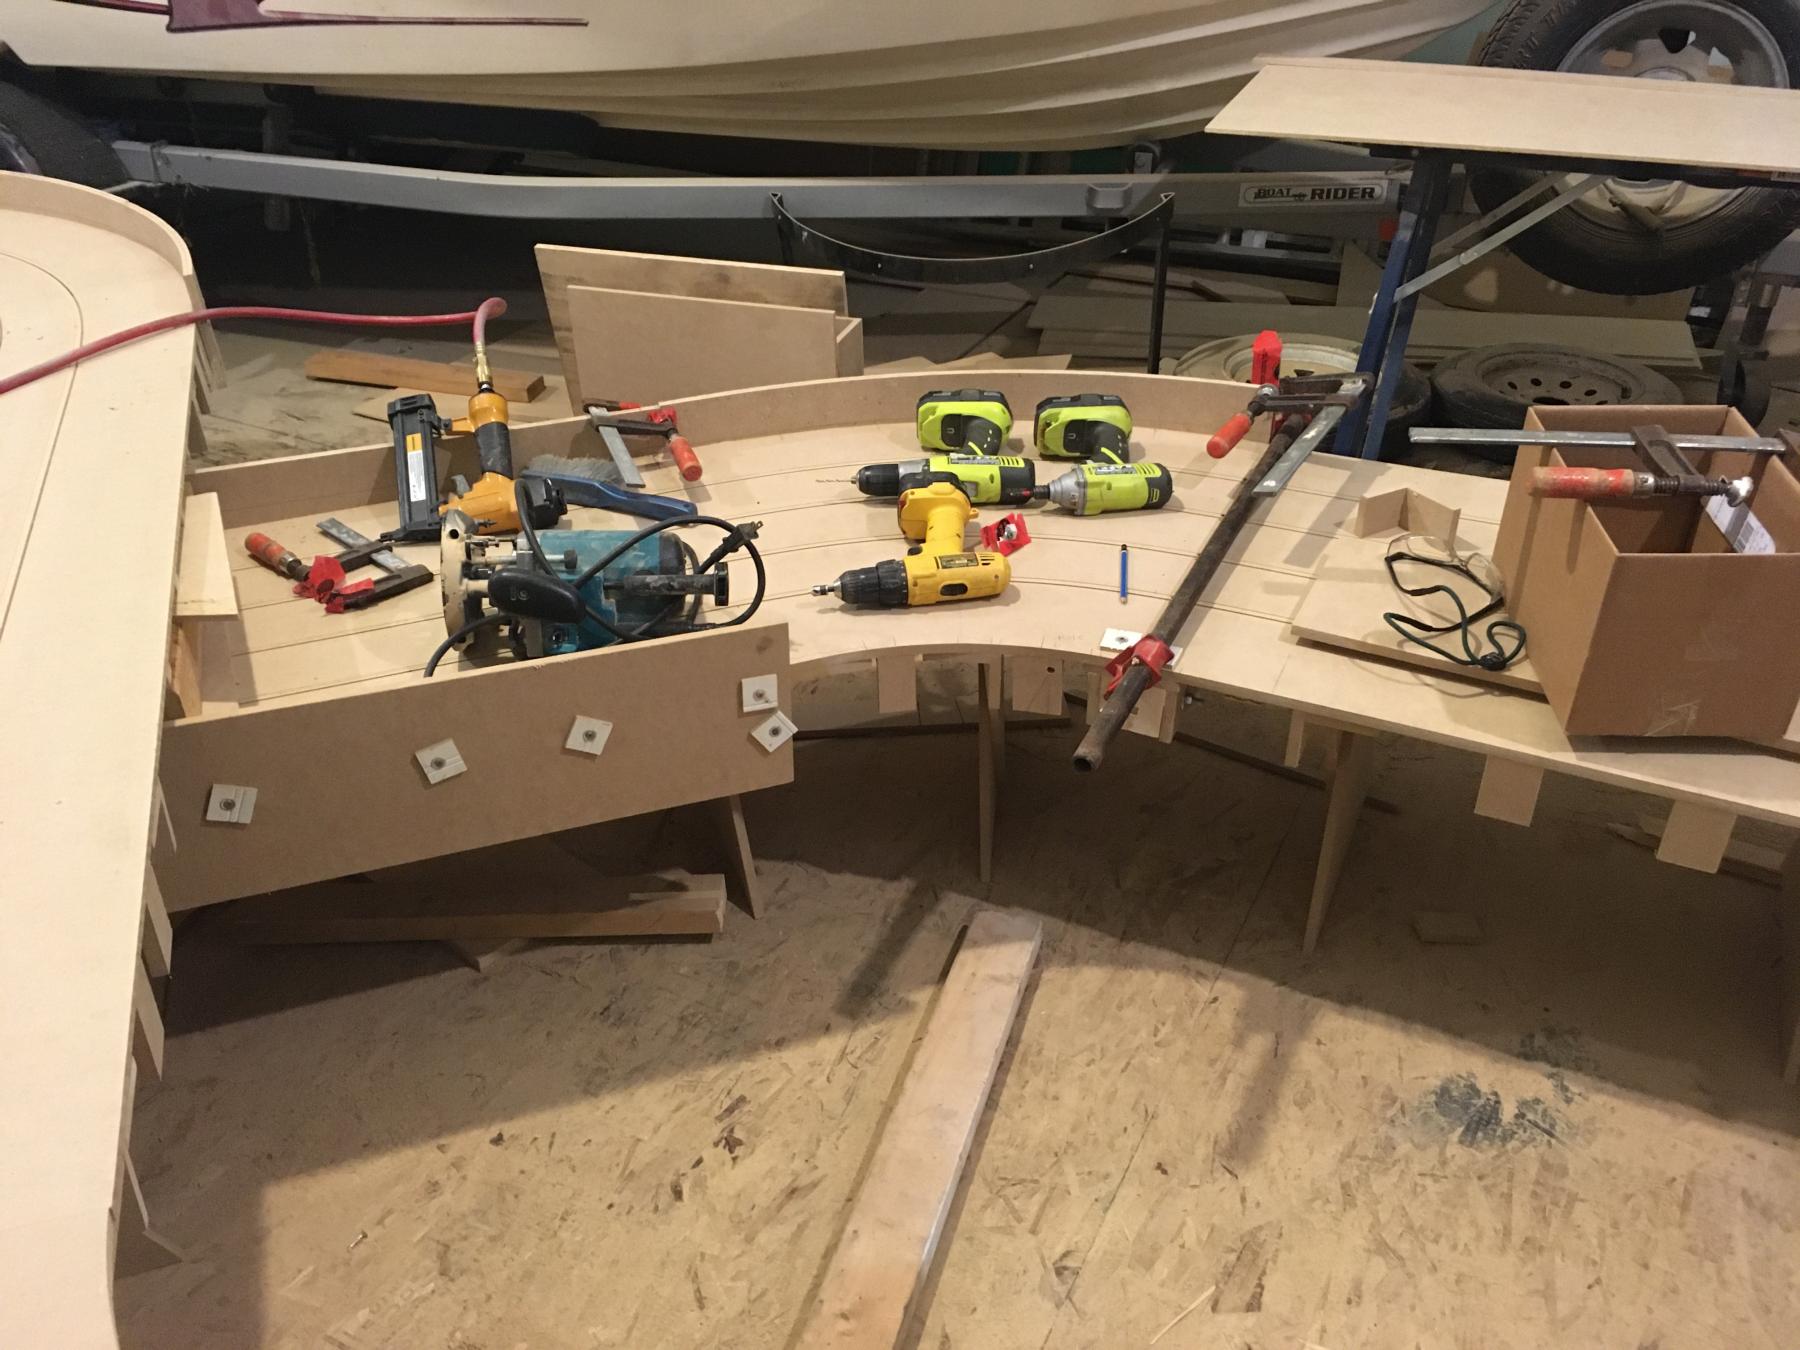
Slowly getting the sidewalls on. I was all set up to go around the outside of the 8' curve with the birch but I decided to use the mdf instead. If I don't use it up I do not think I will use it for anything else, where the birch plywood is nice for a lot of different projects. 


    The other reason to use the mdf on the outside is that it is easier to trim off after. Plywood tends to get a lot of chipping on the top edges during trimming so cleaning it up and getting a nice painted finish is more work. 


    One feature that I have put in to this track is there are no legs bolted to the joints. There are legs on either side of each joint. Makes it easier to stand the track up and bolt it together. I started doing this on portable tracks and liked it so all our tracks got this feature.


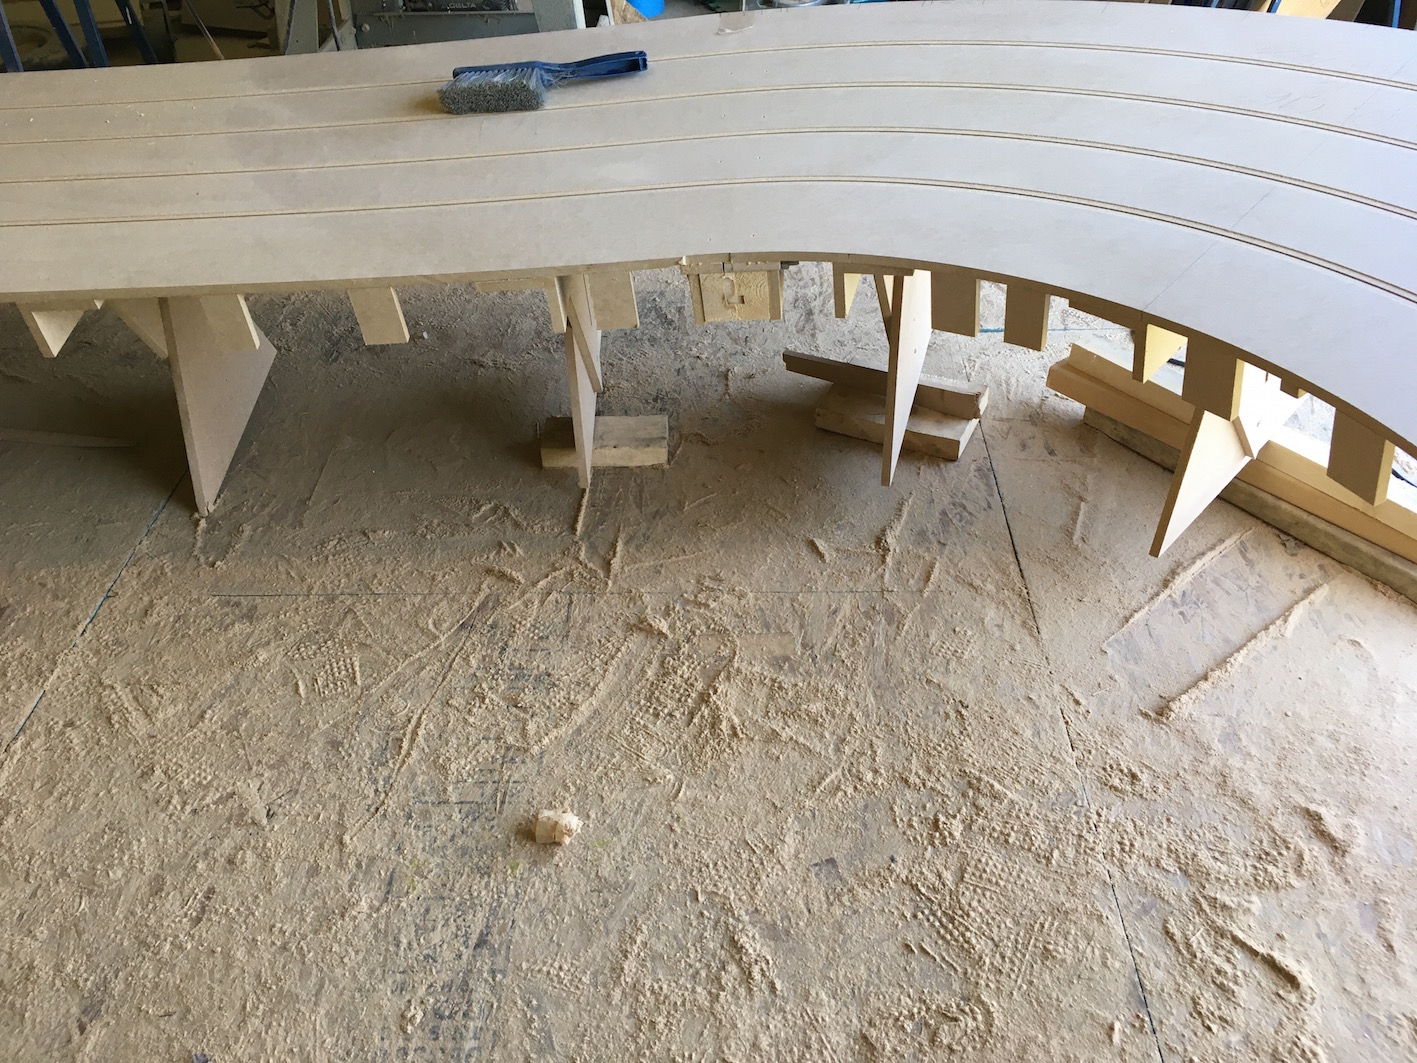
IMG_3042.jpg


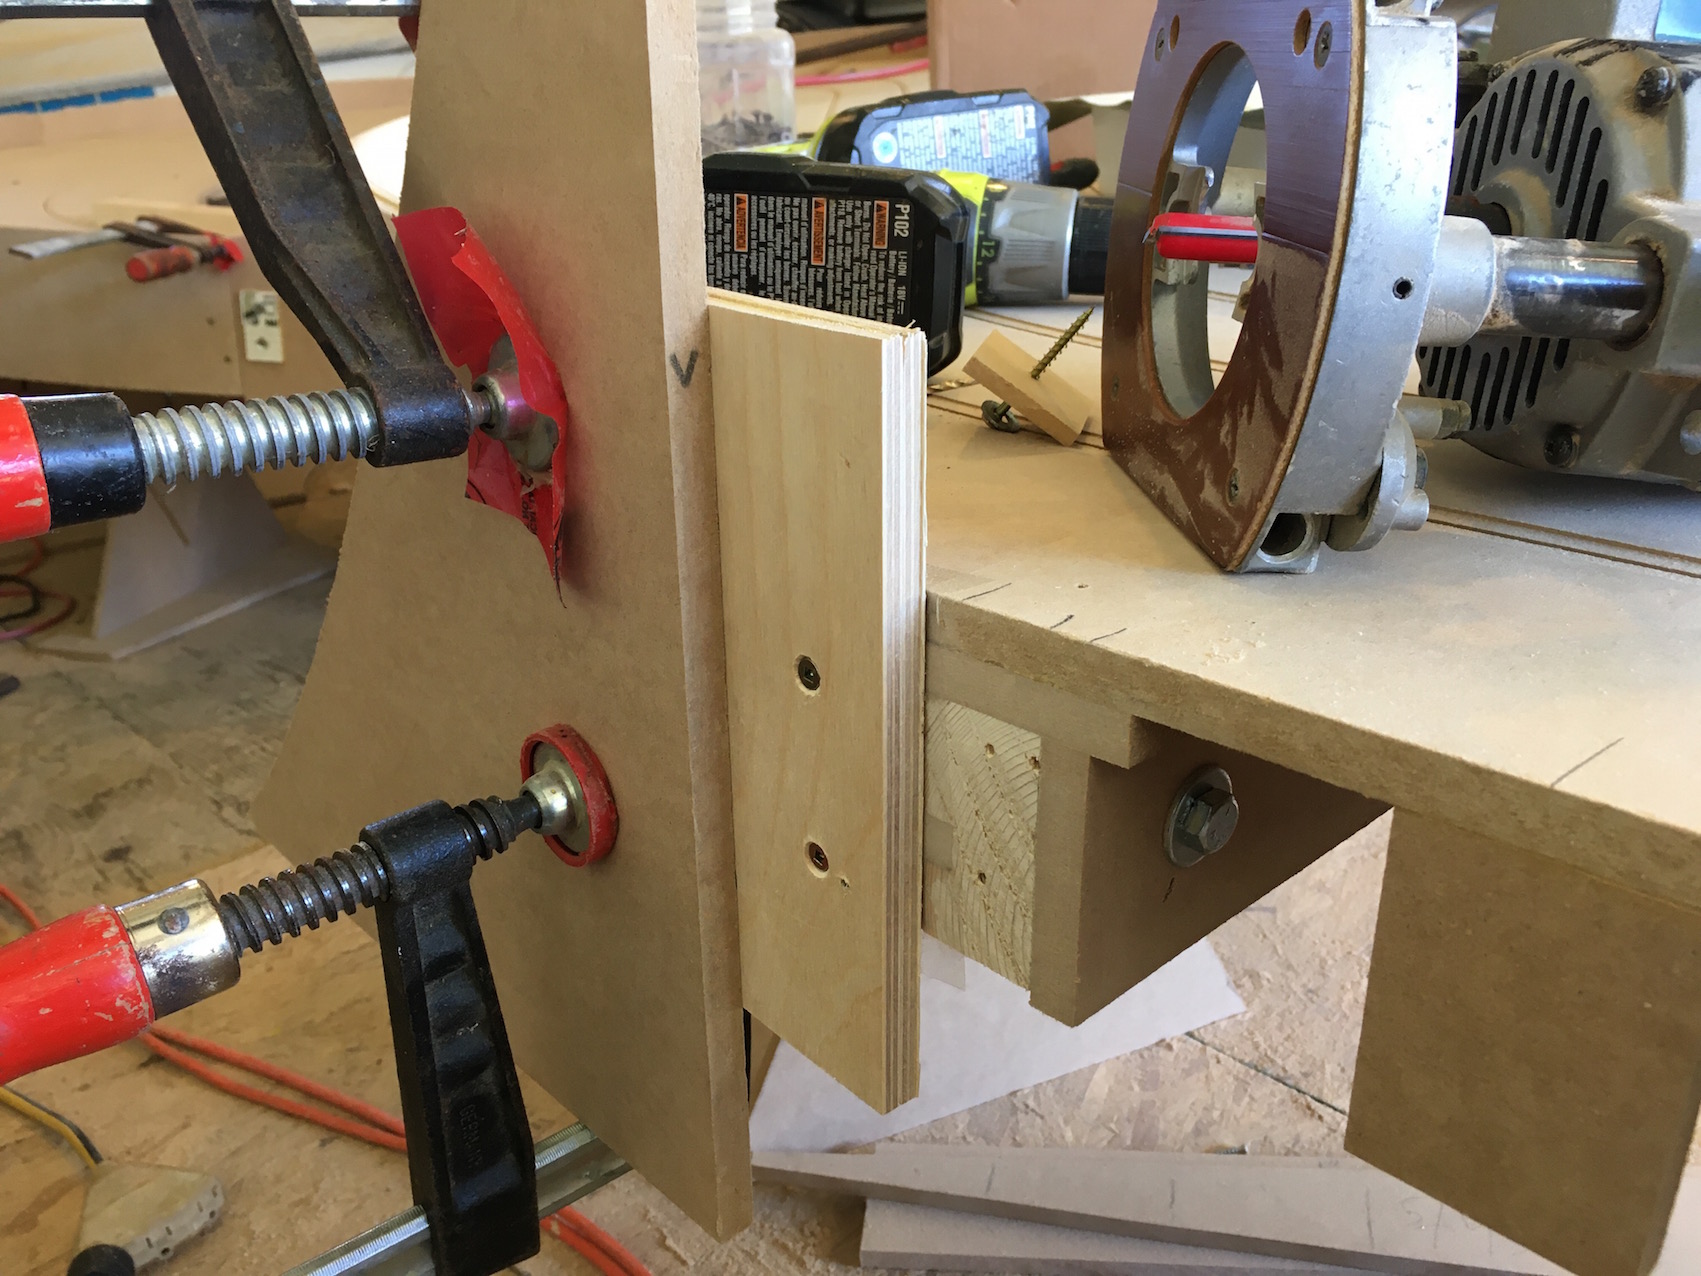
     When you are gluing pieces of 1/4 inch material together you get the odd rough end. Or an end with an angle you don't like so I just trim off the end with a straight edge and a router. I set the router depth so it leaves a small amount of material so I don't nick the joint. Easy to cut off with a sharp knife and then you have a nice edge.


IMG_3040.jpg


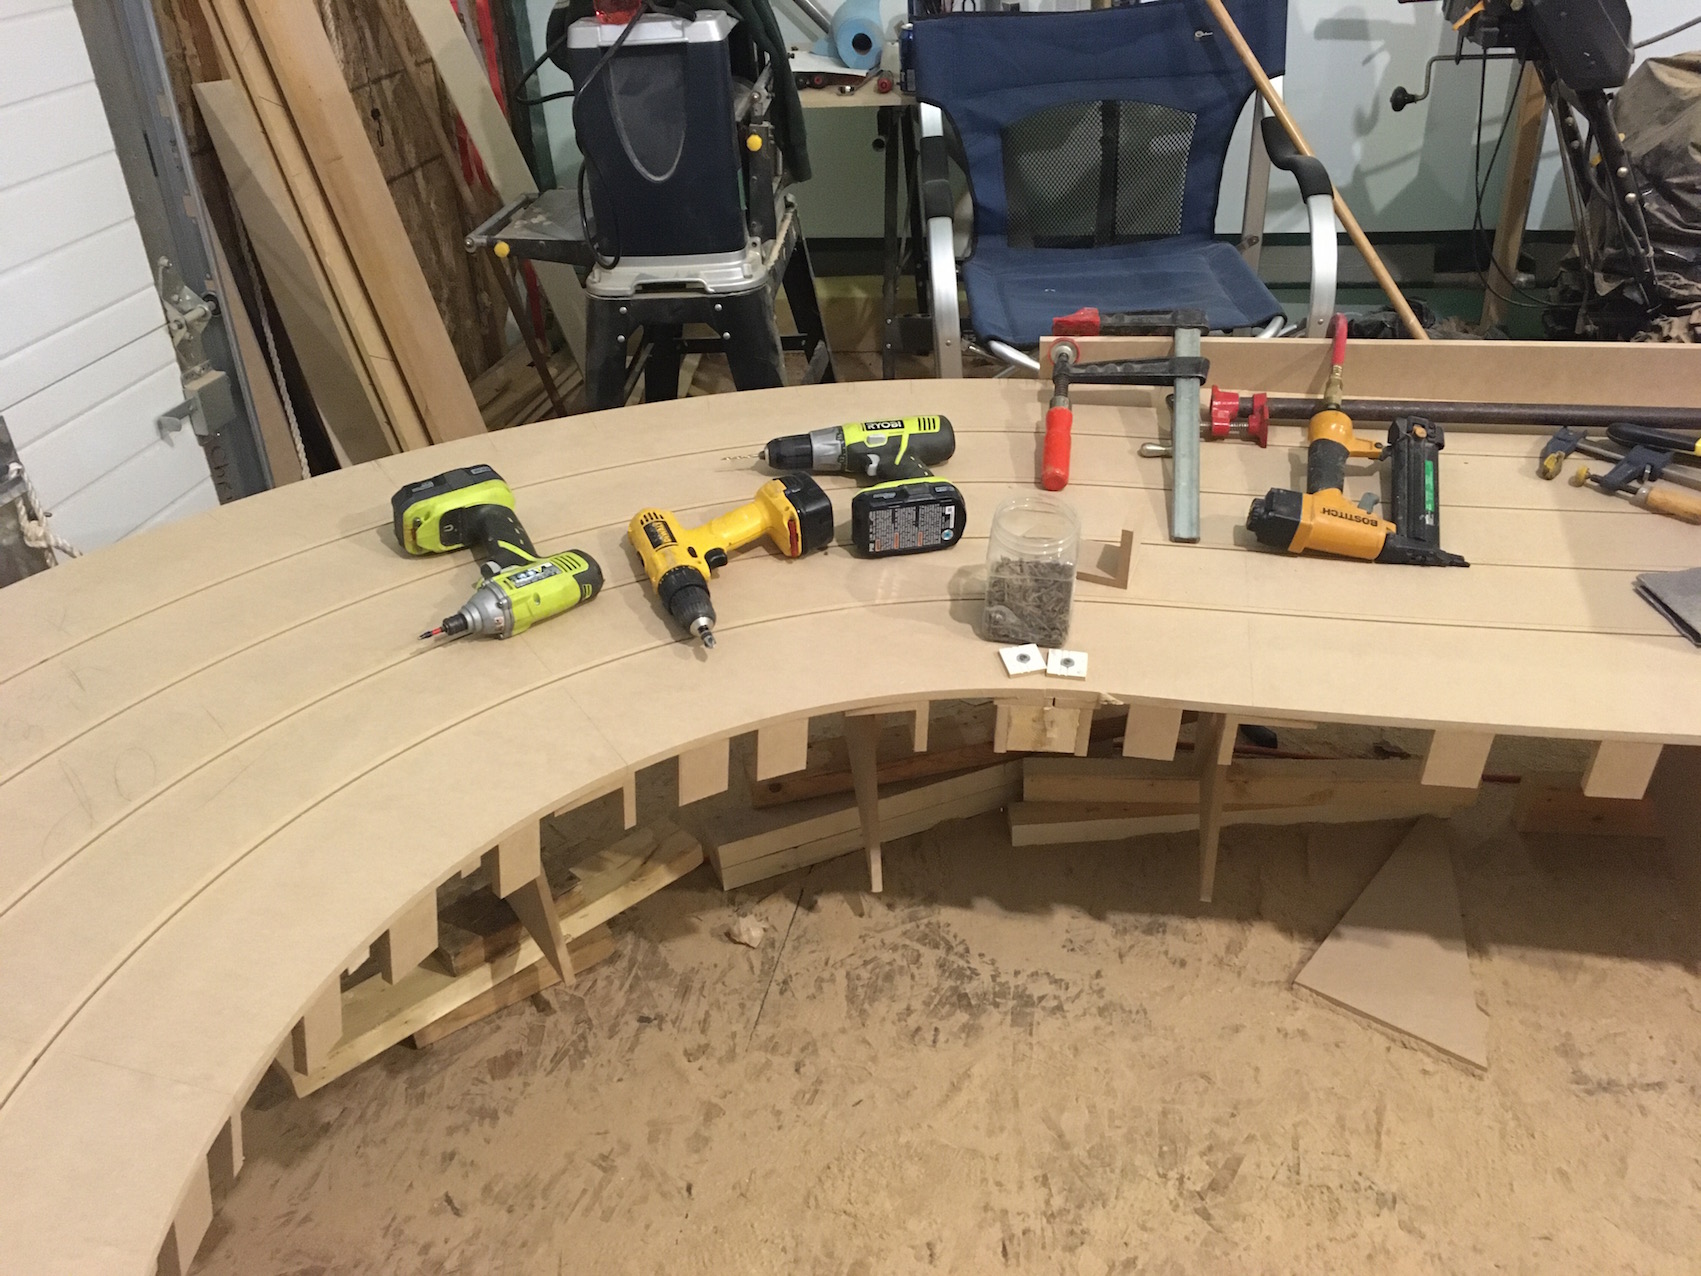
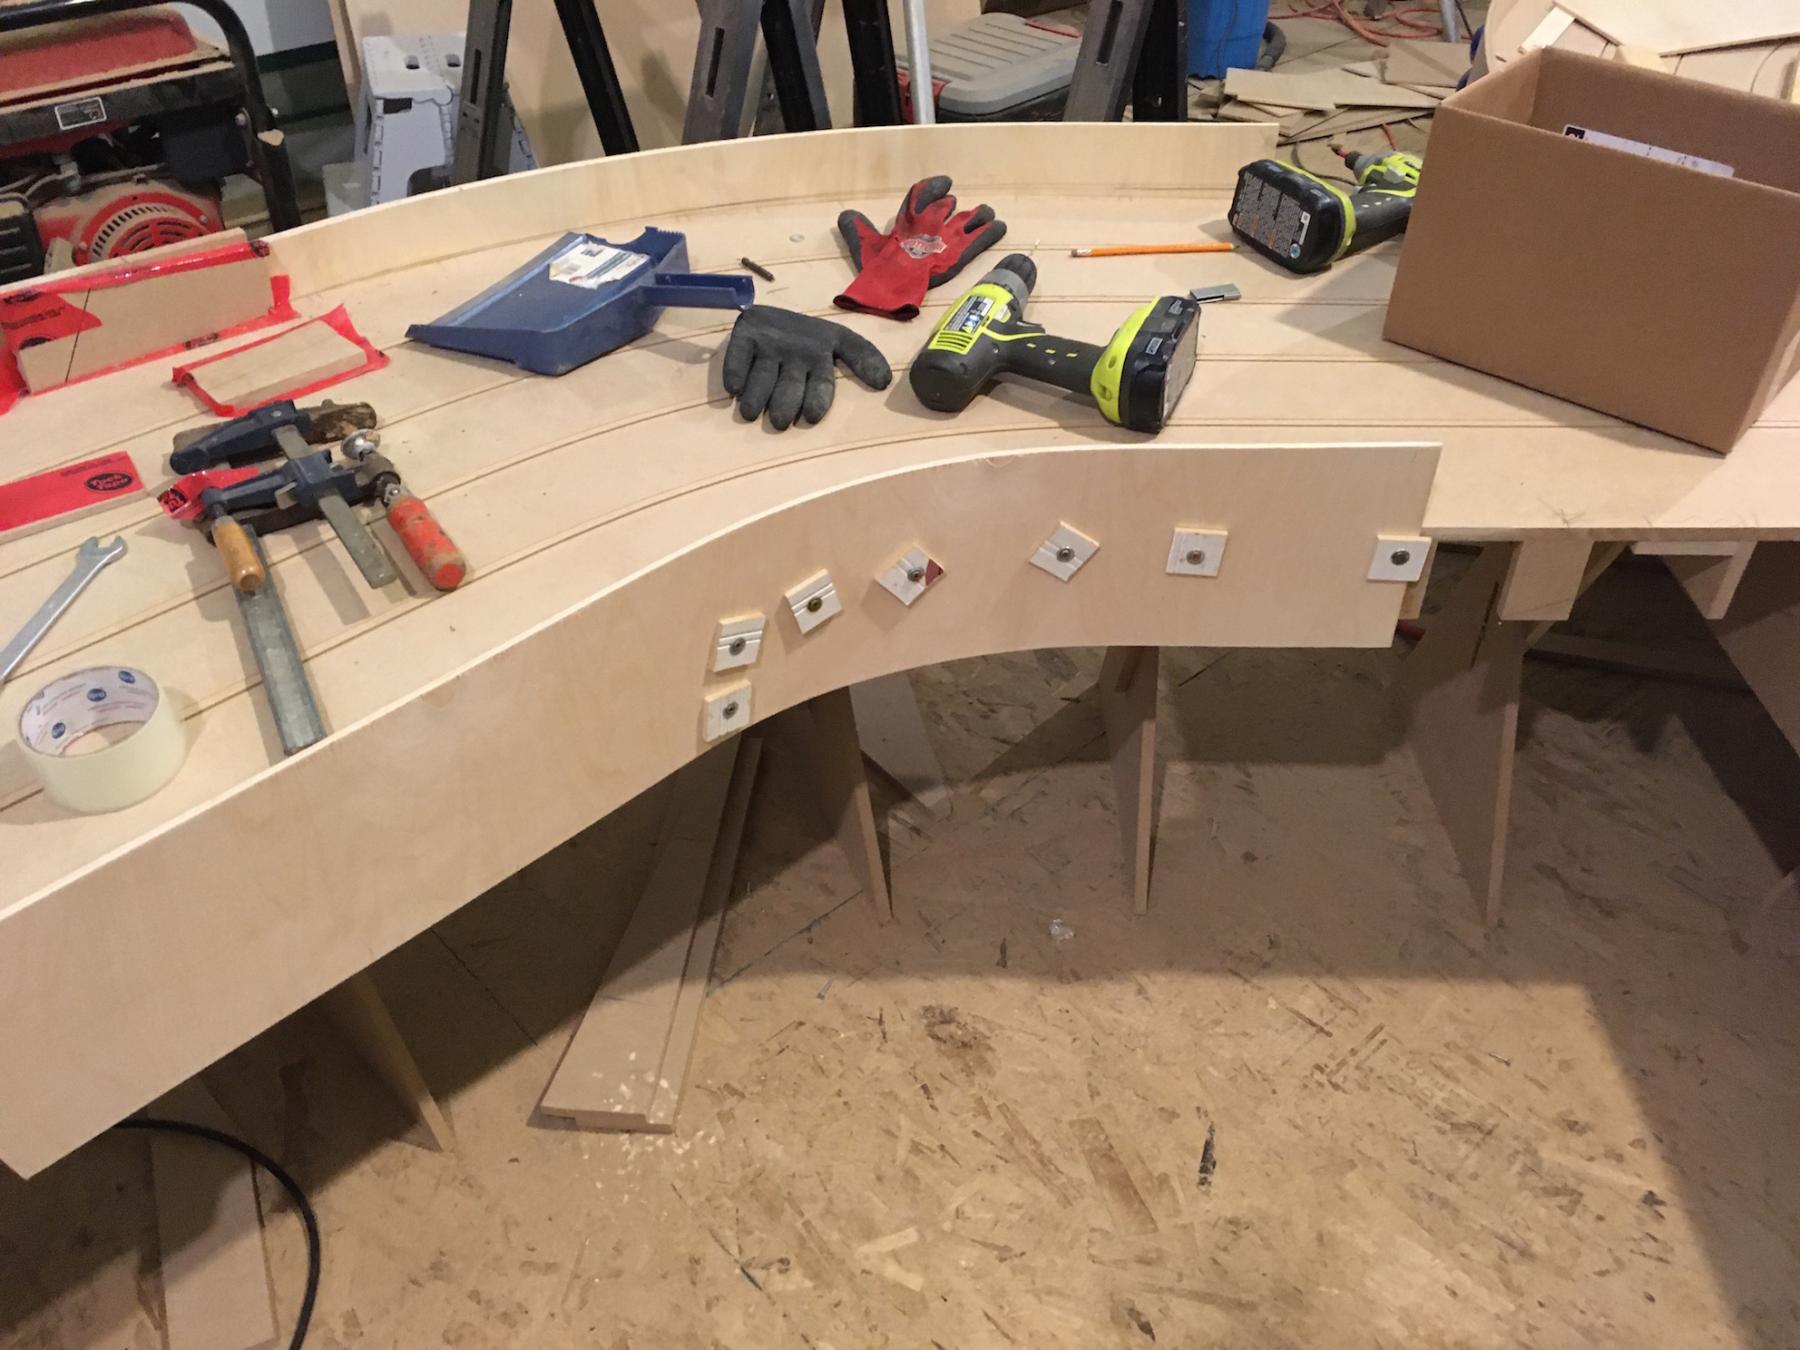
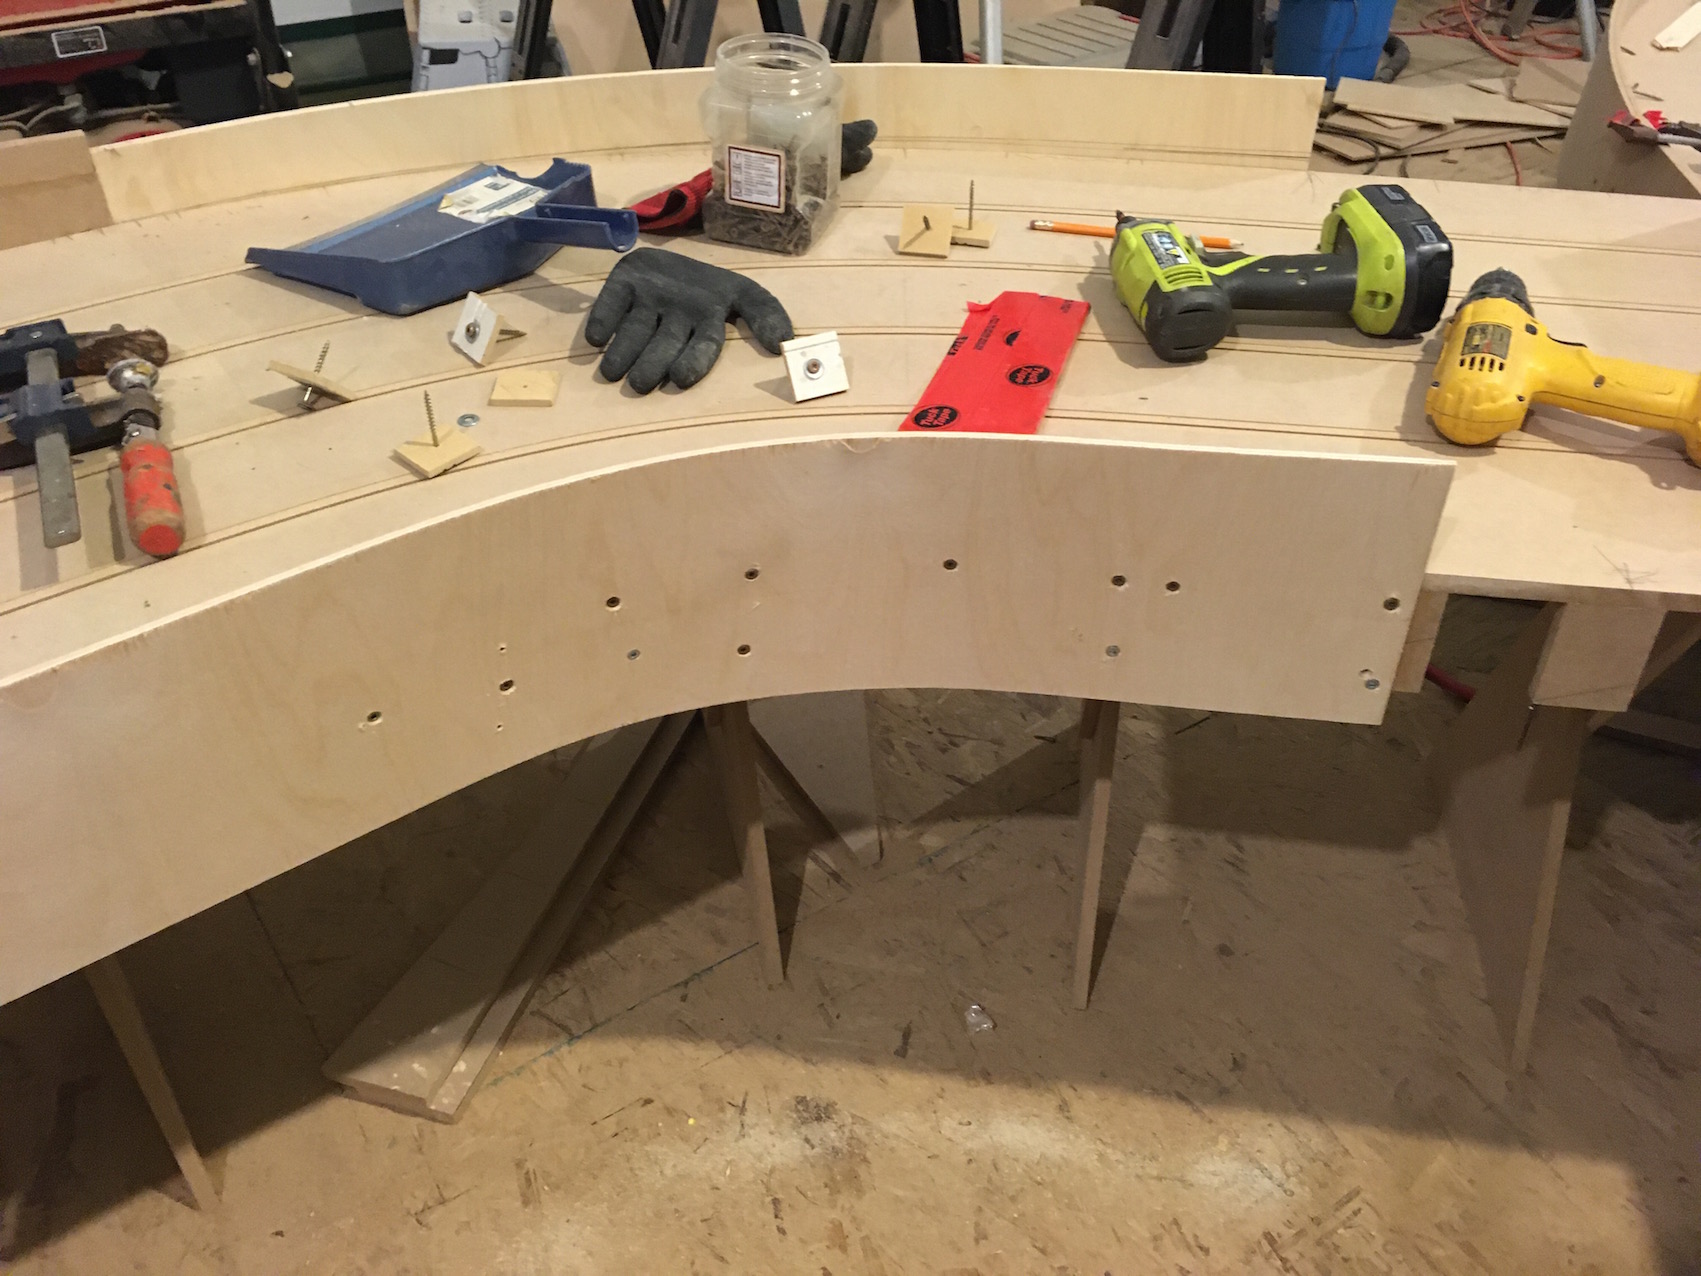
Tools laid out to work on the corner. I added another drill with a countersink bit to the mix


IMG_3044.jpg


(13) Steve Ogilvie builds a slot car track update - YouTube


  • Lou E and Eddie Fleming like this

#196 Zippity

Zippity

    Grand Champion Poster

  • Banned
  • PipPipPipPipPipPipPipPip
  • 5,278 posts
  • Joined: 05-March 06
  • Gender:Male
  • Location:Wellington, New Zealand

Posted 04 May 2020 - 05:42 PM

What type of screws are you using for attaching the side walls to the track? 


Robertson or Torx?


:) 


  • Steve Ogilvie likes this
Ron Thornton

#197 Steve Ogilvie

Steve Ogilvie

    Race Leader

  • Subscriber
  • PipPipPipPipPip
  • 630 posts
  • Joined: 17-November 14
  • Gender:Male
  • Location:Kincardine, Ontario, Canada

Posted 04 May 2020 - 05:55 PM

They are 2 bit #8 Robertson screw. Or as we call it around here a red robby. 


The torx are pricey and I wore out bits like crazy while I used up the box that I bought to try out. A 20 lb box of them. So if you see one of my tracks with Torx screws  used to lock the legs together that is a rare track. Went back to Robby's right after.


  • Zippity likes this

#198 Steve Ogilvie

Steve Ogilvie

    Race Leader

  • Subscriber
  • PipPipPipPipPip
  • 630 posts
  • Joined: 17-November 14
  • Gender:Male
  • Location:Kincardine, Ontario, Canada

Posted 05 May 2020 - 05:10 PM

Used 1/4" mdf around the small turn before the under bridge:


IMG_3047.jpg  


Going around the inside of the small upper corner with birch. I could only do one layer at a time. I pulled the inner piece tight to the corner with my washer screws, let the glue harden for 1/2 hour or so and then replaced the washer screws with 1 1/2" #8 Robbys. I went past the joint to get more leverage to push it tight. There is no glue beyond the joint.


IMG_3053.jpg  


IMG_3057.jpg


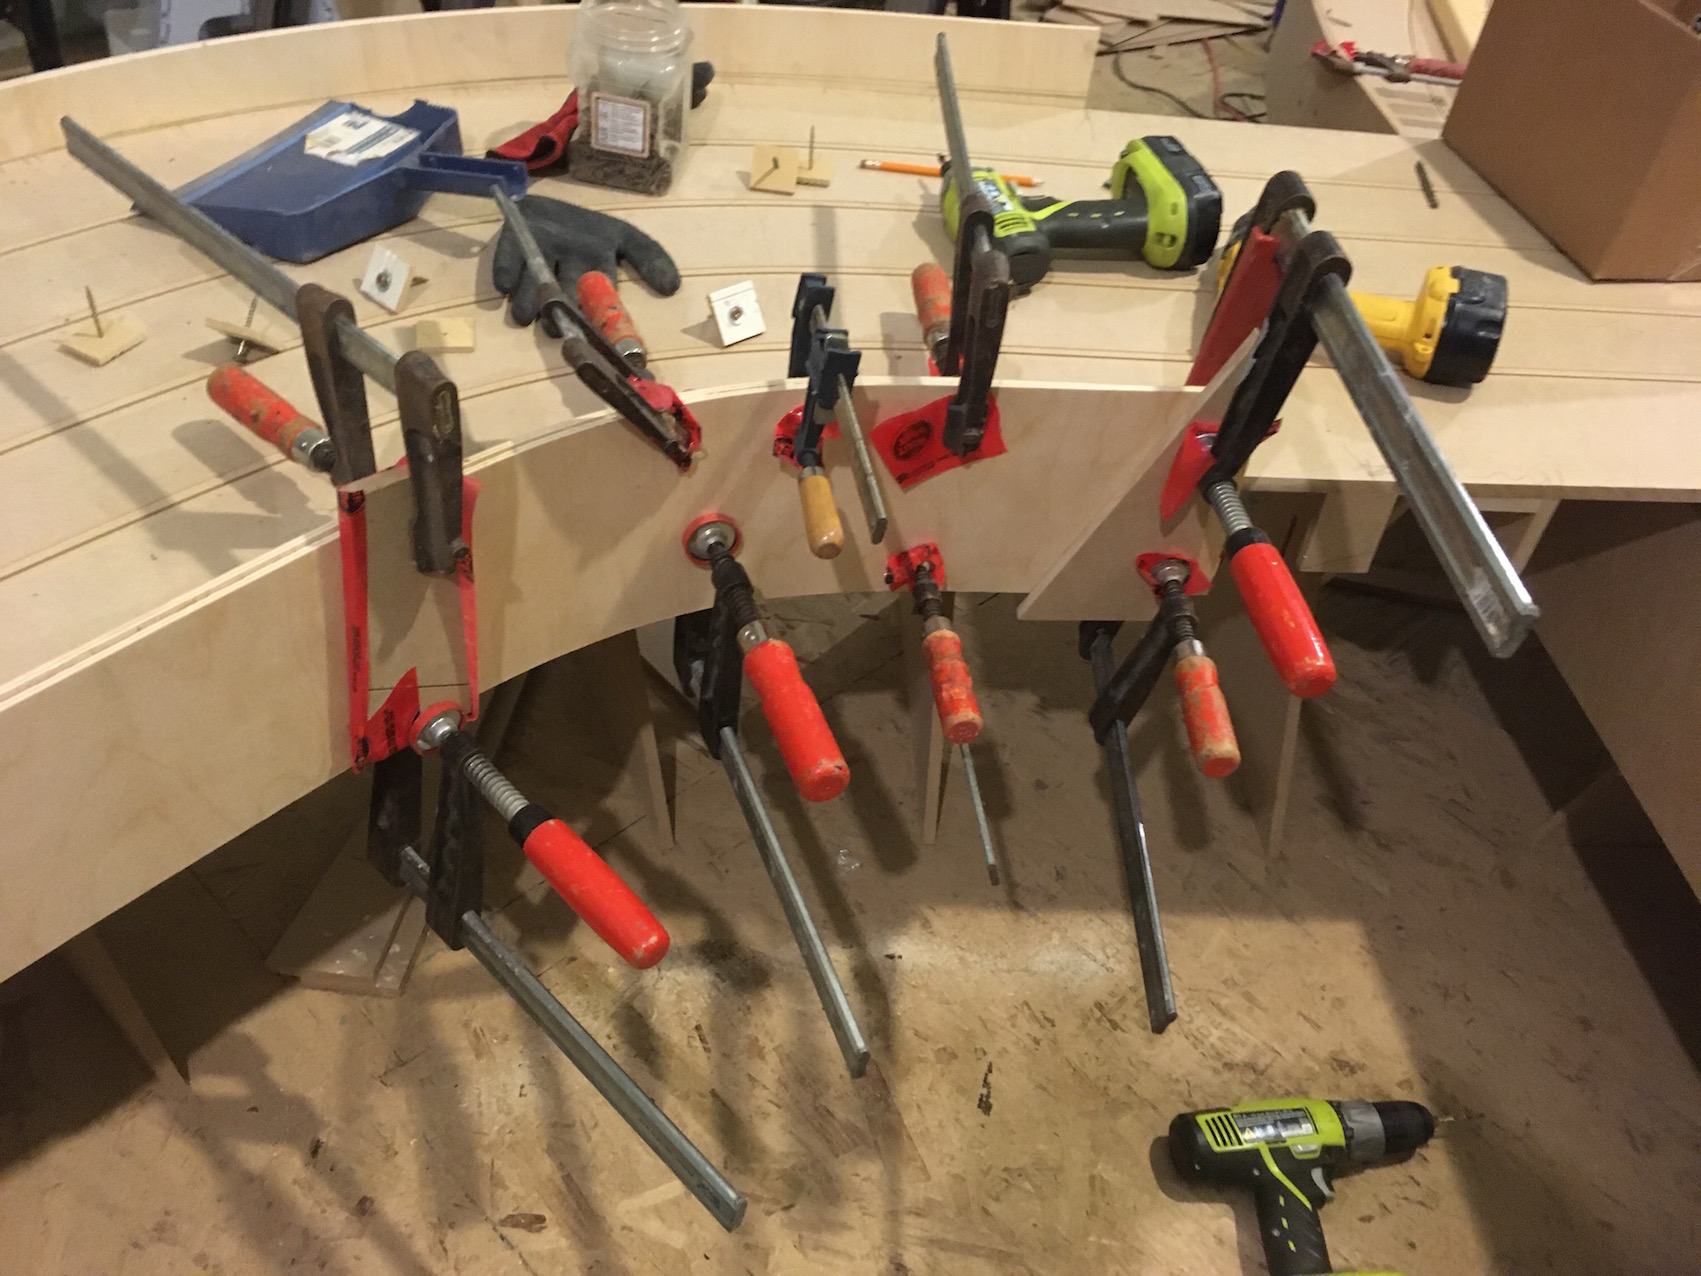
And to add the other layer of birch I glued it up and pulled the wall together with clamps. After the glue hardens I will trim off the excess board on both ends.


IMG_3058.jpg


I can go around the inside of the donut with this method, but I am waiting for some poplar to arrive. Another video


 (13) Steve Ogilvie Builds a Slot Car Track daily update 5 May 2020 - YouTube


  • Lou E, Matt Sheldon and Eddie Fleming like this

#199 Eddie Fleming

Eddie Fleming

    Posting Leader

  • Subscriber
  • PipPipPipPipPipPipPip
  • 2,919 posts
  • Joined: 27-April 14
  • Gender:Male
  • Location:Fayetteville, GA USA

Posted 05 May 2020 - 05:59 PM

I like the walk around video. The sound is better and we get a better look at the work too.


Thank you.


  • Matt Sheldon and Steve Ogilvie like this
Eddie Fleming

#200 Steve Ogilvie

Steve Ogilvie

    Race Leader

  • Subscriber
  • PipPipPipPipPip
  • 630 posts
  • Joined: 17-November 14
  • Gender:Male
  • Location:Kincardine, Ontario, Canada

Posted 05 May 2020 - 06:19 PM

You are welcome Eddie. By the time this track is done I should be all the way to the almost below average level of YouTube posters.


  • Chris Dadds likes this


Electric Dreams Online Shop