Jump to content


Photo

How to build slot car tracks


  • Please log in to reply
405 replies to this topic

#201 MSwiss

MSwiss

    Grand Champion Poster

  • IRRA National Director
  • PipPipPipPipPipPipPipPip
  • 25,896 posts
  • Joined: 16-April 06
  • Gender:Male

Posted 05 May 2020 - 08:14 PM

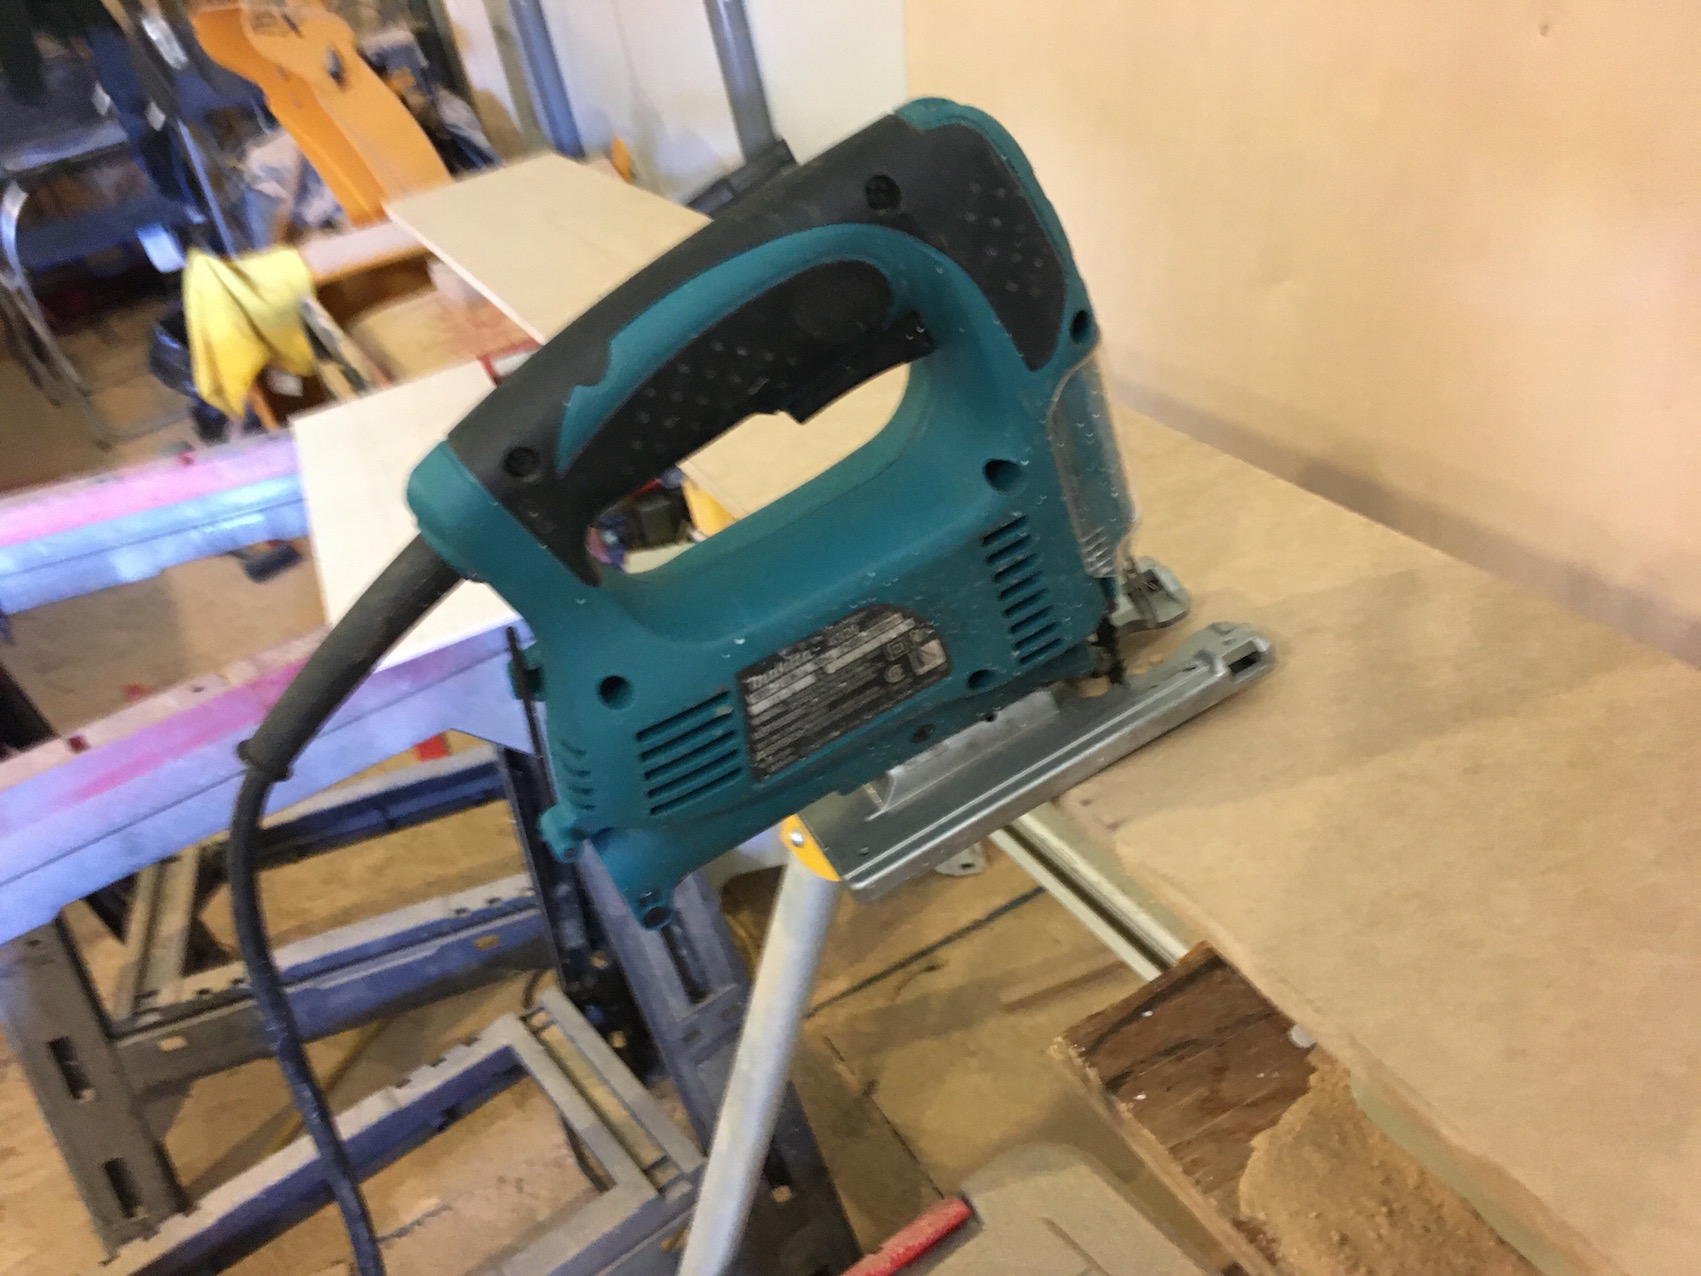
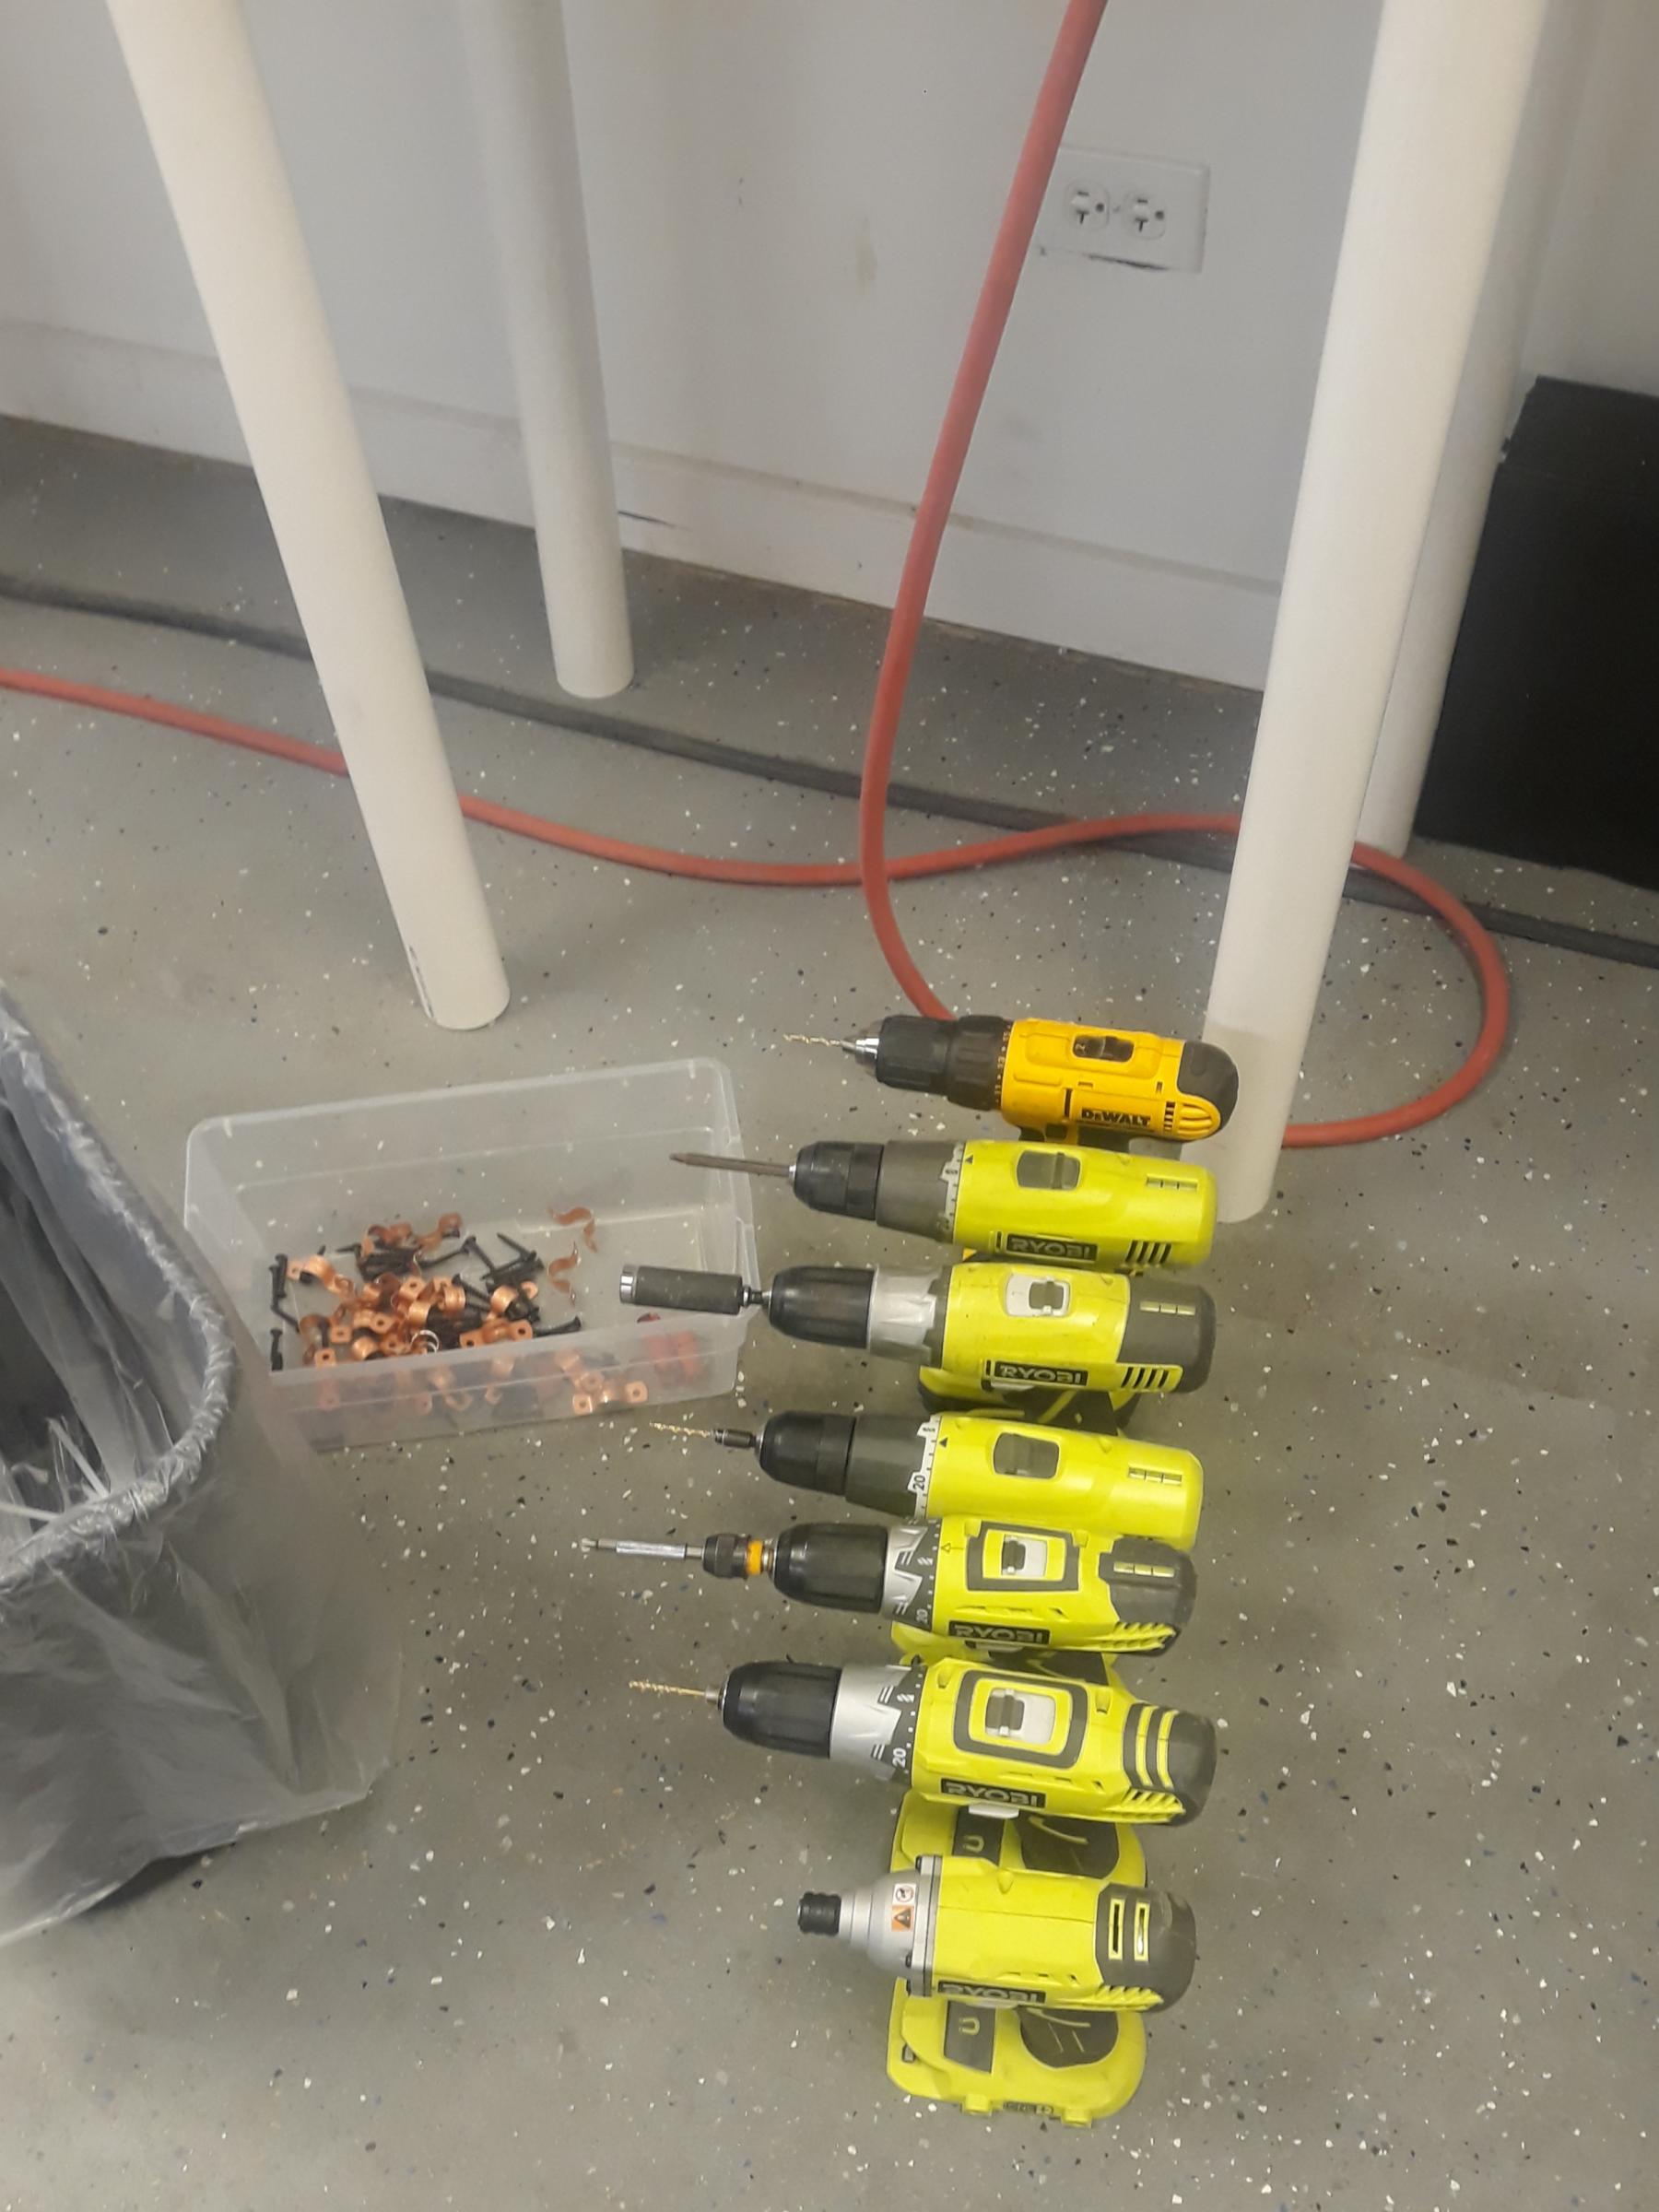
Building more side walls. When I did this for a living my moto was never change a bit, change a tool. I had a dedicated router for trimming, cutting slots, cutting circles, cutting reliefs, trimming sidewalls, drills for pilot holes, driving screws and for counter sinks. Circular saws for cutting straights, trimming upper sidewalls, trimming lower sidewalls and usually two sliding compound mitre saws and of course a 3 HP industrial table saw.And 2 thickness planers. So what did I miss most today? Another drill to put my countersink bit in.

One of the few luxuries I afford myself.


A racer commented to me  "Why not just a few DeWalts?"


And I explained it was more important to me to have a bunch of mediocre ones, so I never have to change bits.


On every Black Friday, at Home Depot, I usually pick one up, along with a wet vac, about half the time.

20200504_181947.jpg

I have an 8th one, I keep at home, for spur of the moment, projects and repairs.


Not much of a fan of the driver.


For what I need one for, anyway..


  • mjsh, Zippity, Chris Dadds and 2 others like this

Mike Swiss
 
Inventor of the Low CG guide flag 4/20/18
IRRA® Components Committee Chairman
Five-time USRA National Champion (two G7, one G27, two G7 Senior)
Two-time G7 World Champion (1988, 1990), eight G7 main appearances
Eight-time G7 King track single lap world record holder

17B West Ogden Ave., Westmont, IL 60559, (708) 203-8003, mikeswiss86@hotmail.com (also my PayPal address)

Note: Send all USPS packages and mail to: 692 Citadel Drive, Westmont, Illinois 60559


#202 Steve Ogilvie

Steve Ogilvie

    Race Leader

  • Subscriber
  • PipPipPipPipPip
  • 630 posts
  • Joined: 17-November 14
  • Gender:Male
  • Location:Kincardine, Ontario, Canada

Posted 05 May 2020 - 08:57 PM

Nice arsenal !


  • MSwiss, Chris Dadds and William Bowden like this

#203 Zippity

Zippity

    Grand Champion Poster

  • Banned
  • PipPipPipPipPipPipPipPip
  • 5,278 posts
  • Joined: 05-March 06
  • Gender:Male
  • Location:Wellington, New Zealand

Posted 05 May 2020 - 10:59 PM

Looks like someone is getting ready for the Shoot-Out at the OK Corral  :) 


  • MSwiss and Steve Ogilvie like this
Ron Thornton

#204 Steve Ogilvie

Steve Ogilvie

    Race Leader

  • Subscriber
  • PipPipPipPipPip
  • 630 posts
  • Joined: 17-November 14
  • Gender:Male
  • Location:Kincardine, Ontario, Canada

Posted 06 May 2020 - 07:38 PM

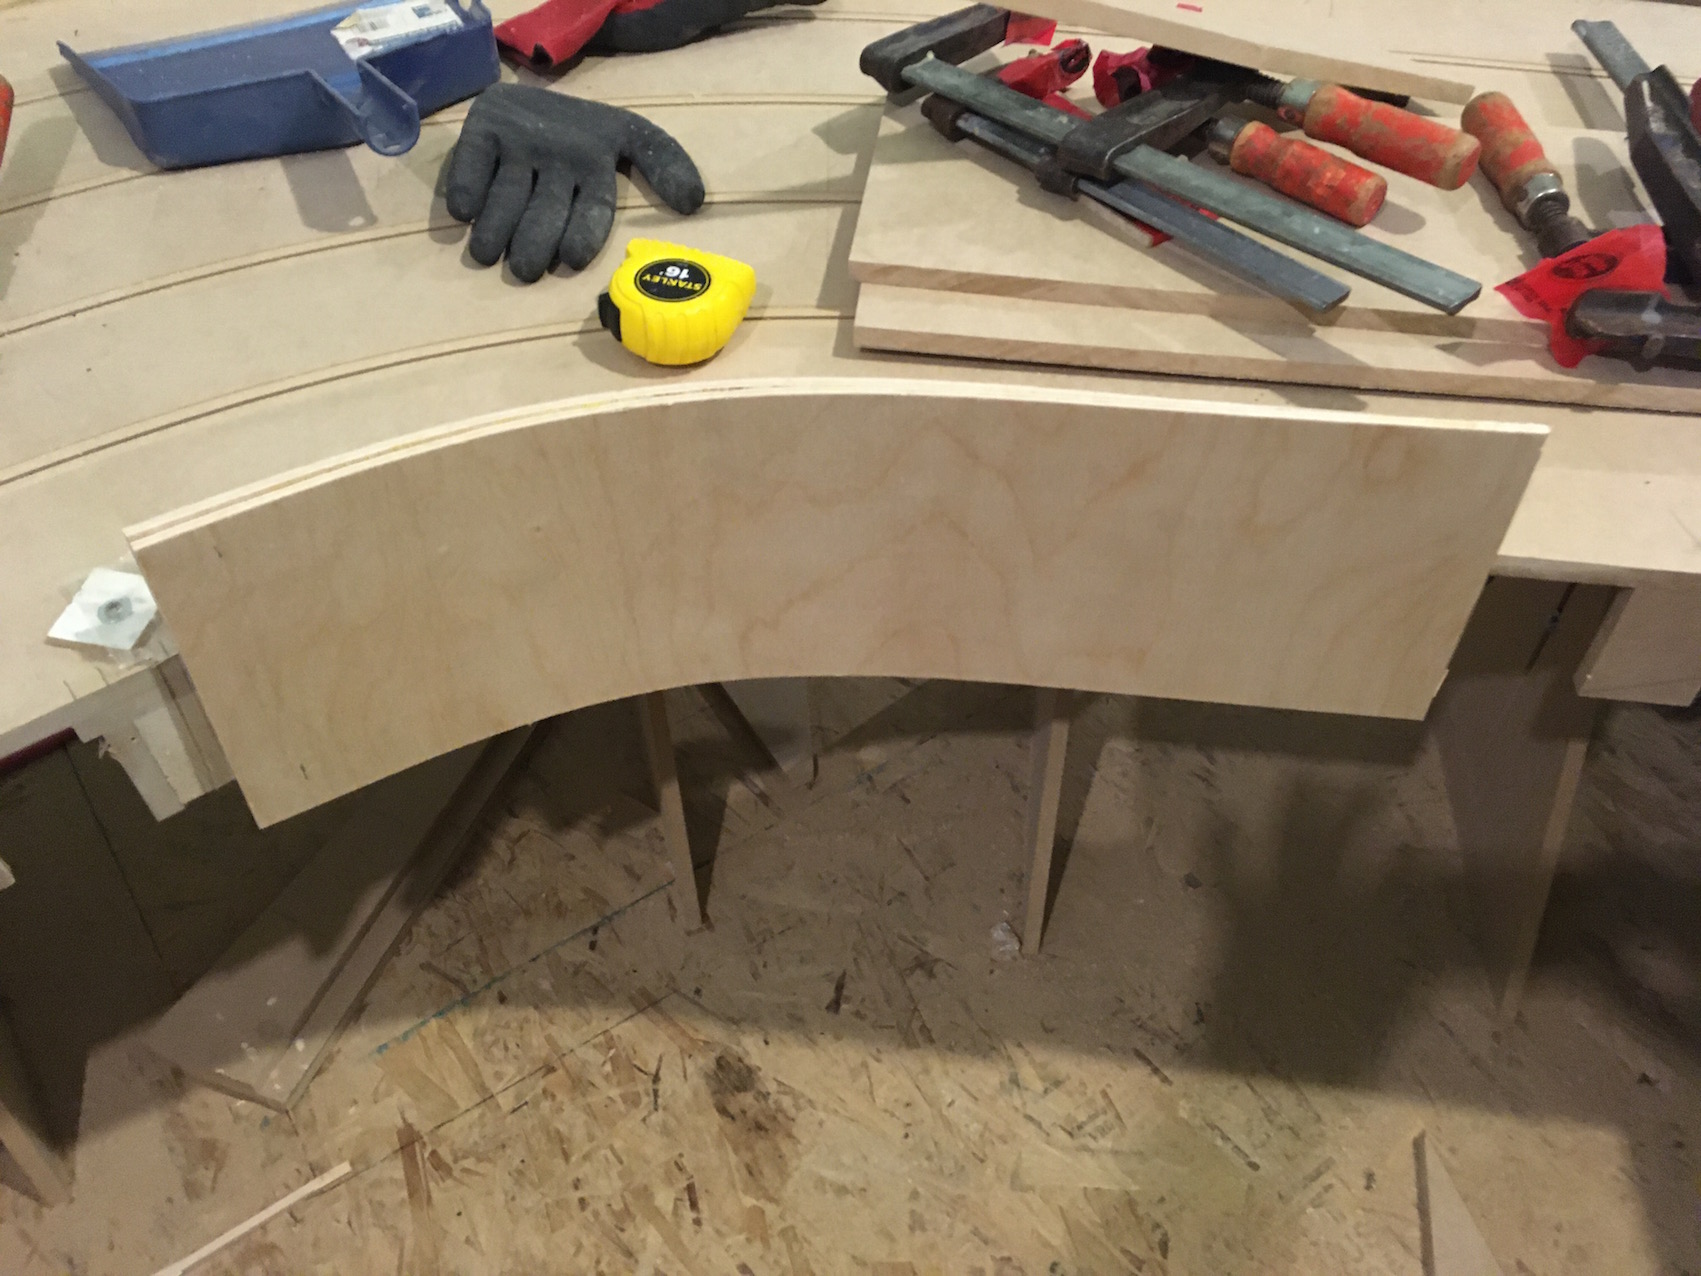
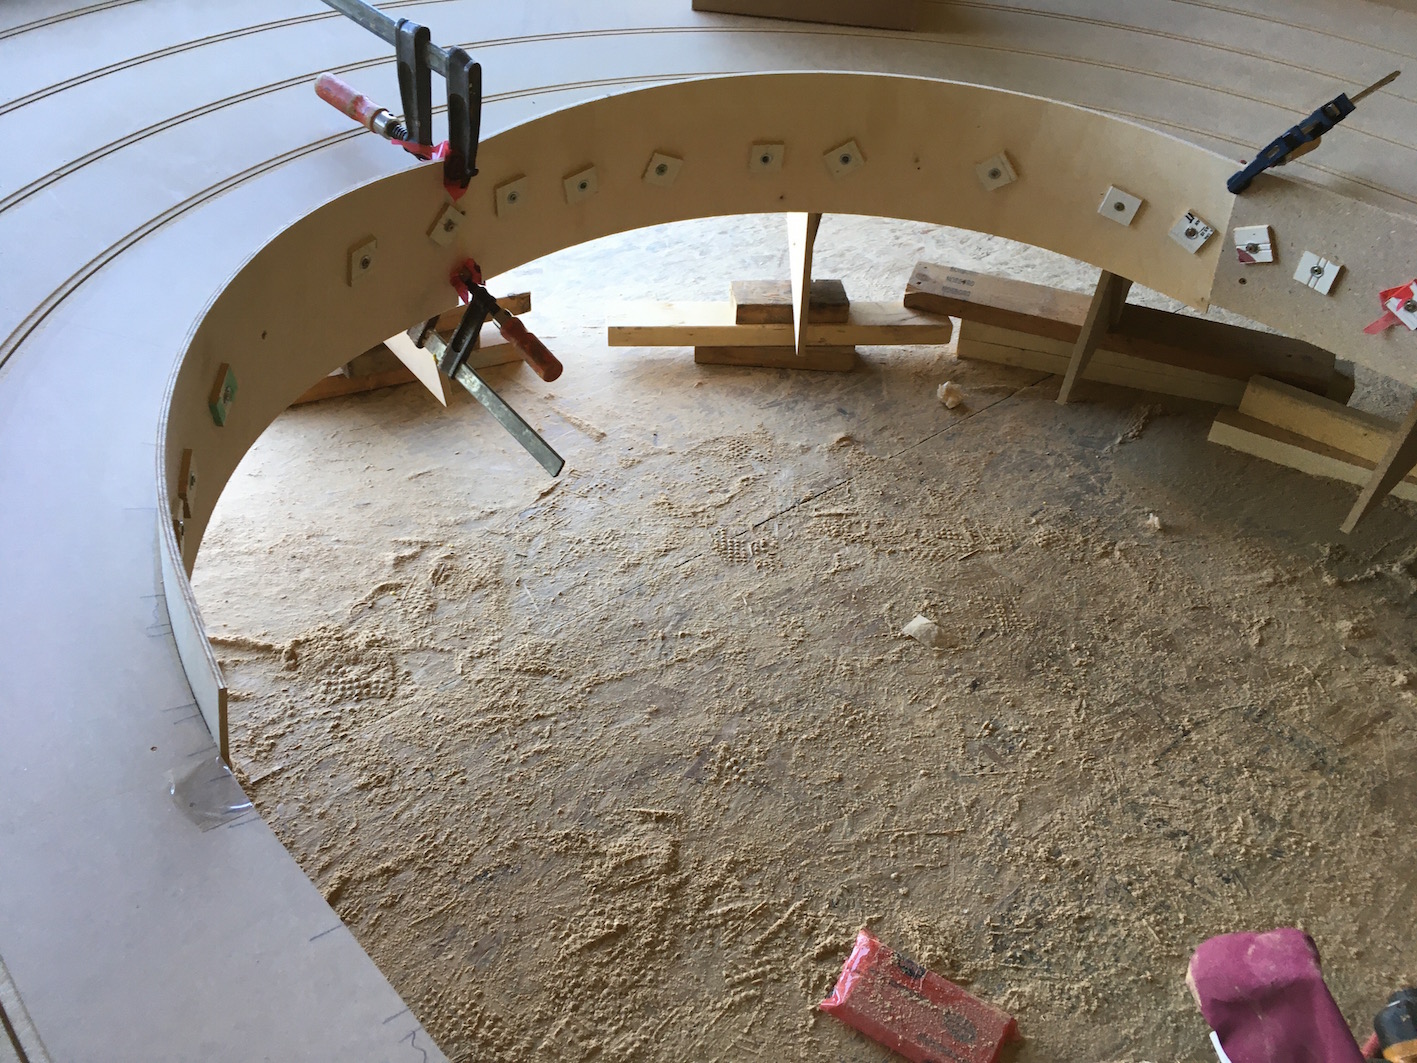
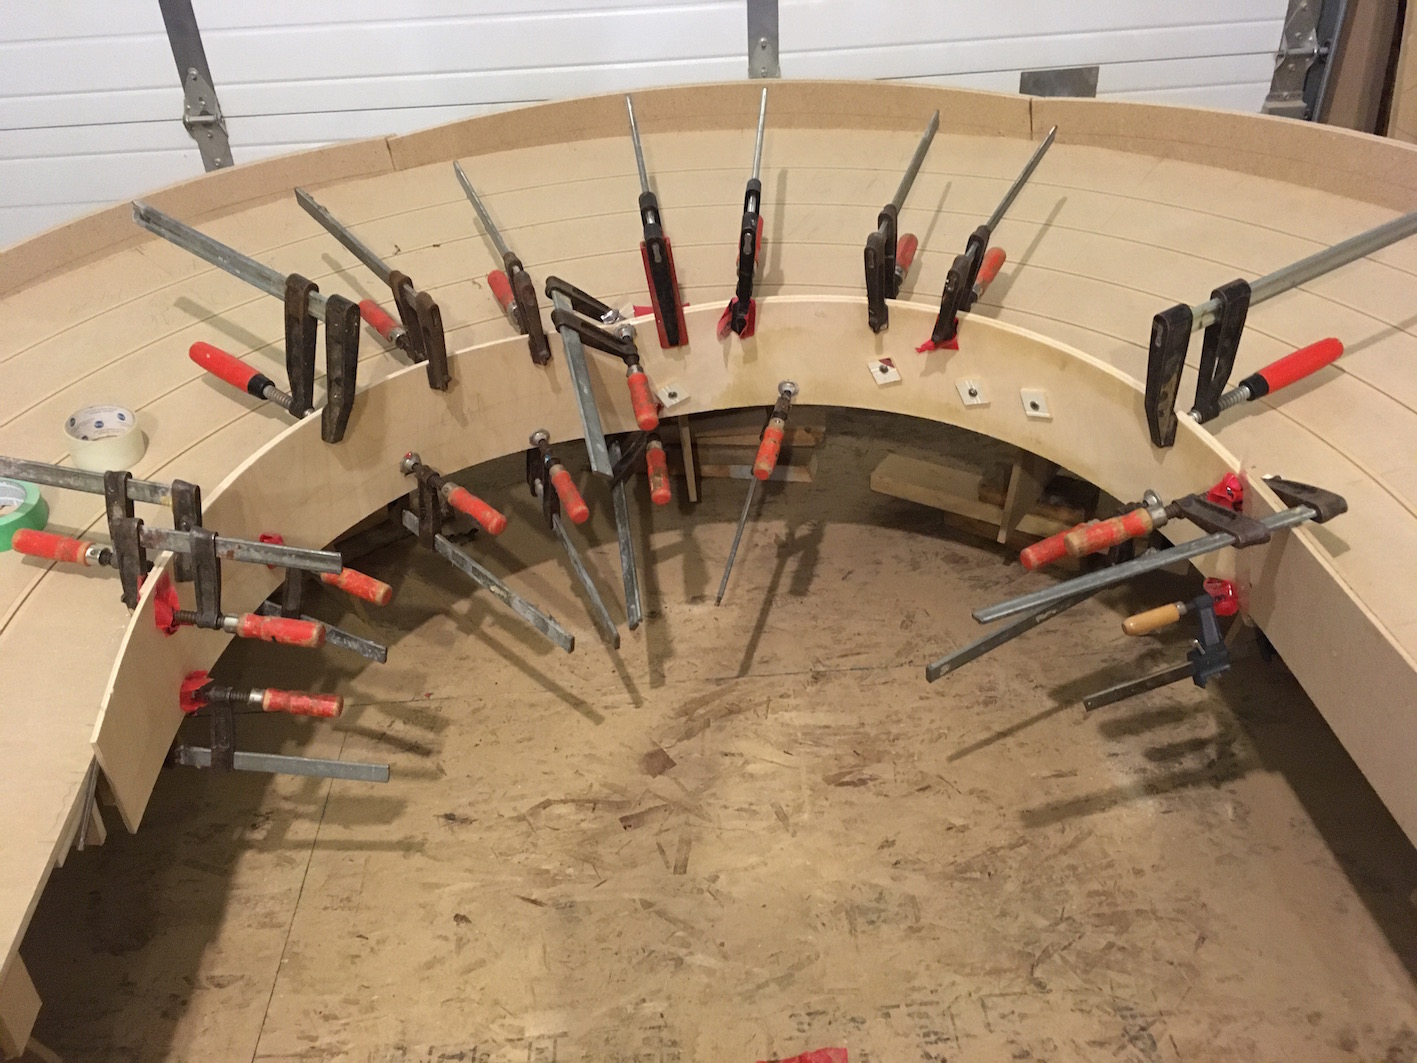
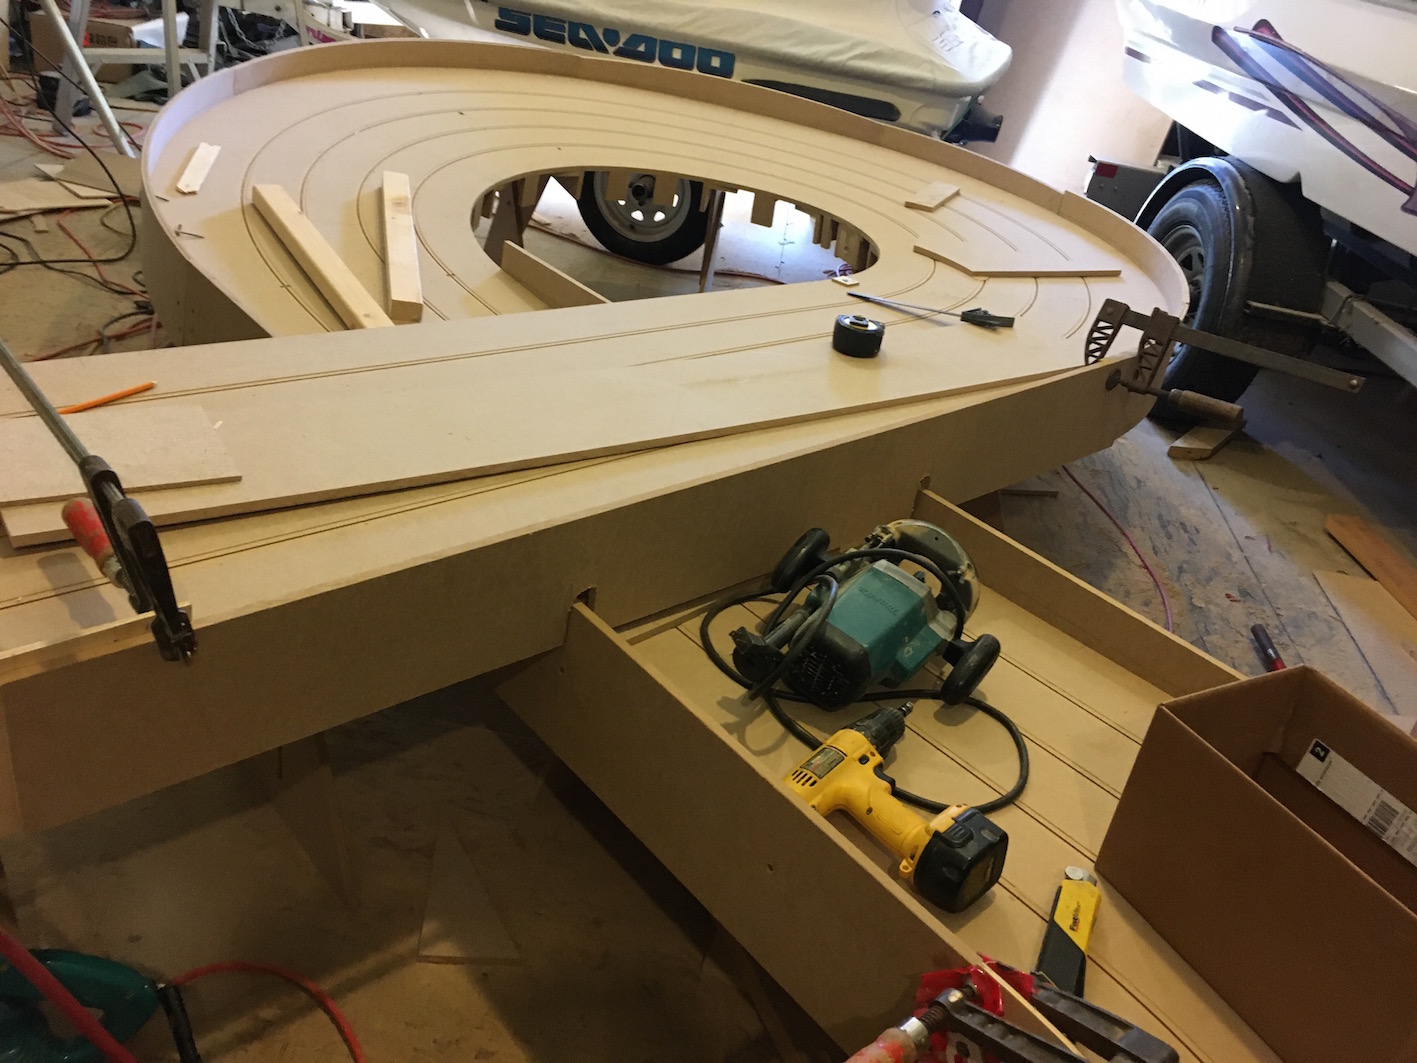
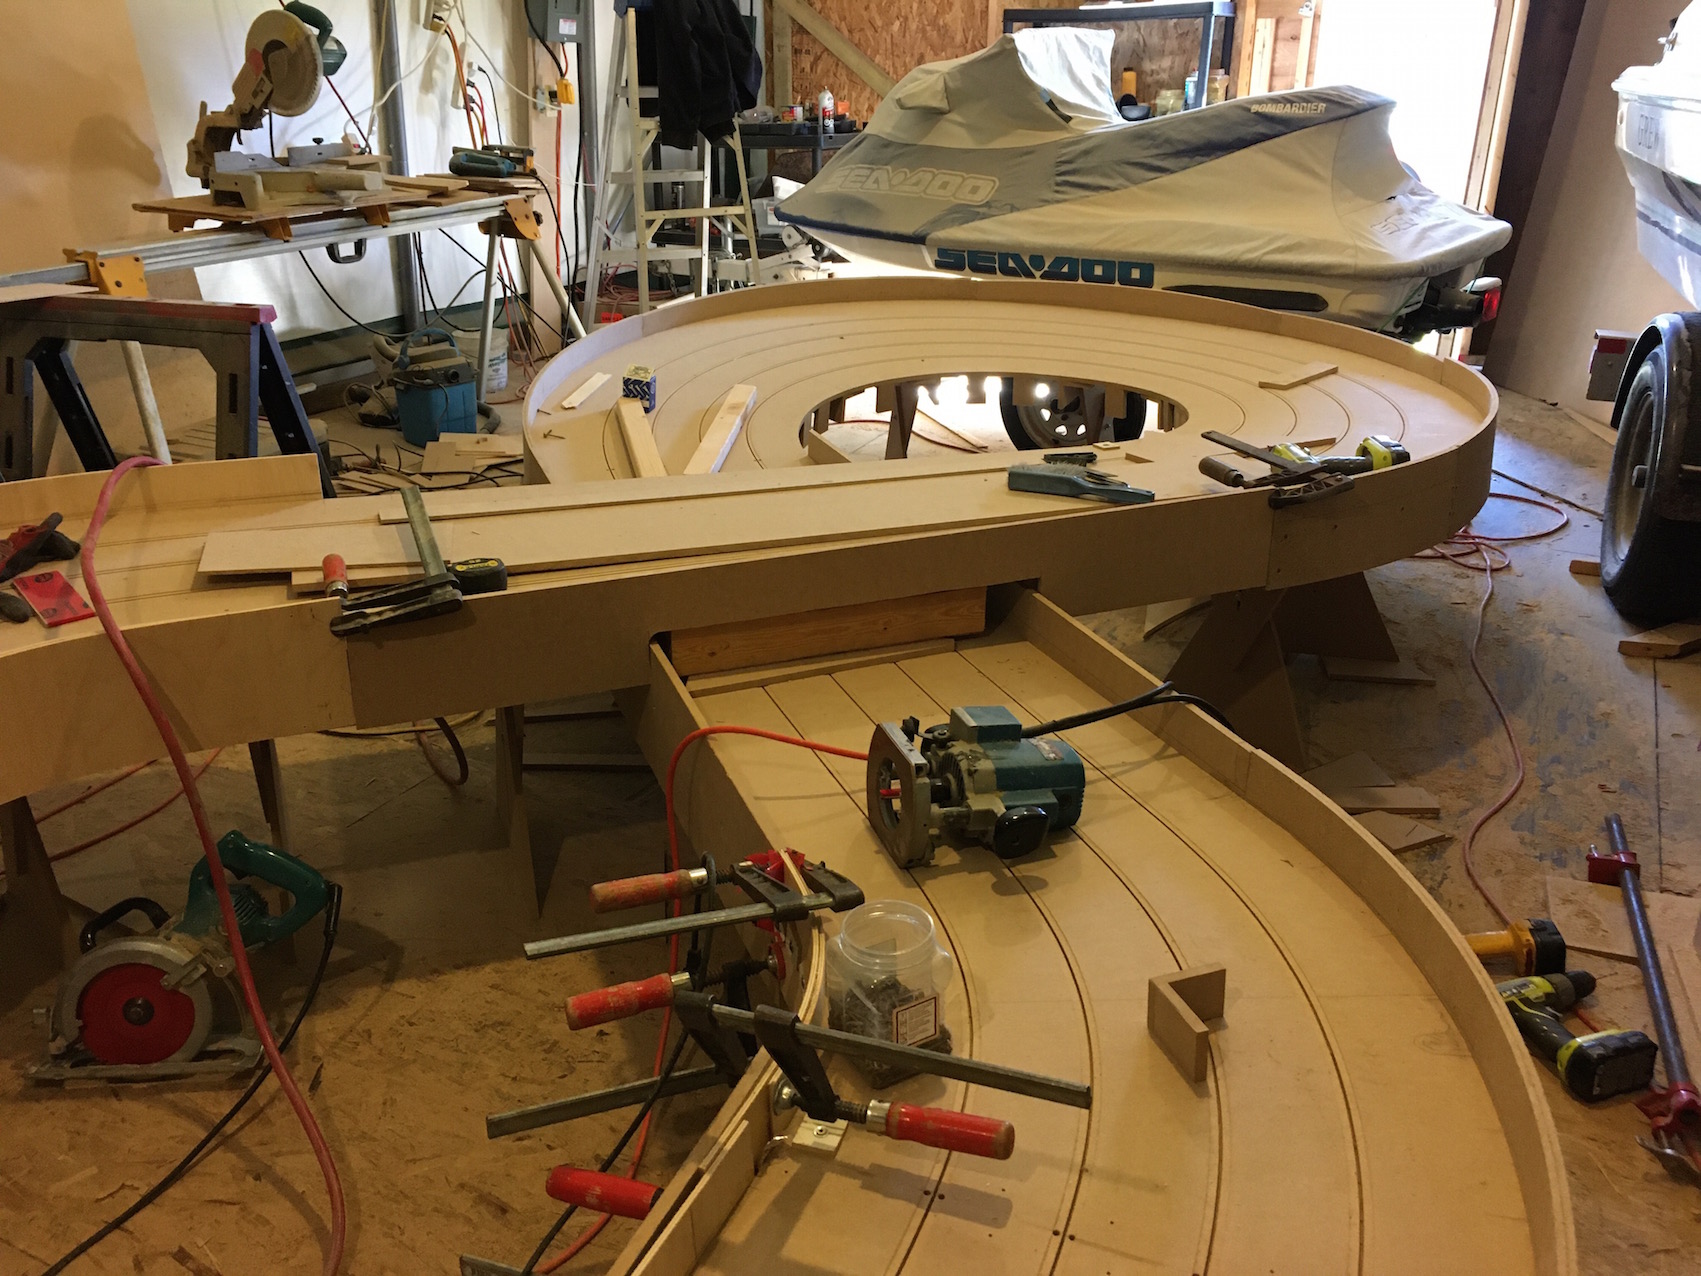
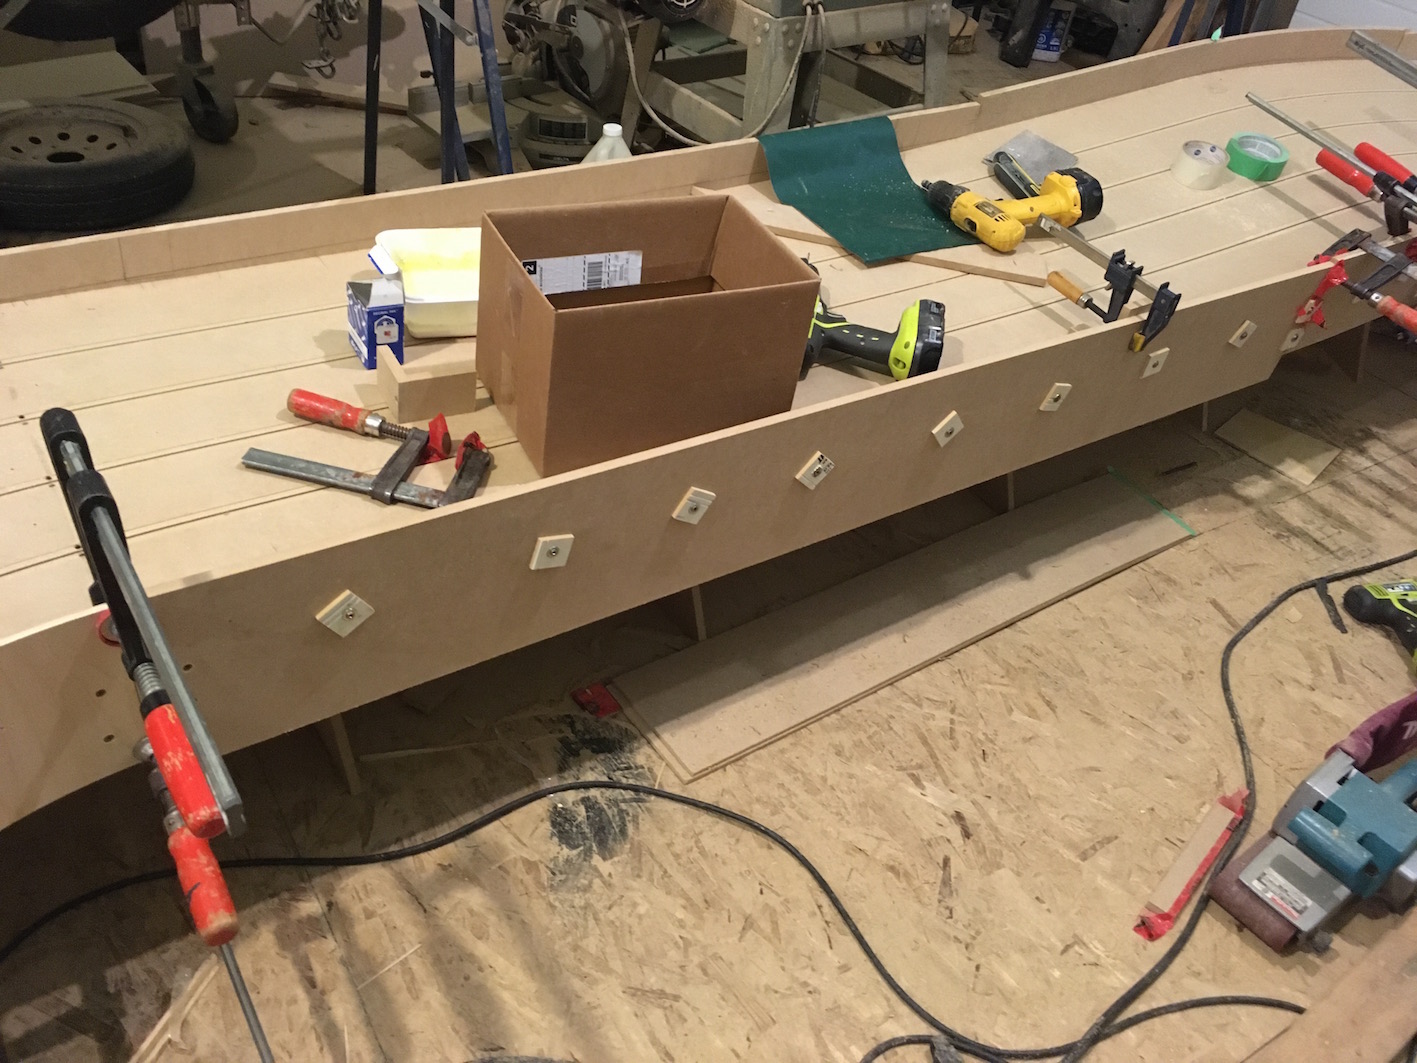
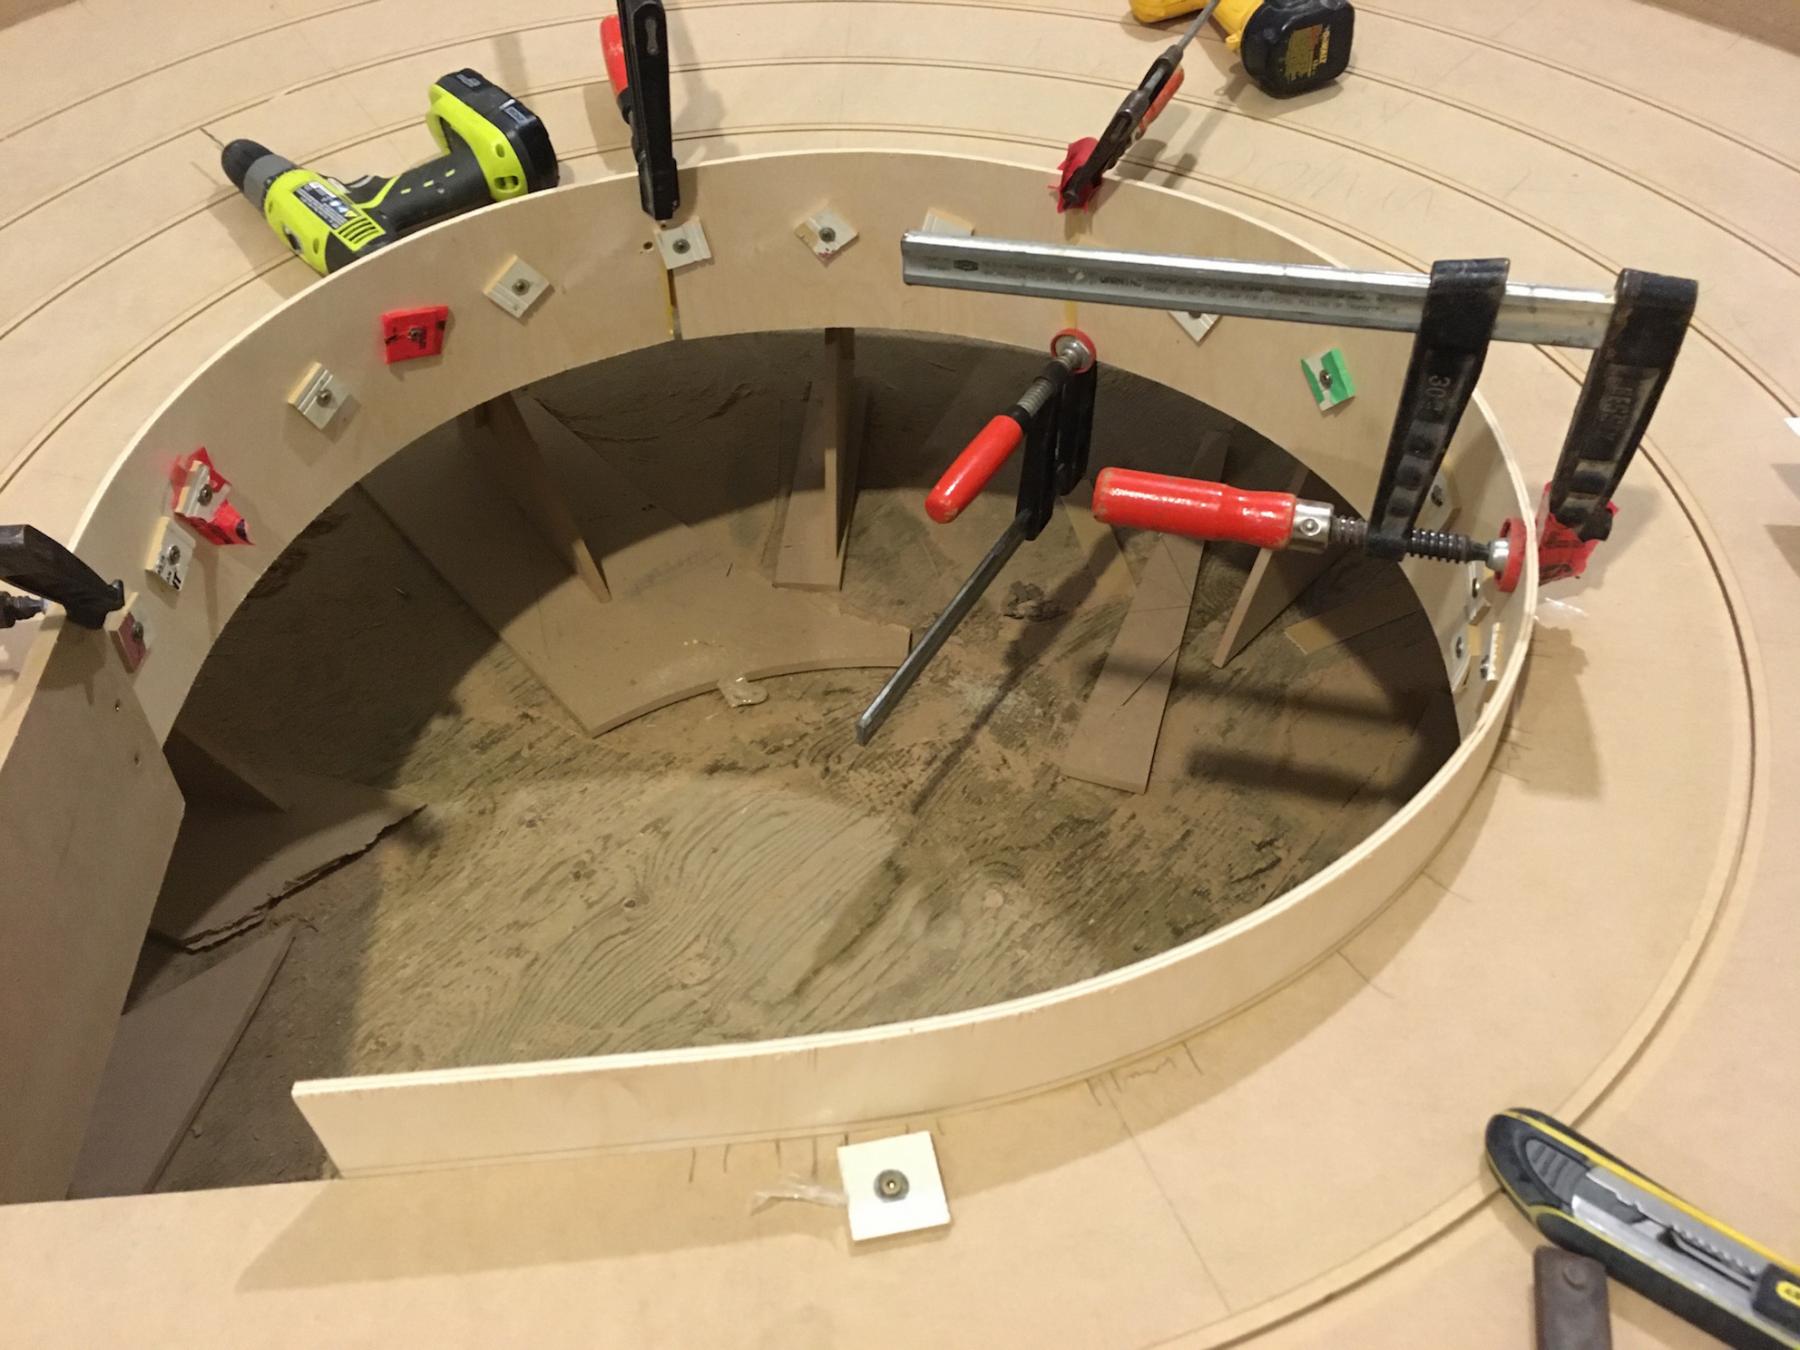
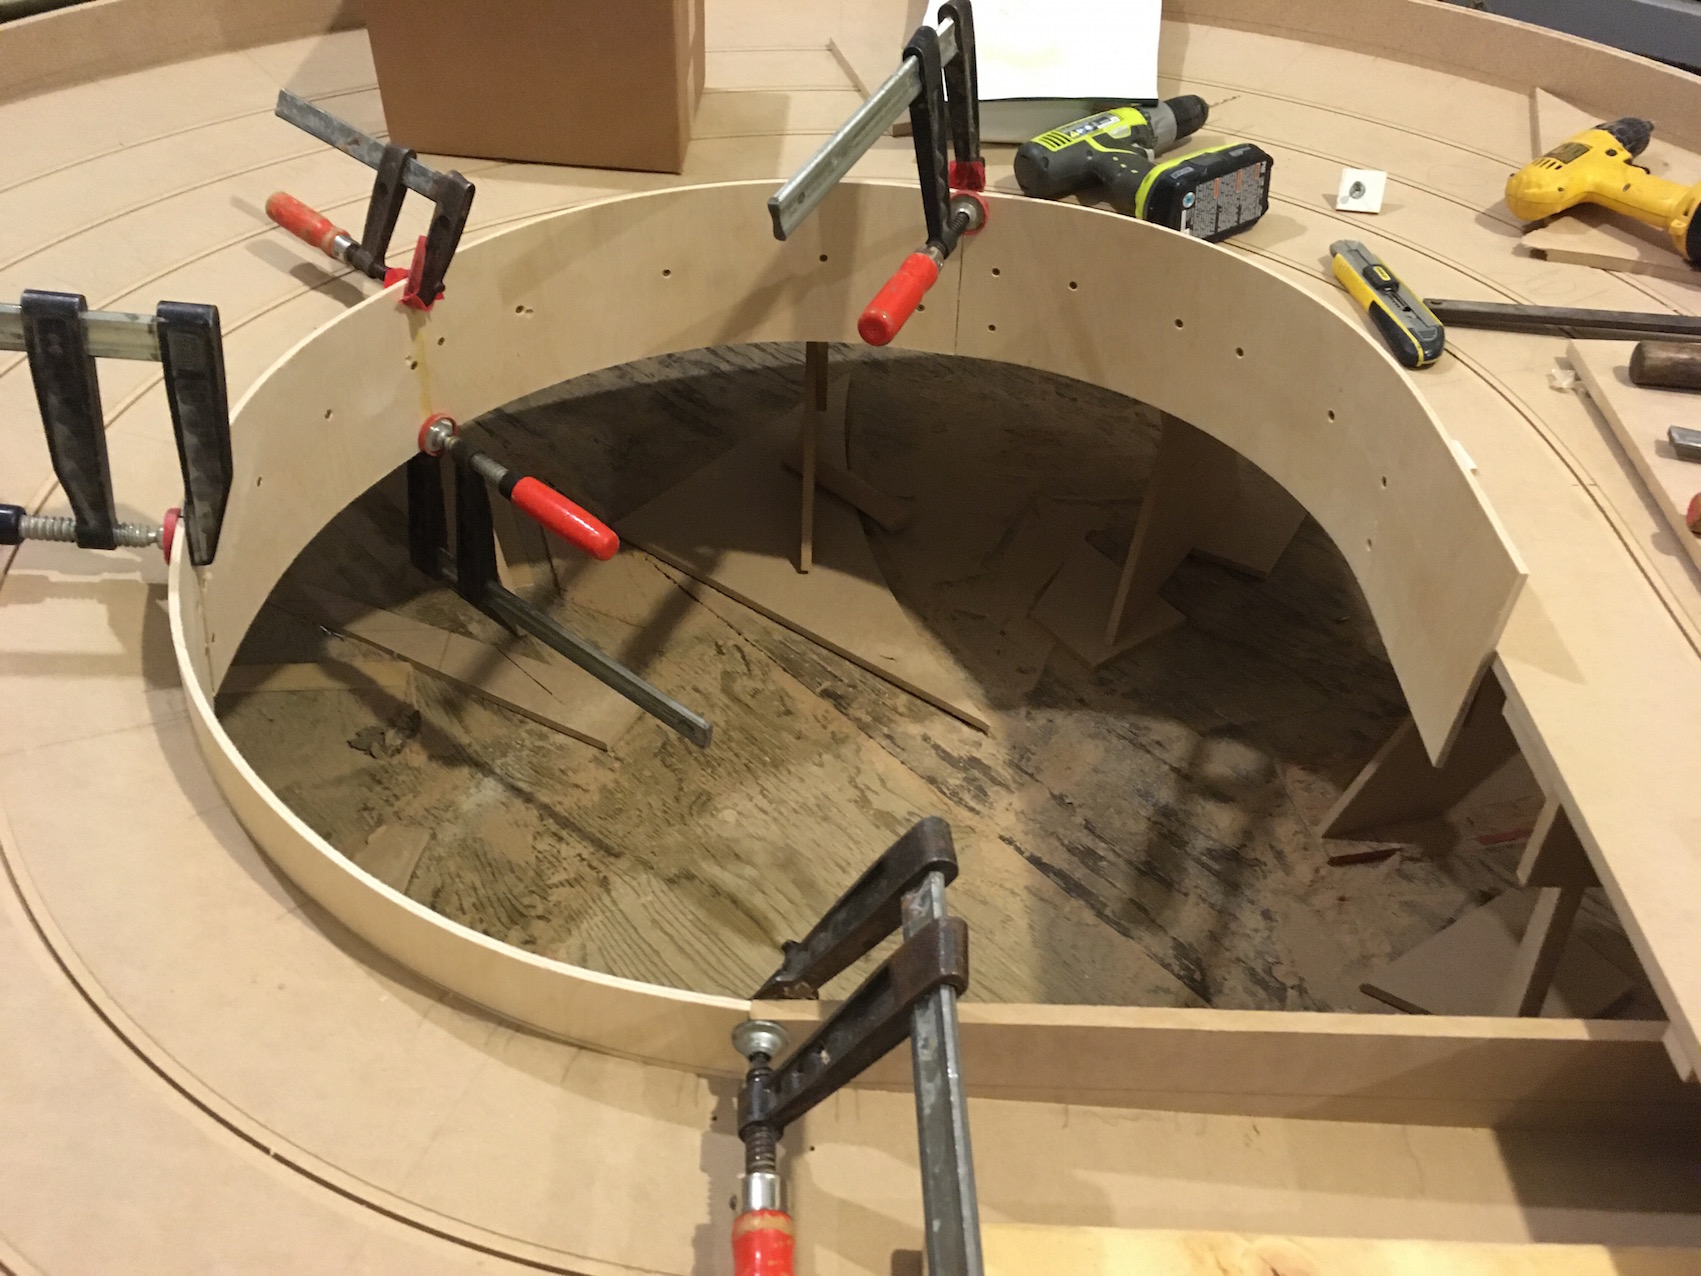
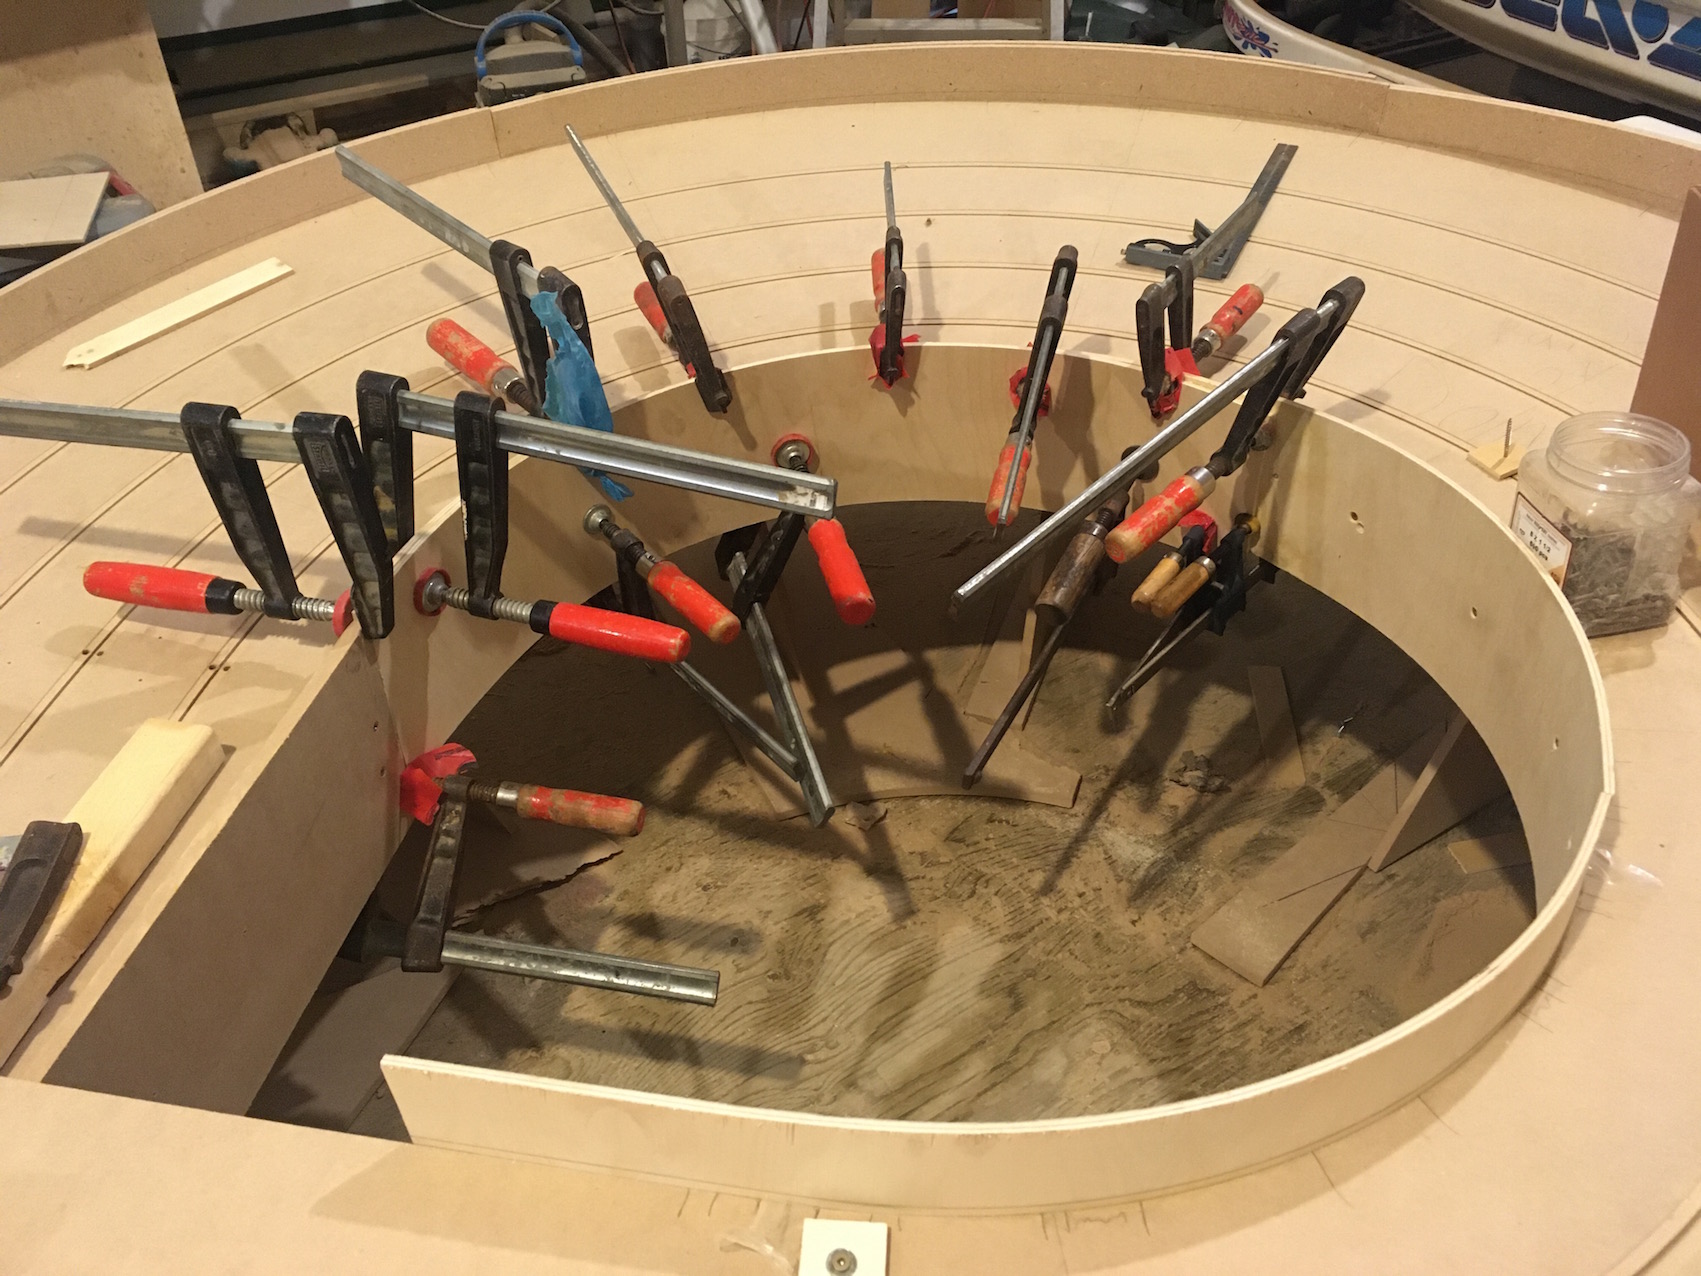
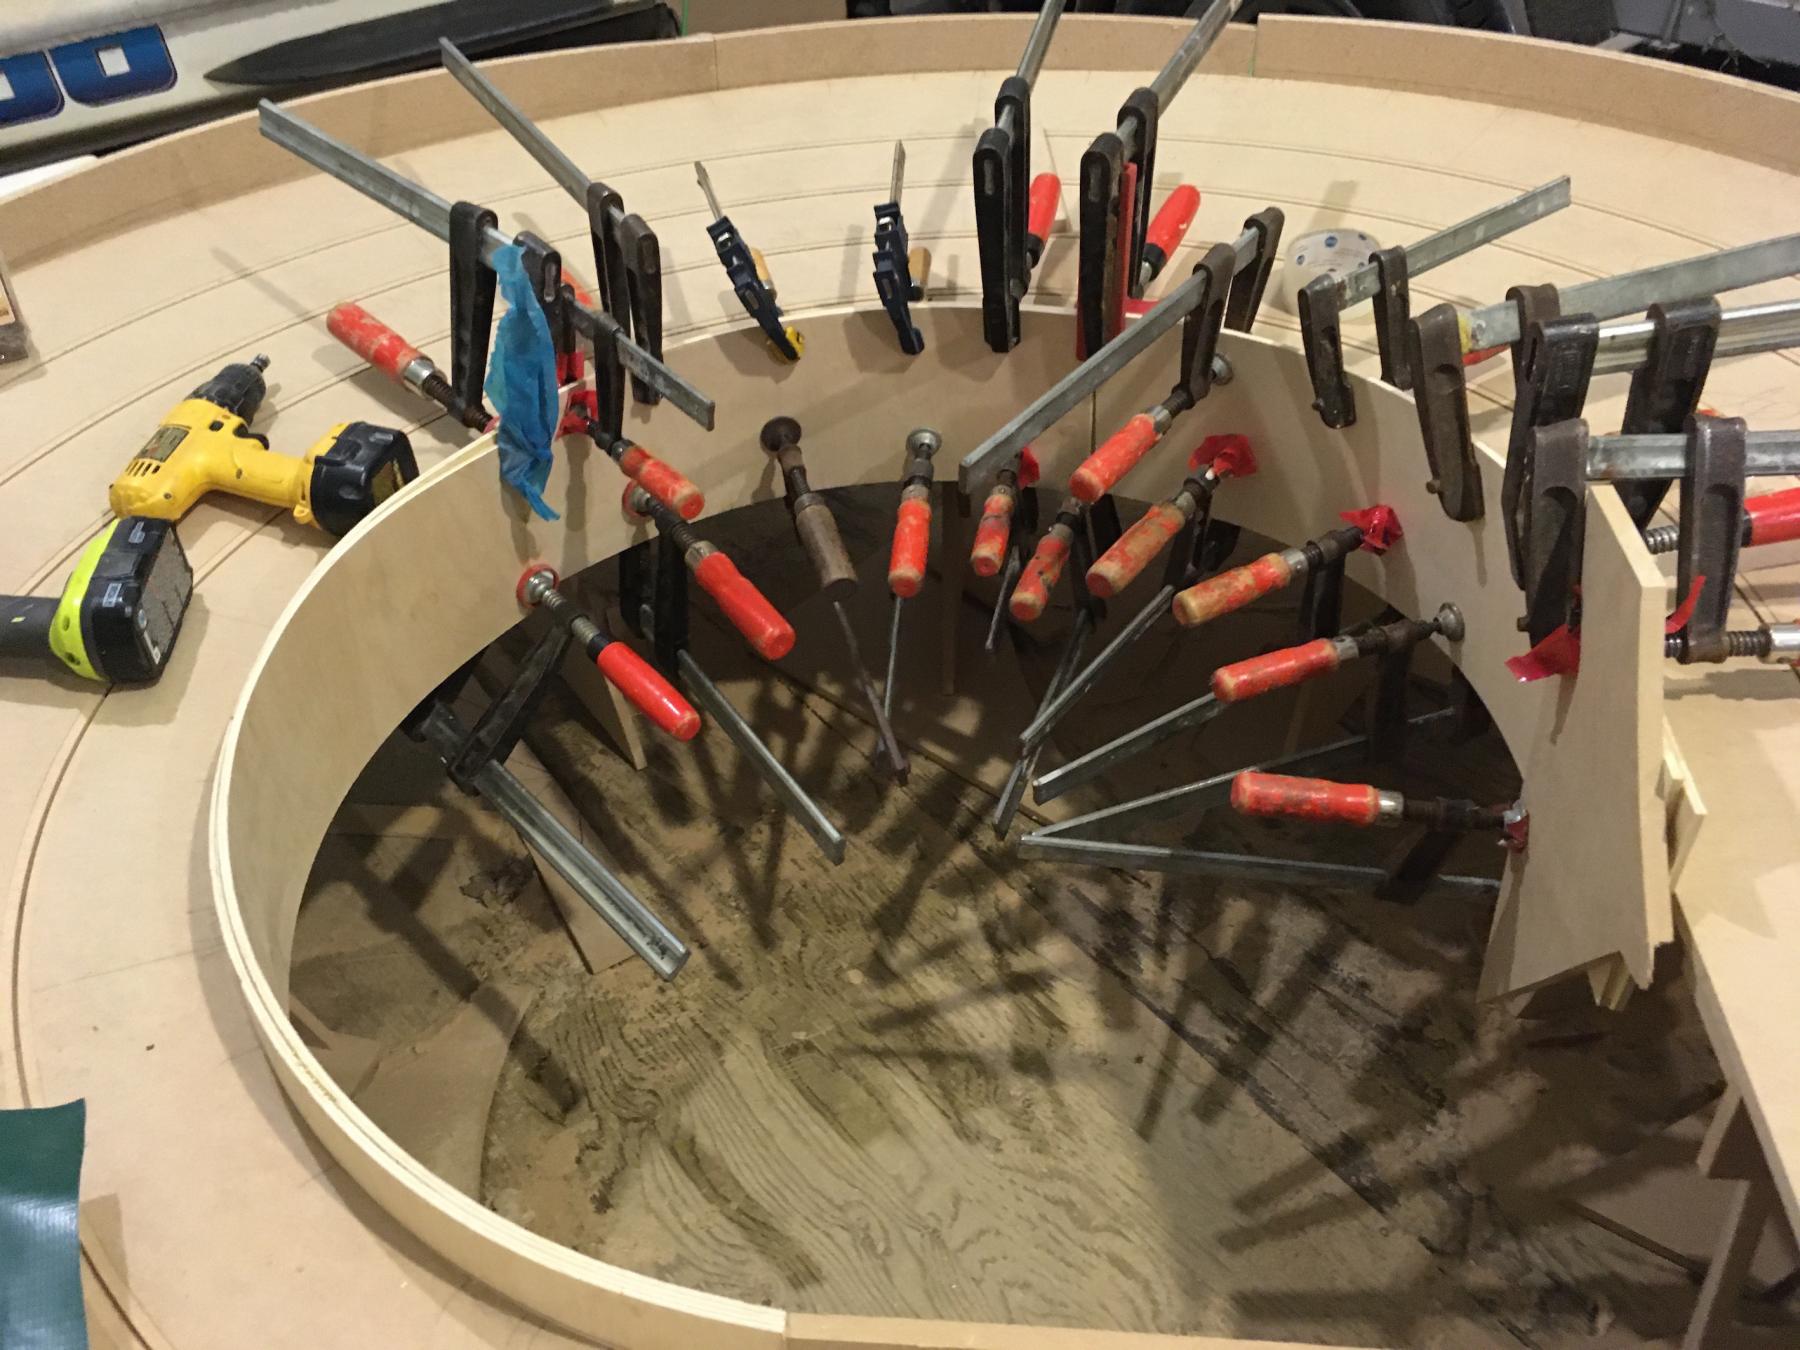
More sidewalls done today. Took the clamps off the inside of the upper small turn and revealed the first ever wall with no screws. One straight finished and the inside bank and other inside small turn first layer on.


IMG_3068.jpg


IMG_3071.jpg


IMG_3073.jpg


Got a lot half done because of the stiff birch. But a screw-less sidewall does look nice.


  • Pappy, Zippity, Eddie Fleming and 1 other like this

#205 John Streisguth

John Streisguth

    Johnny VW

  • Full Member
  • PipPipPipPipPipPipPipPip
  • 5,638 posts
  • Joined: 20-November 08
  • Gender:Male
  • Location:Bangor, PA

Posted 07 May 2020 - 05:52 AM

From my experience, the run-of-the-mill Dewalts are not as good as the Ryobis. Or maybe they're just not as good as they "used to be".  But we have a couple of Ryobis that have been used at work for the better part of 15 years.  Batteries have been replaced along the way, but they've held up.  We had a pair of Dewalts....they both crapped out in just a couple of years.

At home, my power tools and yard maintenance tools are all Ryobi, so the batteries interchange.  Nice to have that!


  • Pappy, Tim Neja and Steve Ogilvie like this
"Whatever..."

#206 Steve Ogilvie

Steve Ogilvie

    Race Leader

  • Subscriber
  • PipPipPipPipPip
  • 630 posts
  • Joined: 17-November 14
  • Gender:Male
  • Location:Kincardine, Ontario, Canada

Posted 07 May 2020 - 07:14 AM

I have had great luck with all Ryobi tools. I bought two heavy duty Ryobi routers in 1988 and they both still work great. One of them is the router used for trimming.The problem with all my Dewalt drills was failing batteries, and then they changed design and the only Dewalt I have left is on its last battery. I have a Hitachi drill with 2 good batteries not shown in any of the pics that I will replace the Dewalt with when the last battery fails. The Ryobi driver and drill set are the newest of the works and we got extra batteries when they were on sale. Why is it that you can buy a new drill with 2 batteries cheaper than 2 replacement batteries? I have thrown a lot of perfectly good drills in the trash because of this.


  • William Bowden likes this

#207 John Streisguth

John Streisguth

    Johnny VW

  • Full Member
  • PipPipPipPipPipPipPipPip
  • 5,638 posts
  • Joined: 20-November 08
  • Gender:Male
  • Location:Bangor, PA

Posted 07 May 2020 - 07:48 AM

If you search online, there are plenty of places to buy aftermarket batteries cheaper than OEM....that's what we did with our Ryobis at work, because they are older nicads. With nicads, you can even replace the batteries inside, if you don;t mind a little work.  LIOs I don;t mess with... :shok:


  • Rob Voska likes this
"Whatever..."

#208 MattD

MattD

    Posting Leader

  • Full Member
  • PipPipPipPipPipPipPip
  • 3,561 posts
  • Joined: 13-August 11
  • Gender:Male
  • Location:IN

Posted 07 May 2020 - 09:17 AM

With older style  drills you can actually buy the batteries that go inside your battery case and solder the wires from one to another and then close the case up and have new batteries.  Of course you can wait till Christmas when all the big stores run all their battery  powered hand tools pretty cheap with extra battery options.


Buy the Rigid brand from Home Depot and get  lifetime free  battery replacement .  I have friend that has a Rigid and has got 2 replacements the last 10 years or so, but they are now making him jump thru a hoop to get a new battery.   No doubt that free replacement policy will or has changed.


Much like when I worked at Advance Auto Parts.   We had lifetime guarantee on out best brake pads.   the lifetime guarantee was changed to say you could only get two replacements and that was the lifetime.


My dad had a Lazyboy with lifetime guarantee.    He wanted me to work on it and I said we would just call for service since it had a lifetime guarantee.   He said the chairs lifetime was up, that's why it broke!!!!    


  • John Streisguth likes this

Matt Bishop


#209 Eddie Fleming

Eddie Fleming

    Posting Leader

  • Subscriber
  • PipPipPipPipPipPipPip
  • 2,919 posts
  • Joined: 27-April 14
  • Gender:Male
  • Location:Fayetteville, GA USA

Posted 07 May 2020 - 09:26 AM

This is a great thread on track building.


Another great thread could be power tools and tools in general, but I for one would like to see this stay on topic.  :)


  • John Streisguth and William Bowden like this
Eddie Fleming

#210 MSwiss

MSwiss

    Grand Champion Poster

  • IRRA National Director
  • PipPipPipPipPipPipPipPip
  • 25,896 posts
  • Joined: 16-April 06
  • Gender:Male

Posted 07 May 2020 - 11:03 AM

The Ryobi driver and drill set are the newest of the works and we got extra batteries when they were on sale. Why is it that you can buy a new drill with 2 batteries cheaper than 2 replacement batteries? I have thrown a lot of perfectly good drills in the trash because of this.

I've posed that same question on FB.

The only time I ever bought separate batteries was when there was a good sale on the high capacity ones.

They are real nice to have on my chainsaw.


From my experience, the run-of-the-mill Dewalts are not as good as the Ryobis. Or maybe they're just not as good as they "used to be".  But we have a couple of Ryobis that have been used at work for the better part of 15 years.  Batteries have been replaced along the way, but they've held up.  We had a pair of Dewalts....they both crapped out in just a couple of years.
At home, my power tools and yard maintenance tools are all Ryobi, so the batteries interchange.  Nice to have that!

I've been using one of each, the last week or so, wiring up my drag strip.

The Dewalt definitely has a higher quality feel to it.

Also, it's 20V, vs. 18V, for the Ryobi.

When you grab the the keyless chuck, to tighten something in it, it's a good idea to have work gloves on, or it will give you a bit of a friction burn.

That said , I like the Ryobi stuff, and same thing as you mentioned, with also having a blower, string trimmer, and small chain saw, having interchangeable batteries is nice.

And if you throw the drills in the back of your car, and drive them over to a Harbor Freight, it really improves their self esteem, and they work even better. Lol
  • John Streisguth likes this

Mike Swiss
 
Inventor of the Low CG guide flag 4/20/18
IRRA® Components Committee Chairman
Five-time USRA National Champion (two G7, one G27, two G7 Senior)
Two-time G7 World Champion (1988, 1990), eight G7 main appearances
Eight-time G7 King track single lap world record holder

17B West Ogden Ave., Westmont, IL 60559, (708) 203-8003, mikeswiss86@hotmail.com (also my PayPal address)

Note: Send all USPS packages and mail to: 692 Citadel Drive, Westmont, Illinois 60559


#211 Steve Ogilvie

Steve Ogilvie

    Race Leader

  • Subscriber
  • PipPipPipPipPip
  • 630 posts
  • Joined: 17-November 14
  • Gender:Male
  • Location:Kincardine, Ontario, Canada

Posted 07 May 2020 - 06:54 PM

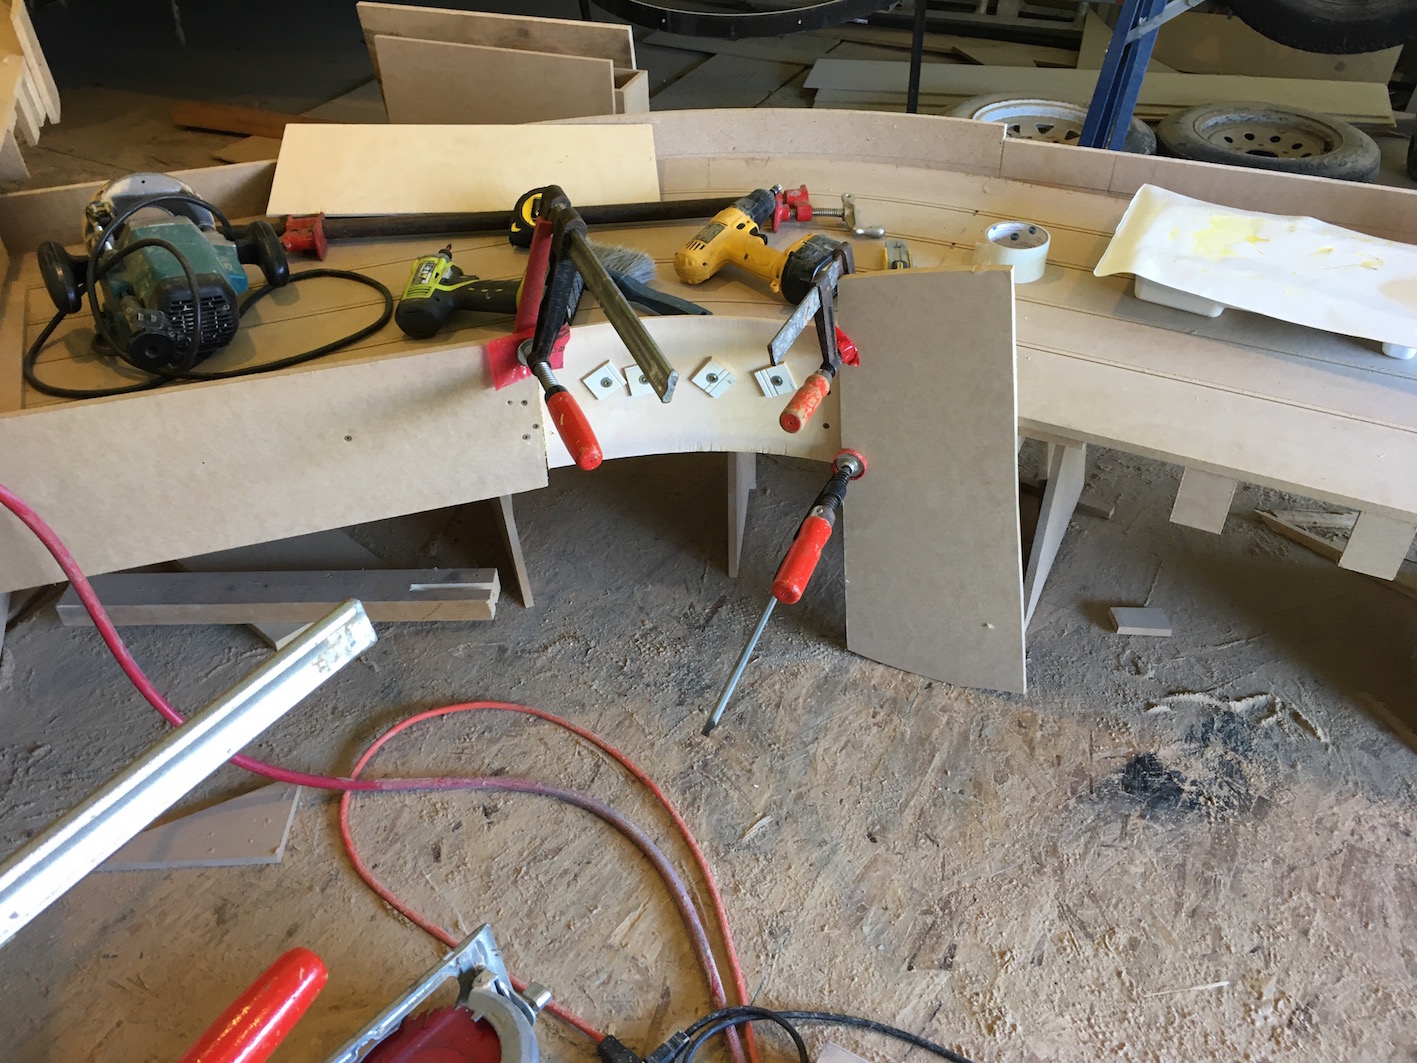
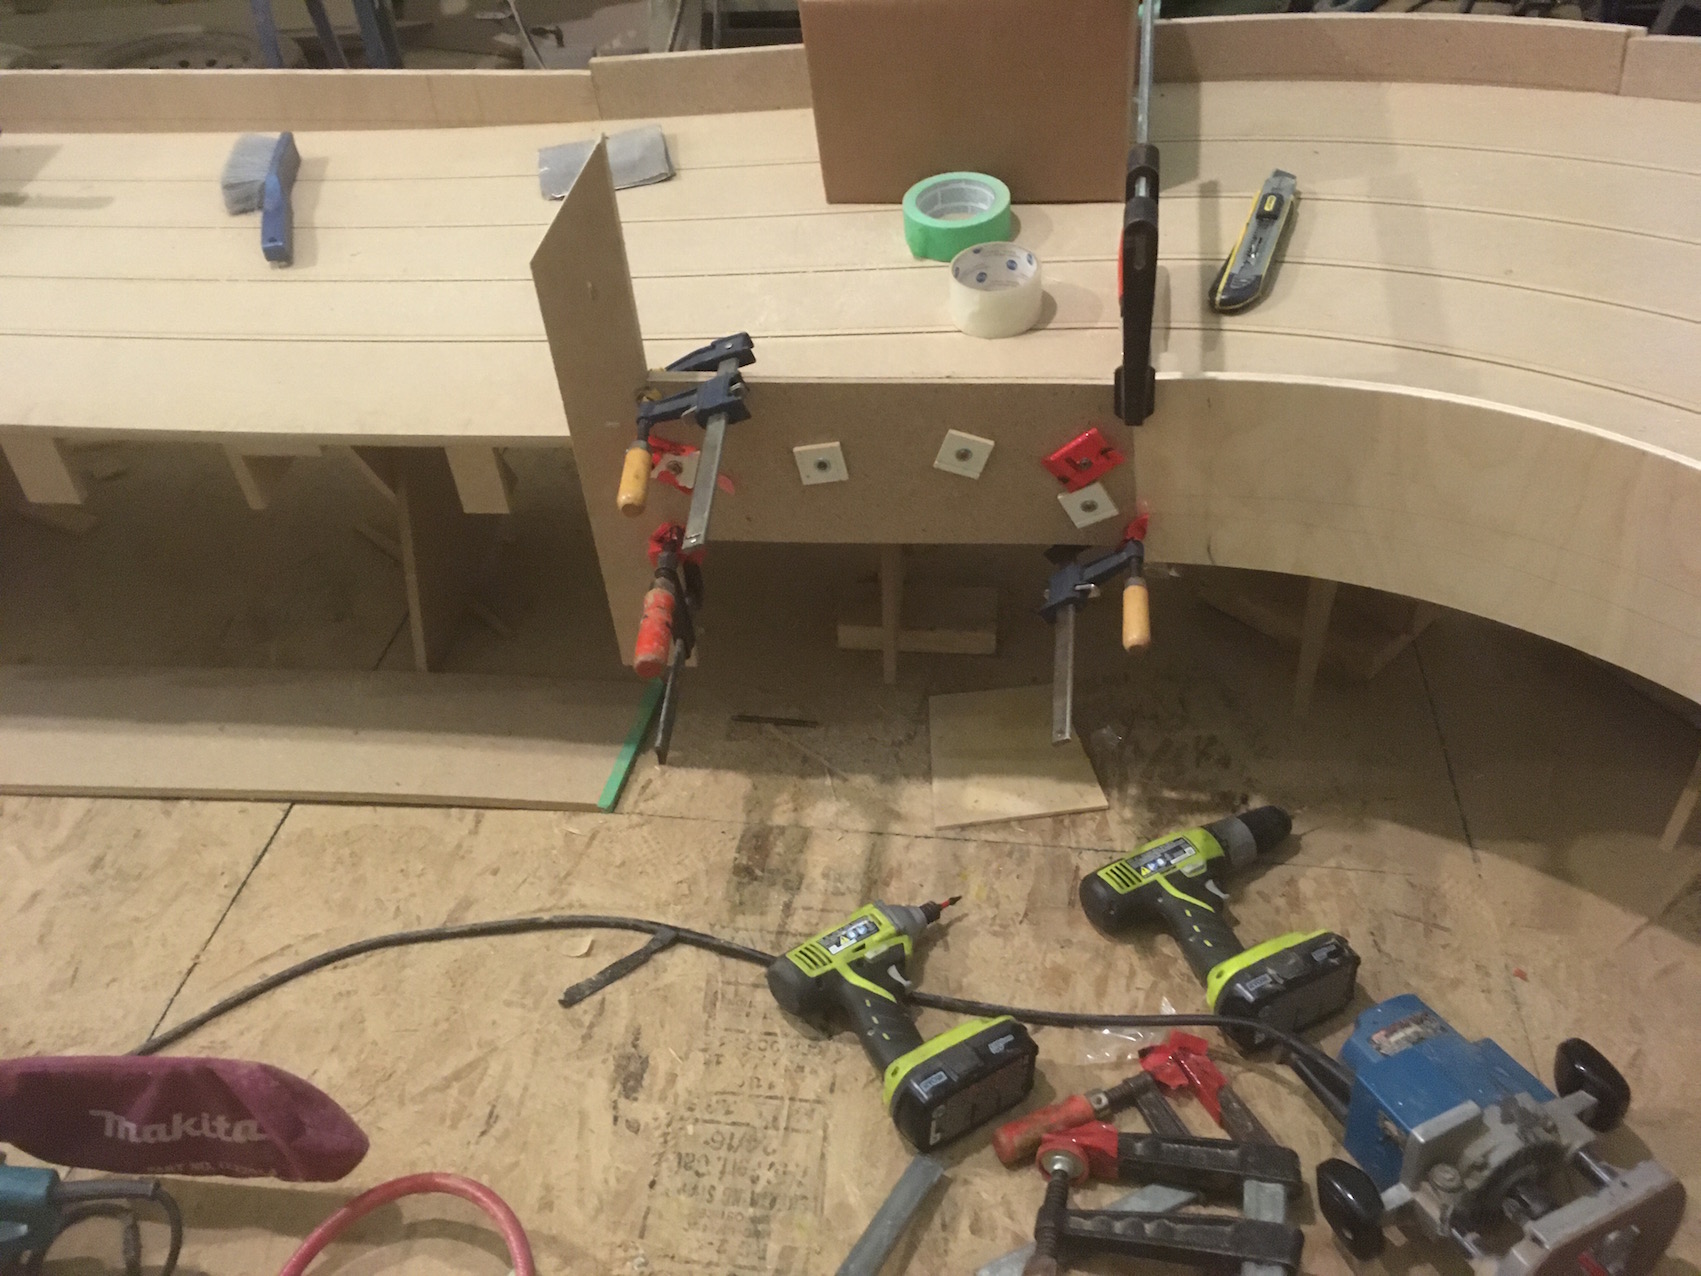
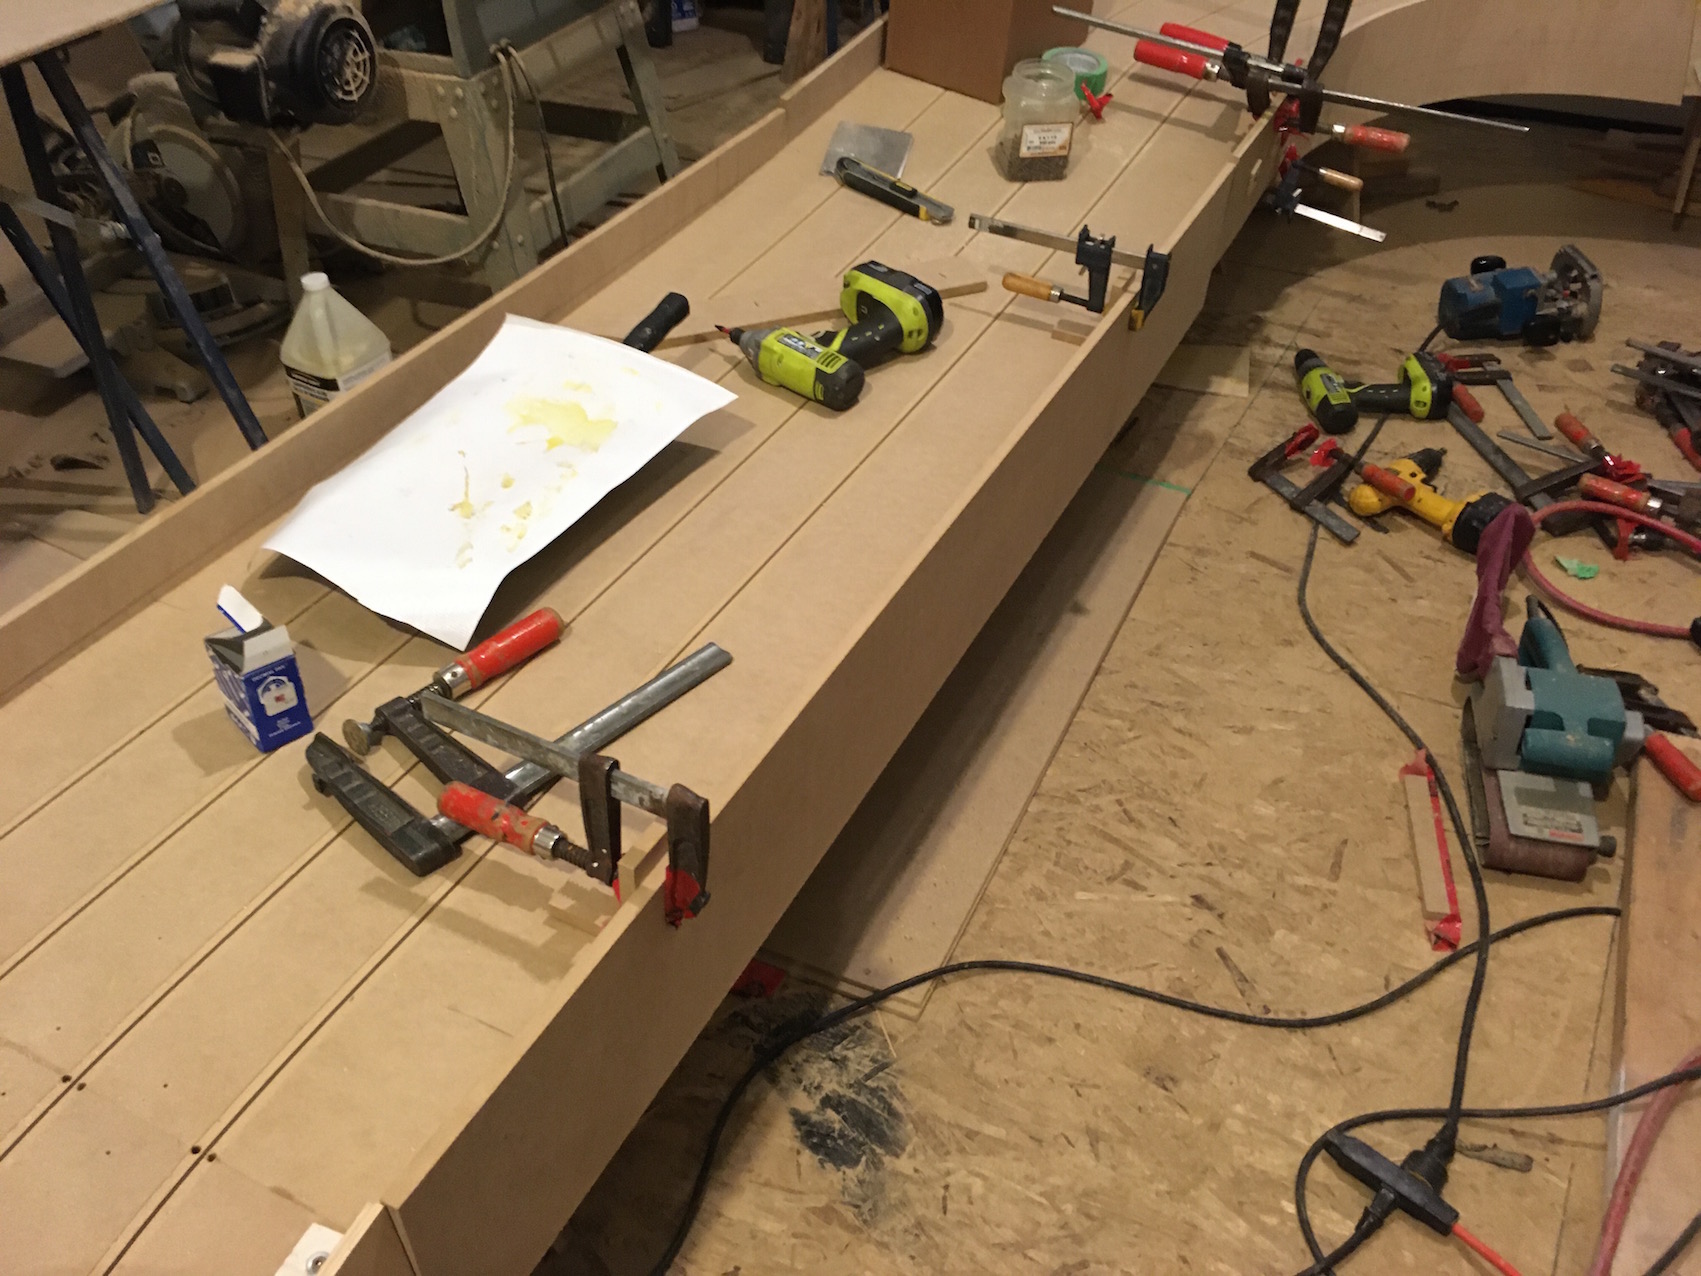
Almost met my target for the day but happy with the progress. I have the inside of the bank turn done with the clamps on it and the inside of the small turn in the same state. Trimmed the uneven ends and for a little while had almost every sliding bar clamp that I own on the track. But then I remembered I had some more at my son Dan's house so I got them and used them too. I used screws to hold straight edges in place while the clamps were busy so I could trim some edges. The screw holes will get trimmed off later.


IMG_3081.jpg


IMG_3083.jpg


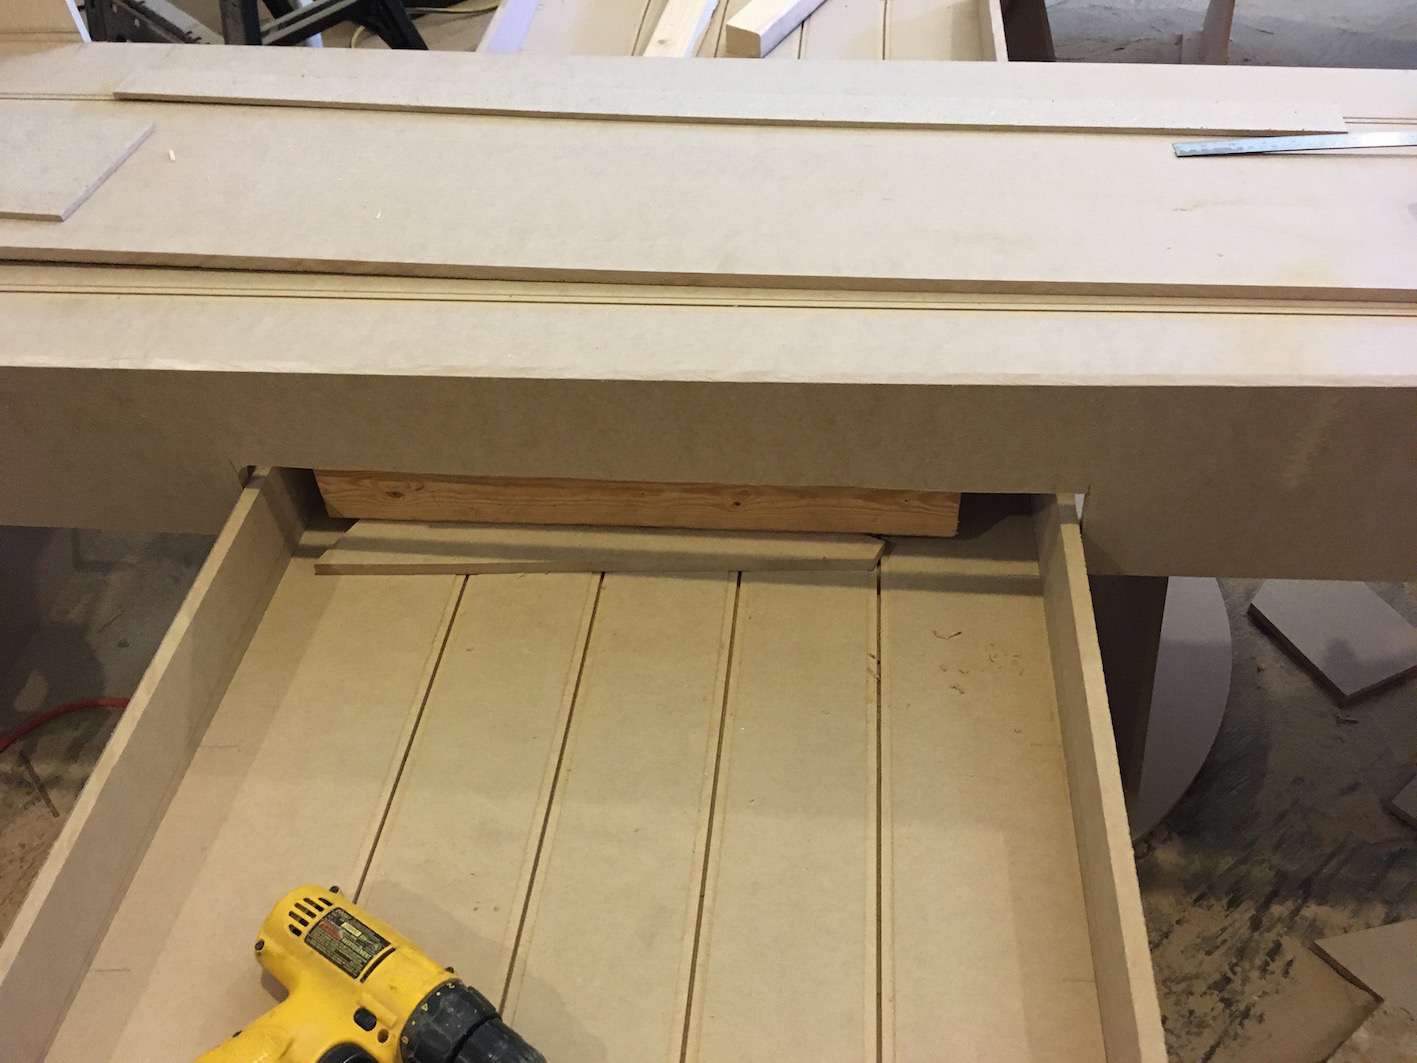
Got one side of the bridge wall ready to glue on, a few steps involved 


IMG_3086.jpg

IMG_3087.jpg

IMG_3088.jpg


  • Pappy, Eddie Fleming and William Bowden like this

#212 Steve Ogilvie

Steve Ogilvie

    Race Leader

  • Subscriber
  • PipPipPipPipPip
  • 630 posts
  • Joined: 17-November 14
  • Gender:Male
  • Location:Kincardine, Ontario, Canada

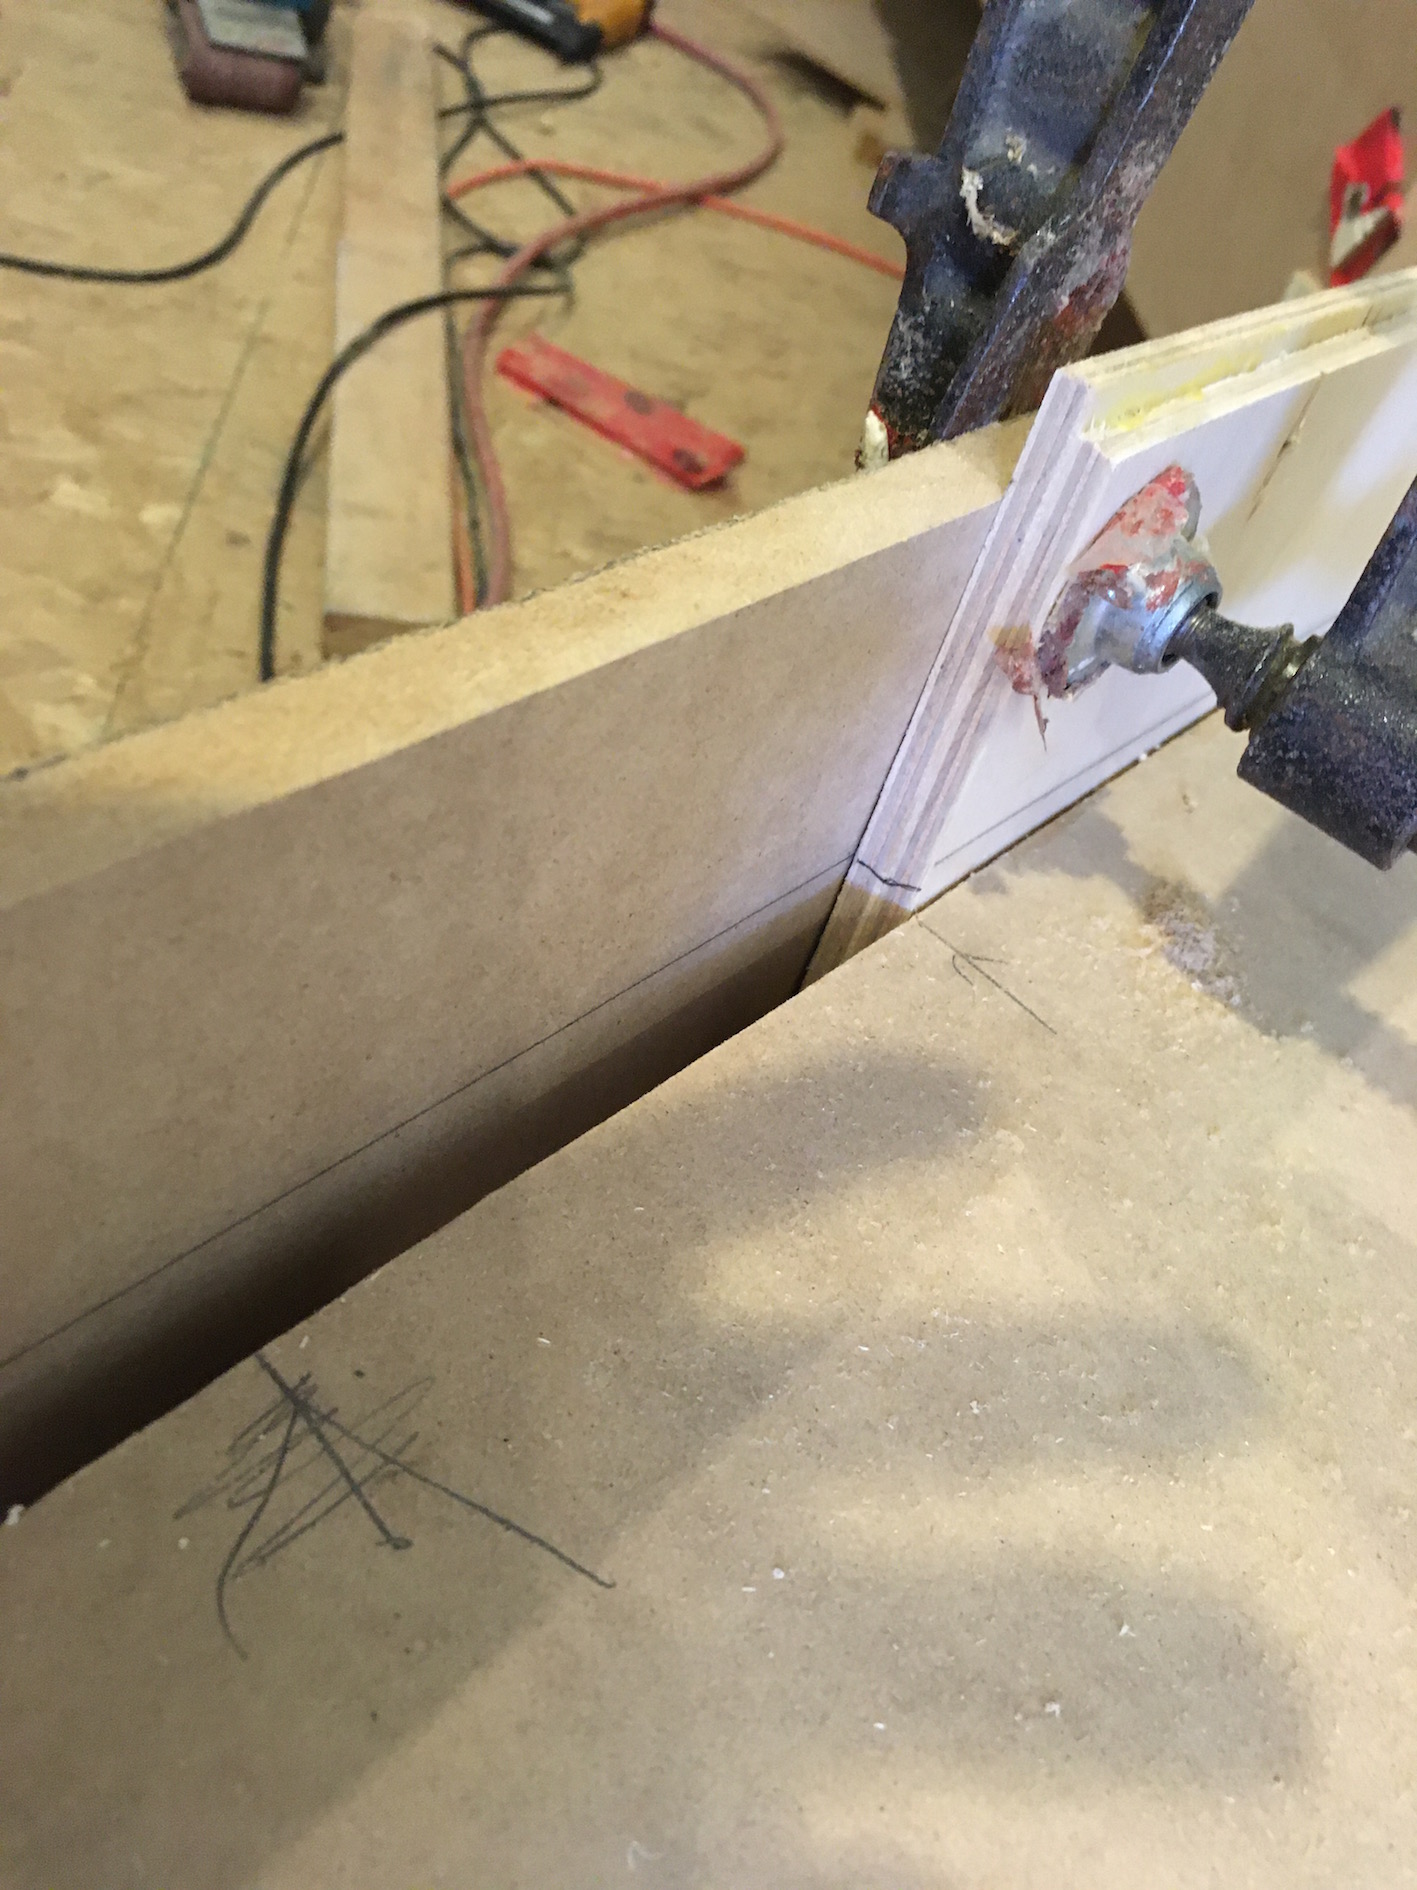
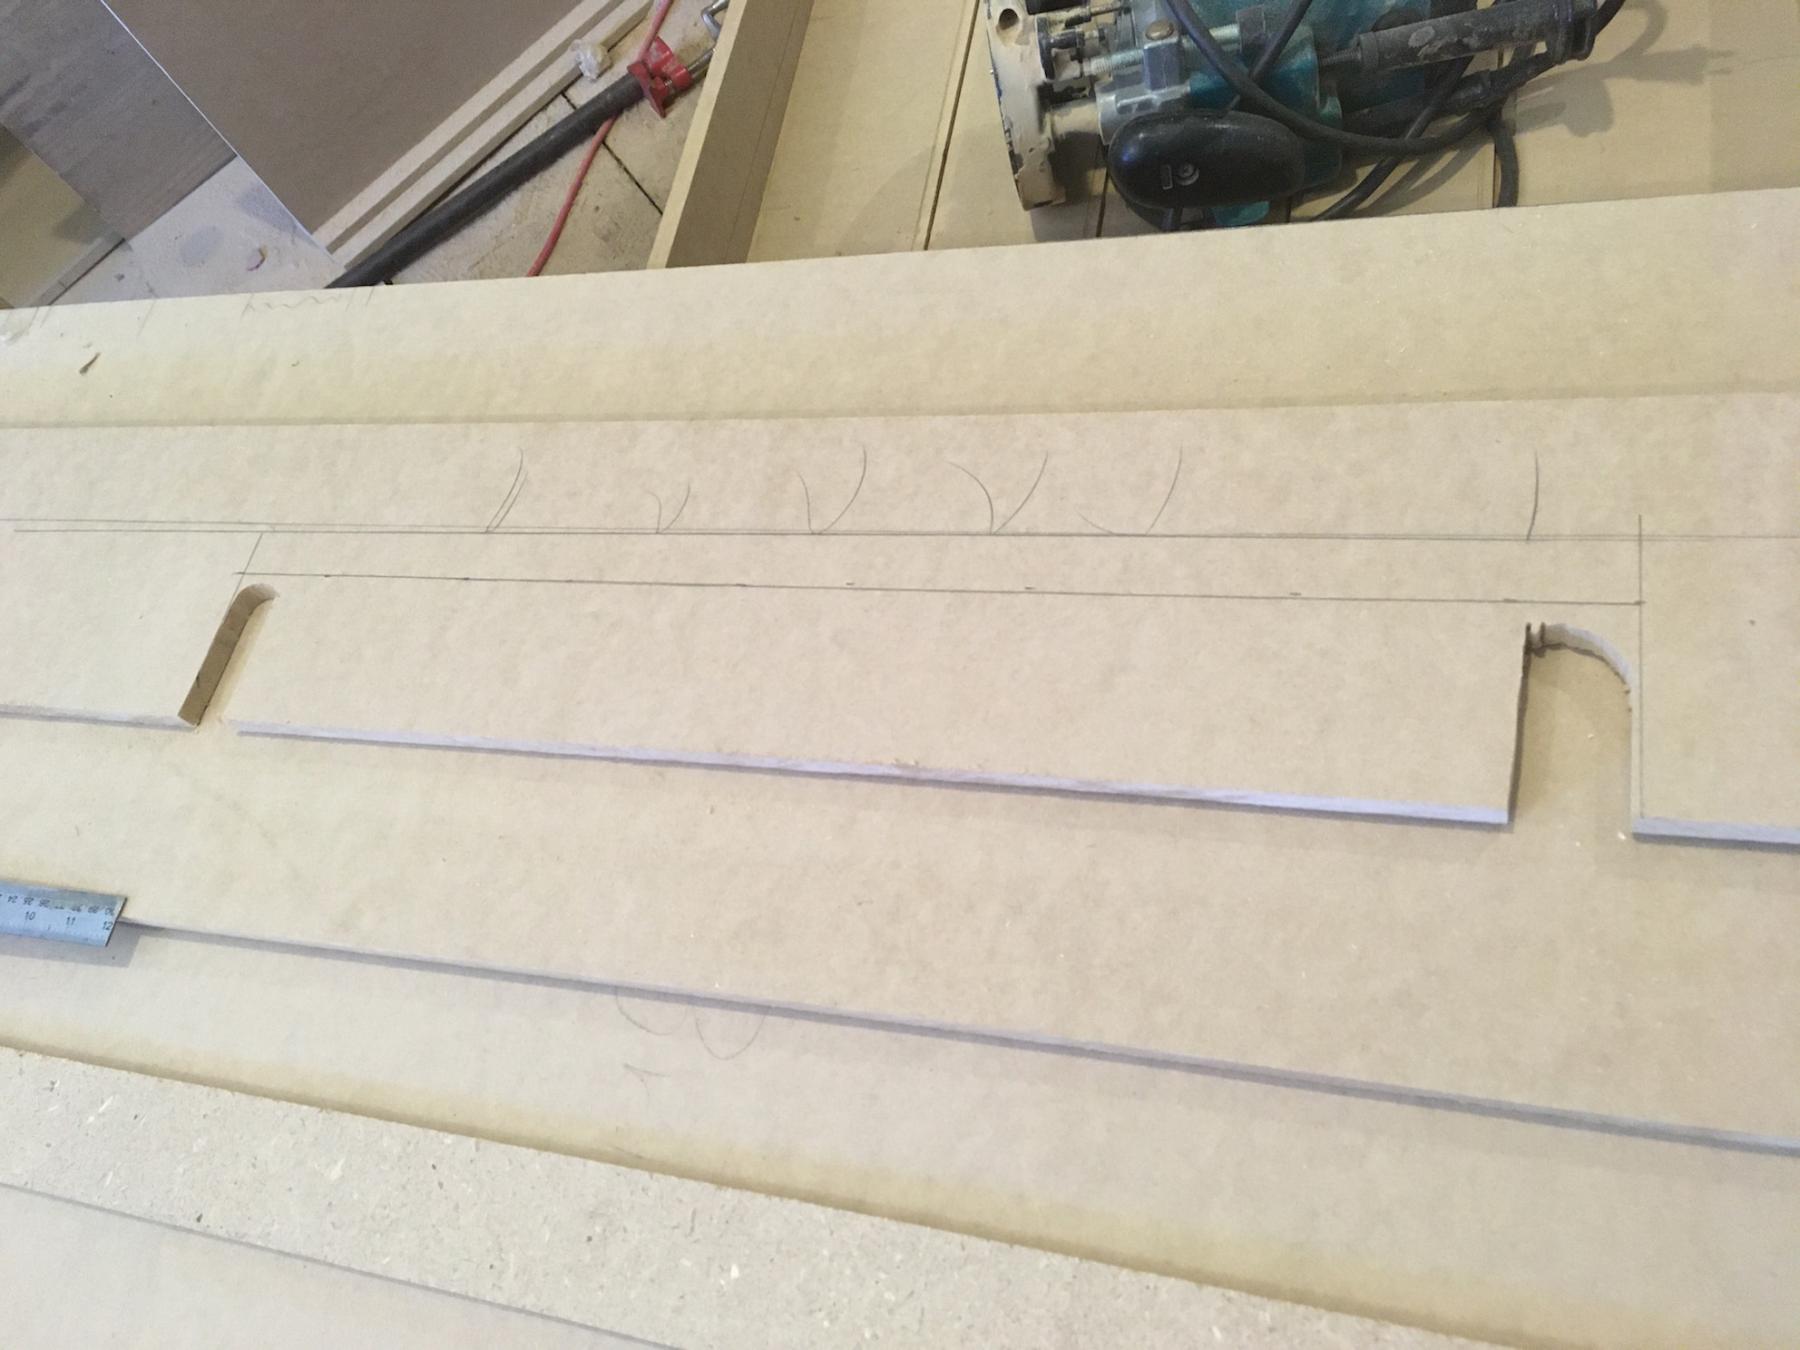
Posted 07 May 2020 - 07:04 PM

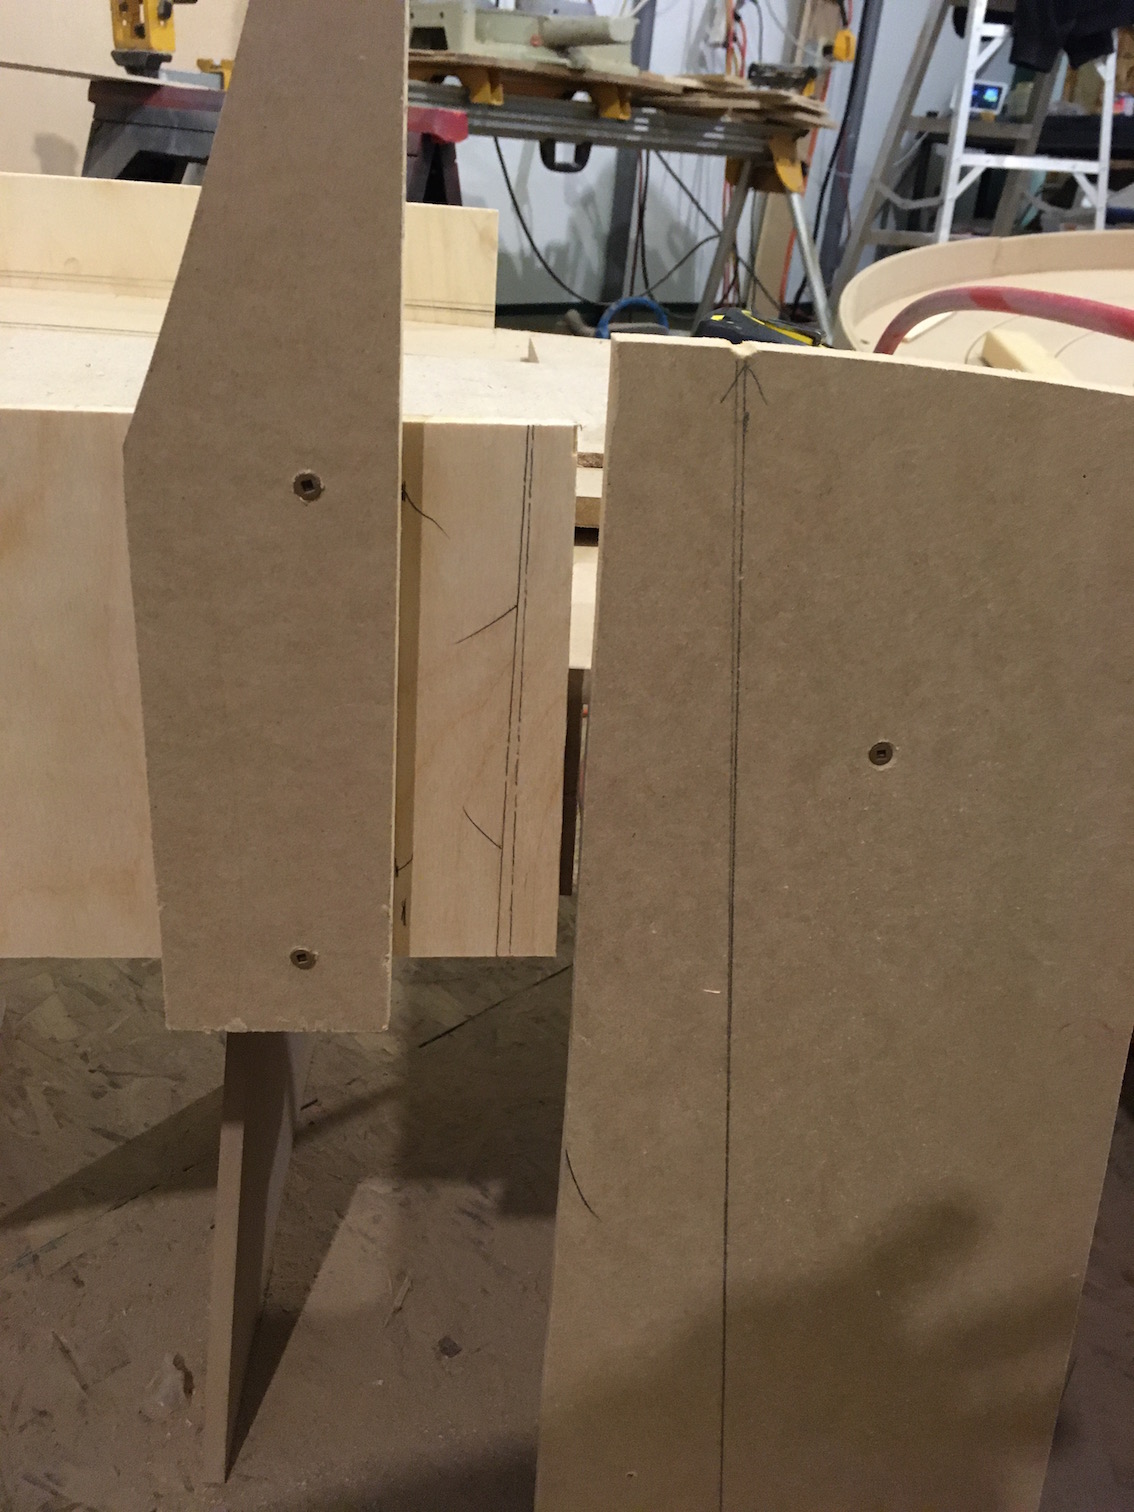
IMG_3090.jpg


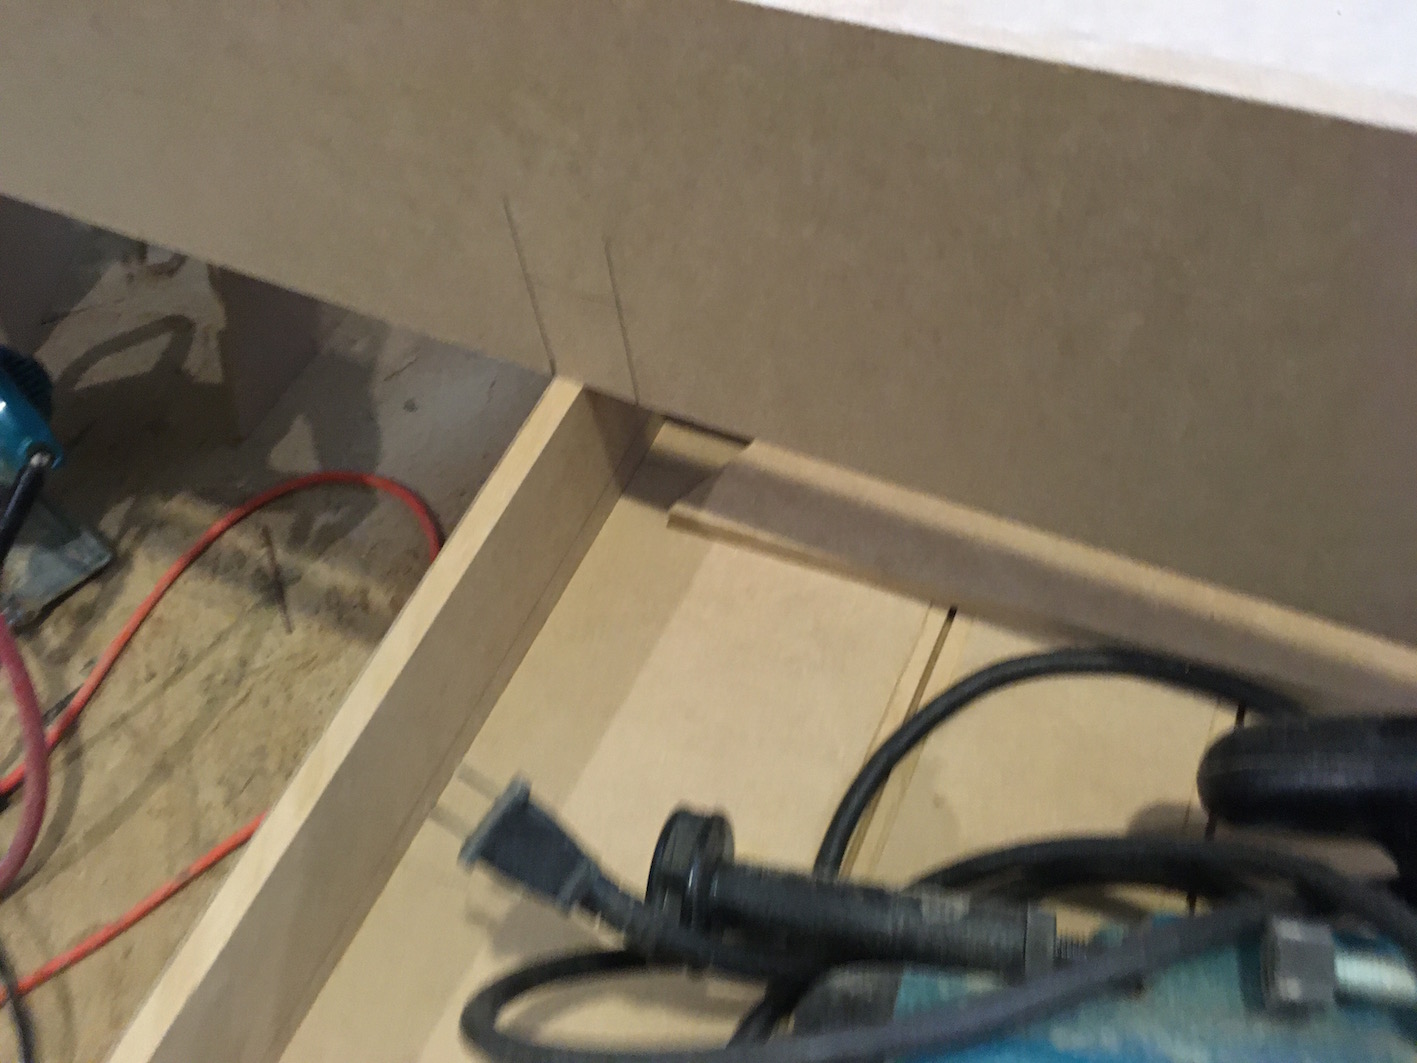
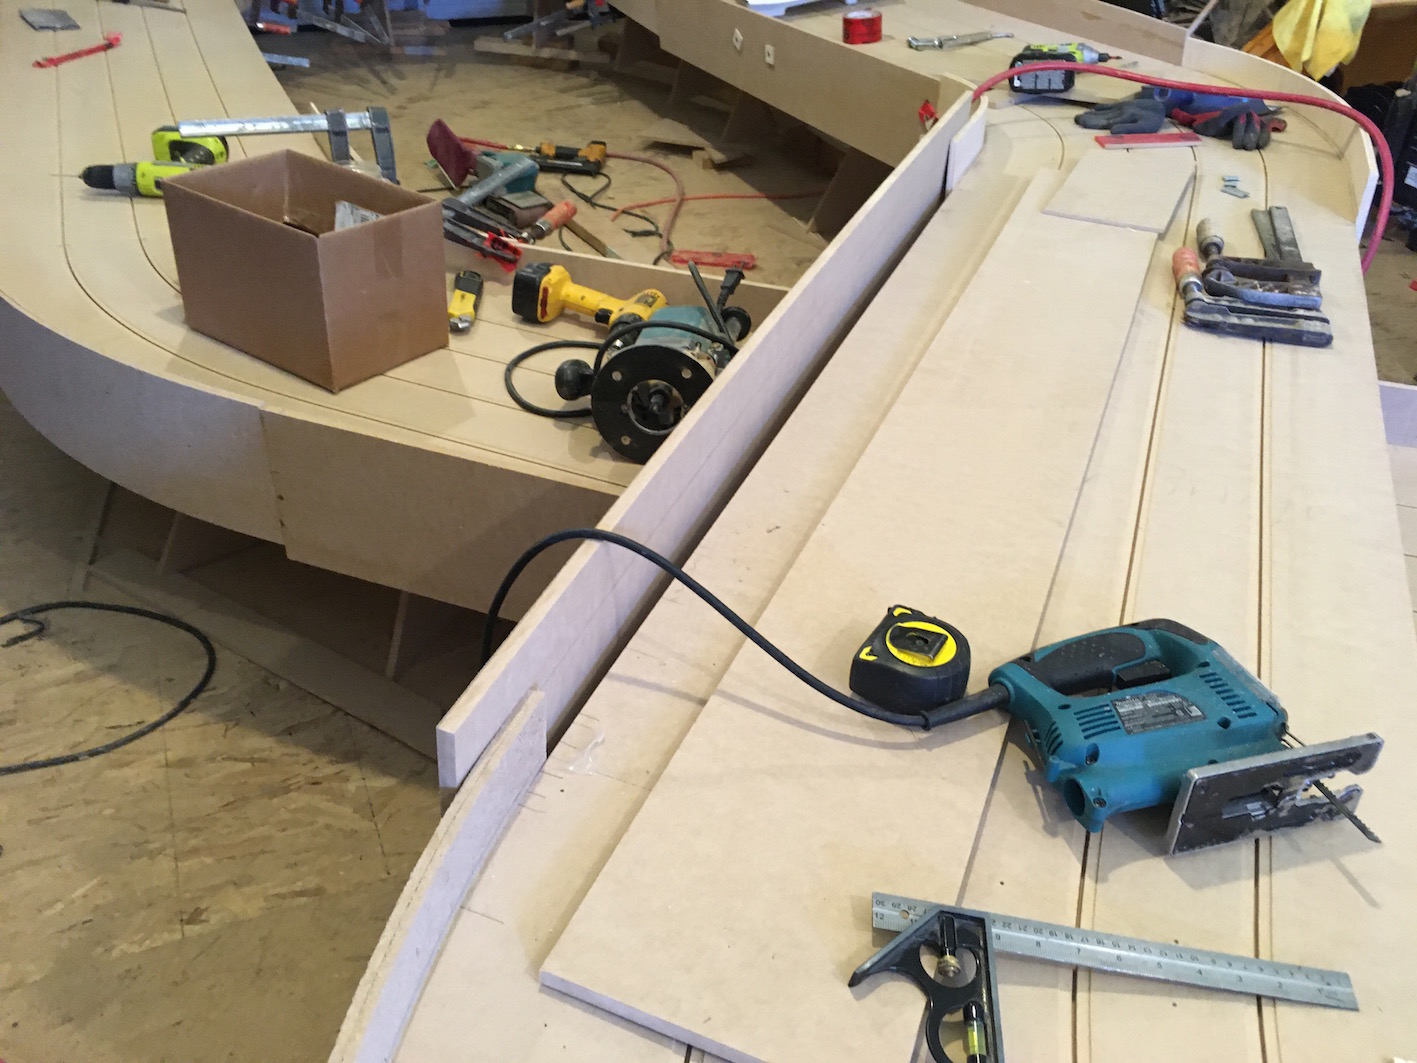
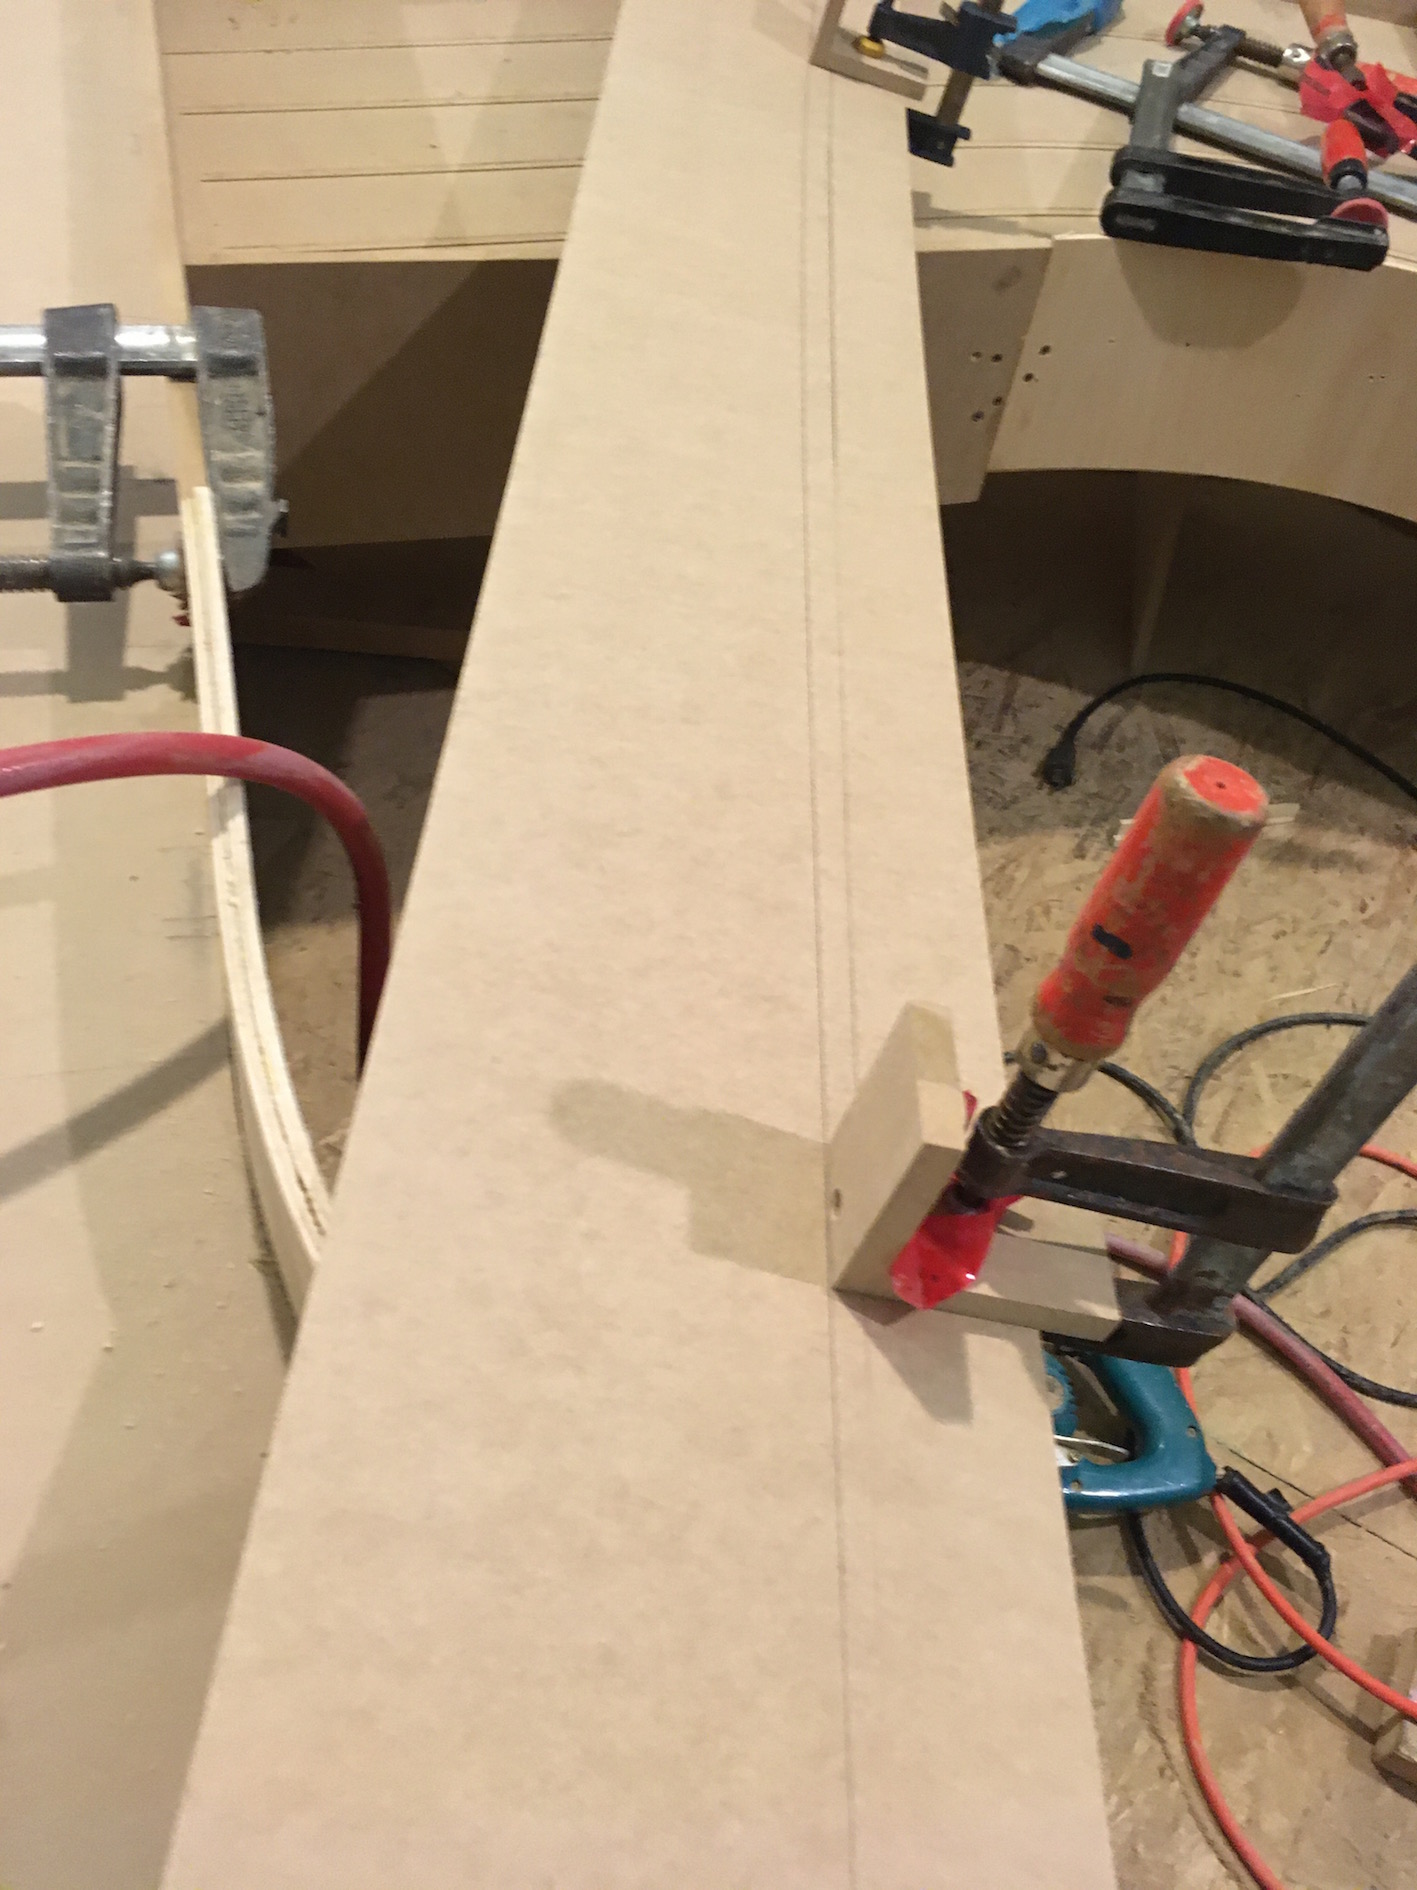
Then with the wall sitting where I want it, draw the end cuts and push it in to the bridge to draw the top of the bridge on the wall. Then rough cut the opening leaving an extra 1/4" or so to be trimmed off better once the walls are done.


IMG_3092.jpg


IMG_3095.jpg


IMG_3097.jpg


IMG_3103.jpg


I have a start of day and end of day videos to add but that will have to wait till tomorrow.


  • Pappy, MSwiss, Lou E and 5 others like this

#213 Steve Ogilvie

Steve Ogilvie

    Race Leader

  • Subscriber
  • PipPipPipPipPip
  • 630 posts
  • Joined: 17-November 14
  • Gender:Male
  • Location:Kincardine, Ontario, Canada

Posted 08 May 2020 - 09:00 AM

Start of yesterday's work-    (13) Seve Ogilvie Builds a Slot Car Track walkaround - YouTube


And at end of day  (13) Steve Ogilvie Builds a Slot Car Track walkaround - YouTube


  • slotbaker, Rob Voska, Eddie Fleming and 2 others like this

#214 Rob Voska

Rob Voska

    Checkered Flag in Hand

  • Subscriber
  • PipPipPipPipPipPip
  • 1,120 posts
  • Joined: 12-April 08
  • Gender:Male

Posted 08 May 2020 - 05:59 PM

The walls look harder and more time consuming than the track itself! 


  • William Bowden likes this

#215 Steve Ogilvie

Steve Ogilvie

    Race Leader

  • Subscriber
  • PipPipPipPipPip
  • 630 posts
  • Joined: 17-November 14
  • Gender:Male
  • Location:Kincardine, Ontario, Canada

Posted 08 May 2020 - 06:21 PM

In this case, because the wood I have is hard to work with, that is true. If I had some poplar plywood and some 1/4" mdf that is more pliable, the sidewalls could have been done 3 days ago. In any case you really do not want to rush the sidewalls because as you go around the track you are also levelling and straightening things to make the track run better. I am going to make a big effort to get all the remaining walls on tomorrow. And then I can show how they get trimmed, something a little more interesting. I did not work very long today but here is an end of day walk around.


(13) Steve Ogilvie builds a slot car track daily - YouTube


  • Rob Voska and William Bowden like this

#216 wjtaylor

wjtaylor

    On The Lead Lap

  • Full Member
  • PipPipPipPip
  • 357 posts
  • Joined: 30-October 10
  • Gender:Male
  • Location:Lake Forest, CA

Posted 08 May 2020 - 08:54 PM

For those reading this thread and saw the post about rebuilding the battery packs


Don't do it


These batteries have springs, shields and valves that are easily damaged by soldering. and with LiPo batteries this could cause an explosion. Literally BOOM! you have lost a hand or an eye, or more.


Find a franchise store called "Batteries plus bulbs". They have the tools and techniques to do this safely. And in many cases they can put a larger capacity battery in the case.


Bill Taylor

former store manager

Batteries Plus

Lake Forest, CA


Batteries Plus expanded the product mix to include all types of light bulbs and is now called "batteries plus bulbs"


  • tonyp and Gak like this
Bill Taylor
Hi-Speed Products

#217 Steve Ogilvie

Steve Ogilvie

    Race Leader

  • Subscriber
  • PipPipPipPipPip
  • 630 posts
  • Joined: 17-November 14
  • Gender:Male
  • Location:Kincardine, Ontario, Canada

Posted 09 May 2020 - 10:51 AM

May 9 and it is snowing here. Slightly above freezing so it won't last but until the sun comes out it will be too cold to work in the shed. So some pics from yesterday.

    When you are moulding layers and have to stop it is good to clamp the open ends to get them to keep the piece straight:


IMG_3106.jpg


    I use small L's with a reinforcing screw clamped to straight section sidewalls to hold them up for marking and while gluing and screwing the board on. First clamp the board at each end overlapping the ends. Then draw the end cuts and push the board in in the middle and draw a line following the surface of the track. Cut the ends and then clamp the L's to the new line. Test fit and then glue and screw the board on.


IMG_3108.jpg


IMG_3110.jpg


IMG_3111.jpg


  • Pappy, Zippity, Rob Voska and 2 others like this

#218 MattD

MattD

    Posting Leader

  • Full Member
  • PipPipPipPipPipPipPip
  • 3,561 posts
  • Joined: 13-August 11
  • Gender:Male
  • Location:IN

Posted 09 May 2020 - 03:06 PM

Nice work Steve.


  • William Bowden likes this

Matt Bishop


#219 Steve Ogilvie

Steve Ogilvie

    Race Leader

  • Subscriber
  • PipPipPipPipPip
  • 630 posts
  • Joined: 17-November 14
  • Gender:Male
  • Location:Kincardine, Ontario, Canada

Posted 09 May 2020 - 06:38 PM

Thanks Matt. Was hoping to get a full day in but the weather did not cooperate. So I got to work after 1 in the afternoon. No poplar yet so I managed to get some birch around the inside of the donut. Two more pieces needed to complete the donut and then just the last bridge wall to go. The birch is a tight fit, and there is a gap that will have to be filled before painting. I managed to crack one piece while I was trying to bend it. Luckily the next piece was fine.


IMG_3115.jpg


IMG_3116.jpg


IMG_3119.jpg


  • Pappy, Zippity and William Bowden like this

#220 John Streisguth

John Streisguth

    Johnny VW

  • Full Member
  • PipPipPipPipPipPipPipPip
  • 5,638 posts
  • Joined: 20-November 08
  • Gender:Male
  • Location:Bangor, PA

Posted 09 May 2020 - 09:14 PM

For those reading this thread and saw the post about rebuilding the battery packs


Don't do it


These batteries have springs, shields and valves that are easily damaged by soldering. and with LiPo batteries this could cause an explosion. Literally BOOM! you have lost a hand or an eye, or more.


Find a franchise store called "Batteries plus bulbs". They have the tools and techniques to do this safely. And in many cases they can put a larger capacity battery in the case.


Bill Taylor

former store manager

Batteries Plus

Lake Forest, CA


Batteries Plus expanded the product mix to include all types of light bulbs and is now called "batteries plus bulbs"


That's why I mentioned I don't mess with the Lithium batteries...Ni CAds arent too difficult, but with how cheaply you can buy aftermarket ones, it's hardly worth the trouble.


"Whatever..."

#221 MattD

MattD

    Posting Leader

  • Full Member
  • PipPipPipPipPipPipPip
  • 3,561 posts
  • Joined: 13-August 11
  • Gender:Male
  • Location:IN

Posted 09 May 2020 - 09:37 PM

Steve, I used a tube of caulk to fill the seams against the wall on my track!!


I watched quite a few of the  videos on Youtube about rebuilding batteries and  they showed a simple soldering procedure to connect all the batteries together in the plastic case that fits the tool   I never tried it.   It looked simple enough for anybody that can solder.


  • Steve Ogilvie likes this

Matt Bishop


#222 Steve Ogilvie

Steve Ogilvie

    Race Leader

  • Subscriber
  • PipPipPipPipPip
  • 630 posts
  • Joined: 17-November 14
  • Gender:Male
  • Location:Kincardine, Ontario, Canada

Posted 10 May 2020 - 05:10 PM

Nothing got done on the track today, wet snow and rain all day and no sunshine to warm up the shed. Hopefully better tomorrow.


  • William Bowden likes this

#223 Steve Ogilvie

Steve Ogilvie

    Race Leader

  • Subscriber
  • PipPipPipPipPip
  • 630 posts
  • Joined: 17-November 14
  • Gender:Male
  • Location:Kincardine, Ontario, Canada

Posted 11 May 2020 - 03:29 PM

The sun came out finally and warmed up the shed nicely. Using the one layer at a time method is time consuming and doesn't come out as clean as moulding both layers at once with poplar. But once the first layer is on and the glue is hardened, the second layer goes on quick as long as you have lots of clamps.


IMG_3120.jpg


It will require some bondo filling to cover the gaps but at least now all the corners are done. Just one side of the bridge left to do, I may go out in a couple of hours and get that done.


  • Pappy, slotbaker, Rob Voska and 2 others like this

#224 Steve Ogilvie

Steve Ogilvie

    Race Leader

  • Subscriber
  • PipPipPipPipPip
  • 630 posts
  • Joined: 17-November 14
  • Gender:Male
  • Location:Kincardine, Ontario, Canada

Posted 12 May 2020 - 01:06 PM

All the walls are now attached and once I take some time to organize things I can start trimming the walls. Made a short video with YouTube's new upload system that I can't make work properly compared to the old classic upload. I made a comment about that under the video. I may have to start using my Windows based laptop to post things here because my old Mac does not seem to play nice with Youtube anymore.


(17) GOPR0084 - YouTube


  • slotbaker, Zippity, Eddie Fleming and 1 other like this

#225 Zippity

Zippity

    Grand Champion Poster

  • Banned
  • PipPipPipPipPipPipPipPip
  • 5,278 posts
  • Joined: 05-March 06
  • Gender:Male
  • Location:Wellington, New Zealand

Posted 12 May 2020 - 04:09 PM

Can't wait so see how you do the side wall trimming :)


  • William Bowden likes this
Ron Thornton


Electric Dreams Online Shop