Nice! ![]()
Replicating Husting's 1966 Top Fuel Eliminator magwinder
#126

Posted 29 April 2020 - 03:04 PM
Rick Thigpen
Check out Steve Okeefe's great web site at its new home here at Slotblog:
The Independent Scratchbuilder
There's much more to come...
#127

Posted 29 April 2020 - 09:48 PM
GREAT STEP BY STEP IMAGES.
- MSwiss likes this
#128

Posted 30 April 2020 - 10:33 AM
#130

Posted 30 April 2020 - 11:18 AM
Really nice work! ![]()
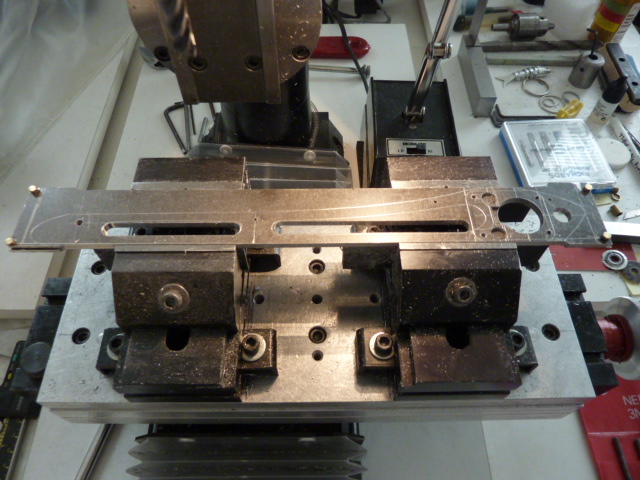
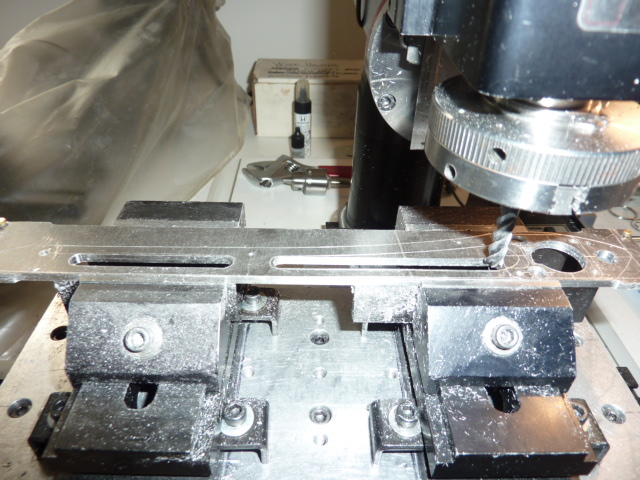
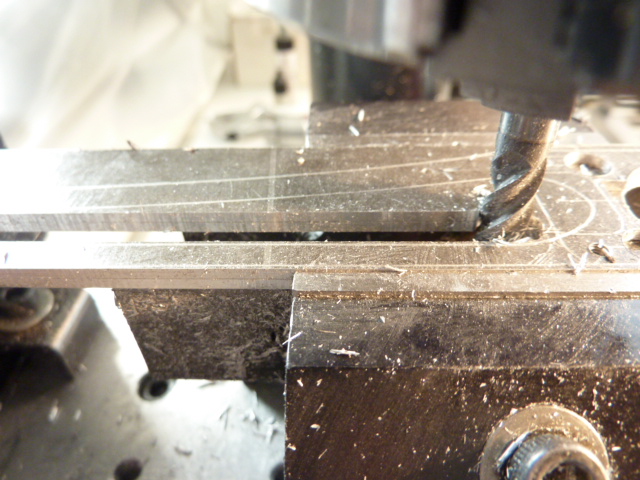
A couple of questions. What kind of mill is that? What kind of tool did you use to cut the large hole? Annular? What kind of chuck are you using to hold the end mills? And why a chuck and not an end mill holder or collet?
???-2/31/23
Requiescat in Pace
#131

Posted 30 April 2020 - 01:07 PM
Thanks, Phil! ![]()
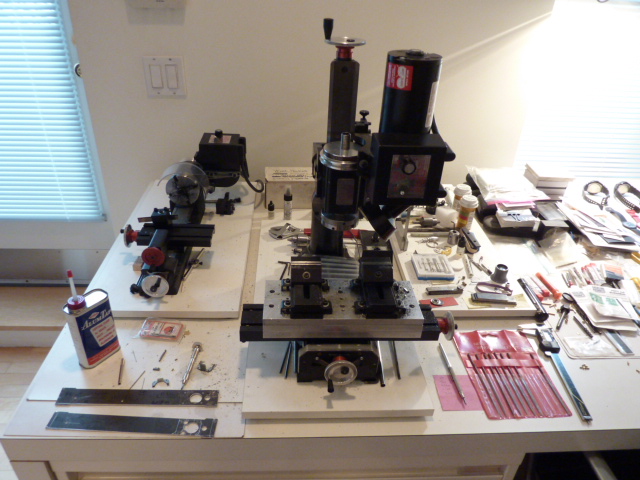
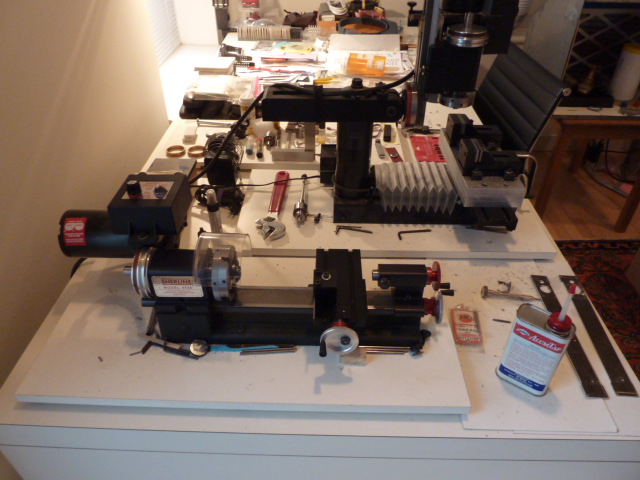
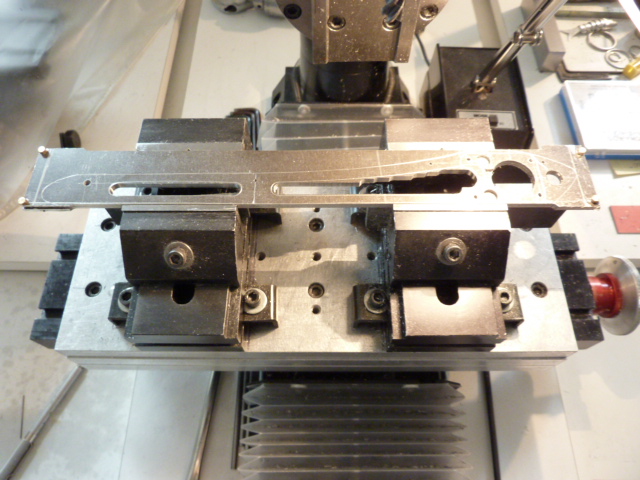
I use Sherline miniature "tabletop" machine tools, both a mill and a lathe. Each machine is mounted onto a separate 24" x 12" x 1" plastic laminate shelf board that has rubber feet under it. They are portable (not that I carry them around). They don't take up much space.
This Sherline mill is an 8-direction machine, so it replicates all of the movements of a full-size Bridgeport.
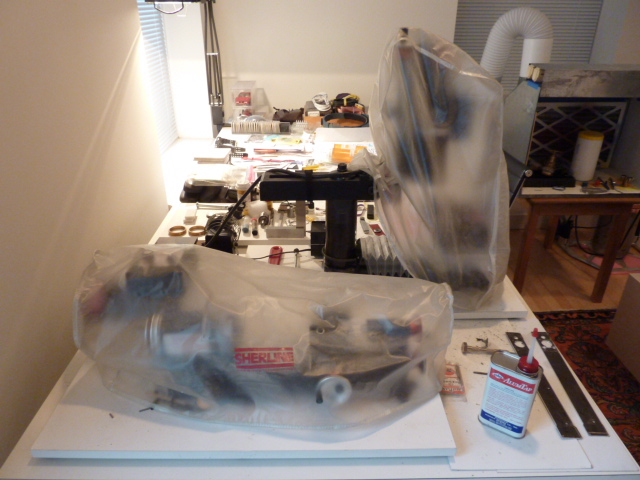
The machine tools are parked at one end of a desktop under which there is a file cabinet supporting the weight of the machines on top. When not in use, they can be easily covered.
- Howie Ursaner, Half Fast, Tim Neja and 2 others like this
#132

Posted 30 April 2020 - 01:18 PM
The large hole for the armature opening was cut with a carbide-tipped 3/4 inch hole saw. I love working with magnesium. It cuts like butter.
I have a small set of collets that I rarely use. For a hobbyist like me there are too many different sizes of collets needed to span the range of end mills, drills, reamers and cutters that I use, so it's not practical.
Sherline's chucks are extremely accurate and they make it easy to switch from a center drill to an end mill and so on without fiddling around with different size collets.
- Ramcatlarry and Phloidboy1 like this
#134

Posted 30 April 2020 - 03:24 PM
Alan, I am sure you know this but for all that do not. Keep your chips (swarf) in a safe place.
A shop where I worked did not clean the chip in time. There was a spark and it burned the mill down to a write off.
- MSwiss, Rotorranch and Phloidboy1 like this
#135

Posted 30 April 2020 - 04:16 PM
Right. Magnesium chips will burn hotter than an oxy-acetylene torch, and can't be put out with water. I worked in a magnesium die casting
plant for 30 years, and magnesuim fires were nearly a daily occurrence. Boric acid is used for big fires, a class "D" halon fire extinguisher
for smaller ones. Keep one handy.
- Ramcatlarry, Rotorranch and Phloidboy1 like this
#136

Posted 30 April 2020 - 05:56 PM
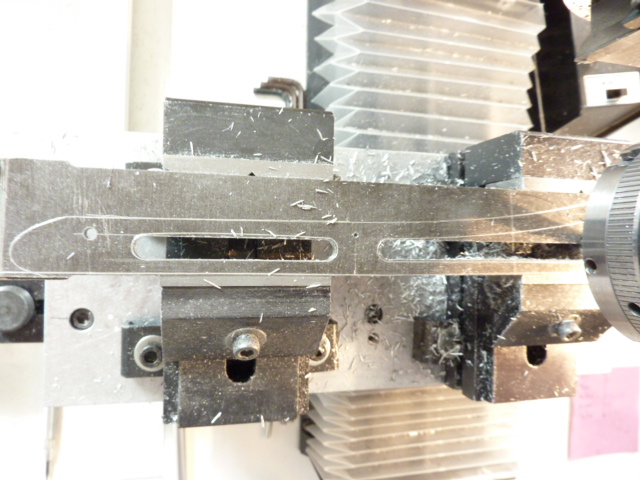
Yea, I've been vacuuming magnesium chips up after nearly every cut.
This project is all about making chips, some aluminum, but mostly magnesium.
You start out with two magnesium plates, 10" x 1.25" x 1/16", and you reduce them to these slender forms and lots of chips.
I don't know what percentage of material is removed or what remains. I'm guessing it's 65% removed, 35% remains.
- Phloidboy1 likes this
#140

Posted 01 May 2020 - 12:48 PM
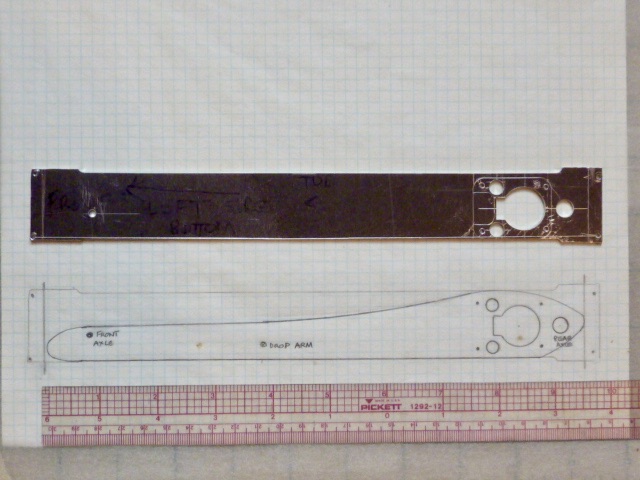
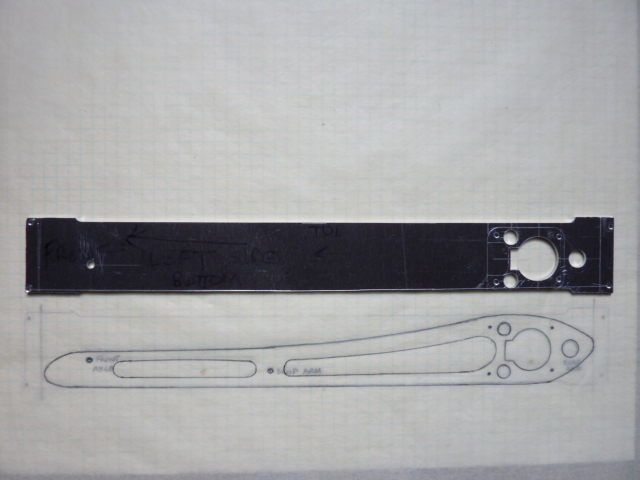
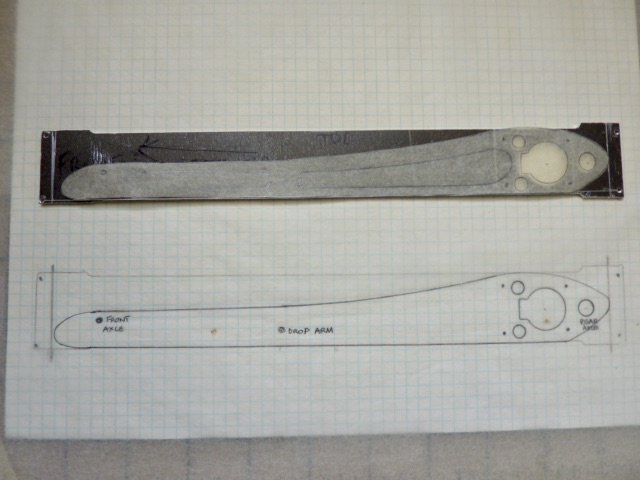
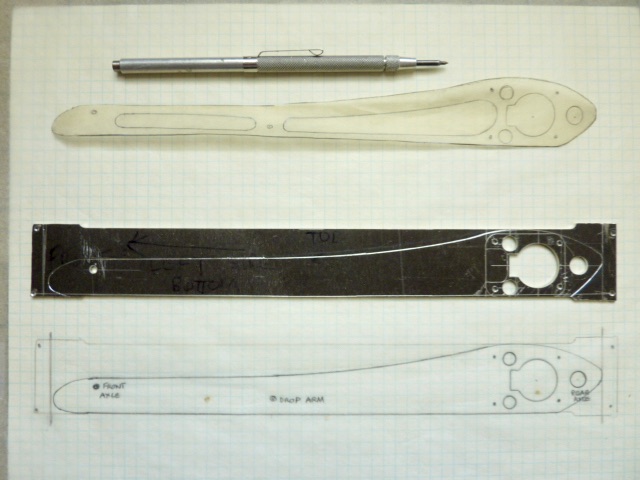
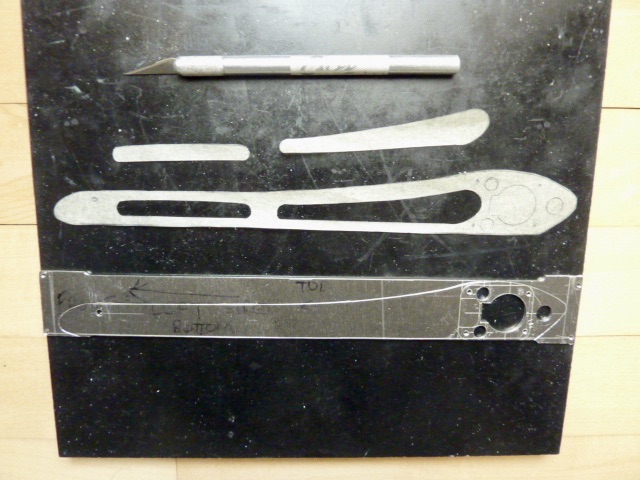
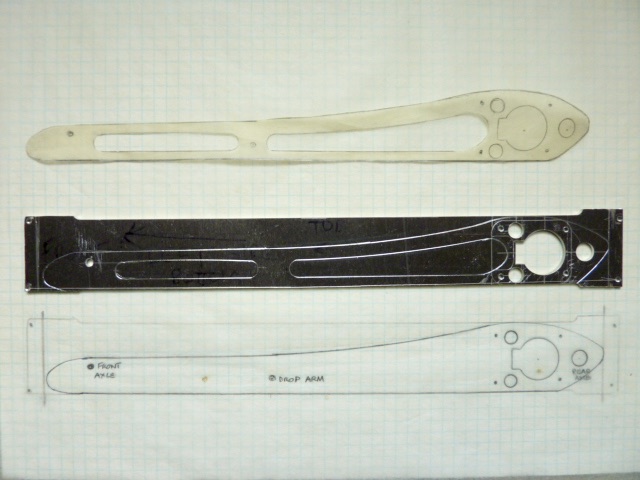
After drawing the inside opening shapes onto the plate, I scribed the shapes onto the plate.
This completes the process of transferring the drawing to the left side magnesium frame plate in final scribed form.
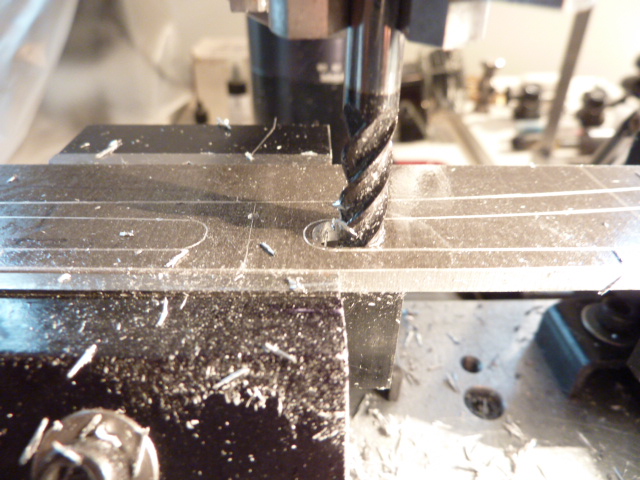
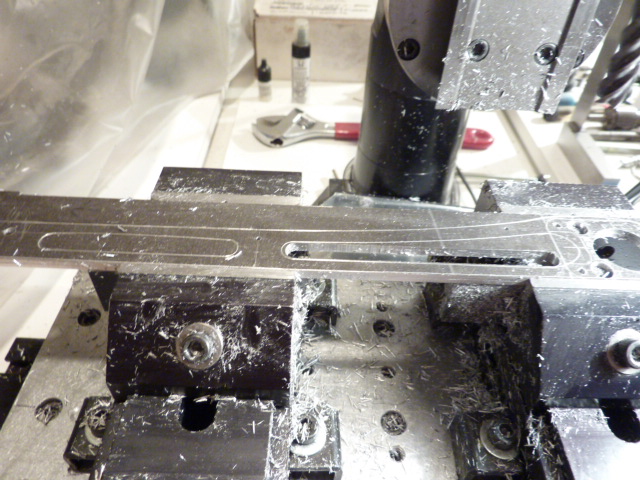
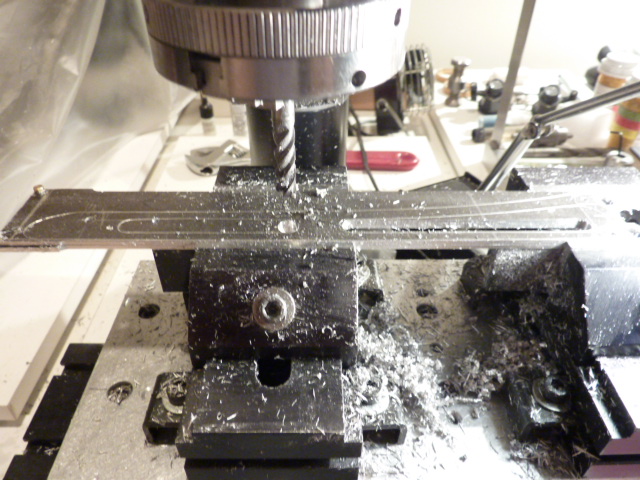
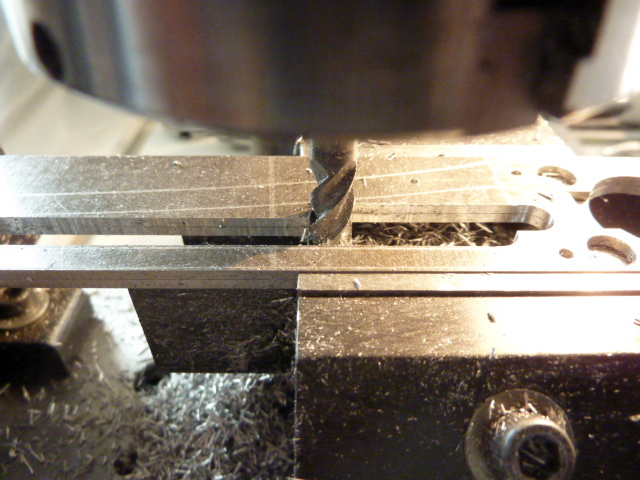
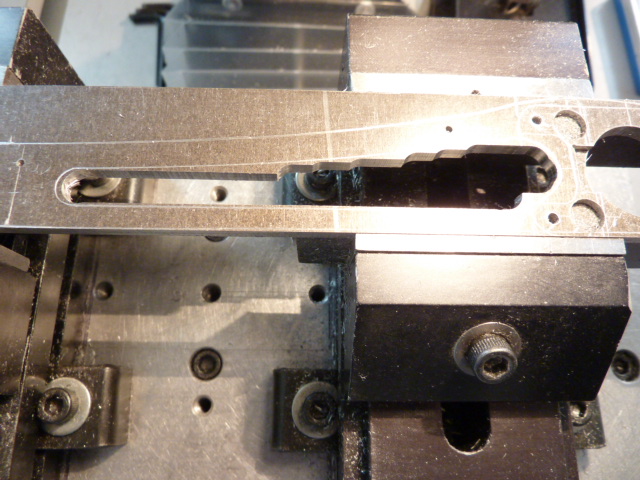
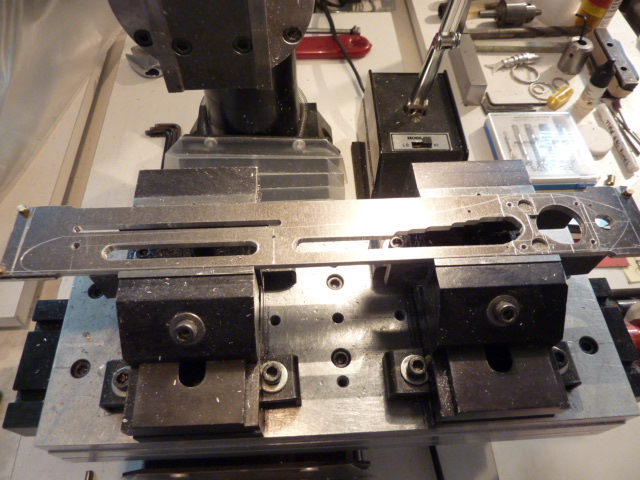
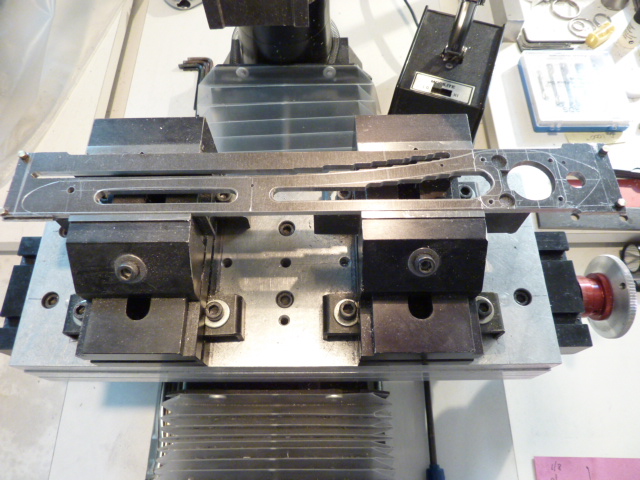
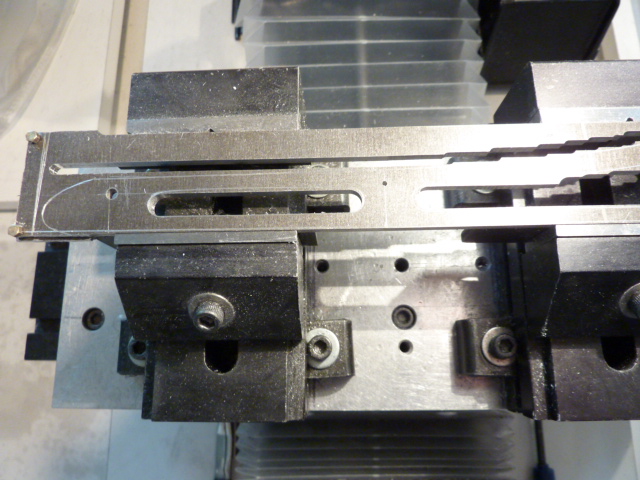
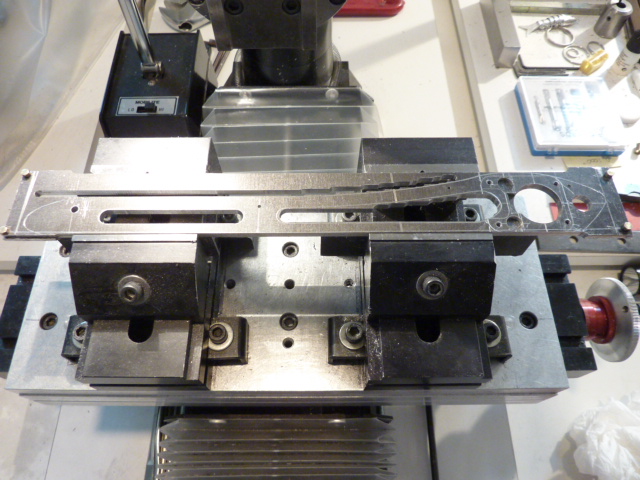
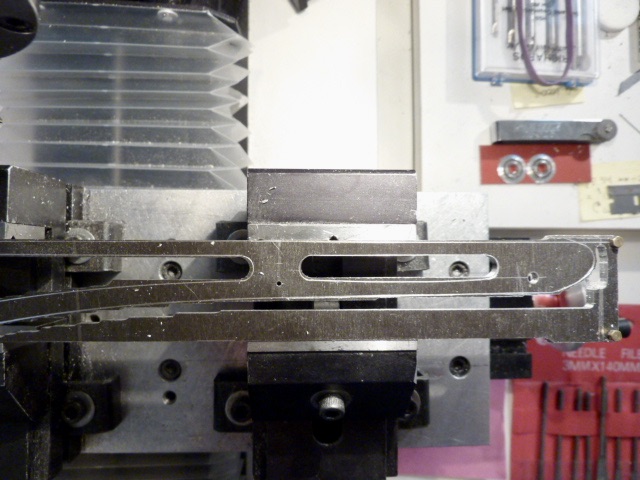
The next step is to screw the left and right side frame plates together again, then clamp that assembly onto the mill table, and cut the outside form and inside shapes out using end mills and files.
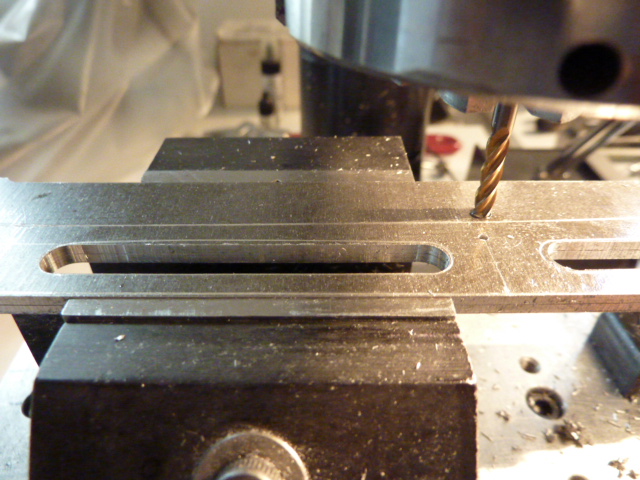
Before I do that, however, I need to spot the locations of where 00-80 size screw holes will be drilled into the sides of both the left and right side frame plates which will be used to fasten 0.016" thick aluminum sheet material to the top of the assembled frame for the top cover or "body".
Gene Husting located his at beefy sections of the frame's top stiles using fold-down tabs of the aluminum sheet to screw horizontally through the material.
He avoided using the tops of the frame rails for vertical attachment points because even 00-90 size screw holes create weak spots in the 1/16" thick magnesium. His 1966 Rod & Custom article explained this issue and how to avoid it.
- hiline2 and Phloidboy1 like this
#141

Posted 02 May 2020 - 12:41 PM
- hiline2 likes this
Larry D. Kelley, MA
retired raceway owner... Raceworld/Ramcat Raceways
racing around Chicago-land
Diode/Omni repair specialist
USRA 2023 member # 2322
IRRA,/Sano/R4 veteran, Flat track racer/MFTS
Host 2006 Formula 2000 & ISRA/USA Nats
Great Lakes Slot Car Club (1/32) member
65+ year pin Racing rail/slot cars in America
#142

Posted 03 May 2020 - 07:16 AM
- Ramcatlarry likes this
#143

Posted 03 May 2020 - 04:04 PM
Sorry. ![]()
I forgot Sherline is relatively unknown.
When I was a kid I wanted a Unimat in the worst way. Years later I Iearned that the Unimat wasn't very accurate or precise. Unimat's manufacturing practices and machine tolerances were sloppy.
Founded by Joe Martin, Sherline sort of took over the market for miniature machine tools when there weren't any other brands as well made and precise as Sherline's equipment. Sherline manufactures everything in the USA, too, which is nice.
- hiline2, Ramcatlarry and Rotorranch like this
#148

Posted 04 May 2020 - 10:07 AM
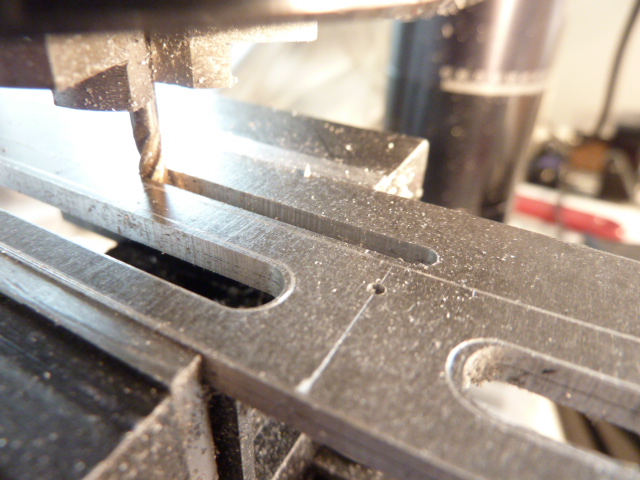
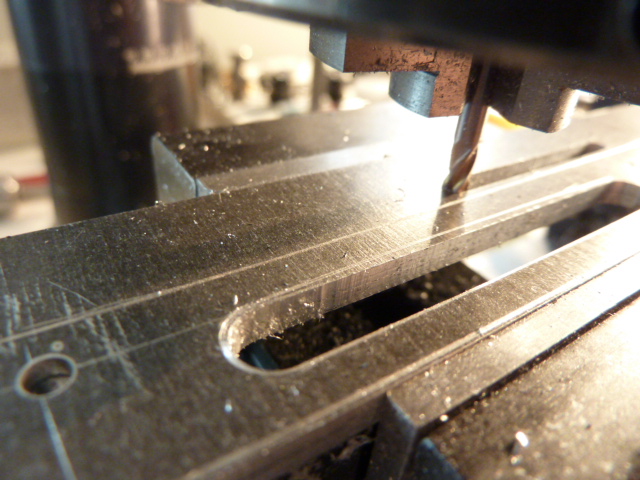
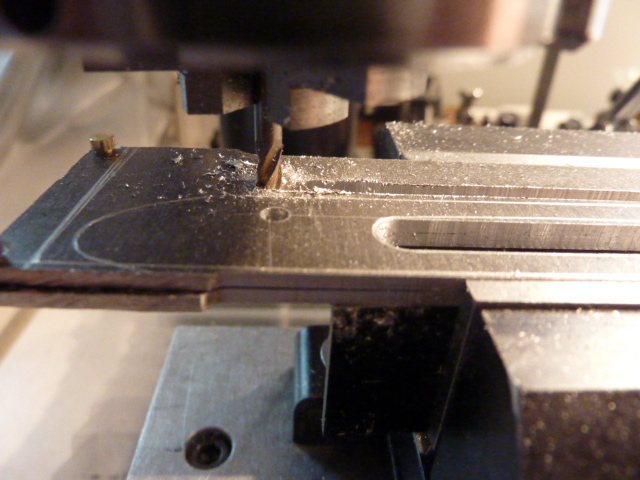
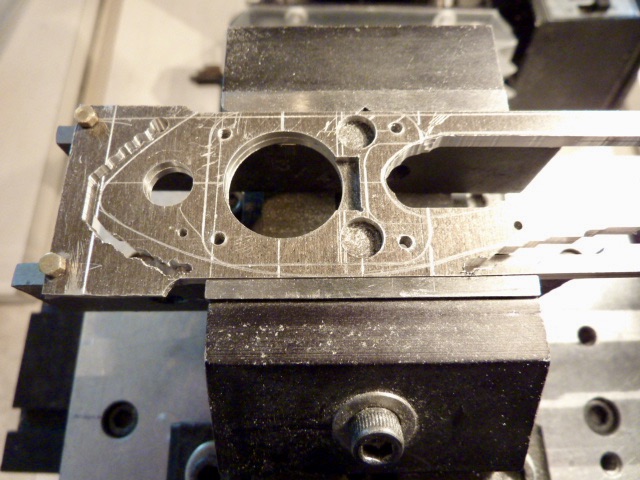
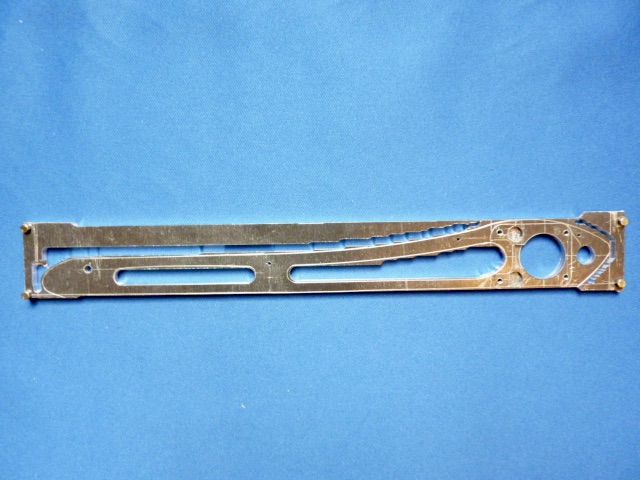
I machined the frame's rear end and nose further to reduce the amount of sawing needed to finally cut the frame assembly apart from its remainder, and to minimize the amount of filing required to reach the scribed shape outlines.
Other than that, the frame for this 1966 Gene Husting Rod & Custom dragster replica is done.
One of the project's last steps will be sanding/ polishing the magnesium frame's left and right sides ... after test fits of all components, including final assembly/ disassembly.
- Howie Ursaner, Phil Smith and Geary Carrier like this
#149

Posted 04 May 2020 - 10:59 AM
Nice work Alan,
Could you turn out 100 or so of these for us drag fans?
Thanks!
Don
- Geary Carrier likes this
#150

Posted 04 May 2020 - 11:53 AM
Thanks, Don! ![]()
With the right kind of full-size CNC-controlled equipment, that could be done.
The kits for sale would be costly, though. Magnesium sheet is pricey and most of it ends up as swarf. ![]()
So far I haven't screwed up anything. I'm glad to have reached this point. It's been useful preparation of my next project, replicating Manuel Maldonado's 1966 Rod & Custom "Car of The Meet" dragster.
Ah, but I'm getting ahead of myself...


