Replicating Husting's 1966 Top Fuel Eliminator magwinder
#151

Posted 04 May 2020 - 12:19 PM
Any thought of using a Dremel with a 9901 carbide cutter, or a small sanding drum?
- Phloidboy1 likes this
Mike Swiss
Inventor of the Low CG guide flag 4/20/18
IRRA® Components Committee Chairman
Five-time USRA National Champion (two G7, one G27, two G7 Senior)
Two-time G7 World Champion (1988, 1990), eight G7 main appearances
Eight-time G7 King track single lap world record holder
17B West Ogden Ave., Westmont, IL 60559, (708) 203-8003, mikeswiss86@hotmail.com (also my PayPal address)
Note: Send all USPS packages and mail to: 692 Citadel Drive, Westmont, Illinois 60559
#152

Posted 04 May 2020 - 05:30 PM
You had said using a file before, on final shape.
Any thought of using a Dremel with a 9901 carbide cutter, or a small sanding drum?
I'm not sure.
Many of the mill cuts are tangent to or just slightly above the scribed lines.
There's not much material to remove and I'm more confident in my ability to slowly file down the bumps and ridges above the lines to meet them exactly and blend/ smooth each surface than I am doing the same thing using a Dremel tool.
I'll consider using a Dremel on the scrolled shapes of Manuel Maldonado's dragster frame for my next project.
***********************************************
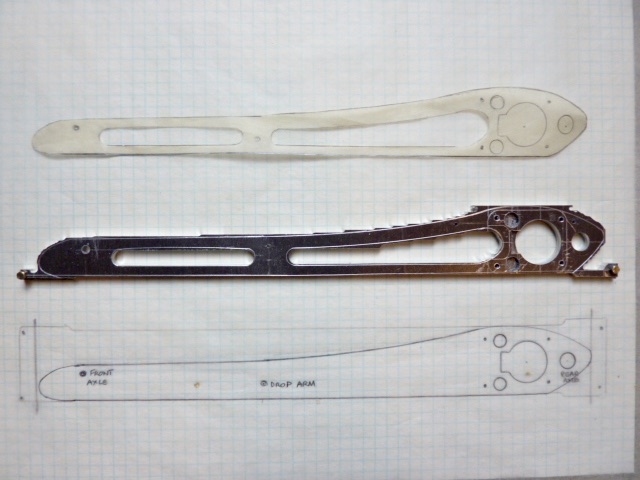
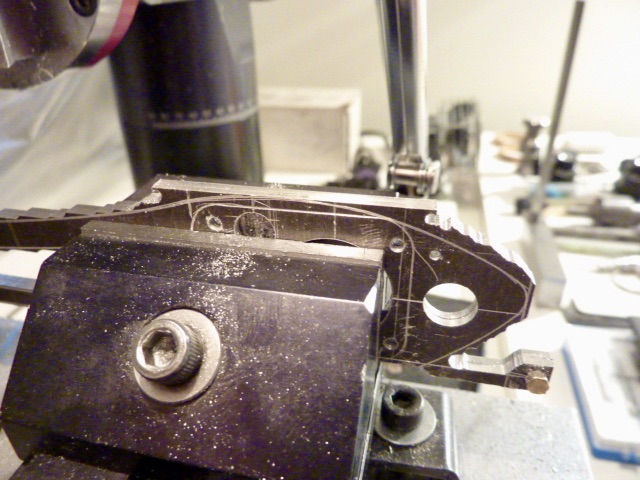
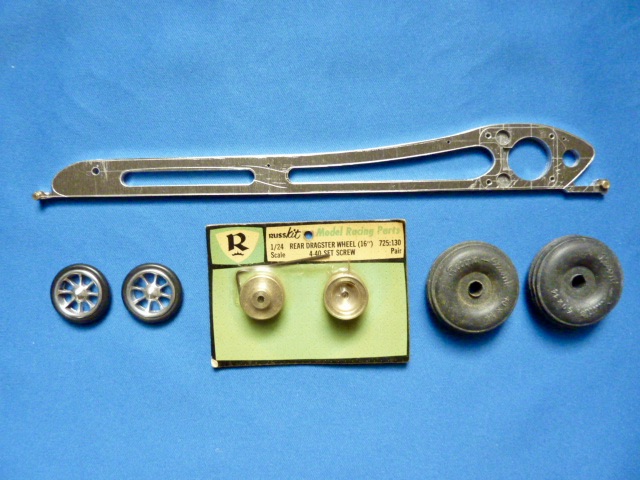
I've cut off the top half of the original magnesium plate assembly, leaving the dragster frame still bolted together at the bottom corners.
This is in preparation for clamping the frame vertically into the twin vise set-up on the mill table. While bolted together, the frame halves are still perfectly aligned.
This is is how I'll file the frame's inside opening shapes and outside form. Both frame sides will be identical in that regard.
I use the mill table and mill vises to hold small, delicate work pieces instead of a bench vise.
- hiline2 and Phloidboy1 like this
#154

Posted 05 May 2020 - 12:22 PM
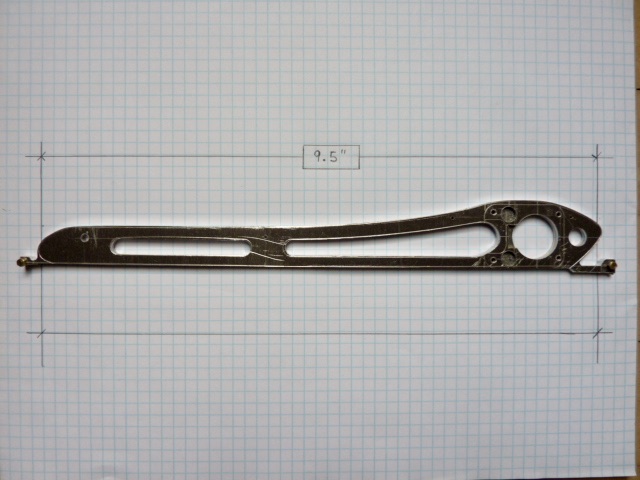
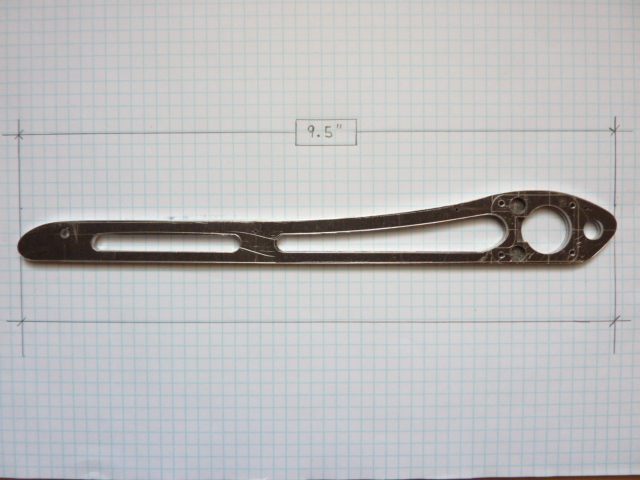
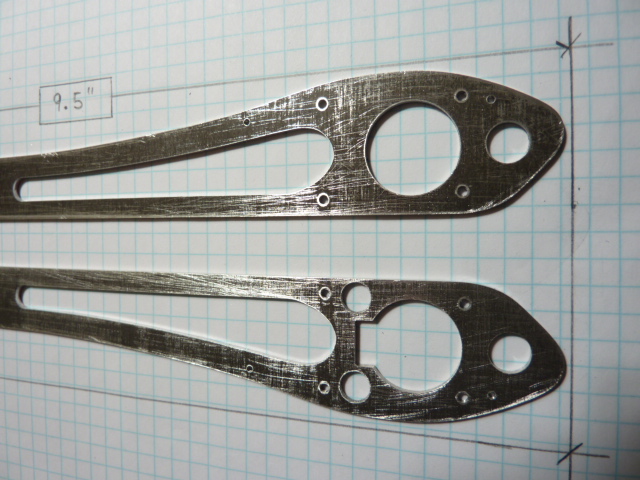
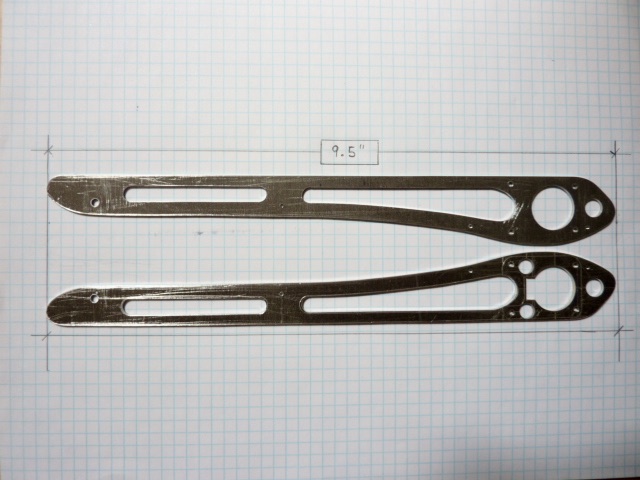
Now the frame really is complete. Cutting the bottom tabs off and filing the front and rear nubs down is minor compared to the work involved with getting the frame to this point.
The fun part going forwards will be test-fitting components, putting this dragster together. ![]()
Incidentally, since this frame has no separate cross braces, the sheet aluminum body panel that wraps over the top, around the front and rear ends, and is screwed to both sides of the frame... serves that purpose. It is a structural component of the frame, not just ornamental.
- Phloidboy1 likes this
#157

Posted 05 May 2020 - 01:30 PM
Fabricating the gear guard will require a rotary table. The same is true for lightening the largest aluminum spur gears.
So, I will be changing the current milling machine's set-up from a pair of mill vises to mounting a rotary table.
- Phloidboy1 likes this
#159

Posted 05 May 2020 - 05:12 PM
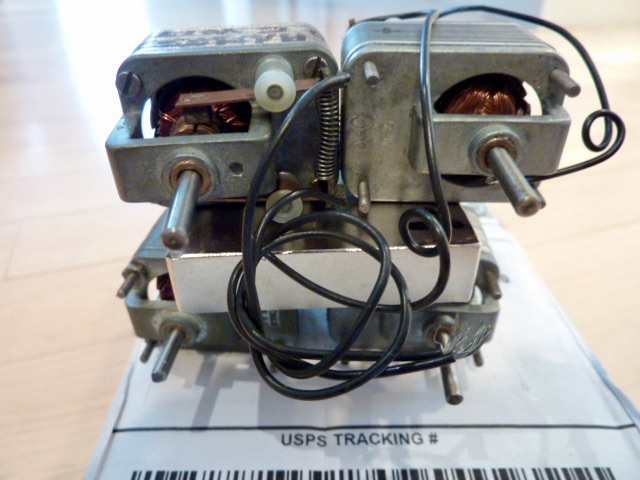
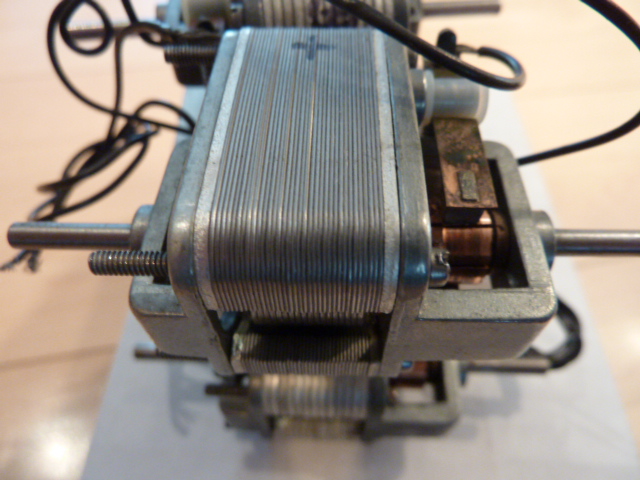
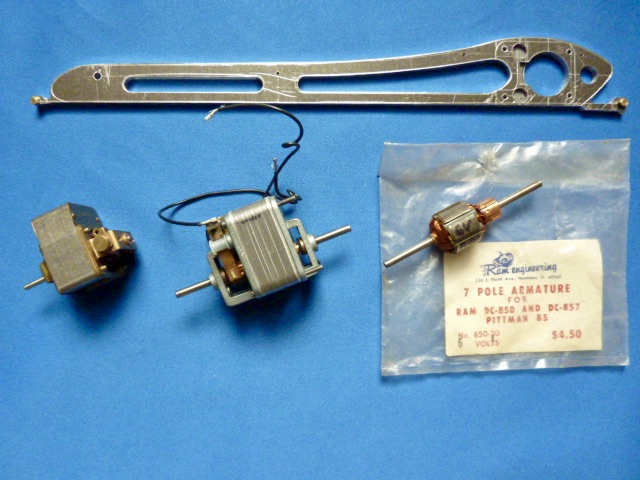
This is the Ram 6 volt motor that I'll be using.
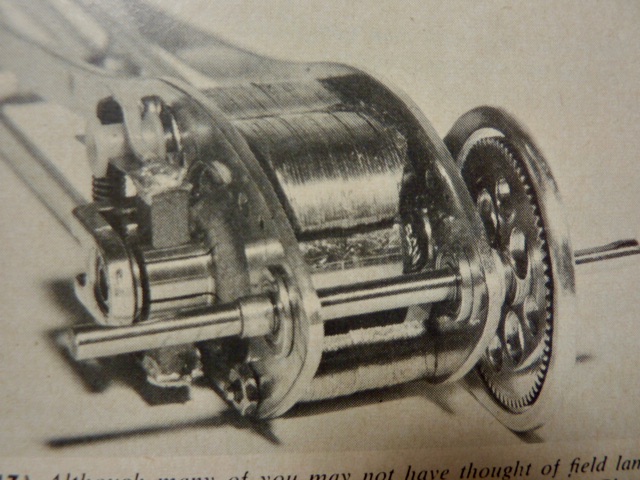
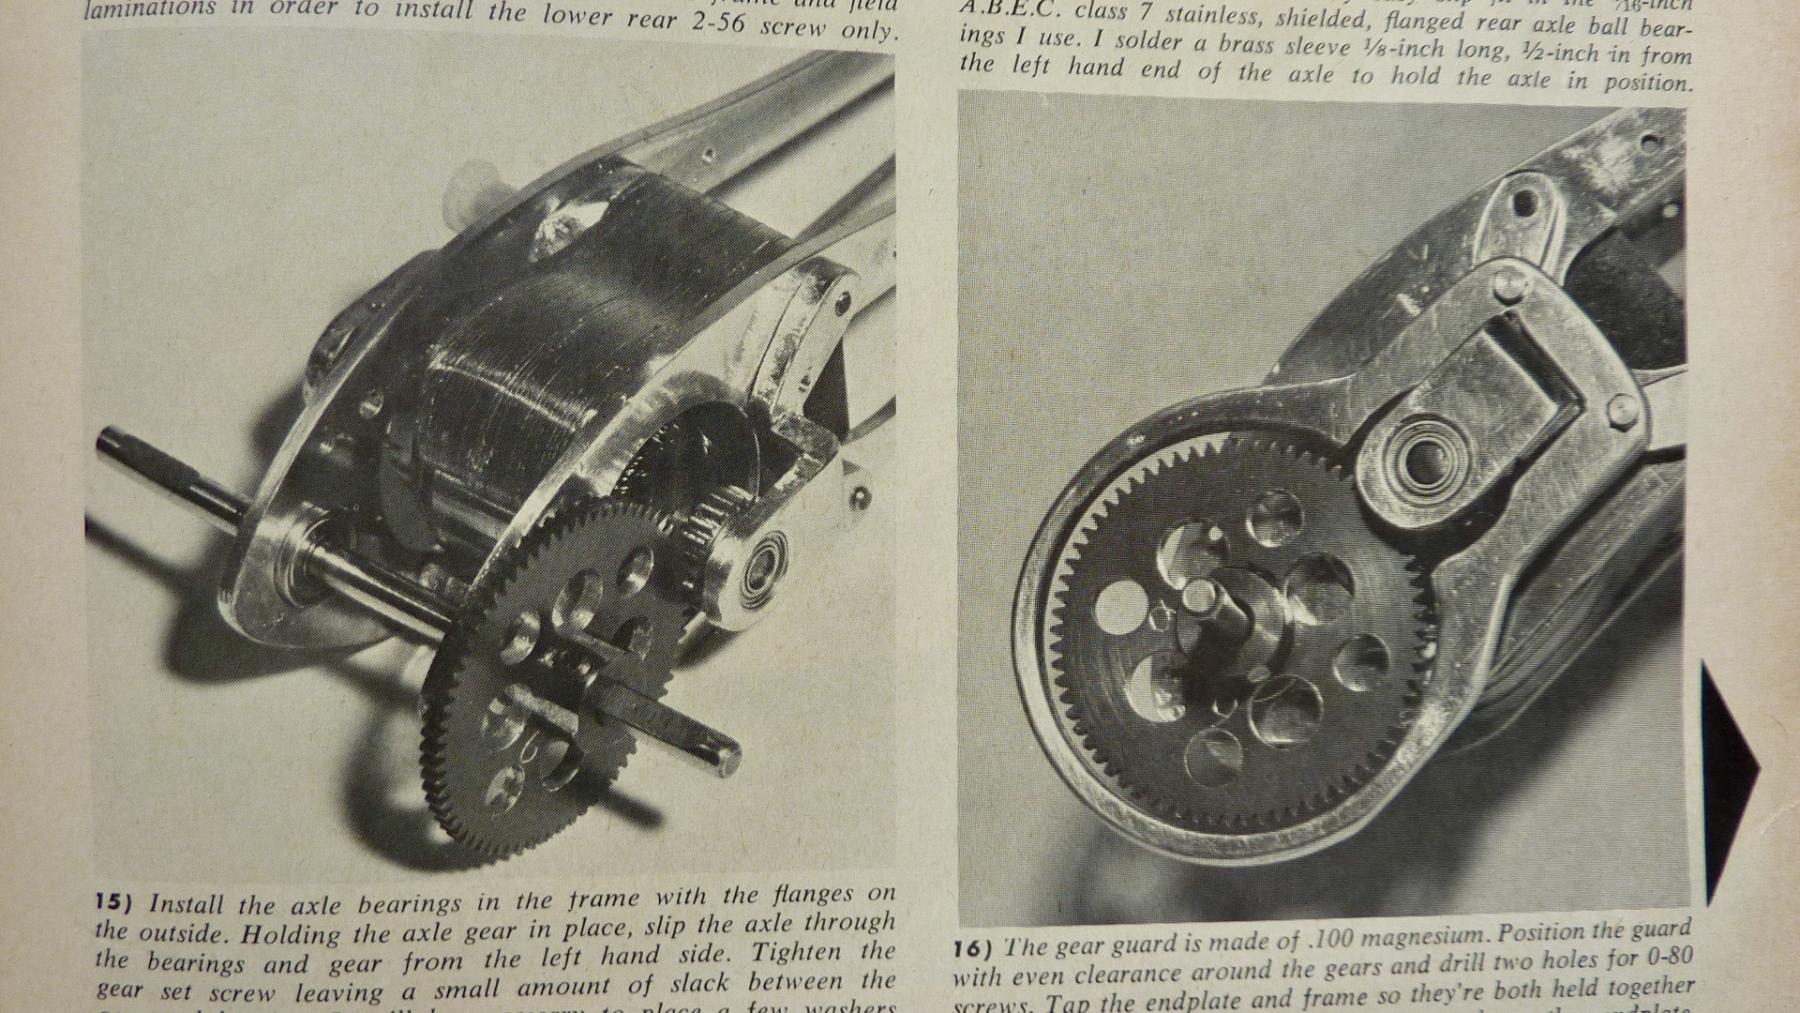
I believe this is the type of motor Gene Husting used in his car per the Rod & Custom magazine article photos.
It features the super-thin steel lamination plates concentrating the motor's magnetic field around the armature.
- hiline2, Uncle Fred and Phloidboy1 like this
#162

Posted 05 May 2020 - 05:47 PM
Hi Alan,
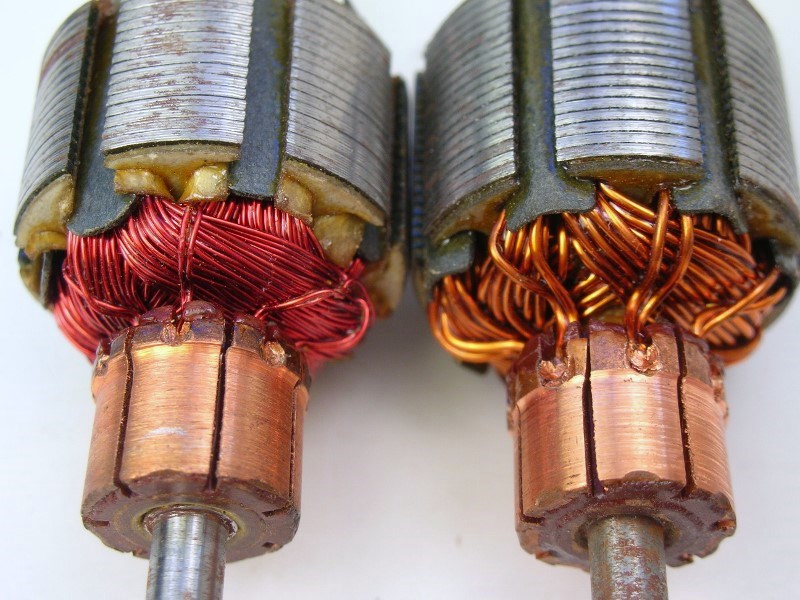
I just wanted to mention that if you end up running on standard 12V to 16V the RAM 3V arm absolutely blows away the RAM 6V arm.....at least in the cars I've built.
Now running at higher voltages may be another story. Maybe the 3V won't stand up to 30 to 36 volts. ![]()
But the 3V RAM on standard voltage is an absolute beast.
Check out the wire on the 3V arm on the right: ![]()
![]()
- hiline2, Ramcatlarry, Phil Smith and 2 others like this
Rick Thigpen
Check out Steve Okeefe's great web site at its new home here at Slotblog:
The Independent Scratchbuilder
There's much more to come...
#163

Posted 05 May 2020 - 05:56 PM
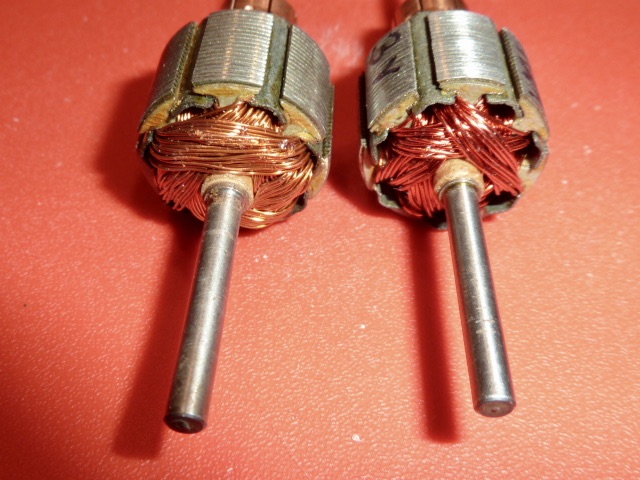
Wow! I have a 3 volt Ram armature, but I haven't looked at it closely, and I didn't compare it with the 6 volt armature the way you have in the photo.
I'll have to check this out. ![]()
- Phloidboy1 likes this
#164

Posted 05 May 2020 - 06:05 PM
Yes check out that 3V and compare it to your 6V. That's a 12V in my picture I had on hand but you will see a big difference when you compare your 3V and 6V. You'd see an even bigger difference ON THE TRACK.
- Phloidboy1 likes this
Rick Thigpen
Check out Steve Okeefe's great web site at its new home here at Slotblog:
The Independent Scratchbuilder
There's much more to come...
#165

Posted 05 May 2020 - 06:46 PM
Now that's some serious wire!
You guys are lucky to have 3V Ram 857 arms. I've only seen one on eBay in the 2 1/2 years I've been looking for vintage drag stuff, and Bob Steere outbid me for it.
- Phloidboy1 likes this
???-2/31/23
Requiescat in Pace
#166

Posted 05 May 2020 - 07:37 PM
I've never seen one!
- Phloidboy1 likes this
#167

Posted 05 May 2020 - 08:29 PM
Fabricating the gear guard will require a rotary table.
I've been thinking about your rails. I think if a guy could keep track of which handle to turn, and which direction to turn it, you could cut the radius's of those rails out using a turntable and the X, Y axis's of the mill. Sort of free-handing it, but with the control of screw feed.
I don't think I could do it without making a wrong handle turn, but I bet a real machinist could. Somebody that's manual milled so much that turning the handles the right direction is something they don't even have to think about.
Not that you needed to do that. They came out fantastic! ![]()
- Ramcatlarry, Tom Katsanis and Phloidboy1 like this
???-2/31/23
Requiescat in Pace
#168

Posted 05 May 2020 - 08:45 PM
Hi Rick,
Yes, there is a visible difference between the 6 volt and 3 volt armature windings. I didn't notice before.
I'm new to running these cars in general and racing them at different voltages in particular.
As far as when or if I would or will run the 3 volt armature, I guess that depends on what my local track Owner -- Mike Swiss -- is planning to do.
At this point I'm just trying to build at least two of these classics -- Gene Husting's and Manuel Maldonado's dragsters -- before Mike finishes building his dragstrip and the all clear is sounded.
- Phloidboy1 likes this
#169

Posted 05 May 2020 - 09:00 PM
I've been thinking about your rails. I think if a guy could keep track of which handle to turn, and which direction to turn it, you could cut the radius's of those rails out using a turntable and the X, Y axis's of the mill. Sort of free-handing it, but with the control of screw feed.
I don't think I could do it without making a wrong handle turn, but I bet a real machinist could. Somebody that's manual milled so much that turning the handles the right direction is something they don't even have to think about.
Not that you needed to do that. They came out fantastic!
Thanks! ![]()
You're right about "steering" the mill table with a workpiece mounted on it under the headstock using the X- Y handles.
To avoid making the wrong turns, I've had to memorize and remind myself constantly: Clockwise turns pushes the mill table away from you or your hand. Counter-clockwise turns pulls the mill table towards you or your hand. ![]()
When I was racing 1/8 scale RC nitro-powered 4WD on-road Can Am cars, which is an international sport, there were many world class European racers who used X - Y stick radios. The Y - stick controlled the car's engine throttle/ brake servo, while the X - stick controlled the steering servo.
It was fascinating to watch these racers on the drivers' stand, expertly controlling their cars with lightning reflexes, rapidly flicking the X - Y levers back and forth to navigate turns, make course corrections, accelerate, brake, etc.
With enough driver experience the stick RC radios operate as well as the steering wheel radios and some racers preferred them.
- Rotorranch likes this
#170

Posted 05 May 2020 - 10:18 PM
For me, it's essential to use the hand wheels on machine tools as opposed to relying on CNC - controlled stepper motors.
I need to "feel" the cutting tool's action or pressure on the workpiece transmitted through the X - Y hand wheels on a lathe or a mill.
Sherline's CNC - controlled rotary table is the one luxury I've permitted myself as far as CNC - controlled machine tools are concerned.
The CNC rotary table simplifies the execution of complex movements that are a headache for the machinist to calculate and keep track of.
- hiline2 and Phloidboy1 like this
#171

Posted 06 May 2020 - 02:59 PM
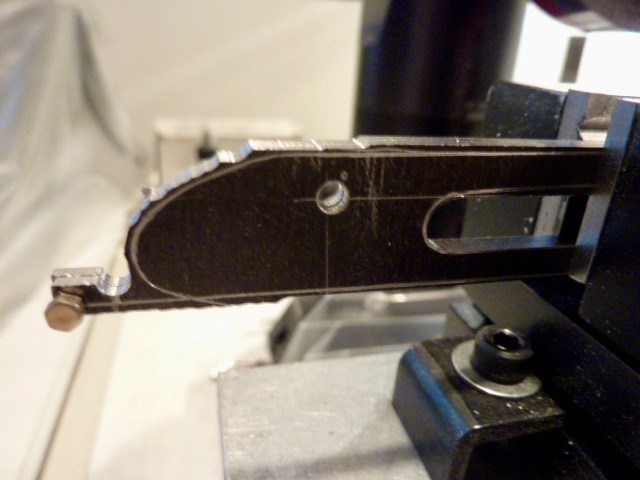
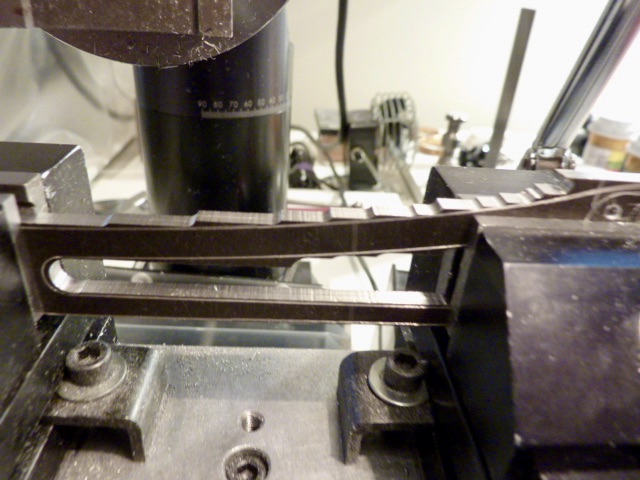
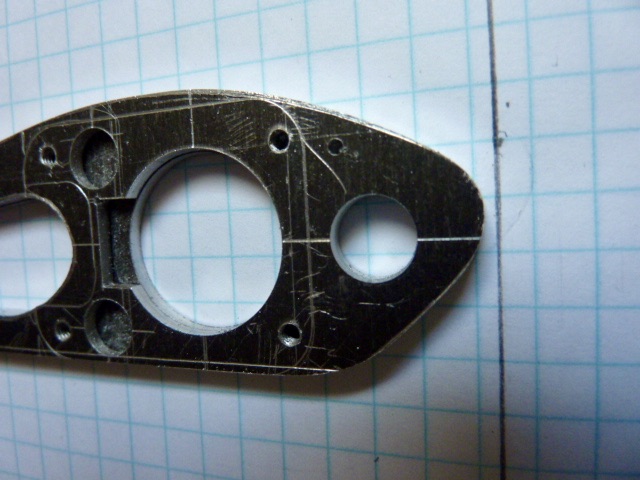
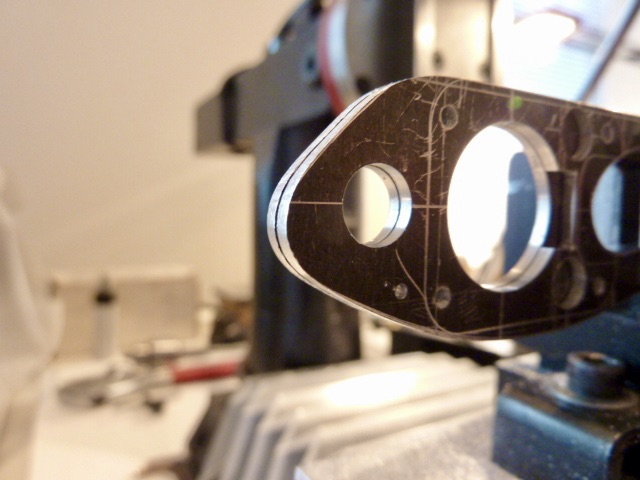
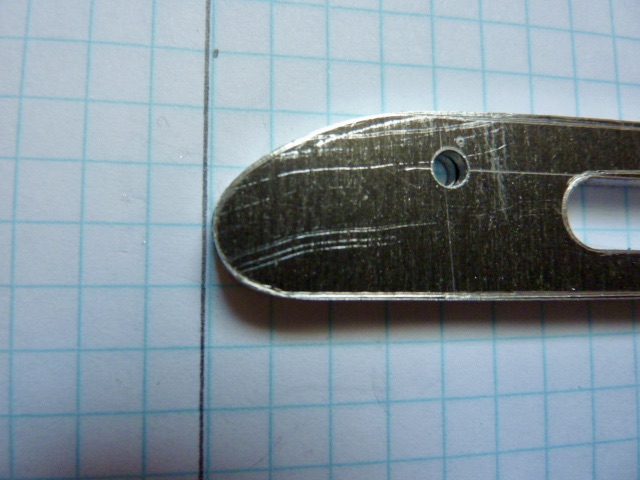
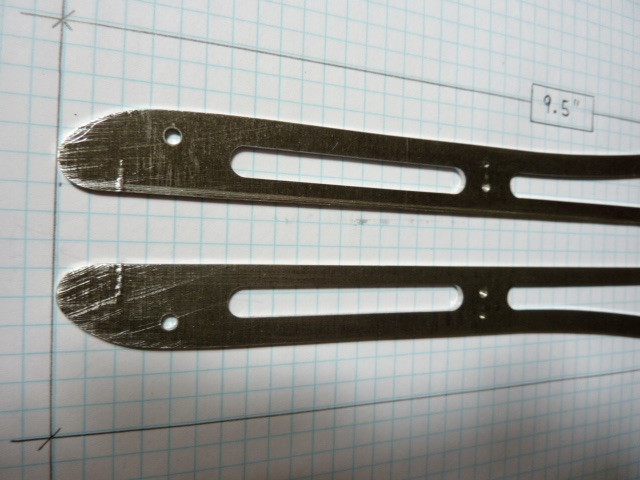
I cut off the front and rear attachment points holding the two frame sides together.
While maintaining their alignment, I clamped the assembly in the mill's twin vises and filed the remaining front and rear nubs down to the scribed lines.
As dictated by class rules, I filed the rear end of the frame assembly to round off the scribed profile and to provide an extra 1/16" of space within the 9.50" maximum-length envelope
I did this to accommodate the 0.016" thick aluminum body panel which will wrap the front and rear ends of the frame.
- hiline2, MSwiss and Phloidboy1 like this
#172

Posted 06 May 2020 - 03:07 PM
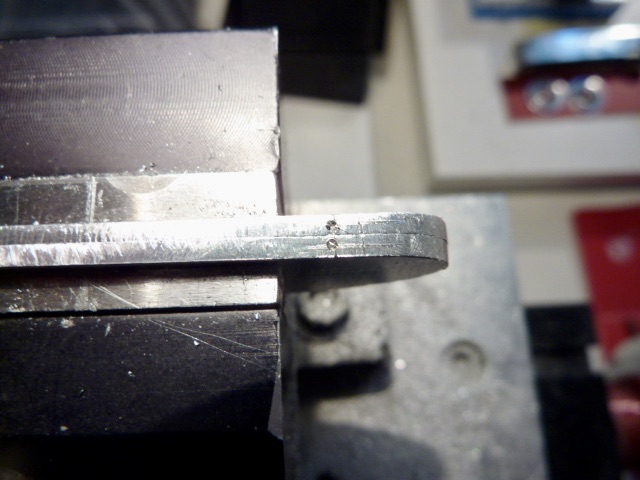
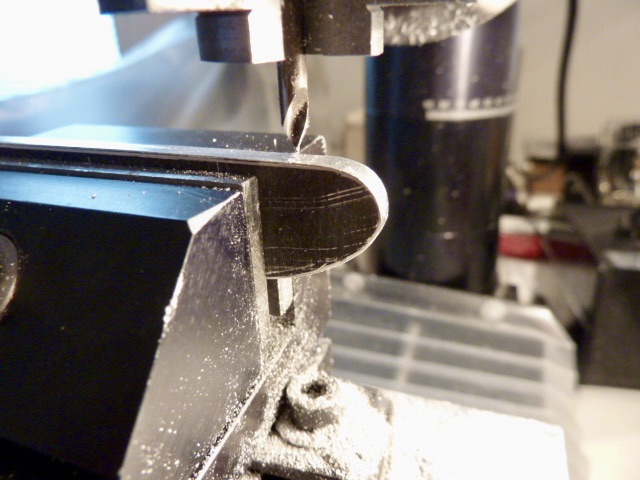
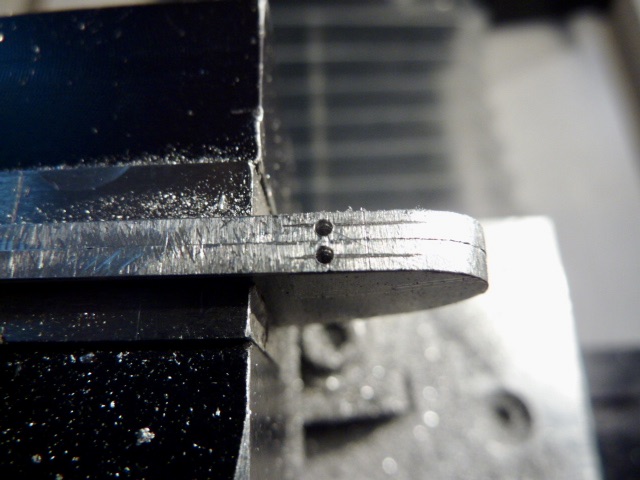
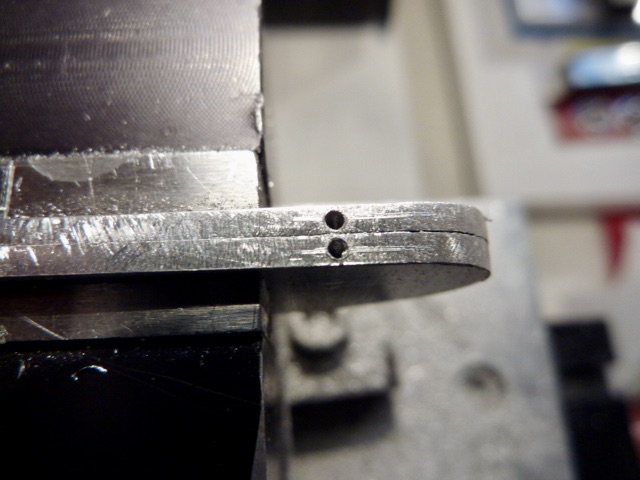
Next I marked locations for the lower front set of body attachment points and center-drilled them.
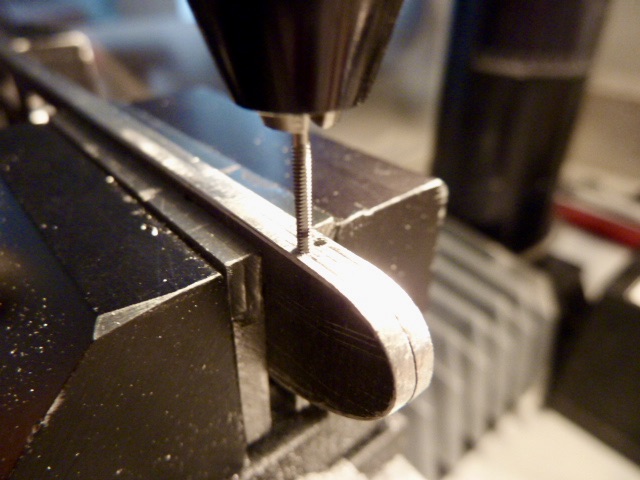
Gene Husting used 0-80 screws in this location. I think that 0-80 is too large a hole to drill and tap in 0.0625" thick magnesium, so I went down in size to 00-90.
- hiline2 and Phloidboy1 like this
#173

Posted 06 May 2020 - 03:11 PM
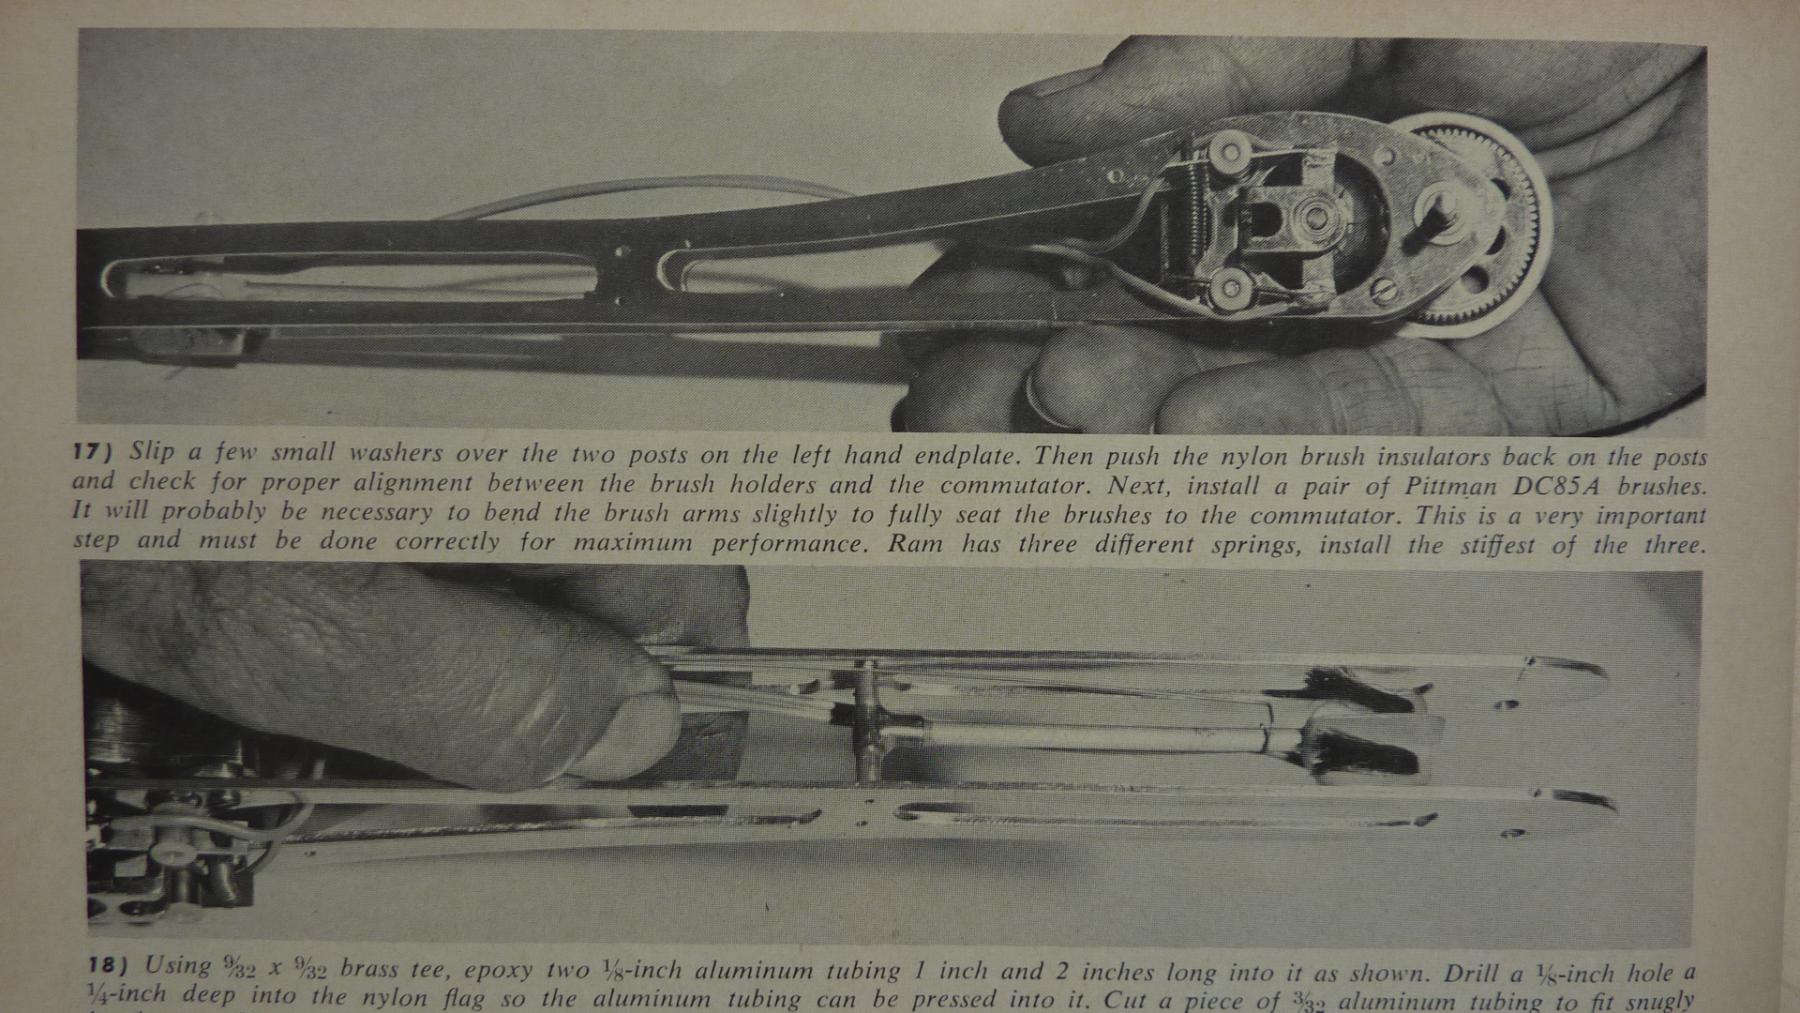
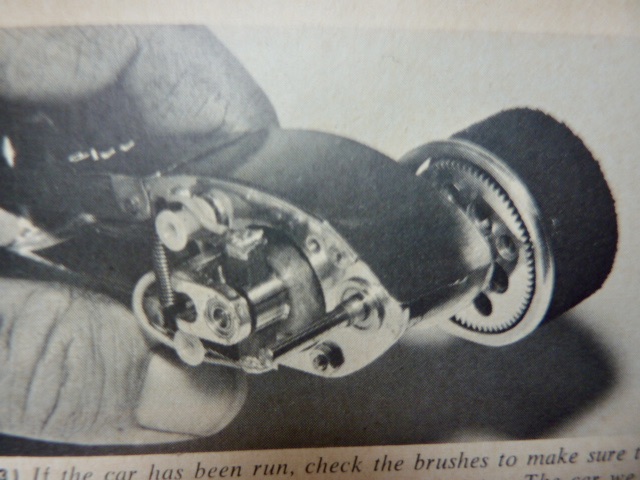
The reason I went down a size from Husting's 0-80 construction detail is that photos from his Rod & Custom build articles show that the tapped threads broke through the surface of the magnesium frame sides.
No bueno. ![]()
- hiline2 likes this
#174

Posted 06 May 2020 - 03:18 PM
I went down a size from 0-80 to 00-90 to avoid that problem. And yet, I too got the telltale bulge where the tap had traveled. At least it didn't break through the surface.
This body attachment point is going to have to be handled very carefully so that this set of threaded holes isn't stripped in the process of attaching and detaching the body panel.
- hiline2 and Phloidboy1 like this


